
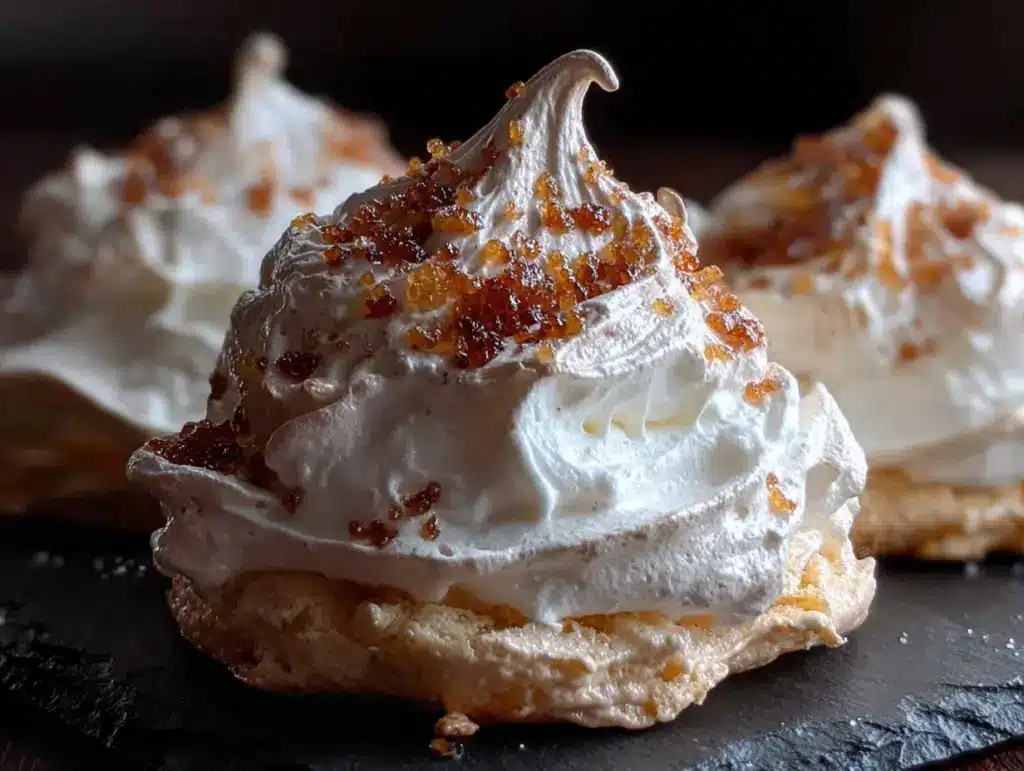
My neighbor Karen wasn’t trying to impress anyone. I’d stopped by to borrow a cup of sugar—the most cliché neighbor move in the book—and this faint, sweet, almost ethereal smell hit me before I even got to her screen door. Inside, her kitchen looked like a tiny ghost had exploded. There were little white peaks and swirls covering every inch of her counter, and her two kids, ages maybe four and six, were carefully piping these wobbly little shapes onto a baking sheet. Karen just shrugged and said, “Oh, it’s just meringue. Keeps them busy for an hour.” Just meringue. She made it sound like she was boiling water.
I stood there watching those little ghosts go into the oven, and honestly, I was skeptical. Meringue always seemed so fussy to me—something you needed a candy thermometer and a pastry degree for. But Karen’s approach was anything but. She was cracking eggs with one hand, wiping a sticky counter with the other, and her kids were wearing more meringue on their shirts than they were getting on the tray. It was beautifully chaotic. She didn’t even measure the sugar—just poured it in by feel. And those cookies? They came out perfect. Light as air, crisp, and just sweet enough to make you smile without hurting your teeth.
Maybe you’ve been there—watching someone cook who makes the complicated look ridiculously simple. That’s what this recipe is. It’s the kind of thing you make when you want to do something special for Halloween without spending a fortune or losing your mind. These ghost meringue cookies are budget-friendly, kid-approved, and honestly, they’re the easiest thing I’ve made in months. I’ve been making them every October since that day, and I still think about Karen’s casual “just meringue” every single time.
Why You’ll Love This Recipe
Let me tell you why these ghost meringue cookies have become my go-to Halloween treat. First off, they are ridiculously easy. I mean, if a four-year-old can pipe them onto a tray (and let me tell you, Karen’s youngest did), you can too. The whole process takes about 15 minutes of active time, and then the oven does the rest of the work. It’s perfect for those busy weeknights when you want to whip up something festive but don’t have the energy for a complicated baking project.
Here’s what makes these little ghosts so special:
- Budget-Friendly: You only need three ingredients—eggs, sugar, and a pinch of cream of tartar. Chances are, you already have them in your pantry. No expensive food coloring, no specialty candies, no trips to the craft store for decorating supplies.
- Kid-Approved: My own kids fight over who gets to pipe the ghosts. It’s messy, it’s fun, and they feel so proud when they see their little creations come out of the oven. Plus, they actually eat them—which is more than I can say for most of my baking experiments.
- Perfect for Halloween Parties: These cookies are light, not too sweet, and they look adorable on a dessert table. They’re also naturally gluten-free, so you don’t have to worry about dietary restrictions when the neighbors come over.
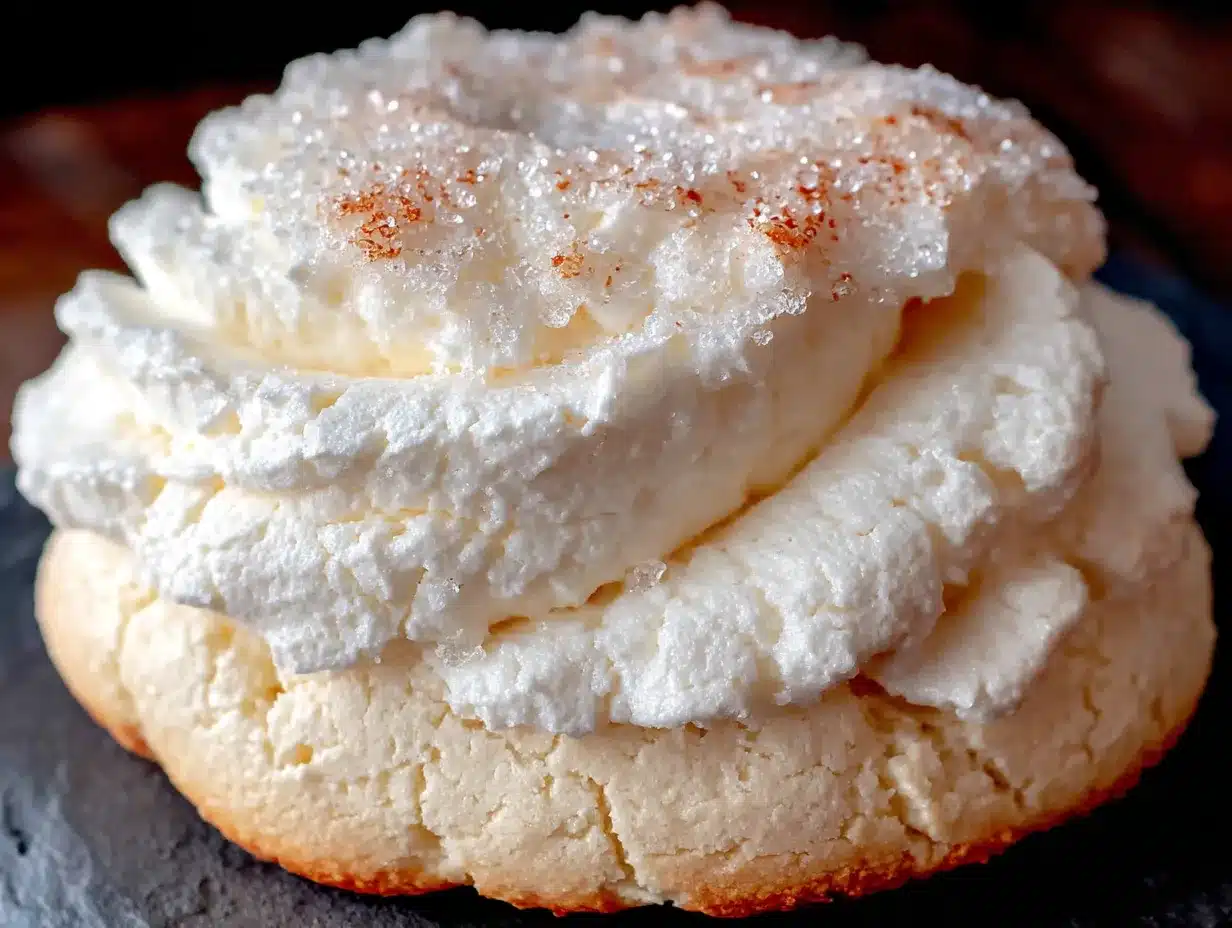
- Unbelievably Delicious: The texture is what gets me every time. They’re crisp on the outside, with a tiny bit of chewiness in the center, and they literally melt in your mouth. It’s like eating a sweet cloud.
What makes this recipe different from all those other meringue recipes out there? It’s the technique—or rather, the lack of it. I’ve tested this with a candy thermometer, without one, with room-temperature eggs, with cold eggs, and honestly, this version is the most forgiving. You don’t need to be a pastry chef. You just need a little patience and a willingness to get a bit messy. And that, right there, is the kind of comfort food we all need—something simple, something sweet, something that makes you feel like you’ve accomplished something magical without breaking a sweat.
What Ingredients You Will Need
This recipe uses the simplest ingredients to create something that feels special. The magic of meringue is that it’s basically just sugar and egg whites transformed by a little bit of air and heat. Here’s what you’ll need:
For the Meringue Cookies
- 3 large egg whites (room temperature works best, but I’ve used them straight from the fridge and it still worked—just takes a minute longer to whip)
- 3/4 cup (150g) granulated sugar (regular white sugar is perfect; I’ve tried caster sugar and it dissolves faster, but it’s not necessary)
- 1/4 teaspoon cream of tartar (this stabilizes the egg whites and helps them hold their shape—don’t skip it if you can help it)
- 1/2 teaspoon vanilla extract (pure vanilla is lovely, but imitation works fine for this recipe)
- A pinch of salt (just a tiny bit to balance the sweetness)
For Decorating (Optional but Fun)
- Mini chocolate chips (for the eyes—about 1 tablespoon, or however many ghosts you’re making)
- Black gel food coloring (if you want to paint faces on instead of using chocolate chips)
A few notes on ingredients: I recommend using large eggs because they give you the right amount of egg white for the sugar ratio. If you use extra-large eggs, you might need a bit more sugar, but honestly, I’ve done it and it’s fine. Just keep an eye on the consistency. For the cream of tartar, I’ve used a splash of lemon juice in a pinch, and it works as a substitute—but cream of tartar gives you a more stable meringue. I get mine at the regular grocery store, and it lasts forever in the pantry.
One thing I’ve learned from making these ghost meringue cookies over and over: the sugar matters. Don’t use superfine sugar if you can avoid it—it dissolves too quickly and can make the meringue weepy. Regular granulated sugar is your best bet. And if you’re wondering about using powdered sugar? Don’t. It has cornstarch in it, and it changes the texture completely. Trust me on this one—I tried it once, and I ended up with flat, sad little ghosts that looked more like pancakes than spirits.
Equipment Needed
You don’t need a lot of fancy equipment for this recipe, which is part of why I love it. Here’s what you’ll need:
- Electric mixer (handheld or stand mixer—I use a hand mixer because it’s easier to clean, but a stand mixer works great too)
- Large mixing bowl (make sure it’s completely clean and dry—any grease will ruin your meringue)
- Baking sheet (a standard half-sheet pan works perfectly)
- Parchment paper (don’t skip this—the ghosts will stick to bare baking sheets)
- Piping bag (or a zip-top bag with the corner snipped off—I’ve used both, and honestly, the zip-top bag is easier for kids)
- Large round piping tip (optional, but it gives you a nicer shape; I use a Wilton 1A tip)
- Spatula (for scraping down the bowl)
- Cooling rack (to let the ghosts cool completely)
If you don’t have a piping bag, don’t worry. I’ve made these ghost meringue cookies using a zip-top bag more times than I can count. Just fill the bag, snip off a small corner, and pipe away. It’s not as precise, but honestly, ghosts are supposed to look a little wonky anyway. My kids actually prefer the irregular shapes—they say it makes them look more “spooky.”
Preparation Method
Alright, let’s get to the fun part. Here’s how to make these adorable ghost meringue cookies step by step. I’ve included all the little details I’ve learned from my own trial and error, so you don’t have to make the same mistakes I did.
- Preheat your oven to 200°F (95°C). I know, this seems low, but that’s the secret to meringue—you’re not really baking them, you’re drying them out. Line a baking sheet with parchment paper and set it aside.
- Clean your bowl and beaters thoroughly. This is important. Any trace of grease or egg yolk will prevent your egg whites from whipping up properly. I wipe my bowl with a little lemon juice on a paper towel to make sure it’s spotless. It sounds fussy, but trust me, it makes a difference.
- Separate your eggs. Crack each egg carefully, letting the white fall into your clean bowl and the yolk into a separate container. I do this one egg at a time over a small bowl, then transfer the white to my main bowl. That way, if I accidentally break a yolk, I don’t ruin the whole batch. (I’ve learned this the hard way, more than once.)
- Add the cream of tartar and salt. Sprinkle them over the egg whites. This helps stabilize the foam and gives you a more reliable meringue.
- Start whipping on medium speed. Beat the egg whites until they become frothy and start to form soft peaks. This usually takes about 2-3 minutes with a hand mixer. You’ll know they’re ready when you lift the beaters and the egg whites form peaks that flop over immediately.
- Gradually add the sugar. With the mixer running, add the sugar one tablespoon at a time. I know it’s tempting to dump it all in at once, but don’t. Adding it slowly helps the sugar dissolve properly and gives you a smoother, more stable meringue. Keep beating on medium-high speed.
- Add the vanilla extract. Pour it in while the mixer is still running. You’ll see the meringue start to get glossy and thick.
- Whip until stiff peaks form. This is the crucial part. You want the meringue to be thick, glossy, and hold its shape firmly. When you lift the beaters, the peaks should stand straight up without drooping. To test if the sugar is fully dissolved, rub a tiny bit of the meringue between your fingers—if it feels gritty, keep beating. This usually takes about 5-7 minutes total with a hand mixer. Don’t rush it.
- Transfer the meringue to your piping bag. If you’re using a zip-top bag, stand it up in a tall glass and fold the top edges over the rim. This makes filling it so much easier and less messy. Fill the bag about halfway—you don’t want it overflowing when you start piping.
- Pipe the ghosts. Hold the piping bag straight up and down, about 1/2 inch above the baking sheet. Squeeze gently to form a round base, then lift the bag straight up while continuing to squeeze, creating a tall, tapered shape. Release the pressure and pull the bag away quickly to form a little peak at the top. Space them about 1 inch apart—they don’t spread much, but you want a little breathing room.
- Add the eyes. If you’re using chocolate chips, gently press two mini chocolate chips into each ghost before baking. If you’re using black gel food coloring, wait until the ghosts are baked and cooled, then paint on tiny eyes.
- Bake for 60-90 minutes. This depends on your oven and the size of your ghosts. Smaller ghosts will be done closer to 60 minutes, larger ones might need the full 90. The ghosts are done when they’re completely dry and can be lifted easily off the parchment paper. They shouldn’t be brown at all—just a pale, creamy white. If they start to brown, your oven is too hot.
- Turn off the oven and let them cool inside. This is my favorite trick. Once the baking time is up, turn off the oven and leave the ghosts inside with the door slightly cracked (I wedge a wooden spoon in the door). Let them cool completely in the oven for at least an hour. This helps them dry out completely and gives them that perfect crisp texture.
- Store or serve immediately. Once they’re completely cool, you can serve them right away or store them in an airtight container.
Cooking Tips & Techniques
I’ve made these ghost meringue cookies about a dozen times now, and let me tell you, I’ve learned a few things the hard way. Here are my best tips to save you from the same mistakes:
Don’t overmix once the sugar is in. I know I said to beat until stiff peaks, but there’s a fine line between perfect meringue and over-beaten meringue. If you beat it too long, the meringue will start to separate and look grainy. You’ll see little beads of liquid forming—that’s a sign you’ve gone too far. Stop as soon as the peaks are stiff and glossy.
Humidity is your enemy. Meringue is basically sugar and air, and sugar loves moisture. If you’re making these on a rainy or humid day, they might take longer to dry out, or they might end up a bit sticky. I try to make them on dry days, but if I can’t avoid it, I just add an extra 15-20 minutes to the baking time and leave them in the oven to cool overnight.
Size matters. The first time I made these, I piped huge ghosts—like, monster-sized. They took forever to bake and the centers were still a bit chewy. Now I pipe them about 2 inches tall and 1 inch wide at the base. They bake evenly and come out perfectly crisp all the way through.
Use room temperature eggs. I know I said I’ve used cold eggs and it worked, but room temperature eggs really do whip up faster and give you more volume. If you forget to take them out of the fridge, just put them in a bowl of warm water for 5 minutes before you start.
Don’t open the oven while they’re baking. I know it’s tempting to peek, but opening the oven lets out heat and moisture, which can cause your ghosts to crack or collapse. Trust the process and wait until the full baking time is up.
Variations & Adaptations
One of the best things about this recipe is how easy it is to adapt. Here are some of my favorite variations:
Chocolate Ghosts: Swap out 1 tablespoon of the granulated sugar for unsweetened cocoa powder. Sift it in with the sugar to avoid lumps. You’ll get gorgeous chocolate ghosts that taste like a lighter version of a chocolate meringue cookie. My kids love these even more than the plain ones.
Peppermint Ghosts: Add 1/4 teaspoon of peppermint extract along with the vanilla. These are perfect for a Christmas-themed party, and you can pipe them into little snowman shapes instead of ghosts. Just add a tiny dot of orange gel food coloring for the nose.
Lemon Ghosts: Replace the vanilla with 1 teaspoon of lemon zest and 1/2 teaspoon of lemon extract. The citrus flavor cuts through the sweetness beautifully, and they smell amazing while they’re baking. These are my personal favorite for spring.
Dietary Adaptations: This recipe is naturally gluten-free, dairy-free, and nut-free, so it’s perfect for most dietary restrictions. If you need a vegan version, you can try using aquafaba (the liquid from a can of chickpeas) instead of egg whites. I’ve tested it, and it works—but the texture is slightly different, and they don’t hold their shape as well. Use 3 tablespoons of aquafaba per egg white, and whip it with cream of tartar just like you would egg whites.
Color Variations: If you want colored ghosts, add a few drops of gel food coloring after the stiff peaks form. Gel coloring is better than liquid because it doesn’t add extra moisture. I’ve made purple ghosts for a cosmic theme, and orange ghosts for a fall party. Just be careful not to overmix once you add the color.
Serving & Storage Suggestions
These ghost meringue cookies are best served at room temperature, and they’re perfect for Halloween parties, classroom treats, or just a fun afternoon snack with the kids. I like to arrange them on a platter with a few fake spiderwebs and some plastic spiders for a spooky effect. They also look adorable tucked into a clear cellophane bag tied with orange and black ribbon—makes a great party favor.
For storage, keep them in an airtight container at room temperature. Don’t refrigerate them—the moisture in the fridge will make them sticky. They’ll stay fresh for about 2 weeks if stored properly, but let’s be honest, they never last that long in my house. My kids sneak them from the cookie jar constantly.
If you want to freeze them, place them in a single layer in a freezer-safe container with parchment paper between layers. They’ll keep for up to 3 months. To thaw, just let them sit at room temperature for about 30 minutes. Don’t microwave them—they’ll turn into a sticky mess.
One thing I love about these cookies is that they actually get better after a day or two. The flavors mellow and the texture becomes even more crisp. So if you’re planning a party, you can make them a few days ahead and they’ll be perfect.
Nutritional Information & Benefits
Per ghost (based on about 24 cookies): approximately 25 calories, 0g fat, 6g carbohydrates, 6g sugar, 0g fiber, 1g protein. These are a light, low-calorie treat compared to most Halloween sweets. A single ghost has about the same amount of sugar as a small piece of candy corn, but it feels much more satisfying because of the airy texture.
The main ingredient here is egg whites, which are pure protein and contain no fat or cholesterol. They’re a good source of selenium and riboflavin. The sugar is obviously the less healthy part, but because meringues are so light and airy, you naturally eat less of them than you would a dense cookie or brownie. A whole plate of ghosts has fewer calories than one slice of pumpkin pie.
These cookies are naturally gluten-free, dairy-free, and nut-free, making them a safe choice for most food allergies. Just double-check that your cream of tartar and vanilla extract are certified gluten-free if that’s a concern. I always keep a batch in the freezer for when my gluten-sensitive friends come over—they appreciate having a treat they can actually eat.
Conclusion
These ghost meringue cookies have become a Halloween tradition in my house, and I hope they become one in yours too. They’re proof that you don’t need fancy ingredients, expensive equipment, or hours of free time to make something magical. Just three ingredients, a little bit of patience, and a willingness to let things get a bit messy.
I love that this recipe brings my kids into the kitchen with me. They pipe their own ghosts, sometimes they add extra chocolate chips, sometimes they make them look more like blobs than spirits, but that’s the whole point. It’s not about perfection—it’s about making memories and eating something delicious together.
So go ahead, give these a try. Experiment with the flavors, let your kids take over the piping bag, and don’t stress if they don’t look like the ones in the pictures. Ghosts are supposed to be a little bit different anyway. And when you bite into that light, sweet, melt-in-your-mouth cookie, you’ll know exactly why I keep making them year after year.
I’d love to hear how yours turn out! Drop a comment below and tell me about your ghost-making adventures. Did your kids love them? Did you try a fun variation? Share your photos on Pinterest and tag me—I can’t wait to see your spooky creations!
Frequently Asked Questions
Can I make these ghost meringue cookies without a piping bag?
Absolutely! A zip-top bag with the corner snipped off works perfectly. You can also use a small spoon to drop the meringue onto the baking sheet and shape it with the back of the spoon. They won’t look as uniform, but they’ll still taste delicious.
Why did my meringue cookies turn out sticky?
This usually happens when they haven’t dried out completely. Make sure you bake them for the full time and let them cool in the oven with the door cracked open. Humidity can also cause stickiness—try making them on a dry day next time.
Can I use liquid food coloring?
You can, but gel food coloring is better because it doesn’t add extra moisture. Liquid food coloring can make the meringue weepy and affect the texture. If you only have liquid, use just a drop or two and add it early in the whipping process.
How long do these cookies last?
Stored in an airtight container at room temperature, they’ll stay fresh for up to 2 weeks. Don’t refrigerate them, and don’t freeze them unless you’re planning to store them for longer than 2 weeks. They’re best eaten within the first week.
Can I double this recipe?
Yes, but I recommend making two separate batches rather than doubling the ingredients in one bowl. Meringue is finicky about volume, and it’s harder to get the right consistency with a double batch. Plus, you’ll have more room to pipe if you work in smaller batches.
Pin This Recipe!

Ghost Meringue Cookies: Easy Budget-Friendly Halloween Treat
These ghost meringue cookies are light, airy, and perfectly sweet—a budget-friendly Halloween treat made with just three ingredients. They’re kid-approved, naturally gluten-free, and so easy to make that even a four-year-old can pipe them.
- Total Time: 1 hour 15 minutes to 1 hour 45 minutes
- Yield: 24 cookies 1x
Ingredients
- 3 large egg whites (room temperature preferred)
- 3/4 cup (150g) granulated sugar
- 1/4 teaspoon cream of tartar
- 1/2 teaspoon vanilla extract
- A pinch of salt
- Mini chocolate chips (for eyes, about 1 tablespoon)
- Black gel food coloring (optional, for painting faces)
Instructions
- Preheat your oven to 200°F (95°C). Line a baking sheet with parchment paper.
- Clean your bowl and beaters thoroughly to remove any grease. Wipe with lemon juice if needed.
- Separate the eggs, placing the whites in the clean bowl and reserving yolks for another use.
- Add the cream of tartar and salt to the egg whites.
- Beat on medium speed until frothy and soft peaks form, about 2-3 minutes.
- Gradually add the sugar, one tablespoon at a time, while beating on medium-high speed.
- Add the vanilla extract and continue beating until stiff, glossy peaks form, about 5-7 minutes total. The sugar should be fully dissolved (test by rubbing a bit between your fingers).
- Transfer the meringue to a piping bag (or a zip-top bag with the corner snipped off).
- Pipe ghost shapes onto the prepared baking sheet: squeeze a round base, then lift straight up while squeezing to form a tall, tapered shape with a peak at the top. Space about 1 inch apart.
- If using chocolate chips, gently press two into each ghost for eyes. If using black gel food coloring, wait until after baking.
- Bake for 60-90 minutes, until the ghosts are completely dry and lift easily off the parchment. They should remain pale, not brown.
- Turn off the oven, crack the door open with a wooden spoon, and let the ghosts cool completely inside for at least 1 hour.
- Serve immediately or store in an airtight container at room temperature.
Notes
Don’t open the oven while baking. Humidity can cause stickiness; bake on dry days or add extra time. For vegan version, use aquafaba (3 tablespoons per egg white). Store in an airtight container at room temperature for up to 2 weeks. Freeze for up to 3 months.
- Prep Time: 15 minutes
- Cook Time: 60-90 minutes
- Category: Dessert
- Cuisine: American
Nutrition
- Serving Size: 1 ghost cookie
- Calories: 25
- Sugar: 6
- Sodium: 10
- Carbohydrates: 6
- Protein: 1
Keywords: ghost meringue cookies, Halloween cookies, easy meringue, budget-friendly Halloween treat, gluten-free cookies, kid-friendly baking


