Thanksgiving was in twelve hours and I’d completely forgotten to thaw the turkey. Let me tell you, that moment when you open the freezer door and realize the centerpiece of your dinner party is still a solid block of ice—it’s a special kind of panic. Everyone else would be bringing those perfectly bronzed birds that took three days of brining and basting. I had a rock-hard turkey, a stick of butter, and what felt like the culinary equivalent of a pop quiz I hadn’t studied for.
I mean, honestly, I’d been so focused on the appetizers and the table setting that the main event just slipped my mind. You know that feeling when you’re hosting and suddenly realize you’ve forgotten the one thing everyone actually came for? Yeah, that was me, staring at the fridge like it had personally betrayed me. My neighbor, bless her heart, had been prepping her turkey for two days. I had two hours to figure out how to get this bird thawed and cooked without serving anyone food poisoning.
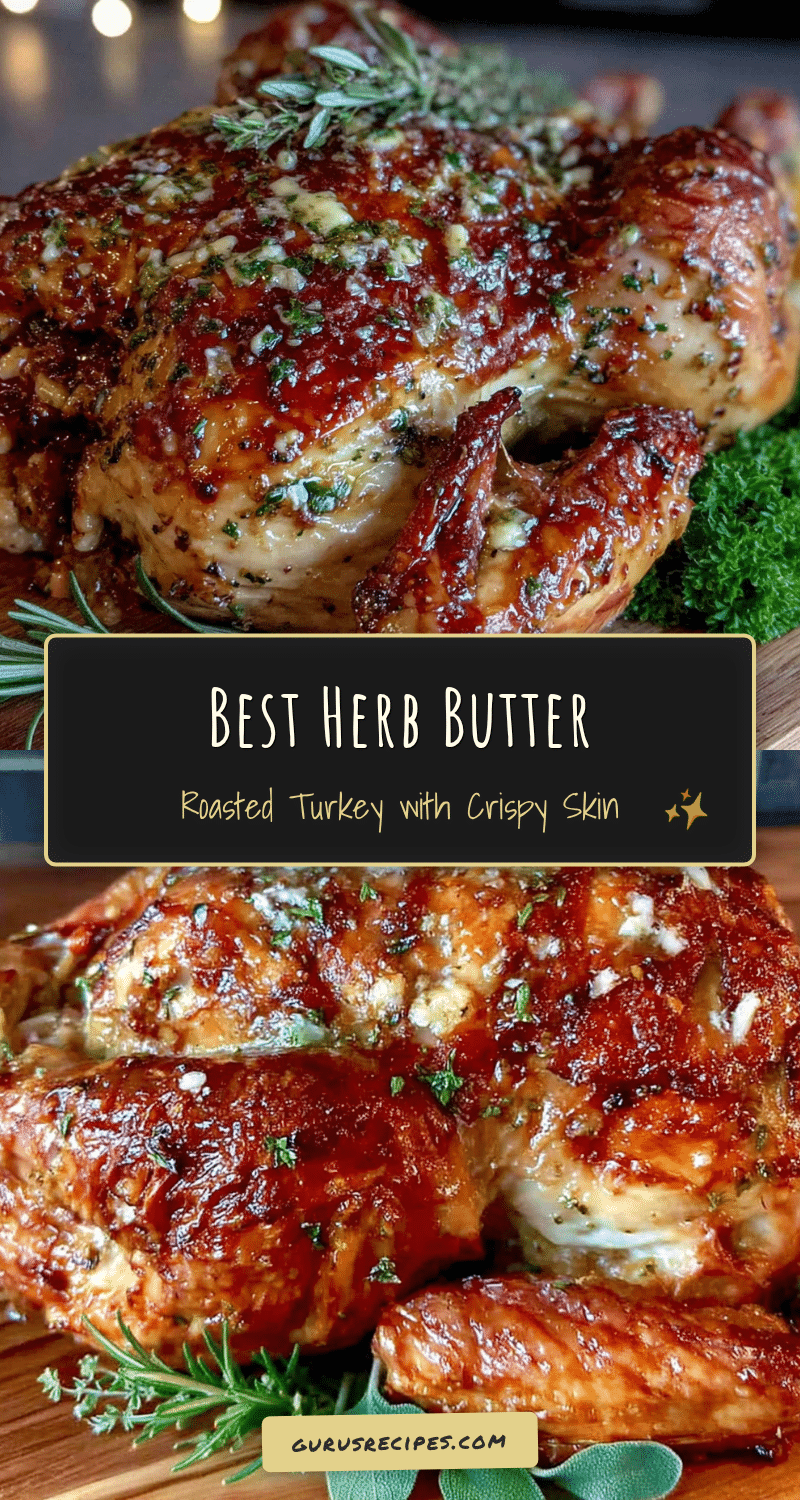
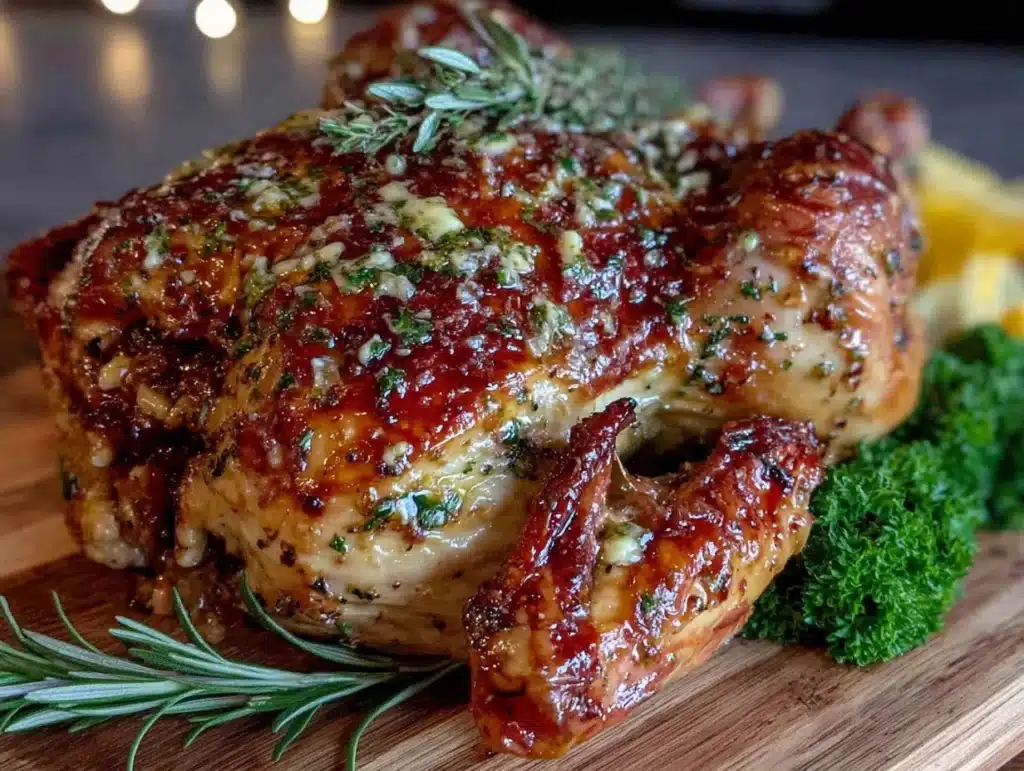
So here’s what happened. I did the cold water bath trick—changed the water every thirty minutes like my life depended on it—and I threw together a herb butter that was more “desperate hope” than “carefully planned recipe.” I rubbed that butter under the skin, over the skin, everywhere I could reach, and I cranked the oven higher than I’d ever dared. The result? Honestly, it was embarrassing. Not because it was bad, but because it was so ridiculously good. People asked for the recipe. They asked for seconds. Someone actually said it was the best turkey they’d ever had, and I had to bite my tongue to keep from laughing. The accidental overachiever strikes again. That’s why this recipe—this Best Herb Butter Roasted Turkey with Crispy Skin—stayed with me. It taught me that sometimes, the best things happen when you’re too panicked to overthink it.
Why You’ll Love This Recipe
This isn’t just another roasted turkey recipe. After years of testing—and yes, a few disasters involving dry breast meat and soggy skin—I can tell you this one hits different. It’s the kind of recipe that makes you look like a hero at the dinner table without spending three days in the kitchen.
- Foolproof Crispy Skin: The herb butter technique creates that golden, crackling skin everyone fights over. No basting required.
- Incredibly Moist Meat: The butter locks in moisture, so even the white meat stays juicy. I’ve served this to picky eaters who swore they hated turkey.
- Simple Ingredients: Butter, fresh herbs, garlic, salt, and pepper. That’s it. No fancy brines or specialty stores needed.
- Perfect for Hosting: You can prep the herb butter days ahead, and the actual hands-on time is minimal. More time for your guests, less time in the apron.
- Always a Showstopper: That golden-brown bird coming out of the oven? It steals the table every single time. Your guests will think you spent all day on it.
What makes this recipe different from the rest is the technique. Most recipes tell you to baste constantly, which actually makes the skin soggy. This method uses high heat at the start to seal in moisture and crisp that skin, then a gentle finish to cook the meat through. It’s not rocket science—it’s just smart cooking. And honestly, it’s the kind of recipe that makes you close your eyes after the first bite. That moment when the herb butter hits your tongue and the skin cracks under your fork? Pure magic. Perfect for impressing guests without the stress, or turning a simple family dinner into something truly memorable.
What Ingredients You Will Need
This recipe uses simple, honest ingredients to deliver bold flavor and that perfect crispy skin. Most of these are pantry staples, which is exactly what you want when you’re hosting and already have a million things on your mind.
For the Herb Butter
- 1 cup (2 sticks) unsalted butter, softened — I prefer Kerrygold for its rich flavor, but any good-quality butter works. Make sure it’s truly softened, not melted, so it spreads easily under the skin.
- 4 cloves garlic, minced — Fresh garlic is non-negotiable here. The jarred stuff just doesn’t have the same punch.
- 2 tablespoons fresh rosemary, finely chopped — Strip the leaves from the woody stems before chopping.
- 2 tablespoons fresh thyme leaves — Run your fingers down the stem to remove the leaves easily.
- 1 tablespoon fresh sage, finely chopped — Sage has a strong, earthy flavor that pairs beautifully with turkey.
- 1 tablespoon fresh parsley, finely chopped — Adds a fresh, bright note to balance the richness.
- 1 teaspoon salt — I use kosher salt for its clean taste and easy pinchability.
- 1/2 teaspoon black pepper, freshly ground — Pre-ground pepper works in a pinch, but fresh makes a difference here.
- 1 teaspoon lemon zest — This little addition brightens the whole dish. Don’t skip it.
For the Turkey
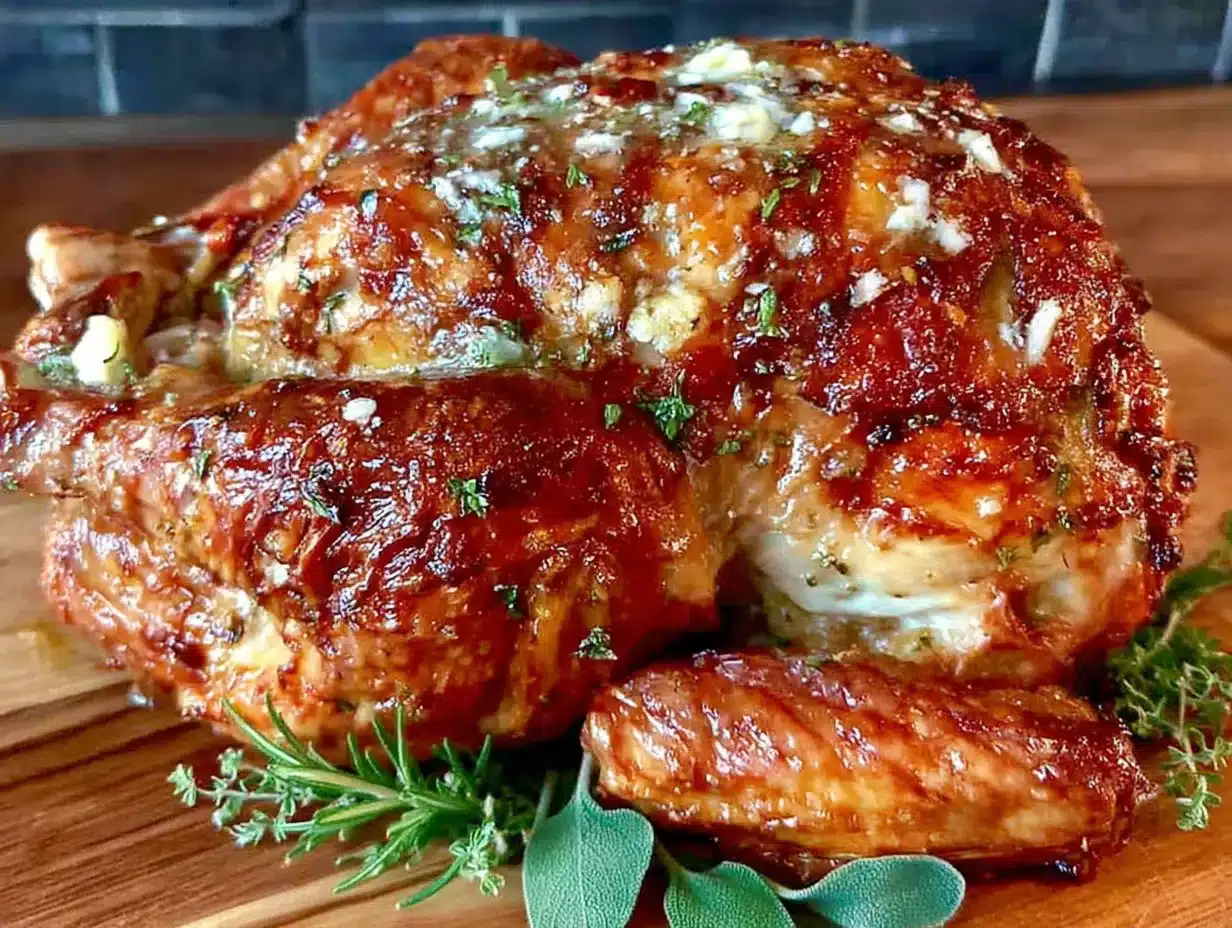
- 1 whole turkey (12-14 pounds), thawed — If you’re feeding a crowd, a 14-pound bird serves about 10-12 people. Remove the giblets and neck from the cavity before starting.
- 1 tablespoon salt, for seasoning the cavity
- 1 teaspoon black pepper, for seasoning the cavity
- 1 onion, quartered — This goes inside the cavity to add moisture and flavor from the inside out.
- 1 lemon, halved — Adds brightness and helps keep the meat moist.
- 4 sprigs fresh rosemary — For the cavity and for garnish.
- 4 sprigs fresh thyme — Same as above.
- 2 cups low-sodium chicken broth — This goes in the bottom of the roasting pan to create steam and prevent the drippings from burning.
Ingredient Selection Tips
Look for a turkey that’s labeled “fresh” rather than “frozen” if you can find one—the texture is noticeably better. If you’re using frozen, give it at least 3-4 days to thaw in the refrigerator. For the herbs, farmers’ markets are your best bet, but grocery store bunches work perfectly fine. Just avoid dried herbs here—the fresh stuff is what gives this recipe its magic.
Substitution Guidance
If you’re dairy-free, you can use vegan butter, though the skin won’t be quite as crispy. For a lower-sodium option, use unsalted butter and reduce the added salt. If you don’t have fresh herbs on hand, use half the amount of dried herbs—but honestly, this is one recipe where fresh really matters.
Equipment Needed
You don’t need a professional kitchen to pull this off. Here’s what you’ll need:
- Roasting Pan with a Rack — The rack keeps the turkey elevated so the heat circulates evenly. No rack? Roll up a few foil rings and place the turkey on top. I learned that trick after my first roasting pan disaster.
- Instant-Read Meat Thermometer — This is non-negotiable. Don’t guess—it’s the only way to guarantee perfectly cooked meat. I use a Thermapen and it’s worth every penny.
- Kitchen Twine — For trussing the legs. You can skip this, but the turkey cooks more evenly if it’s tied up.
- Pastry Brush or Silicone Basting Brush — For slathering that herb butter everywhere.
- Chef’s Knife and Cutting Board — For chopping herbs and prepping aromatics.
- Small Bowl — For mixing the herb butter.
- Aluminum Foil — For tenting the turkey if the skin browns too quickly.
- Basting Bulb (optional) — Handy for spooning pan juices over the bird, but a large spoon works just fine.
Budget-friendly tip: You don’t need a fancy roasting pan. A disposable aluminum pan from the grocery store works in a pinch—just double it up so it doesn’t buckle under the weight.
Preparation Method
Alright, let’s get to it. This method is broken down into clear steps so you can follow along without stress. Remember, I’ve done this dozens of times—including that first panicked attempt—so I’ve included all the little cues and tricks that make it work.
- Preheat your oven to 425°F (220°C). High heat at the start is the secret to crispy skin. Don’t skip this step. Move the oven rack to the lowest position to accommodate the turkey.
- Make the herb butter. In a small bowl, combine the softened butter, minced garlic, chopped rosemary, thyme, sage, parsley, salt, pepper, and lemon zest. Mix until everything is evenly distributed. The butter should be spreadable but not melted—if it’s too soft, pop it in the fridge for 5 minutes. Taste it (yes, raw butter—live a little) and adjust the seasoning if needed.
- Prep the turkey. Remove the turkey from its packaging and take out the giblets and neck. Pat the turkey bone-dry with paper towels—inside and out. This is crucial for crispy skin. Moisture is the enemy here. Season the cavity generously with salt and pepper.
- Stuff the cavity. Place the quartered onion, halved lemon, and herb sprigs inside the cavity. This isn’t for eating—it’s for flavor and moisture. Don’t overstuff; you want air to circulate.
- Apply the herb butter. This is the most important step. Using your fingers, gently loosen the skin from the breast meat. Be careful not to tear it—slide your hand between the skin and meat, working from the neck end down. Once you’ve created a pocket, spread about half the herb butter directly onto the breast meat under the skin. Then, rub the remaining butter all over the outside of the turkey. Don’t forget the legs and wings. The butter should cover every inch of skin.
- Truss the turkey. Tie the legs together with kitchen twine and tuck the wing tips under the body. This helps the turkey cook evenly and gives it that classic shape. If you don’t have twine, you can skip this—just tuck the wings as best you can.
- Set up the roasting pan. Place the turkey breast-side up on the rack in the roasting pan. Pour the chicken broth into the bottom of the pan—not over the turkey. This creates steam that keeps the meat moist without making the skin soggy.
- Roast at high heat. Place the turkey in the oven and roast at 425°F (220°C) for 30 minutes. Don’t open the oven door during this time. Let that heat do its work. You’ll start to smell the herbs and garlic—that’s a good sign.
- Reduce the temperature. After 30 minutes, reduce the oven temperature to 350°F (175°C). Continue roasting, without basting, for about 2 to 2.5 hours total, or until the internal temperature reaches 165°F (74°C) in the thickest part of the thigh and 160°F (71°C) in the breast. Start checking the temperature about 1.5 hours into the low-heat phase.
- Check for doneness. Insert your meat thermometer into the thickest part of the thigh, avoiding the bone. It should read 165°F (74°C). If the skin is browning too quickly, tent the turkey loosely with aluminum foil. I’ve had to do this a few times when my oven runs hot.
- Rest the turkey. This is the hardest part. Remove the turkey from the oven and let it rest on the cutting board for at least 20-30 minutes. Do not skip this. The juices need time to redistribute. If you cut into it too soon, all that moisture will end up on the cutting board instead of on your plate. Tent it loosely with foil to keep it warm.
- Carve and serve. After resting, remove the twine and the cavity aromatics. Carve the turkey and arrange it on a platter. Spoon a little of the pan juices over the top for extra moisture. Watch your guests lose their minds.
Cooking Tips & Techniques
Over the years, I’ve made every mistake you can imagine with roasted turkey. Dry breast meat, soggy skin, undercooked thighs—you name it, I’ve done it. Here’s what I’ve learned so you don’t have to repeat my failures.
The biggest mistake people make is basting. I know, it feels wrong not to baste. Every Thanksgiving movie shows someone basting. But here’s the truth: every time you open the oven door, you lose heat. And every time you spoon liquid over the skin, you’re making it wet. Wet skin doesn’t crisp. So resist the urge. Trust the herb butter.
Another common mistake is not drying the turkey enough. I cannot overstate this—pat that bird dry with paper towels like your life depends on it. Even a little moisture on the skin will steam instead of crisp. I usually go through three or four paper towels. It feels excessive, but it works.
Timing is everything. Here’s a strategy I use: plan for the turkey to be done at least 45 minutes before you want to serve. That way, you have a buffer if it takes longer than expected, and you have time for the all-important resting period. A rested turkey stays warm for a surprisingly long time under foil.
Multitasking tip: While the turkey is roasting, you can prep your sides. The high-heat phase gives you 30 minutes of hands-off time. Use it to chop vegetables or make a salad. When you reduce the heat, you’ve got another 2 hours of mostly hands-off time. This is when I set the table, arrange the appetizer platter, and pour myself a glass of wine.
For consistent results, use a meat thermometer. I know I keep saying this, but it matters. The difference between a perfectly cooked turkey and a dry one is about 5 degrees. Don’t guess. And don’t rely on those pop-up timers that come with some turkeys—they’re notoriously unreliable.
Variations & Adaptations
One of the best things about this recipe is how flexible it is. I’ve tweaked it for different occasions and dietary needs, and it always delivers.
Citrus Herb Variation: Add the zest of one orange and one lemon to the herb butter, and stuff the cavity with orange and lemon halves instead of just lemon. The citrus cuts through the richness and adds a bright, fresh note. I made this for a friend’s dinner party and it was gone before the gravy made it to the table.
Spicy Herb Variation: Add 1 teaspoon of red pepper flakes and 1/2 teaspoon of smoked paprika to the herb butter. This gives the skin a subtle heat and a beautiful deep color. It’s not overpowering—just enough to make people ask, “What’s in this?”
Garlic Lovers Variation: Double the garlic in the herb butter and add 6 whole garlic cloves to the cavity. The roasted garlic softens and sweetens as it cooks, and you can squeeze it out onto the carved meat. Honestly, this is my personal favorite.
Dietary Adaptations: For a dairy-free version, use vegan butter or olive oil. The skin won’t be quite as crispy, but it’s still delicious. For a lower-sodium option, reduce the salt in the herb butter and use unsalted butter. You can always add salt at the table, but you can’t take it out.
Different Cooking Methods: If you’re short on oven space, you can spatchcock the turkey (remove the backbone and flatten it). This reduces cooking time to about 1.5 hours and gives you even crispier skin. Just adjust the herb butter quantity slightly—you won’t need quite as much.
Serving & Storage Suggestions
This turkey is best served warm, right after its 20-30 minute rest. Arrange the carved meat on a large platter and garnish with fresh herb sprigs and lemon wedges. The presentation is stunning—that golden-brown skin against the green herbs is pure food photography magic.
What to Serve Alongside: This turkey pairs beautifully with classic sides. Mashed potatoes are a no-brainer—the herb butter drippings from the pan make an incredible gravy. Roasted Brussels sprouts with balsamic glaze add a nice contrast. And a simple green salad with vinaigrette cuts through the richness. For drinks, a crisp Sauvignon Blanc or a light Pinot Noir works wonderfully.
Storage Instructions: Leftover turkey keeps in the refrigerator for up to 4 days in an airtight container. The meat stays moist if you store it with a little of the pan juices. For longer storage, freeze the carved meat in freezer-safe bags for up to 3 months. Just squeeze out as much air as possible before sealing.
Reheating Methods: The best way to reheat turkey without drying it out is in a low oven. Place the meat in a baking dish, add a splash of chicken broth, cover with foil, and warm at 300°F (150°C) for about 15-20 minutes. You can also reheat individual portions in the microwave, but be careful—30-second bursts are better than one long session.
Flavor Development: Here’s a secret: leftover turkey actually tastes better the next day. The flavors have time to meld, and the meat becomes even more tender. I always make extra just for sandwiches the next day. A little mayo, some cranberry sauce, and a pile of turkey on good bread? Perfection.
Nutritional Information & Benefits
Turkey is a lean protein powerhouse, and this recipe keeps it that way while adding flavor. A 3-ounce serving of roasted turkey breast (without skin) contains approximately:
- Calories: 135
- Protein: 25 grams
- Fat: 3 grams
- Carbohydrates: 0 grams
- Sodium: 70 mg (before added salt)
Keep in mind that the herb butter and skin add some fat and calories. If you’re watching your intake, you can remove the skin before eating—though you’ll miss out on that crispy goodness.
Health Benefits: Turkey is rich in tryptophan, which helps with sleep and mood regulation. It’s also a great source of B vitamins, selenium, and phosphorus. The herbs in this recipe—rosemary, thyme, sage—are packed with antioxidants and anti-inflammatory compounds. So really, this is health food disguised as indulgence.
Dietary Considerations: This recipe is naturally gluten-free and low-carb. For a keto-friendly option, skip the onion in the cavity and use extra herbs instead. The butter adds healthy fats that fit perfectly into a low-carb lifestyle.
Allergen Note: This recipe contains dairy (butter). For a dairy-free version, use vegan butter or olive oil as mentioned in the variations section.
Conclusion
Look, I’m not going to tell you this is the only turkey recipe you’ll ever need. But I will say this: it’s the one I keep coming back to, year after year, whether I’m hosting a crowd or just making a small bird for a quiet dinner. It’s the recipe that saved my Thanksgiving disaster and turned me into the person people ask for cooking advice. And honestly, if I can pull this off with a frozen turkey and twelve hours of panic, you can absolutely nail it with a little planning and a lot of butter.
The beauty of this recipe is that it’s forgiving. The herb butter does most of the work, and the high-heat method takes care of the rest. You don’t need to be a professional chef. You just need to trust the process, resist the urge to baste, and let that turkey do its thing. Your guests will think you spent all day on it. You’ll know the truth—but you don’t have to tell them.
So go ahead. Give this Best Herb Butter Roasted Turkey with Crispy Skin a try. Customize it with your favorite herbs, play with the variations, and make it your own. And when you pull that golden-brown bird out of the oven and hear your guests gasp, come back and tell me about it. I’d love to hear how it turned out. Drop a comment below, share your photos, and let me know what you served alongside it. Happy cooking, friends.
Frequently Asked Questions
Can I use dried herbs instead of fresh for the herb butter?
You can, but I really recommend fresh herbs for this recipe. The flavor is much brighter and more aromatic. If you’re in a pinch, use half the amount of dried herbs—the flavor is more concentrated. But honestly, fresh makes a noticeable difference here.
How do I know when the turkey is done without a meat thermometer?
I strongly advise using a meat thermometer for accuracy. But if you absolutely don’t have one, check if the juices run clear when you pierce the thigh with a knife. The leg should also move easily in the joint. These are less reliable methods, though, so grab a thermometer if you can.
Can I prepare the herb butter ahead of time?
Absolutely. You can make the herb butter up to 3 days in advance. Just wrap it tightly in plastic wrap or store it in an airtight container in the refrigerator. Let it soften at room temperature for about 30 minutes before using so it’s spreadable.
What if my turkey is larger than 14 pounds?
For a larger turkey, increase the roasting time by about 15 minutes per pound. The high-heat phase stays the same—30 minutes at 425°F (220°C). Just adjust the low-heat cooking time and always rely on your meat thermometer for doneness.
Why is my turkey skin not getting crispy?
This usually happens for one of two reasons: either the turkey wasn’t dried thoroughly before applying the butter, or the oven temperature wasn’t high enough at the start. Make sure you pat the turkey bone-dry with paper towels and don’t skip the initial 425°F (220°C) blast. Also, resist the urge to baste—it makes the skin wet.
Pin This Recipe!