
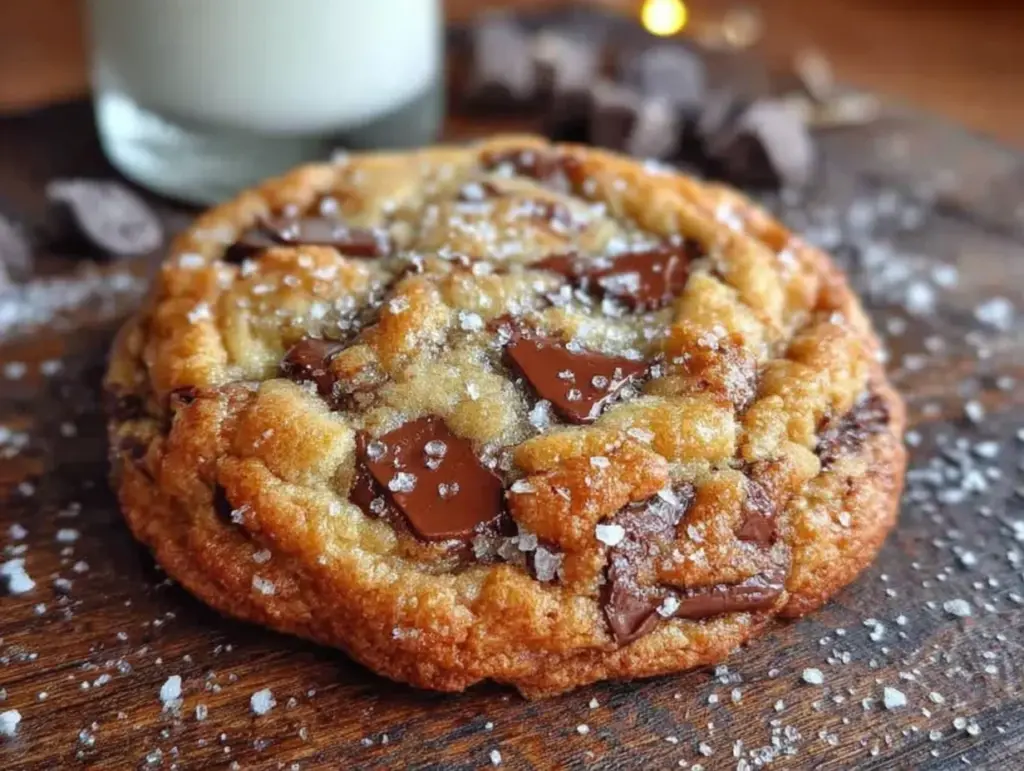
I was at the hardware store, of all places, buying a new garbage disposal because mine had finally given up the ghost after a decade of loyal service. The guy behind the counter, this older fella named Jerry with flour permanently dusted into the creases of his hands, was ringing me up. He glanced at my frustrated face and just started talking about cookies. Not about plumbing, not about the disposal, but about the perfect chocolate chip cookie. I wasn’t expecting cooking advice from a hardware store clerk, but there I was, covered in a bit of dust from under the sink, listening to him describe exactly how to make the thickest, chewiest cookie I’d ever heard of. He said his wife ran a small bakery out of their garage for thirty years, and this was her secret. I scribbled it on the back of a receipt. Honestly, I almost forgot about it. It sat in my junk drawer for a month before I found it while looking for a stamp. Let me tell you, when I finally made them, my whole kitchen smelled like a real bakery. Maybe you’ve had that moment where a random encounter changes how you cook something forever. That was it. These are the best bakery-style chocolate chip cookies, thick and chewy, and they came from a guy named Jerry at the hardware store. I’ve never bought a cookie from a shop since.
Why You’ll Love This Recipe
These cookies aren’t just another recipe you’ll scroll past. They are the result of a specific technique that gives you that perfect, thick, and chewy texture every single time. I’ve tested this more times than I care to count, tweaking the flour ratio and the chill time until it was just right. You get that satisfying crackly top, a soft and dense center, and those pools of melted chocolate in every bite. It’s the kind of cookie that makes people at a party stop and ask for the recipe.
- Thick and Chewy Texture: No flat, crispy discs here. This method uses melted butter and an extra egg yolk to create a dense, fudgy center that stays soft for days.
- Simple Ingredients: You likely have everything in your pantry right now. No fancy extracts or hard-to-find flours. Just real butter, sugar, and good chocolate.
- Perfect for Hosting: These are my go-to for dinner parties and potlucks. They look impressive on a platter, and you can prep the dough days ahead of time so you’re not scrambling when guests arrive.
- Crowd-Pleaser: I have yet to meet someone who doesn’t love a thick, chewy chocolate chip cookie. Kids and adults devour them equally. They’re the hero of any dessert table.
- Unbelievably Delicious: The flavor is deep and buttery, with just the right amount of salt to balance the sweetness. It’s comfort food at its finest, and it makes your house smell incredible.
This isn’t just another version of the cookie. The secret is in the technique—chilling the dough is non-negotiable for that thick shape, and using melted butter gives it a chew you just can’t get with the creaming method. It’s my best version, and I’m so excited for you to try it.
What Ingredients You Will Need
This recipe uses simple, wholesome ingredients that work together to create that signature bakery-style texture. Most of these are pantry staples, so you can whip up a batch anytime the craving hits.
- All-Purpose Flour (2 1/4 cups / 280g): The backbone of the cookie. I recommend using a brand like King Arthur Flour for consistent protein content, which gives a better structure. Spoon and level it into your cup—don’t scoop directly or you’ll pack in too much flour, making the cookies dry.
- Unsalted Butter (1 cup / 2 sticks, melted and cooled): Using melted butter is the key to that chewy texture. It coats the flour proteins differently than cold butter, reducing gluten formation. Let it cool for 5 minutes so it doesn’t cook the eggs.
- Brown Sugar (1 cup / 220g, packed): This is where the moisture and chewiness come from. The molasses in brown sugar adds a deep, caramel-like flavor. I prefer dark brown sugar for an even richer taste.
- Granulated Sugar (1/2 cup / 100g): Adds sweetness and helps with spreading and creating that slightly crisp edge. The combination of both sugars is what gives the cookie its perfect balance.
- Large Eggs (2, plus 1 egg yolk): The extra yolk adds fat and richness, which contributes to the soft, tender center. Make sure they are at room temperature so they mix into the melted butter smoothly.
- Vanilla Extract (2 teaspoons): Pure vanilla extract is worth it here. It enhances the chocolate flavor and adds warmth. Avoid imitation vanilla if you can—it makes a difference in the final taste.
- Baking Soda (1 teaspoon): This is the leavening agent that helps the cookies rise and spread just enough. Make sure it’s fresh—if it’s old, your cookies won’t puff up properly.
- Salt (1 teaspoon): Don’t skip this! Salt balances the sweetness and enhances the chocolate. I use fine sea salt for the dough and flaky sea salt for finishing.
- Chocolate Chips or Chunks (2 cups / 340g): This is where you can really make it your own. I love using a mix of semi-sweet and dark chocolate chunks from a high-quality brand like Ghirardelli or Guittard. The chunks melt into bigger pools of chocolate than standard chips. You can also use milk chocolate if you prefer a sweeter cookie.
Equipment Needed
You don’t need a professional kitchen to make these cookies, but having the right tools makes the process smoother and more enjoyable. Here’s what you’ll need.
- Large Mixing Bowls (2): One for the wet ingredients and one for the dry. I prefer glass or stainless steel bowls because they don’t hold onto odors.
- Whisk and Wooden Spoon or Spatula: A whisk for the wet ingredients and a sturdy spatula for folding everything together. A rubber spatula is great for scraping down the sides of the bowl.
- Baking Sheets (2): Heavy-duty, light-colored baking sheets work best. Dark sheets can cause the bottoms of the cookies to burn before the centers are done. Line them with parchment paper for easy cleanup.
- Cookie Scoop (about 3 tablespoons): This is a game-changer for getting uniform cookies that bake evenly. A #20 scoop is perfect for large, bakery-style cookies. If you don’t have one, you can use two spoons, but the scoop is worth the investment.
- Cooling Rack: Essential for letting the cookies cool properly so they set up without getting soggy on the bottom. A simple wire rack does the trick.
- Kitchen Scale (optional but recommended): Weighing your flour gives the most accurate results. I use a cheap digital scale, and it’s made a huge difference in my baking consistency.
Preparation Method
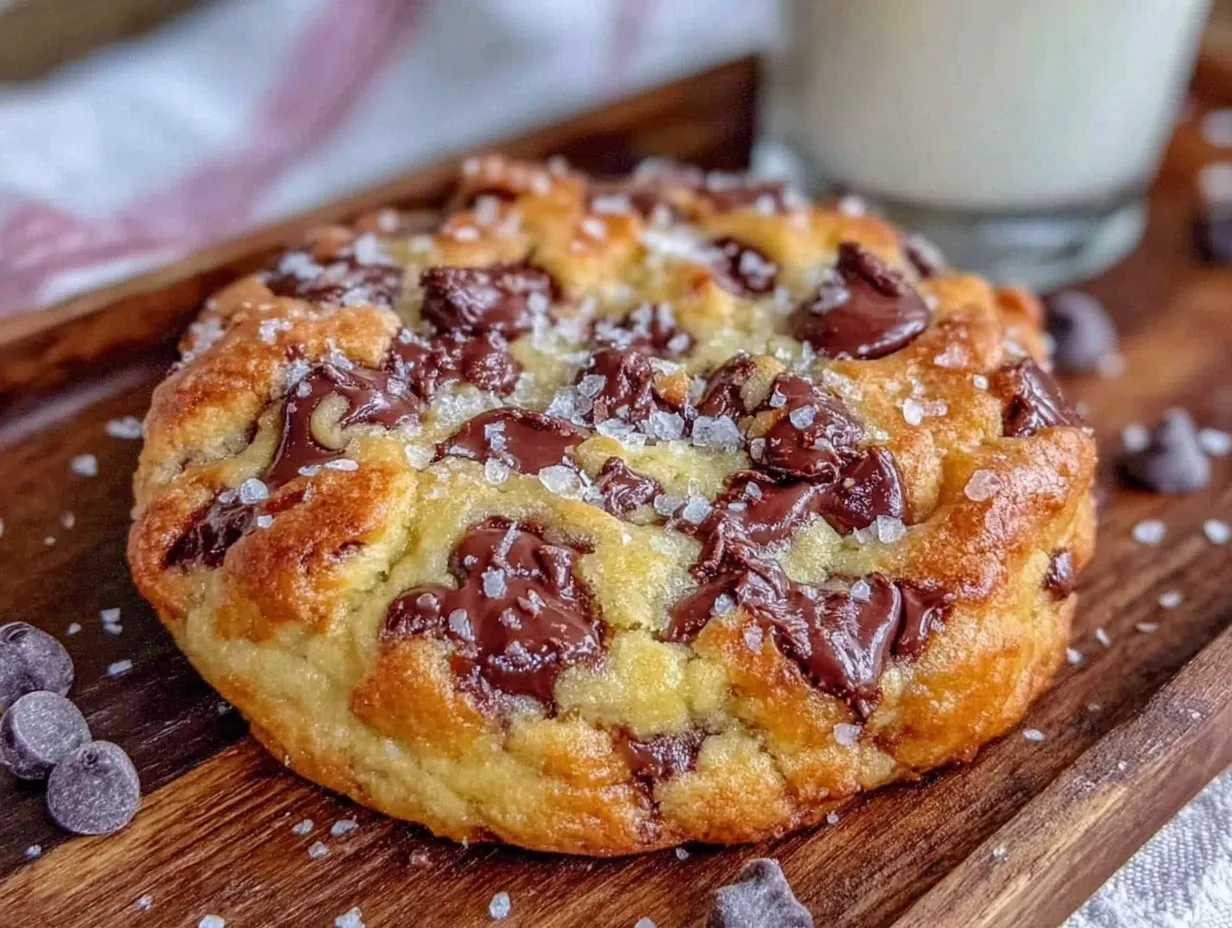
Follow these steps carefully for the best results. The key is patience—especially with the chilling time. Don’t rush it!
- Melt the Butter and Cool It: In a large microwave-safe bowl, melt the 1 cup of butter in 30-second intervals until just melted. Set it aside to cool for 5 minutes. You want it warm, not hot, so it doesn’t scramble the eggs.
- Combine the Wet Ingredients: To the cooled melted butter, add 1 cup packed brown sugar and 1/2 cup granulated sugar. Whisk vigorously for about 2 minutes until the mixture looks like a thick paste and is slightly lighter in color. This step helps dissolve the sugar and creates a shiny top on the cookies. Then, whisk in the 2 eggs and 1 egg yolk, one at a time, followed by the 2 teaspoons of vanilla extract. The mixture should be smooth and glossy.
- Mix the Dry Ingredients: In a separate medium bowl, whisk together 2 1/4 cups of all-purpose flour, 1 teaspoon of baking soda, and 1 teaspoon of salt. Whisking aerates the flour and ensures the leavening agents are evenly distributed. If you’re using a scale, this is where it really helps to get the flour right.
- Combine Wet and Dry: Pour the dry ingredients into the wet ingredients. Use a rubber spatula to fold them together gently. Stir just until you no longer see streaks of flour. Do not overmix! Overworking the dough will develop too much gluten and make the cookies tough. It’s okay if there are a few small lumps.
- Add the Chocolate: Fold in the 2 cups of chocolate chips or chunks. Make sure they are evenly distributed throughout the dough. If you want chocolate in every bite, don’t skimp here. I sometimes reserve a few chips to press onto the tops of the dough balls before baking for a prettier look.
- Chill the Dough (Crucial Step!): Cover the bowl with plastic wrap and refrigerate for at least 30 minutes, but 2 hours is better. For the best texture, chill for 24 hours. This allows the flavors to meld and the butter to solidify, which prevents the cookies from spreading too thin in the oven. I know it’s hard to wait, but this is what makes them thick and chewy.
- Preheat and Prep: When you’re ready to bake, preheat your oven to 350°F (175°C). Line two baking sheets with parchment paper. While the oven heats, take the dough out of the fridge to soften slightly for 5-10 minutes—this makes it easier to scoop.
- Scoop the Dough: Use your cookie scoop to portion out the dough into balls, about 3 tablespoons each. Place them 3 inches apart on the prepared baking sheets. Don’t flatten them! They will spread naturally. For an extra bakery touch, press a few extra chocolate chips onto the tops of the dough balls.
- Bake: Bake one sheet at a time on the middle rack for 12-14 minutes. The edges should be golden brown, but the centers will still look slightly soft and puffy. This is what you want. If you overbake them, they won’t be chewy. For a softer cookie, pull them out at 12 minutes.
- Cool on the Sheet: Let the cookies cool on the baking sheet for 5 minutes. This is critical! They need this time to set up. After 5 minutes, transfer them to a wire rack to cool completely. The smell in your kitchen right now is pure magic.
Cooking Tips & Techniques
I’ve made a lot of mistakes with cookies over the years, so let me save you some trouble. First, never skip the chilling step. I once tried to rush it and ended up with flat, greasy pancakes. The cold butter is what holds the shape. Second, if your cookies are spreading too much, your butter might have been too warm when you mixed it, or your baking soda is old. Test your baking soda by dropping a little into vinegar—if it fizzes, it’s good. Another thing I learned the hard way is to not crowd the pan. Those big cookies need space to breathe. Bake one sheet at a time on the middle rack for even heat distribution. If you’re baking for a party, you can scoop the dough into balls and freeze them on a sheet pan. Once frozen, pop them into a freezer bag. You can bake them straight from frozen—just add 2-3 minutes to the baking time. Fresh, hot cookies whenever you want them! That’s the real hack for hosting, honestly.
Variations & Adaptations
This dough is incredibly versatile, so feel free to make it your own. For a nutty twist, add 1 cup of toasted walnuts or pecans along with the chocolate. The crunch is a nice contrast to the soft cookie. If you’re a fan of salty-sweet combos (and who isn’t?), sprinkle a little flaky sea salt on top of the cookies right after they come out of the oven. It’s a game-changer. For a seasonal variation, swap out 1/2 cup of the chocolate chips for dried cherries or cranberries around the holidays. It adds a tart pop that works beautifully with the dark chocolate. I once made a version with white chocolate chips and macadamia nuts for a friend’s baby shower, and they were a huge hit. If you need a dairy-free option, you can use a high-quality vegan butter stick (like Earth Balance) and dairy-free chocolate chips. The texture will be slightly different, but still delicious. Just make sure the vegan butter is in stick form, not a tub, for the right fat content.
Serving & Storage Suggestions
These cookies are best served slightly warm. The chocolate is still a little melty, and the texture is at its peak. For a dinner party, arrange them on a beautiful wooden board or a cake stand. They look stunning on their own, but you can also serve them with a scoop of vanilla bean ice cream for an extra-special dessert. I love pairing them with a cold glass of milk or a strong cup of coffee. For storage, keep them in an airtight container at room temperature for up to 5 days. To keep them extra soft, toss a slice of bread in the container—it absorbs excess air and keeps the cookies moist. You can also freeze the baked cookies for up to 3 months. Just layer them between sheets of parchment paper in a freezer-safe bag. To reheat, pop one in the microwave for 10 seconds, or warm them in a 300°F oven for 5 minutes. Honestly, the flavors get even better after a day or two, if you can resist them that long.
Nutritional Information & Benefits
Let’s be real, these are a treat. But there are a few small benefits to be aware of. The dark chocolate contains antioxidants called flavonoids, which are good for heart health. The butter provides fat-soluble vitamins like A, D, and E. The eggs are a great source of protein and choline. Of course, this is a dessert, so moderation is key. Per cookie (based on 24 cookies), the estimated nutritional values are: 280 calories, 15g fat, 35g carbohydrates, 4g protein, and 20g sugar. These cookies contain gluten, dairy, and eggs, so they are not suitable for those with allergies to those ingredients. For a lower-sugar option, you can reduce the granulated sugar to 1/4 cup, but the texture will be slightly less crisp on the edges. I believe in enjoying life’s little pleasures, and for me, a perfect chocolate chip cookie is one of them. It’s about balance, not deprivation.
Conclusion
These best bakery-style chocolate chip cookies are everything you want in a dessert—thick, chewy, and packed with chocolate. They come from a simple, unexpected source, but they’ve become a staple in my kitchen. I love that I can make them ahead of time for a party or just because it’s a Tuesday. The recipe is forgiving, but the results are always impressive. I really hope you try them and make them your own. Maybe add some sea salt, or use milk chocolate, or throw in some toffee bits. Whatever you do, let me know how it goes! Drop a comment below and tell me about your cookie adventures. Share this with a friend who loves baking, or save it for your next get-together. Happy baking, my friends. You’ve got this.
Frequently Asked Questions
Can I use salted butter instead of unsalted?
Yes, you can. Just reduce the added salt in the recipe to 1/2 teaspoon to avoid the cookies being too salty.
Why did my cookies turn out flat?
This usually happens if the butter was too warm, the dough wasn’t chilled long enough, or the baking soda is old. Make sure to chill the dough for at least 30 minutes.
Can I make the dough ahead of time?
Absolutely! The dough can be refrigerated for up to 3 days or frozen for up to 3 months. This actually improves the flavor and texture.
How do I get that crinkly, crackly top?
That comes from whisking the melted butter and sugars together for a full 2 minutes. This step dissolves the sugar and creates the shiny top.
Can I use a different type of chocolate?
Definitely! Feel free to use milk chocolate, white chocolate, or even peanut butter chips. Just keep the total amount at 2 cups for the best texture.
Pin This Recipe!
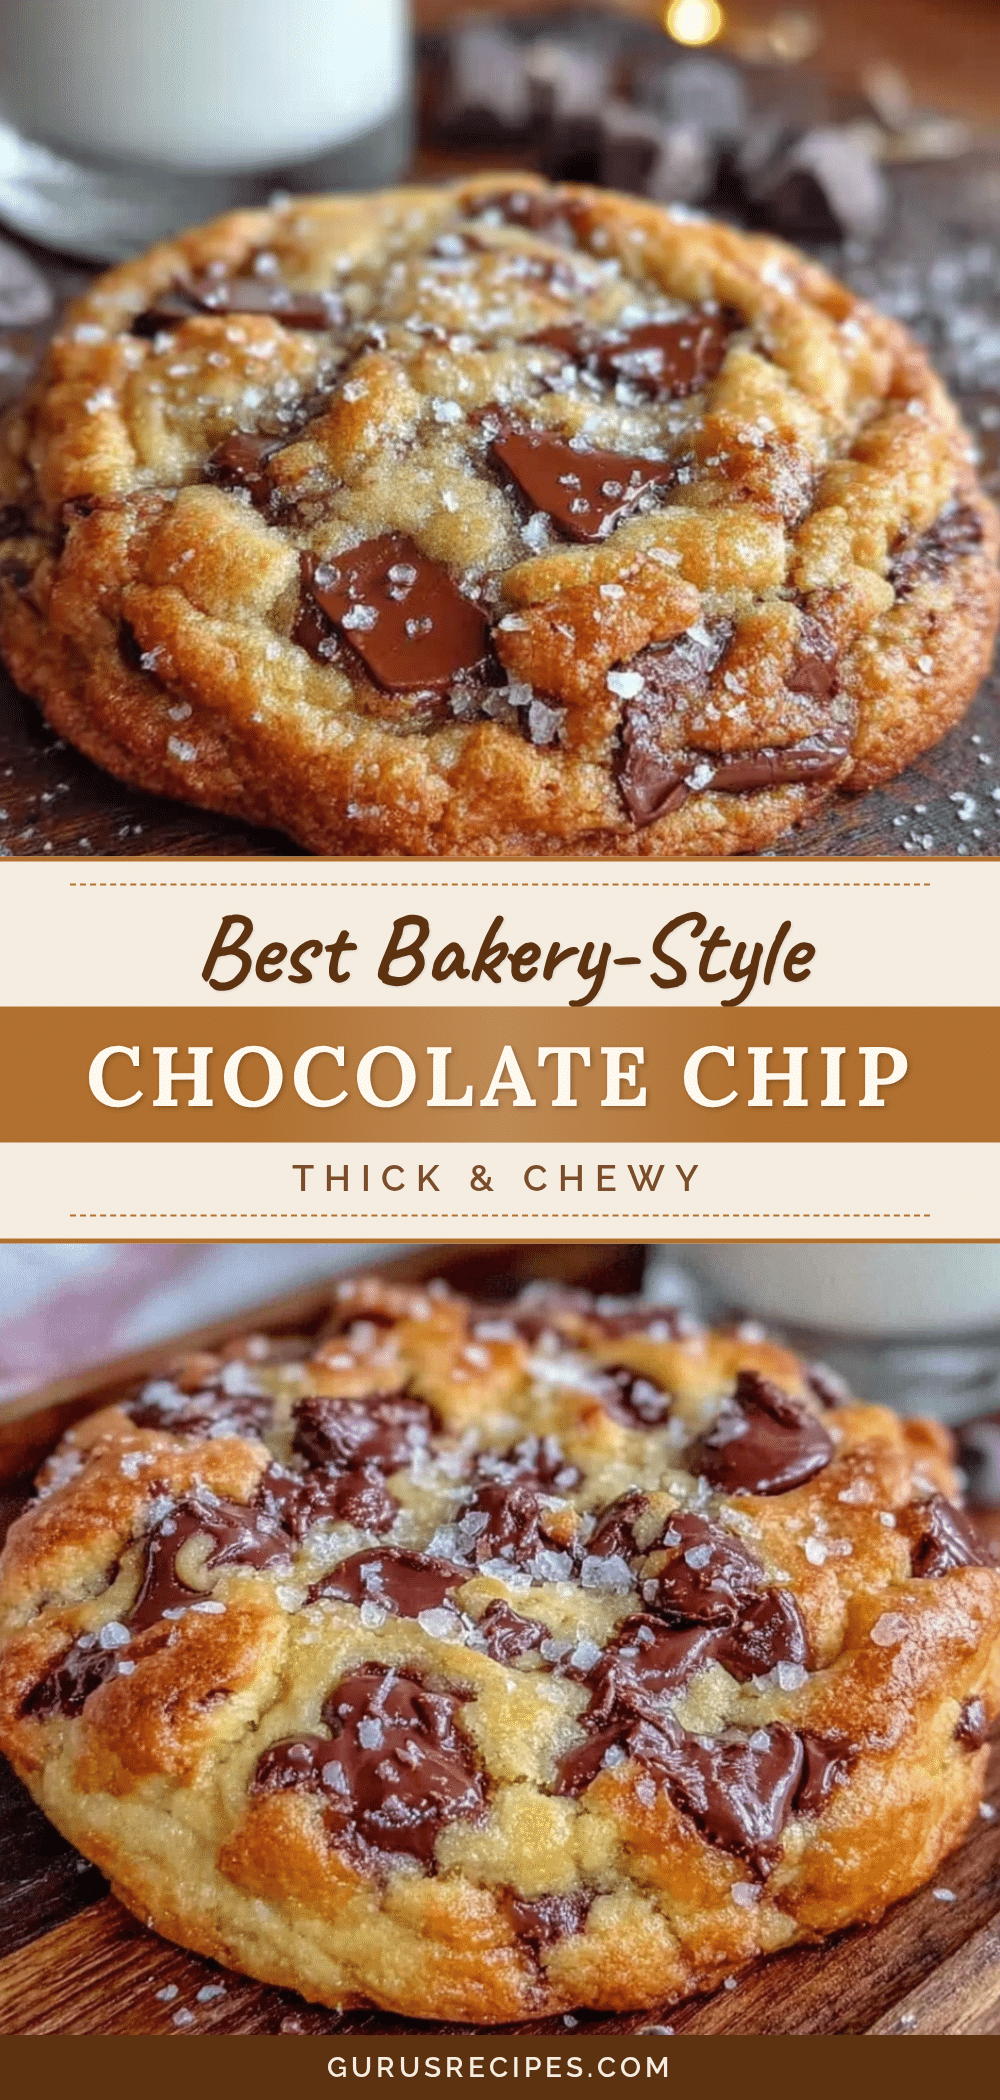

Best Bakery-Style Chocolate Chip Cookies: Thick, Chewy & Easy
These thick and chewy chocolate chip cookies are the result of a specific technique that gives you a perfect, bakery-style texture every time. With a crackly top, soft center, and pools of melted chocolate, they’re a crowd-pleaser that will make your kitchen smell incredible.
- Total Time: 30 minutes (plus chilling time)
- Yield: 24 cookies 1x
Ingredients
- 2 1/4 cups (280g) all-purpose flour
- 1 cup (2 sticks) unsalted butter, melted and cooled
- 1 cup (220g) packed brown sugar
- 1/2 cup (100g) granulated sugar
- 2 large eggs, plus 1 egg yolk, at room temperature
- 2 teaspoons vanilla extract
- 1 teaspoon baking soda
- 1 teaspoon salt
- 2 cups (340g) chocolate chips or chunks
Instructions
- Melt the butter and cool it: In a large microwave-safe bowl, melt the 1 cup of butter in 30-second intervals until just melted. Set it aside to cool for 5 minutes.
- Combine the wet ingredients: To the cooled melted butter, add 1 cup packed brown sugar and 1/2 cup granulated sugar. Whisk vigorously for about 2 minutes until the mixture looks like a thick paste and is slightly lighter in color. Then, whisk in the 2 eggs and 1 egg yolk, one at a time, followed by the 2 teaspoons of vanilla extract. The mixture should be smooth and glossy.
- Mix the dry ingredients: In a separate medium bowl, whisk together 2 1/4 cups of all-purpose flour, 1 teaspoon of baking soda, and 1 teaspoon of salt.
- Combine wet and dry: Pour the dry ingredients into the wet ingredients. Use a rubber spatula to fold them together gently. Stir just until you no longer see streaks of flour. Do not overmix.
- Add the chocolate: Fold in the 2 cups of chocolate chips or chunks until evenly distributed.
- Chill the dough: Cover the bowl with plastic wrap and refrigerate for at least 30 minutes, but 2 hours is better. For the best texture, chill for 24 hours.
- Preheat and prep: When ready to bake, preheat your oven to 350°F (175°C). Line two baking sheets with parchment paper. Take the dough out of the fridge to soften slightly for 5-10 minutes.
- Scoop the dough: Use a cookie scoop to portion out the dough into balls, about 3 tablespoons each. Place them 3 inches apart on the prepared baking sheets. Don’t flatten them. For an extra touch, press a few extra chocolate chips onto the tops.
- Bake: Bake one sheet at a time on the middle rack for 12-14 minutes. The edges should be golden brown, but the centers will still look slightly soft and puffy.
- Cool on the sheet: Let the cookies cool on the baking sheet for 5 minutes. After 5 minutes, transfer them to a wire rack to cool completely.
Notes
Chilling the dough is non-negotiable for thick cookies. For a softer cookie, bake for 12 minutes. Dough can be refrigerated for up to 3 days or frozen for up to 3 months. For a nutty twist, add 1 cup of toasted walnuts or pecans. Sprinkle flaky sea salt on top after baking for a salty-sweet combo.
- Prep Time: 15 minutes
- Cook Time: 12-14 minutes
- Category: Dessert
- Cuisine: American
Nutrition
- Serving Size: 1 cookie
- Calories: 280
- Sugar: 20
- Sodium: 180
- Fat: 15
- Saturated Fat: 9
- Carbohydrates: 35
- Fiber: 1
- Protein: 4
Keywords: chocolate chip cookies, bakery-style cookies, thick cookies, chewy cookies, easy cookie recipe, homemade cookies


