
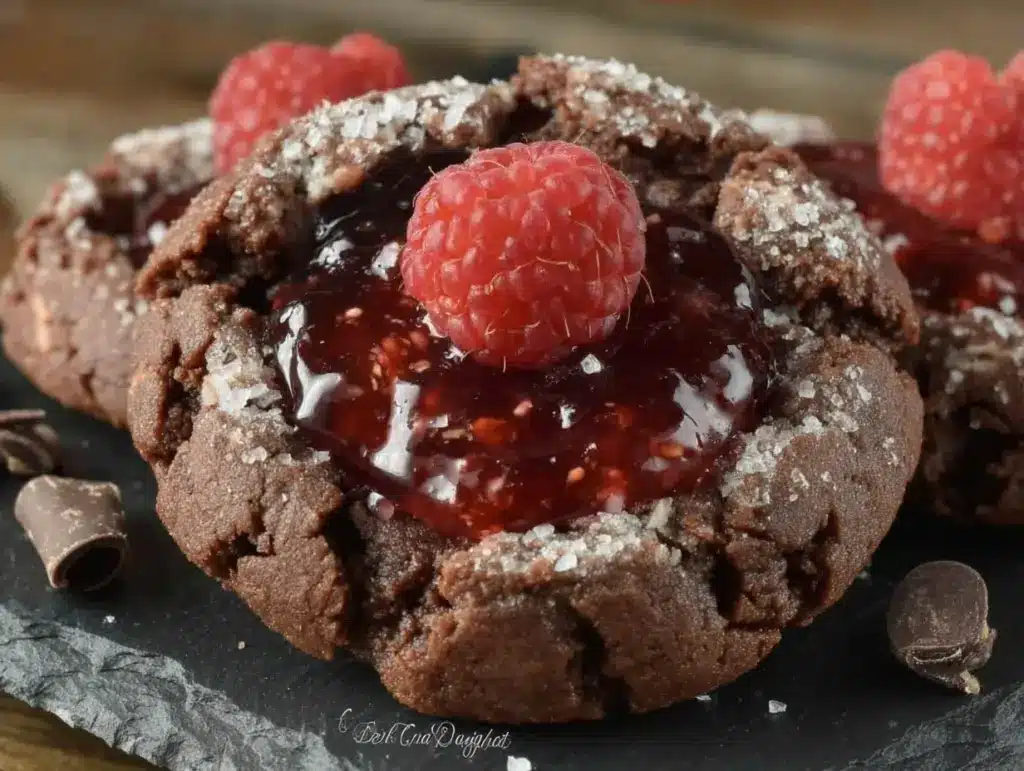
This was supposed to be a simple chocolate drizzle. You know, the kind you lazily flick over a cooled cookie to make it look fancy without actually trying. I had a perfectly good batch of buttery shortbread rounds chilling in the fridge, a bag of semi-sweet chips melting in a bowl, and a plan to be done in twenty minutes. But somewhere between answering a text from my sister about her dog’s weird rash and realizing I was completely out of dark chocolate for the drizzle, the whole thing fell apart. I grabbed a jar of raspberry preserves thinking I’d just swirl it into the dough instead. Then I grabbed the wrong bag of chocolate—the dark cocoa powder, not the chips—and my dough turned a questionable shade of grey. Honestly, I was ready to toss the whole batch into the trash and order pizza.
But I had already told my neighbor, Maria, I’d bring cookies to her book club the next night. You know that feeling when you’ve already committed to showing up with something impressive, and your kitchen looks like a crime scene? I was stuck. So I just started pressing thumbprints into the sad-looking dough, filled them with the jam I’d grabbed, and baked them out of pure spite. The smell that filled my kitchen was… unexpected. Rich, dark, and deeply fruity. When I pulled them out, they had cracked beautifully, the jam had bubbled into these glossy ruby centers, and the chocolate in the dough had turned into this fudgy, almost brownie-like texture. I stood there holding the tray, genuinely confused.
That first bite was a total shock. The cookie was crisp on the edges, tender in the middle, with a deep chocolate flavor that didn’t need a drizzle at all. The raspberry jam was tart and bright, cutting right through the richness. I had accidentally created something way better than what I planned. I mean, I’ve had my share of kitchen flops—burnt toast, fallen soufflés, a cake that looked like a pancake—but this? This was a happy little miracle. And now, I can’t make them any other way. These Dark Chocolate Raspberry Thumbprint Cookies are my go-to when I need to show up somewhere and absolutely nail it. They look like you spent hours, but honestly? They’re born from a beautiful mistake.
Why You’ll Love This Recipe
Let’s be real—there are a million thumbprint cookie recipes out there. But these are different. They’re the ones people hover around at parties, grabbing two because they can’t decide between sweet and tart. I’ve brought them to potlucks, holiday dinners, and casual get-togethers, and they always disappear first. Here’s why you’ll love them:
- Bold, Fudgy Flavor: The dark cocoa powder gives these cookies a deep, almost brownie-like richness without being overly sweet. It’s sophisticated enough for a dinner party but simple enough for a Tuesday night.
- Perfect for Hosting: They look incredibly elegant on a platter—the glossy raspberry jam against the dark crackled cookie is a showstopper. Your guests will think you slaved away.
- Stress-Free Prep: The dough comes together in one bowl, and there’s no chilling time required. You can have them in the oven in under 15 minutes. Perfect for those moments when you realize you need a dessert, stat.
- Pantry-Friendly Ingredients: You probably already have butter, sugar, flour, and cocoa powder. The raspberry jam is the only “special” ingredient, and it’s easy to find.
- Crowd-Pleasing Balance: The tartness of the raspberry cuts through the rich chocolate perfectly. It’s not cloying or heavy—just deeply satisfying.
- Make-Ahead Magic: These cookies actually taste better the next day. The flavors meld together beautifully, making them ideal for prepping before your guests arrive.
I’ve tested this recipe at least half a dozen times—tweaking the butter-to-flour ratio, trying different jams, even testing it with gluten-free flour for a friend. This version is the one that gets the widest eyes and the most “Can I have the recipe?” texts. It’s the kind of cookie that makes you close your eyes after the first bite, not because it’s fancy, but because it just tastes right.
What Ingredients You Will Need
This recipe uses simple, wholesome ingredients to deliver that big, bold flavor without any fuss. Most of these are pantry staples, which makes these cookies perfect for last-minute baking. Here’s what you’ll need:
- Unsalted butter, softened: 1 cup (2 sticks, or 226 grams). Using unsalted butter lets you control the salt level. Make sure it’s at room temperature—soft enough to leave a dent when you press it, but not melty. I prefer Kerrygold for its rich flavor, but any good-quality butter works.
- Granulated sugar: ¾ cup (150 grams). This gives the cookies their structure and a slight crispness on the edges. Don’t substitute with brown sugar here—it will change the texture too much.
- Large egg yolk: 1 yolk (about 18 grams). The yolk adds richness and tenderness without making the dough too wet. Save the egg white for an omelet or a face mask!
- Vanilla extract: 1 teaspoon (5 ml). Pure vanilla extract makes a difference here. Imitation vanilla can taste a bit flat against the dark chocolate.
- All-purpose flour: 1 ½ cups (190 grams). Spoon and level your flour—don’t scoop straight from the bag. Packed flour will make your cookies dense and dry.
- Unsweetened dark cocoa powder: ½ cup (50 grams). This is the star of the show. I recommend using a Dutch-processed cocoa like Valrhona or Droste for a smoother, richer flavor. Natural cocoa powder works too, but the cookies will be slightly more bitter and less fudgy.
- Salt: ½ teaspoon (3 grams). Don’t skip this! Salt balances the bitterness of the cocoa and enhances the raspberry jam.
- Raspberry preserves or jam: About ½ cup (160 grams). Use a good-quality seedless jam if you can find it—it creates a smoother, more elegant look. Bonne Maman is my go-to. If you only have jam with seeds, that’s fine too; it adds a nice texture.
- Optional: Flaky sea salt: A pinch for sprinkling on top. It sounds fancy, but it really makes the chocolate pop. I use Maldon.
Ingredient Substitution Tips: If you’re out of raspberry jam, you can use strawberry, apricot, or even sour cherry preserves. For a dairy-free version, use a high-quality vegan butter (like Miyoko’s) and make sure it’s at room temperature. I’ve tried this with a gluten-free 1-to-1 flour blend (Bob’s Red Mill works well), and the cookies spread a bit more but still taste fantastic.
Equipment Needed
You don’t need a fancy bakery setup for these cookies. Here’s what you’ll need to get the job done:
- Mixing bowls: One medium bowl for the dry ingredients and one large bowl for the wet ingredients. Glass or stainless steel works fine.
- Electric hand mixer or stand mixer: You can cream the butter and sugar by hand, but a mixer makes it much easier and faster. I’ve made these with a whisk and a lot of elbow grease—it’s doable, but your arm will thank you for the mixer.
- Baking sheets: Two standard half-sheet pans (18×13 inches). Line them with parchment paper for easy cleanup and to prevent sticking.
- Parchment paper: A must-have. It keeps the cookies from spreading too much and makes lifting them off the pan a breeze.
- Cookie scoop or tablespoon: A 1.5-tablespoon scoop (about #40 size) makes uniform cookies that bake evenly. If you don’t have one, just use a regular tablespoon and roll the dough into balls.
- Measuring cups and spoons: For accuracy. I cannot stress this enough—baking is a science.
- Cooling rack: A wire rack lets air circulate around the cookies so they cool evenly without getting soggy on the bottom.
- Small spoon or your thumb: For making the indentations. I use my thumb for the first press, then a small spoon to smooth out the edges.
Budget-Friendly Tip: If you don’t have a cooling rack, just let the cookies cool on the baking sheet for 5 minutes, then carefully transfer them to a plate. They won’t be quite as crisp on the bottom, but they’ll still be delicious.
Preparation Method

Let’s get baking! This recipe comes together quickly, so preheat your oven first. Set it to 350°F (175°C) and line two baking sheets with parchment paper.
- Cream the butter and sugar: In a large mixing bowl, beat the softened butter and granulated sugar together with an electric mixer on medium speed until light and fluffy—about 2-3 minutes. You’re looking for a pale yellow color and a texture that looks like soft sand. Scrape down the sides of the bowl with a spatula halfway through. Don’t rush this step; proper creaming creates air pockets that make the cookies tender.
- Add the egg yolk and vanilla: Drop in the egg yolk and vanilla extract. Beat on low speed until just combined—about 30 seconds. The mixture might look a little curdled at this point, but that’s okay. It will come together when you add the dry ingredients.
- Mix the dry ingredients: In a separate medium bowl, whisk together the all-purpose flour, dark cocoa powder, and salt. Whisking ensures the cocoa powder is evenly distributed—no one wants a pocket of bitter powder in their cookie.
- Combine wet and dry: Gradually add the dry ingredients to the wet mixture, mixing on low speed. Stop as soon as the flour disappears—overmixing will make the cookies tough. The dough will be thick, slightly sticky, and smell intensely chocolaty. If it feels too dry, add a teaspoon of milk; if too sticky, add a tablespoon of flour.
- Shape the cookies: Using a cookie scoop or a tablespoon, portion out rounded balls of dough (about 1.5 tablespoons each). Roll them gently between your palms to form smooth balls. Place them on the prepared baking sheets, spacing them about 2 inches apart—they will spread a little.
- Make the indentations: Use your thumb or the back of a small spoon to press a deep well into the center of each dough ball. Press almost to the bottom, but don’t go all the way through. The edges might crack slightly—that’s part of the charm. If the dough sticks to your thumb, lightly dampen your finger with water.
- Fill with jam: Spoon about ½ teaspoon of raspberry jam into each indentation. Don’t overfill—the jam will bubble and spread as the cookies bake. A little goes a long way.
- Bake: Place the baking sheets in the preheated oven, one at a time, on the middle rack. Bake for 10-12 minutes. At 10 minutes, the cookies should be set around the edges but still soft in the center. The jam will be bubbling and glossy. For a crisper cookie, bake for 12 minutes.
- Cool: Let the cookies cool on the baking sheet for 5 minutes. The jam will be very hot—don’t try to move them right away. After 5 minutes, transfer them to a wire cooling rack to cool completely. If you’re feeling fancy, sprinkle a tiny pinch of flaky sea salt over the warm jam.
Pro Tip: If the jam sinks into the dough during baking, don’t worry. It creates a beautiful, almost stained-glass effect. Just let them cool completely before serving.
Cooking Tips & Techniques
I’ve made these cookies more times than I can count, and I’ve learned a few things the hard way. Here are my best tips to ensure perfect results every time:
Don’t Overmix the Dough: This is the number one mistake I see. Once you add the flour, mix only until it disappears. Overmixing develops gluten, which makes the cookies tough and dense instead of tender and fudgy. If you see streaks of flour, fold them in gently with a spatula.
Room Temperature Ingredients Matter: I know it’s tempting to use cold butter straight from the fridge, but it won’t cream properly with the sugar. Cold butter creates a lumpy dough that spreads unevenly. Leave your butter out for 30-45 minutes before starting. If you’re in a rush, cut it into small cubes and microwave for 5-10 seconds—just until it’s soft, not melted.
Use a Jam with Pectin: Some jams are runnier than others. Look for a jam or preserve that has a thick, spreadable consistency. If your jam is too runny, it will leak out of the cookies and create a sticky mess on your baking sheet. I’ve had this happen with cheap store-brand jam—it’s not pretty. Stick with a trusted brand.
Chill If Needed: If your dough feels too soft or sticky to shape, pop it in the fridge for 15-20 minutes. Chilled dough is much easier to handle and will hold its shape better in the oven. I usually do this if my kitchen is warm or if I’m making a double batch.
Watch the Oven: Every oven runs a little differently. Start checking your cookies at the 9-minute mark. They’re done when the edges look set and the jam is bubbling. If you overbake them, the chocolate can turn bitter and the cookies will be dry. Better to underbake slightly—they’ll continue to set as they cool.
Make Them Uniform: Using a cookie scoop ensures all your cookies are the same size, which means they’ll bake evenly. I learned this after a batch where half the cookies were burnt and half were raw. A scoop is a $10 investment that pays off every single time.
Variations & Adaptations
One of the best things about this recipe is how adaptable it is. I’ve played around with different flavors and dietary needs, and here are some of my favorite variations:
- White Chocolate Raspberry: Swap the dark cocoa powder for all-purpose flour (so you have a vanilla shortbread base) and add ½ cup of white chocolate chips to the dough. Fill with raspberry jam as usual. The sweet white chocolate pairs beautifully with the tart jam.
- Gluten-Free Version: Use a 1-to-1 gluten-free baking flour blend (I like Bob’s Red Mill). The dough will be slightly more delicate, so handle it gently. You might need to chill the dough for 20 minutes before shaping.
- Spiced Chocolate: Add ½ teaspoon of cinnamon and a pinch of cayenne pepper to the dry ingredients. The warmth of the spices complements the dark chocolate and raspberry beautifully. It’s unexpected but so good.
- Lemon Raspberry: Replace the vanilla extract with lemon zest (from one lemon). The bright citrus cuts through the richness and makes these cookies feel lighter and more refreshing. Perfect for spring gatherings.
- Nutty Twist: Roll the dough balls in finely chopped pecans or almonds before making the indentations. The nuts add a lovely crunch and a toasty flavor that pairs well with the chocolate.
- Vegan Adaptation: Use a high-quality vegan butter (like Miyoko’s) and a flax egg (1 tablespoon ground flaxseed mixed with 3 tablespoons water, let sit for 5 minutes). The cookies will be slightly less tender but still delicious. Fill with your favorite fruit jam.
I personally love the spiced chocolate version for fall gatherings. It feels cozy and a little unexpected. My friend Sarah, who’s gluten-free, always requests the GF version for our holiday cookie swap—she says they’re the best she’s had since her diagnosis.
Serving & Storage Suggestions
These cookies are incredibly versatile when it comes to serving. Here’s how to make the most of them:
Serving Temperature: I prefer these cookies at room temperature—the texture is perfect, and the jam sets nicely. If you’re serving them at a party, arrange them on a beautiful platter or cake stand. They look stunning with their dark, crackled tops and glossy red centers. A light dusting of powdered sugar right before serving adds a touch of elegance.
What to Serve Alongside: These cookies pair beautifully with a cup of strong coffee or a glass of cold milk. For a dessert board, serve them alongside fresh raspberries, dark chocolate shavings, and a dollop of whipped cream. They also work well on a cookie platter with classic shortbread and peppermint bark.
Storage Instructions: Store the cookies in an airtight container at room temperature for up to 5 days. Place a sheet of parchment paper between layers to prevent them from sticking together. Do not refrigerate—the cold will dry them out.
Freezing Instructions: These cookies freeze beautifully. Place the cooled, unfilled cookies in a single layer on a baking sheet and freeze for 1 hour. Then transfer them to a freezer-safe bag or container for up to 3 months. When you’re ready to serve, thaw them at room temperature, then fill with jam and bake as directed. You can also freeze the filled, baked cookies—just thaw them in the fridge overnight and bring to room temperature before serving.
Flavor Development: Honestly, these cookies taste even better the next day. The flavors meld together, and the jam soaks into the cookie just slightly. If you can resist eating them all on day one, you’ll be rewarded on day two.
Nutritional Information & Benefits
While these are definitely a treat, they do have some redeeming qualities. Here’s a rough estimate per cookie (based on 24 cookies):
- Calories: Approximately 150-170 calories per cookie
- Fat: 8-9 grams (mostly from butter)
- Carbohydrates: 20-22 grams
- Fiber: 1-2 grams (from the cocoa and raspberries)
- Sugar: 12-14 grams
- Protein: 2 grams
Health Highlights: Dark cocoa powder is rich in antioxidants called flavonoids, which can support heart health and reduce inflammation. Raspberries are packed with vitamin C and fiber. While these cookies aren’t health food, they’re a more mindful indulgence than your average store-bought cookie.
Dietary Considerations: This recipe is naturally nut-free (unless you add the nutty variation) and can be made gluten-free or vegan with the substitutions listed above. It contains dairy and gluten in its standard form, so be mindful if serving to guests with allergies.
My Take: I believe in balance. These cookies are a celebration—something to share with people you love. Enjoy them without guilt, savor every bite, and maybe take an extra walk tomorrow. That’s my philosophy.
Conclusion
These Dark Chocolate Raspberry Thumbprint Cookies started as a complete accident, but they’ve become one of my most-requested recipes. They’re the perfect balance of rich, fudgy chocolate and bright, tart raspberry—elegant enough for a dinner party but simple enough for a Tuesday night craving. The best part? They look like you spent hours in the kitchen, but the dough comes together in one bowl with no chilling time.
I love making these cookies because they never fail to impress. Whether I’m bringing them to a potluck, a holiday gathering, or just keeping a stash in the freezer for unexpected guests, they always get the same reaction: wide eyes, a quick bite, and then a slow smile. There’s something magical about that combination of dark chocolate and raspberry—it’s timeless, comforting, and just a little bit fancy.
Now it’s your turn. I’d love to hear how these turn out for you! Did you try a variation? Did you serve them at a party? Drop a comment below and let me know—I read every single one. And if you snap a photo, tag me on social media—I love seeing your baking adventures. Happy baking, friends!
Frequently Asked Questions
Can I use frozen raspberries instead of jam?
I wouldn’t recommend it. Frozen raspberries release too much moisture as they bake, which can make the cookies soggy and cause the filling to spread everywhere. Stick with jam or preserves for the best texture and flavor.
Why did my cookies spread too much?
This usually happens if the butter was too soft or if the dough wasn’t chilled. Make sure your butter is at room temperature (not melted), and if your kitchen is warm, chill the shaped dough balls for 15 minutes before baking. Also, check that you measured your flour correctly—too little flour can cause spreading.
Can I make the dough ahead of time?
Absolutely! You can make the dough, shape it into balls, and refrigerate them for up to 2 days. When you’re ready to bake, let them sit at room temperature for 10 minutes, then make the indentations, fill with jam, and bake as directed.
What’s the best jam to use?
I recommend a good-quality seedless raspberry preserves, like Bonne Maman or Smucker’s. The seedless version creates a smoother, more elegant look. If you don’t mind the seeds, any raspberry jam will work—just make sure it’s thick and not too runny.
How do I keep the jam from burning?
Jam can burn if it’s too close to the heat source or if you overfill the indentations. Use about ½ teaspoon per cookie, and make sure the jam is centered in the indentation. Bake on the middle rack of your oven, and keep an eye on them during the last 2 minutes of baking.
Pin This Recipe!
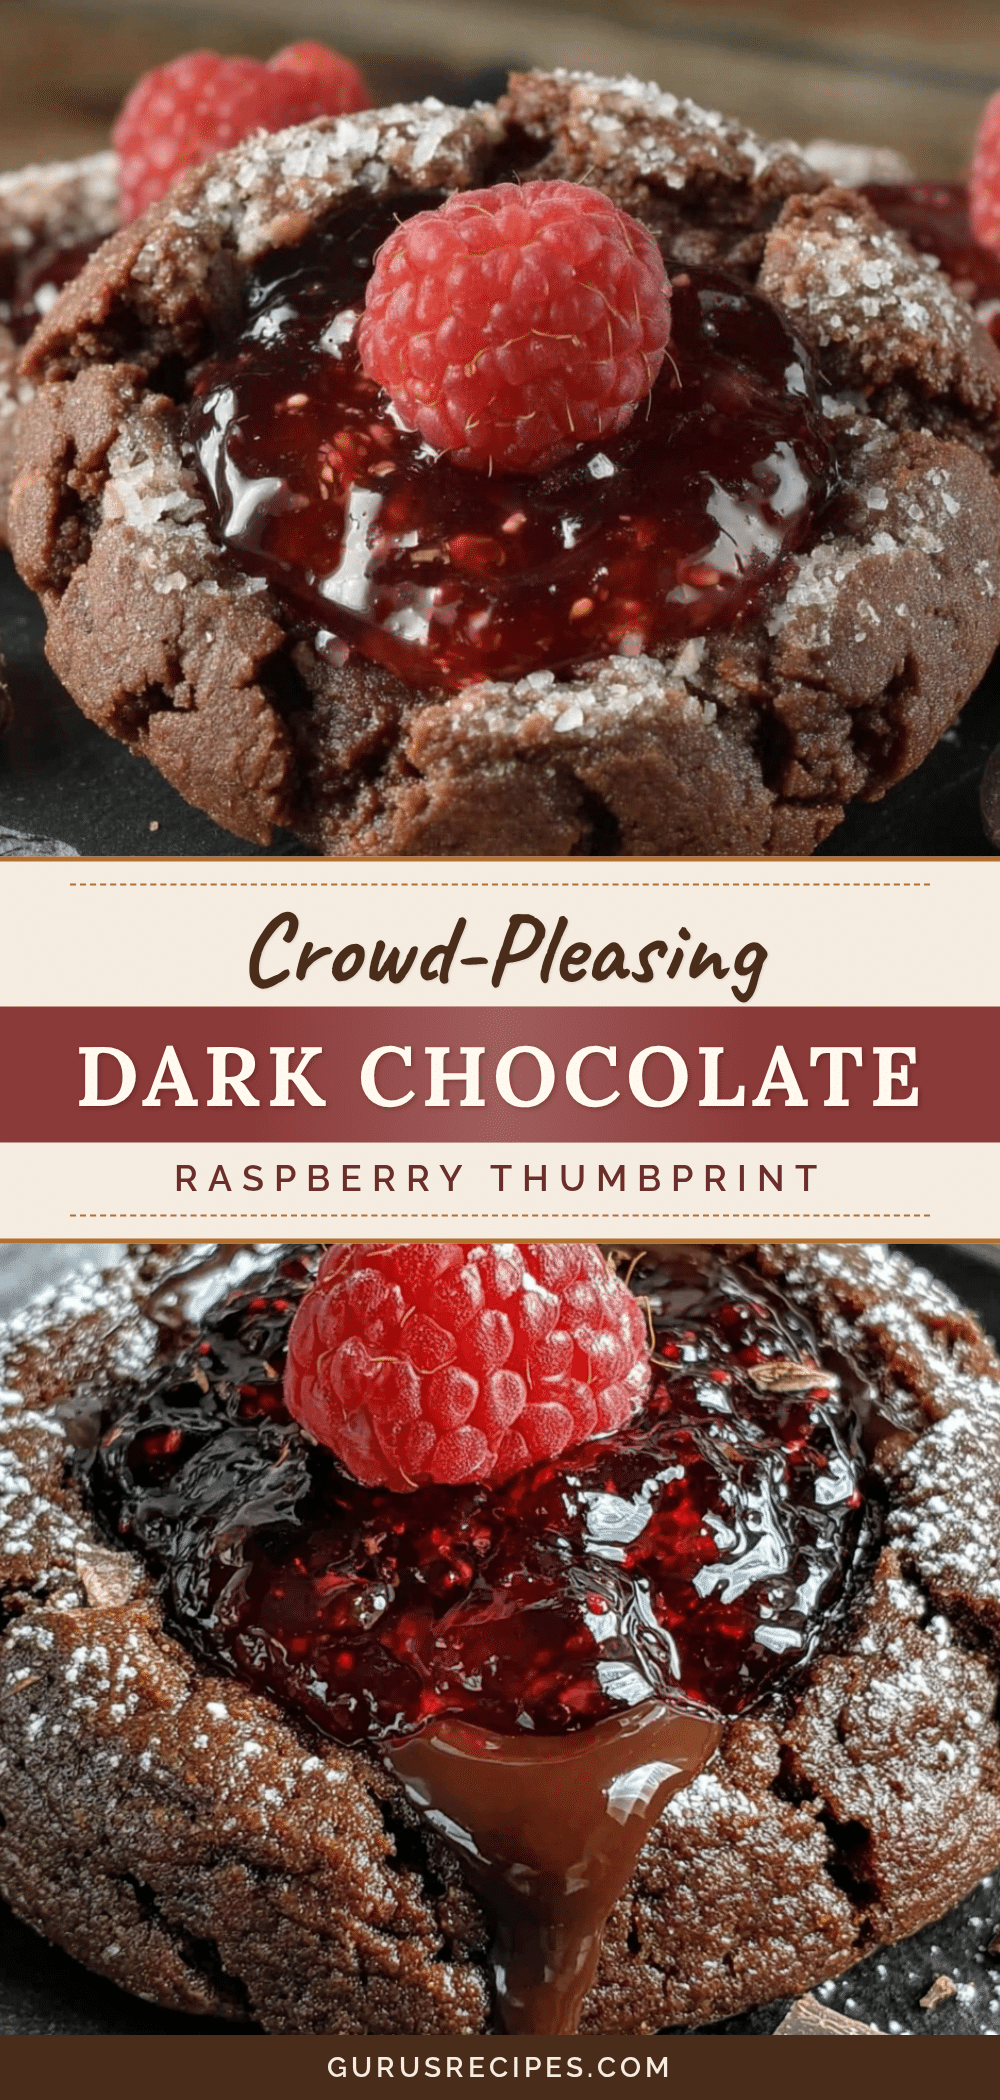

Best Dark Chocolate Raspberry Thumbprint Cookies
These Dark Chocolate Raspberry Thumbprint Cookies are a happy accident turned into a go-to recipe. They feature a fudgy, dark chocolate shortbread base with a tart raspberry jam center, creating a perfect balance of rich and bright flavors.
- Total Time: 25-27 minutes
- Yield: 24 cookies 1x
Ingredients
- 1 cup (2 sticks, 226 grams) unsalted butter, softened
- 3/4 cup (150 grams) granulated sugar
- 1 large egg yolk (about 18 grams)
- 1 teaspoon (5 ml) vanilla extract
- 1 1/2 cups (190 grams) all-purpose flour
- 1/2 cup (50 grams) unsweetened dark cocoa powder (Dutch-processed recommended)
- 1/2 teaspoon (3 grams) salt
- About 1/2 cup (160 grams) raspberry preserves or jam (seedless preferred)
- Optional: flaky sea salt for sprinkling
Instructions
- Preheat oven to 350°F (175°C). Line two baking sheets with parchment paper.
- In a large mixing bowl, beat the softened butter and granulated sugar together with an electric mixer on medium speed until light and fluffy, about 2-3 minutes. Scrape down the sides halfway through.
- Add the egg yolk and vanilla extract. Beat on low speed until just combined, about 30 seconds.
- In a separate medium bowl, whisk together the all-purpose flour, dark cocoa powder, and salt.
- Gradually add the dry ingredients to the wet mixture, mixing on low speed until just combined. Do not overmix. The dough will be thick and slightly sticky.
- Using a cookie scoop or tablespoon, portion out rounded balls of dough (about 1.5 tablespoons each). Roll into smooth balls and place on prepared baking sheets, spacing about 2 inches apart.
- Use your thumb or the back of a small spoon to press a deep well into the center of each dough ball, pressing almost to the bottom but not through. If dough sticks, lightly dampen your finger with water.
- Spoon about 1/2 teaspoon of raspberry jam into each indentation. Do not overfill.
- Bake one sheet at a time on the middle rack for 10-12 minutes. At 10 minutes, cookies should be set around the edges but still soft in the center; jam will be bubbling. For crisper cookies, bake 12 minutes.
- Let cookies cool on the baking sheet for 5 minutes, then transfer to a wire cooling rack to cool completely. If desired, sprinkle a tiny pinch of flaky sea salt over the warm jam.
Notes
For best results, use room temperature butter and a good-quality seedless raspberry jam. If dough is too soft, chill for 15-20 minutes before shaping. Cookies taste even better the next day. Store in an airtight container at room temperature for up to 5 days. Freeze unfilled or filled cookies for up to 3 months.
- Prep Time: 15 minutes
- Cook Time: 10-12 minutes
- Category: Dessert
- Cuisine: American
Nutrition
- Serving Size: 1 cookie
- Calories: 150170
- Sugar: 1214
- Sodium: 75
- Fat: 89
- Saturated Fat: 5
- Carbohydrates: 2022
- Fiber: 12
- Protein: 2
Keywords: dark chocolate, raspberry, thumbprint cookies, shortbread, jam-filled, easy cookies, holiday cookies


