
The company potluck was in six hours and I’d completely forgotten. Everyone else would be bringing those elaborate, multi-day dishes—the kind that required a trip to three different grocery stores and a sous vide machine. I had a bag of green beans, a package of bacon, and a quarter-cup of brown sugar that was basically a solid brick. Honestly, I almost just brought a bag of chips.
But then I remembered this thing my friend Jenna had made once—bacon-wrapped green beans with some kind of sweet glaze. She’d thrown them together in like, fifteen minutes, and people had lost their minds over them. I figured, what did I have to lose? If it flopped, I could always blame the brick of brown sugar.
So I started frantically trimming green beans, wrapping them in bacon slices I’d cut in half, and trying to chip away at that sugar block with a butter knife. Let me tell you, the kitchen was a mess. There was bacon grease on the counter, sugar crystals on the floor, and I was pretty sure I’d singed my wrist on the oven rack. But I got them in the oven, held my breath, and hoped for the best.
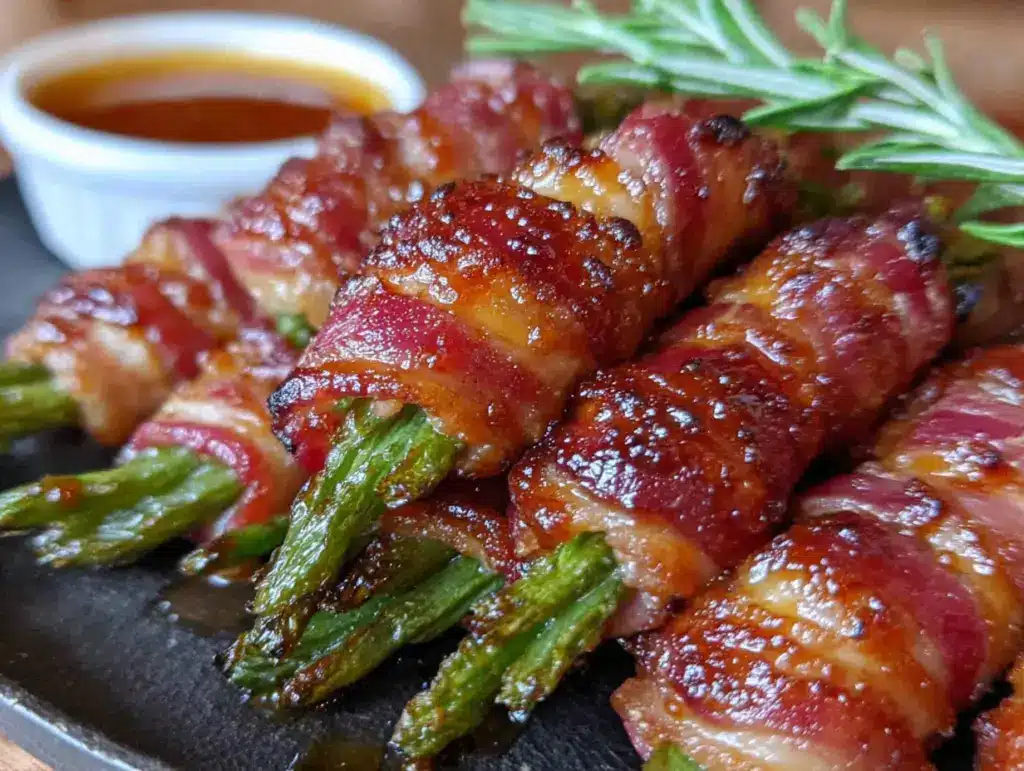
When I pulled them out, they were this gorgeous, sticky, caramelized mess of sweet and savory perfection. I brought them to the potluck, feeling sheepish next to the homemade lasagnas and artisanal breads. And then, one by one, people started grabbing them. And then seconds. And then someone asked for the recipe. By the end of the night, my tray was empty and I had three people asking if I catered. Me, the one who almost brought chips! That’s when I knew this recipe was special—not because it’s fancy, but because it’s the kind of dish that makes you look like a hero when you had absolutely no time to be one.
Why You’ll Love This Recipe
Look, I’ve tested a lot of green bean recipes over the years. Some are too soggy, some are too bland, and some just don’t have that “wow” factor. But these bacon-wrapped green beans with brown sugar glaze? They hit every single note. Here’s why you’re going to fall head over heels for them:
- Quick & Easy: We’re talking about 30 minutes from start to finish. That’s less time than it takes to decide what to order for takeout. Perfect for those evenings when you need a side dish that looks like you spent hours on it but actually came together during a single episode of your favorite show.
- Simple Ingredients: You probably have everything in your kitchen right now. Fresh green beans, bacon (because who doesn’t have bacon?), brown sugar, and a few pantry staples. No fancy trips to specialty stores. No hunting down obscure ingredients.
- Perfect for Any Occasion: Thanksgiving dinner? Yes. Summer barbecue? Absolutely. Random Tuesday night when you want to feel fancy? You bet. These little bundles of joy fit in everywhere, from holiday tables to casual weeknight meals.
- Crowd-Pleaser: I’ve served these to picky kids, health-conscious friends, and my uncle who “doesn’t eat vegetables.” Every single one of them went back for more. The sweet and savory combo is basically irresistible to the human palate.
- Unbelievably Delicious: The texture is what gets me every time. The bacon gets perfectly crispy on the edges while the brown sugar creates this sticky, caramelized glaze that clings to every bite. The green beans stay tender with just a little snap. It’s comfort food that somehow feels a tiny bit virtuous because, hey, there are vegetables involved.
What makes this recipe different from all the other bacon-wrapped green bean recipes out there? It’s the method. Instead of just wrapping and roasting, we’re doing a quick parboil on the green beans first. This ensures they cook through perfectly without the bacon burning. And the brown sugar glaze? We’re not just sprinkling it on top. We’re creating a proper glaze that coats every inch of the bacon, giving you that perfect sweet-savory balance in every single bite. This isn’t just another version—it’s the version I’ve perfected after countless batches, the one that made me the accidental potluck hero.
What Ingredients You Will Need
This recipe uses simple, wholesome ingredients that come together to create something truly special. No long shopping list, no weird items you’ll never use again. Just honest, delicious staples that transform into magic.
- Fresh Green Beans (1 pound): Look for bright, crisp beans that snap when you bend them. I prefer standard green beans, but haricots verts (those thin French ones) work beautifully too. Trim the tough ends off, but leave them whole. (Fresh is non-negotiable here—frozen will get too mushy.)
- Bacon (12 slices, regular cut): This is where you want to use good-quality bacon. I’m partial to Wright Brand or Nueske’s for their consistent thickness and smoky flavor. Don’t use thick-cut bacon—it takes too long to cook through and the green beans will overcook. And please, avoid the super-thin stuff that falls apart. Regular cut is the sweet spot.
- Brown Sugar (1/3 cup, packed): Light or dark brown sugar both work, but I prefer dark brown sugar for its deeper molasses flavor. It creates a richer glaze that complements the smoky bacon perfectly. (If your brown sugar has turned into a brick, pop it in the microwave for 10 seconds with a damp paper towel on top.)
- Butter (2 tablespoons, melted): Unsalted butter is best so you can control the salt level. The butter helps the brown sugar mixture spread evenly and adds richness to the glaze. (Use vegan butter if needed—it works fine here.)
- Garlic Powder (1/2 teaspoon): Don’t use fresh garlic here—it’ll burn in the oven and turn bitter. Garlic powder gives you that savory depth without the risk. I’m a fan of Spice Islands brand for its consistent quality.
- Salt (1/4 teaspoon): Just a pinch to enhance all the flavors. Remember, bacon is already salty, so go easy.
- Black Pepper (1/4 teaspoon, freshly ground): Freshly ground pepper makes a difference here. It adds a little warmth and complexity to the sweet glaze.
- Optional: Red Pepper Flakes (1/4 teaspoon): If you like a little heat, this is your move. The spicy-sweet combo is absolutely addictive. I add these about half the time, depending on my mood.
Ingredient Substitution Guidance: Need a gluten-free option? Most bacon is naturally gluten-free, but double-check the label. For a lower-sugar version, you can use a brown sugar substitute like Swerve or Lakanto—the texture will be slightly different but still delicious. If you’re watching your sodium, look for low-sodium bacon and skip the added salt. And if you’re cooking for someone who doesn’t eat pork, turkey bacon works in a pinch, though it won’t get quite as crispy. Just reduce the cooking time by a few minutes.
Equipment Needed
You don’t need a professional kitchen to make these beauties. Here’s what you’ll need:
- Large Baking Sheet: A rimmed baking sheet is ideal—it catches any drips and makes cleanup a breeze. I use my trusty Nordic Ware half-sheet pan. It’s inexpensive and has never let me down.
- Wire Rack: This fits inside your baking sheet and elevates the green bean bundles. It allows air to circulate underneath, ensuring the bacon gets crispy all the way around instead of sitting in its own grease. If you don’t have one, you can place the bundles directly on the baking sheet—they’ll just be a little less crispy on the bottom.
- Large Pot: For parboiling the green beans. Any large pot will do—just make sure it’s big enough to hold the beans without crowding them.
- Colander: For draining the parboiled beans. A simple mesh strainer works too.
- Small Bowl: For mixing the glaze. I use a small glass mixing bowl.
- Pastry Brush: For brushing the glaze onto the bundles. A silicone brush is my preference—it doesn’t shed bristles and cleans up easily. If you don’t have one, you can use a spoon to drizzle the glaze.
- Kitchen Shears: For trimming the green beans and cutting the bacon slices in half. Much easier than using a knife. I’ve had the same pair of KitchenAid shears for years.
- Tongs: For turning the bundles halfway through cooking. Silicone-tipped tongs won’t scratch your baking sheet.
Preparation Method
Alright, let’s get cooking. I’m going to walk you through every step so you end up with perfect, restaurant-worthy bacon-wrapped green beans. Trust me, it’s easier than you think.
- Preheat and Prep: Preheat your oven to 400°F (200°C). While it’s heating up, line your baking sheet with aluminum foil for easy cleanup. Place the wire rack on top if you’re using one. (I always do—it’s worth the minimal extra effort.)
- Parboil the Green Beans: Fill a large pot with water and bring it to a rolling boil over high heat. Add a generous pinch of salt. Drop in the trimmed green beans and cook for exactly 2 minutes. You’re not trying to cook them through—just take the raw edge off. They should still be bright green and crisp. (Pro tip: Set a timer. I once forgot and ended up with sad, limp beans.)
- Ice Bath: While the beans are boiling, fill a large bowl with ice water. As soon as the 2 minutes are up, drain the beans and immediately plunge them into the ice bath. This stops the cooking process and locks in that beautiful green color. Let them sit for about 3 minutes, then drain and pat them completely dry with paper towels. (This is important—wet beans will steam instead of roast.)
- Make the Glaze: In a small bowl, combine the packed brown sugar, melted butter, garlic powder, salt, pepper, and red pepper flakes if using. Stir until it forms a thick, sandy paste. Taste it—it should be sweet, savory, and just a little spicy. Adjust the seasoning if needed.
- Assemble the Bundles: Gather about 8-10 green beans into a neat bundle. Take a half-slice of bacon and wrap it tightly around the center of the bundle, stretching the bacon slightly as you go. The bacon should overlap just a little. Place the bundle seam-side down on the wire rack. Repeat with the remaining beans and bacon. (You should get about 12 bundles.)
- Brush with Glaze: Using your pastry brush, generously brush the brown sugar mixture over each bundle, covering the bacon completely. Don’t be shy—this is where the magic happens. Make sure you get the sides and the ends too. (I always end up with sticky fingers at this point. It’s worth it.)
- Bake: Place the baking sheet in the preheated oven and bake for 15 minutes. The bacon should be starting to crisp up and the glaze should be bubbling. Carefully remove the sheet from the oven and use tongs to flip each bundle over. Brush the other side with any remaining glaze from the bowl.
- Finish Baking: Return the sheet to the oven and bake for another 10-15 minutes. Keep an eye on them toward the end—you want the bacon to be crispy and caramelized, not burnt. The glaze should be dark amber and sticky. (If your oven runs hot, check at the 10-minute mark.)
- Rest and Serve: Remove the bundles from the oven and let them rest on the baking sheet for 5 minutes. This allows the glaze to set and the bacon to firm up slightly. Transfer to a serving platter and serve warm. (They’re best within 15 minutes of coming out of the oven.)
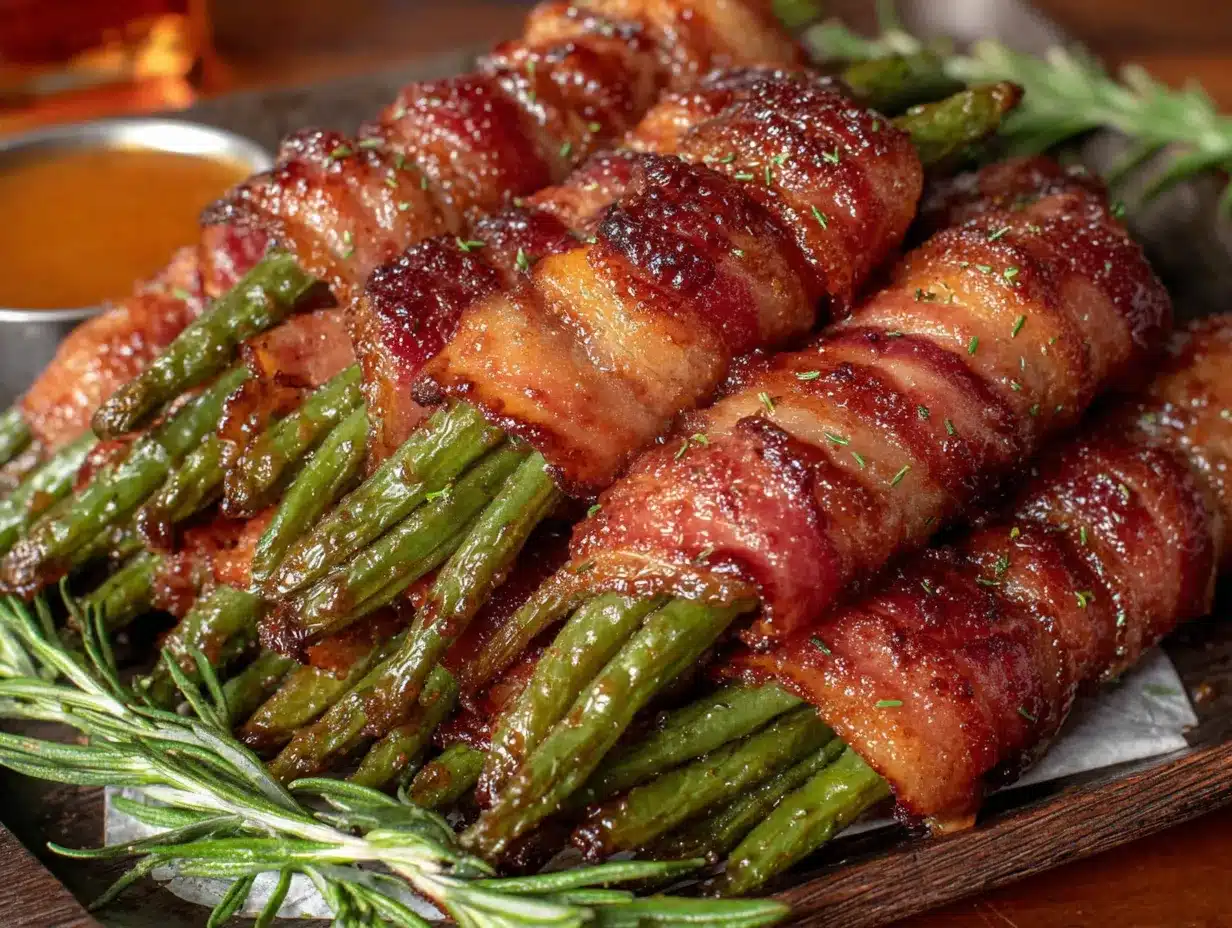
Sensory Cues: When the bundles are done, the bacon should be a deep golden brown with darker, caramelized edges. The glaze will be bubbling and sticky. You should be able to smell the sweet-smoky aroma filling your kitchen. When you pick one up, the bacon should feel firm but not hard, and the green bean bundle should hold its shape without falling apart.
Cooking Tips & Techniques
I’ve made these bacon-wrapped green beans more times than I can count, and I’ve learned a few things along the way. Let me save you from my mistakes.
The Parboil is Non-Negotiable: I know it’s an extra step, but please don’t skip it. Green beans straight from the fridge won’t cook through in the time it takes the bacon to crisp up. You’ll end up with raw, crunchy beans inside perfectly cooked bacon. Not ideal. The 2-minute parboil ensures everything finishes at the same time. (I learned this the hard way when I served crunchy green beans at a holiday dinner. My aunt still brings it up.)
Dry Those Beans: After the ice bath, really pat those green beans dry. Like, use three paper towels and really get in there. Any water left on the beans will create steam in the oven, which means your bacon won’t get crispy. It’ll be sad and flabby instead of crisp and delicious. Nobody wants flabby bacon.
Don’t Overcrowd the Pan: Leave at least an inch of space between each bundle on the wire rack. If they’re too close together, they’ll steam instead of roast. You want hot air circulating around each bundle for maximum crispiness. If you need to, use two baking sheets.
The Flip is Crucial: I know it’s tempting to skip the flipping step, but don’t. The bottom of the bacon needs direct heat to get crispy too. If you leave them alone, you’ll have perfectly crisp tops and flabby bottoms. Flipping ensures even cooking and caramelization. Use good tongs and be gentle so the bundles stay intact.
Watch the Sugar: Brown sugar can go from beautifully caramelized to burnt in about 30 seconds. If you notice the glaze starting to darken too quickly, tent the bundles loosely with foil for the last few minutes of baking. Every oven is different, so trust your eyes more than the timer.
Make Ahead Tip: You can assemble the bundles (without the glaze) up to 24 hours in advance. Keep them covered in the refrigerator. When you’re ready to cook, brush with the glaze and bake as directed. This is a lifesaver for holiday meals when you’re juggling a dozen dishes.
Variations & Adaptations
This recipe is wonderfully adaptable. Here are some of my favorite variations:
Maple-Bacon Green Beans: Swap the brown sugar for 1/4 cup of pure maple syrup. The flavor is slightly more delicate and has that unmistakable woodsy sweetness. Reduce the butter to 1 tablespoon since maple syrup is thinner than the brown sugar paste. Bake for the same amount of time, but keep a closer eye on them—maple syrup can burn faster than brown sugar.
Spicy Sriracha Version: Add 1 tablespoon of sriracha (or your favorite hot sauce) to the brown sugar mixture. The heat cuts through the sweetness beautifully. I like to sprinkle a few extra red pepper flakes on top before serving for visual appeal. My spice-loving friends go crazy for this version.
Balsamic Glaze Twist: Replace the brown sugar with 1/4 cup of balsamic glaze (the thick, syrupy kind you find in the vinegar section). Omit the butter and just brush the balsamic glaze directly onto the bacon-wrapped bundles. The tangy-sweet flavor is incredible with the smoky bacon. This is my go-to for dinner party guests who claim they don’t like sweet sides.
Holiday Cranberry Version: Add 2 tablespoons of whole-berry cranberry sauce to the brown sugar mixture. The tartness of the cranberries balances the sweetness perfectly. This is a showstopper on Thanksgiving or Christmas tables. I actually prefer this version to the original during the holiday season—it just feels more festive.
Keto/Low-Carb Adaptation: Use a brown sugar substitute like Lakanto golden monk fruit sweetener (it caramelizes beautifully). Make sure your bacon is sugar-free (check the label—some brands add sugar). The texture will be slightly different, but the flavor is still fantastic. My keto friends devour these at gatherings.
Air Fryer Method: Cook the bundles in an air fryer at 375°F (190°C) for 8-10 minutes, flipping halfway through. You won’t need to flip them as carefully since the air fryer circulates heat more efficiently. The bacon gets incredibly crispy in less time. Just work in batches so you don’t overcrowd the basket.
Serving & Storage Suggestions
These bacon-wrapped green beans are best served warm, right after they’ve had a few minutes to rest. The glaze should be sticky and the bacon perfectly crisp. I like to arrange them on a long, rectangular platter in neat rows—it looks impressive without any extra effort.
What to Serve With Them: These bundles are incredibly versatile. They’re a natural fit alongside roasted chicken, grilled steak, or pan-seared pork chops. For holiday meals, they pair beautifully with turkey, ham, or prime rib. I’ve also served them as an appetizer at cocktail parties—they’re perfect finger food. For a vegetarian main course, serve them alongside a hearty grain salad or creamy polenta.
Beverage Pairings: A crisp white wine like Sauvignon Blanc or Pinot Grigio cuts through the richness beautifully. For red wine lovers, a light-bodied Pinot Noir works well. If you’re serving these at a casual gathering, they’re fantastic with a cold beer—something like a pale ale or lager. For non-alcoholic options, sparkling water with a squeeze of lemon or a tart apple cider are both excellent choices.
Storage Instructions: Leftover bundles can be stored in an airtight container in the refrigerator for up to 3 days. The bacon will soften slightly as they sit, but they’ll still be delicious. To reheat, place them on a baking sheet in a 350°F (175°C) oven for 5-7 minutes, or until warmed through and the bacon crisps up again. You can also reheat them in an air fryer at 350°F for 3-4 minutes. Avoid the microwave—it will make the bacon soggy and the green beans mushy.
Freezing Instructions: You can freeze the assembled bundles (without the glaze) for up to 2 months. Place them on a baking sheet lined with parchment paper and freeze until solid, then transfer to a freezer bag. When you’re ready to cook, thaw them in the refrigerator overnight, brush with the glaze, and bake as directed. The texture won’t be quite as perfect as fresh, but it’s a great option for meal prep.
Flavor Development: Here’s a little secret—these actually taste even better the next day. The flavors meld together as they sit, and the glaze seeps into the green beans a bit more. My family fights over the leftovers, and I’ve been known to eat them cold straight from the fridge. Don’t judge until you’ve tried it.
Nutritional Information & Benefits
Let’s be real—these aren’t health food. But they’re not exactly junk food either. Here’s the breakdown per serving (2 bundles):
- Calories: Approximately 220-250 calories
- Protein: 8-10 grams
- Fat: 14-16 grams (mostly from the bacon)
- Carbohydrates: 18-20 grams (including 14-16 grams of sugar)
- Fiber: 2-3 grams
- Sodium: 400-500 mg
Health Highlights: Green beans are a good source of vitamins A, C, and K, as well as fiber and folate. They’re also packed with antioxidants that support overall health. The bacon provides protein and B vitamins, though it’s definitely something to enjoy in moderation. The brown sugar adds sweetness but also contributes to the sugar content, so if you’re watching your intake, consider using a sugar substitute or reducing the amount slightly.
Dietary Considerations: This recipe is naturally gluten-free (always check your bacon label to be sure). It’s not suitable for vegetarian or vegan diets, but you could try using plant-based bacon alternatives if you’re adventurous. For low-carb diets, the sugar substitute version I mentioned earlier works well. If you’re watching your sodium, use low-sodium bacon and skip the added salt in the glaze.
My Personal Take: Look, I’m not a nutritionist. I’m just someone who loves food and believes in balance. These bacon-wrapped green beans are a treat—something you make for special occasions or when you want to turn a simple meal into something memorable. They’re not an everyday food, and that’s okay. Sometimes the best things in life are the ones we save for moments that matter.
Conclusion
So there you have it—the recipe that turned me from the person who almost brought chips to the potluck into the accidental hero who brought the dish everyone remembered. These cozy bacon-wrapped green beans with brown sugar glaze are proof that you don’t need fancy ingredients or hours of prep time to create something truly special. Sometimes the best recipes come from the most chaotic moments, when you’re just trying to make something work with what you have.
I love this recipe because it’s forgiving. It’s flexible. It’s the kind of dish that makes you look like you have your life together even when you absolutely don’t. And honestly? That’s the kind of recipe we all need in our back pocket. Whether you’re bringing them to a holiday dinner, serving them at a summer barbecue, or just treating yourself on a random Tuesday, these little bundles of sweet, smoky, savory goodness never disappoint.
Now I want to hear from you. Have you tried making these? Did you add your own twist? Did you have your own potluck hero moment? Drop a comment below and tell me all about it. And if you’re feeling generous, share this recipe with someone who needs a little culinary confidence boost. Trust me—we all need that sometimes.
Happy cooking, friends. And remember—sometimes the best meals come from the messiest kitchens.
Frequently Asked Questions
Can I use frozen green beans for this recipe?
I wouldn’t recommend it. Frozen green beans release a lot of water as they cook, which will make your bacon soggy instead of crispy. Fresh green beans are really the way to go here. They hold their shape better and have a much better texture. If fresh isn’t available, look for pre-trimmed fresh green beans in the produce section—many stores carry them now.
Can I make these bacon-wrapped green beans ahead of time?
Absolutely! You can assemble the bundles (without the glaze) up to 24 hours in advance. Just keep them covered in the refrigerator. When you’re ready to cook, brush with the glaze and bake as directed. You can also fully cook them and reheat them in a 350°F oven for 5-7 minutes—they won’t be quite as crispy, but they’ll still be delicious.
Why did my bacon burn before the green beans were cooked?
This usually happens for one of two reasons. Either your oven runs hot (check with an oven thermometer) or you’re using thick-cut bacon. Thick-cut bacon takes longer to cook through, which means the green beans can overcook and the sugar can burn. Stick with regular-cut bacon and keep an eye on them toward the end of baking. If the glaze starts to darken too quickly, tent the bundles with foil.
Can I use turkey bacon instead of regular bacon?
You can, but the results will be different. Turkey bacon is leaner and won’t get as crispy. It also cooks faster, so you’ll need to reduce the baking time by about 5 minutes total. The flavor will be less smoky and rich, so you might want to add a little smoked paprika to the glaze for depth. It’s a decent option if you’re avoiding pork, but traditional bacon really does give the best results.
How do I keep the green beans from getting soggy?
The key is the parboil-and-ice-bath method. That 2-minute parboil softens them just enough without making them mushy, and the ice bath stops the cooking process immediately. Then make sure you pat them completely dry before wrapping. Also, don’t overcrowd the baking sheet—give each bundle room to breathe so the heat can circulate properly. And finally, serve them within 15 minutes of coming out of the oven for the best texture.
Pin This Recipe!
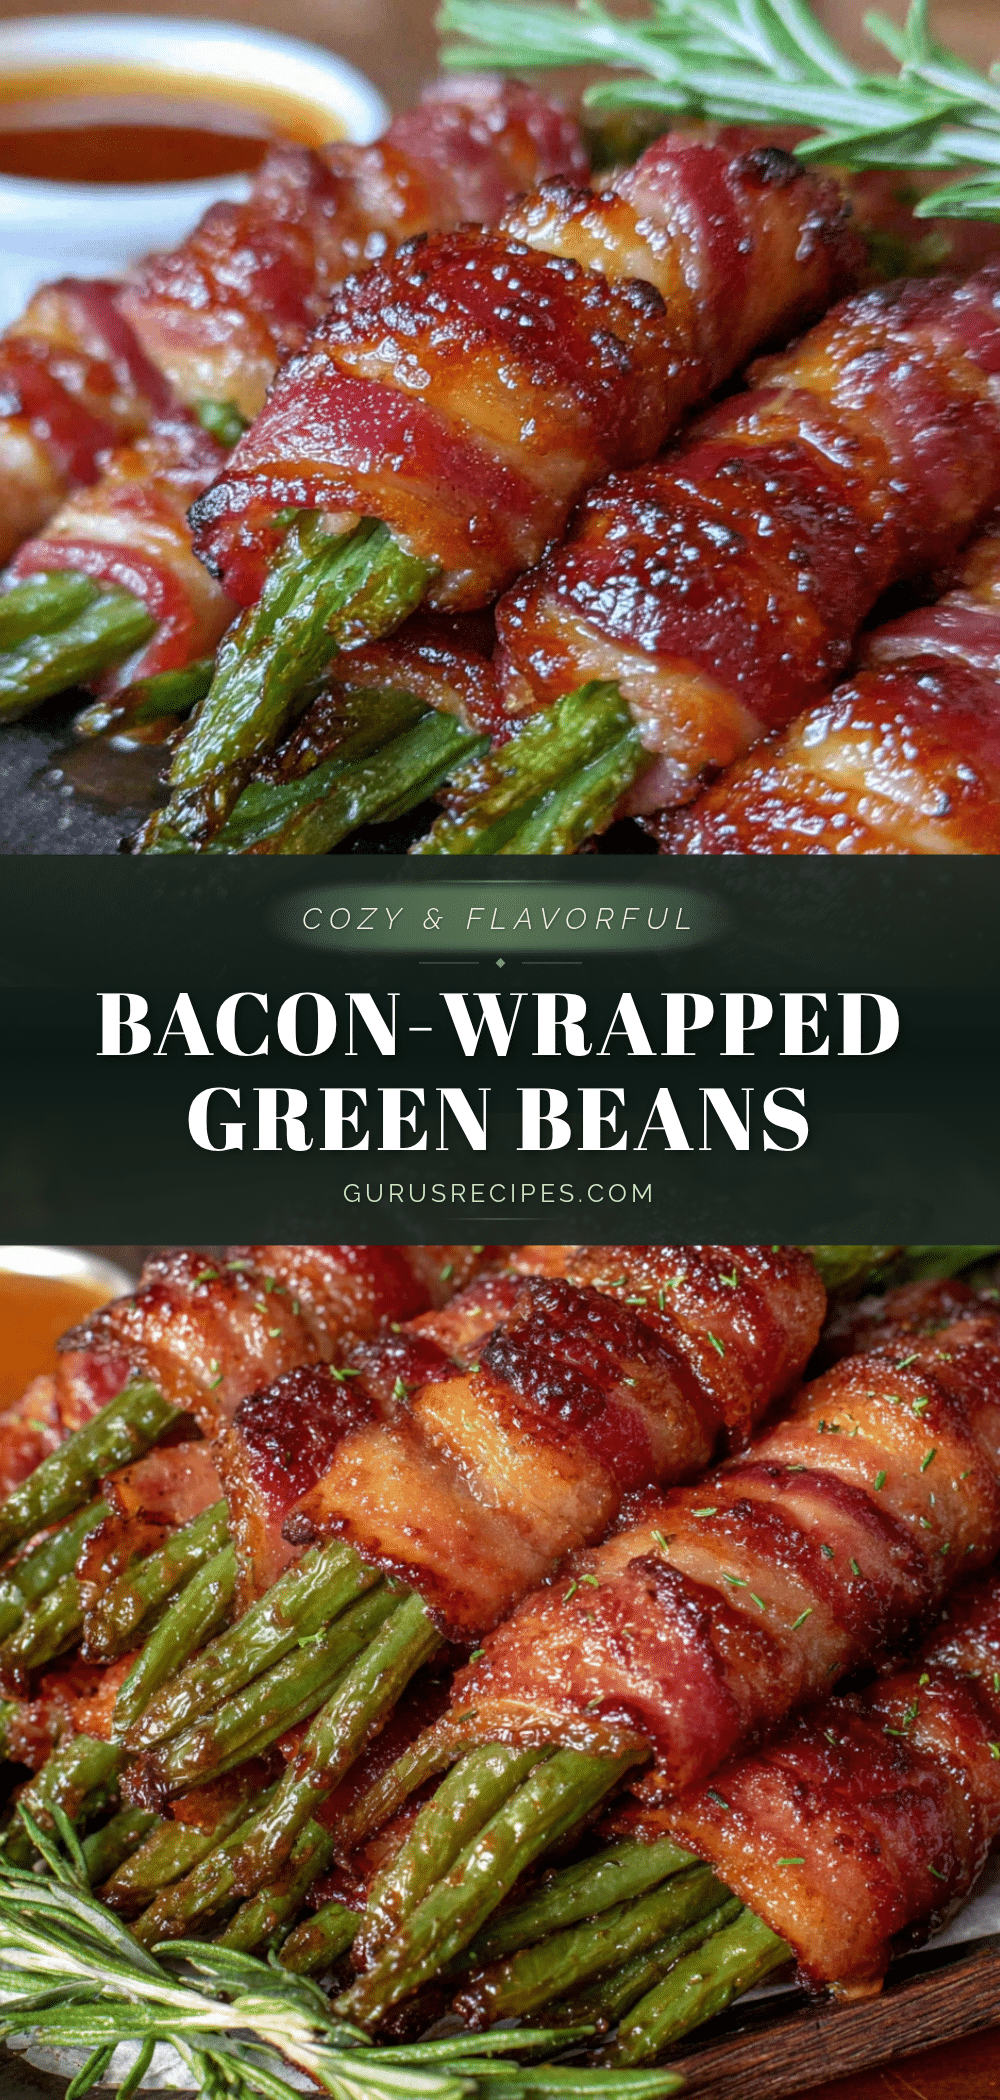

Cozy Bacon-Wrapped Green Beans: Easy Brown Sugar Glaze
These bacon-wrapped green beans with a sweet brown sugar glaze are the perfect quick and easy side dish that looks impressive but comes together in just 30 minutes. The parboiled green beans stay tender with a snap, while the bacon gets crispy and caramelized.
- Total Time: 40-45 minutes
- Yield: 6 servings (2 bundles per serving) 1x
Ingredients
- 1 pound fresh green beans, trimmed
- 12 slices regular-cut bacon, cut in half crosswise
- 1/3 cup packed brown sugar (light or dark)
- 2 tablespoons unsalted butter, melted
- 1/2 teaspoon garlic powder
- 1/4 teaspoon salt
- 1/4 teaspoon freshly ground black pepper
- 1/4 teaspoon red pepper flakes (optional)
Instructions
- Preheat oven to 400°F (200°C). Line a rimmed baking sheet with aluminum foil and place a wire rack on top.
- Bring a large pot of salted water to a boil. Add the trimmed green beans and cook for exactly 2 minutes.
- Meanwhile, prepare an ice bath in a large bowl. Drain the beans and immediately plunge them into the ice water for about 3 minutes. Drain and pat completely dry with paper towels.
- In a small bowl, combine the packed brown sugar, melted butter, garlic powder, salt, pepper, and red pepper flakes (if using). Stir until a thick paste forms.
- Gather 8-10 green beans into a neat bundle. Wrap a half-slice of bacon tightly around the center, overlapping slightly. Place seam-side down on the wire rack. Repeat with remaining beans and bacon (about 12 bundles).
- Brush the brown sugar mixture generously over each bundle, covering the bacon completely.
- Bake for 15 minutes. Remove from oven and carefully flip each bundle using tongs. Brush with any remaining glaze.
- Return to oven and bake for another 10-15 minutes, until bacon is crispy and glaze is caramelized. Watch closely to prevent burning.
- Let rest on the baking sheet for 5 minutes before serving warm.
Notes
Parboiling the green beans is essential to ensure they cook through without burning the bacon. Pat the beans completely dry after the ice bath to avoid steaming. Do not overcrowd the pan; leave space between bundles for air circulation. Flip the bundles halfway through for even cooking. Watch the sugar closely as it can burn quickly. Assemble bundles (without glaze) up to 24 hours ahead and refrigerate.
- Prep Time: 15 minutes
- Cook Time: 25-30 minutes
- Category: Side Dish
- Cuisine: American
Nutrition
- Serving Size: 2 bundles
- Calories: 235
- Sugar: 15
- Sodium: 450
- Fat: 15
- Saturated Fat: 6
- Carbohydrates: 19
- Fiber: 2.5
- Protein: 9
Keywords: bacon wrapped green beans, brown sugar green beans, easy side dish, holiday side dish, potluck recipe, green bean bundles, sweet and savory


