
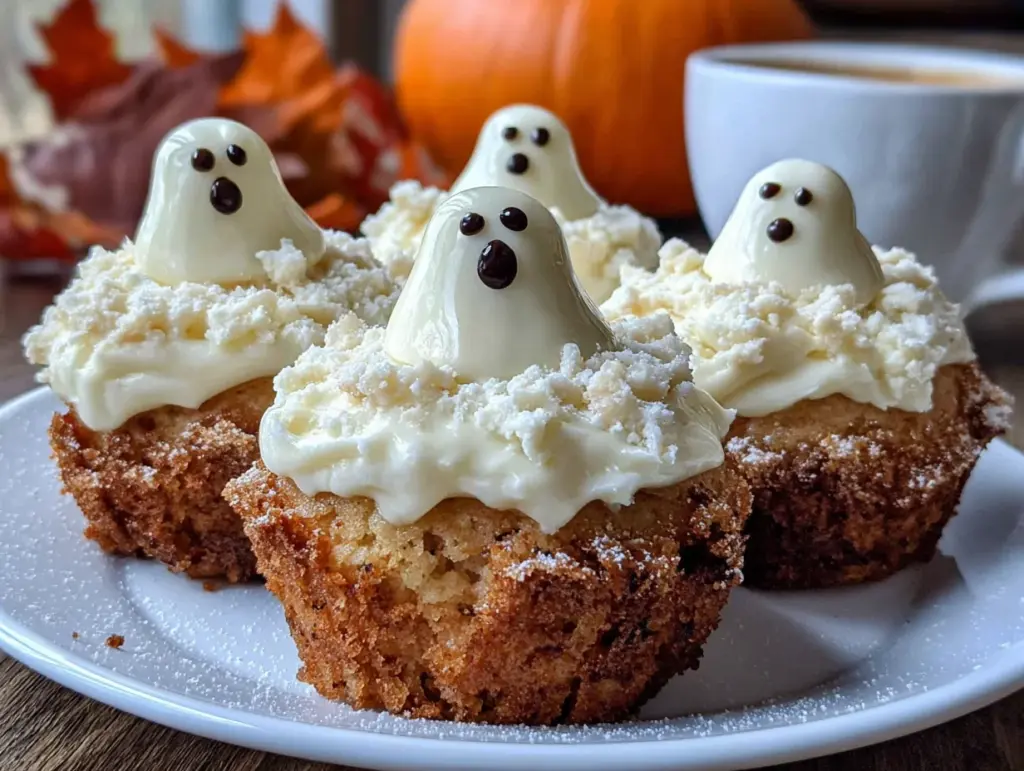
My niece took one bite, looked me dead in the eye, and said, “Auntie, this is the best cupcake I’ve ever had.” She was seven and had just eaten a ghost face off the top. The frosting smeared across her cheek like she’d been in a tiny sugar fight and lost. That moment—pure, unguarded joy—is exactly why I keep coming back to this recipe.
I wasn’t trying to reinvent the wheel. I just wanted something that looked adorable on the dessert table without requiring a pastry degree. You know how it goes. You see those elaborate Halloween treats online with fondant this and hand-piped that, and honestly? My kitchen skills don’t match my Pinterest ambition. So I took a different route.
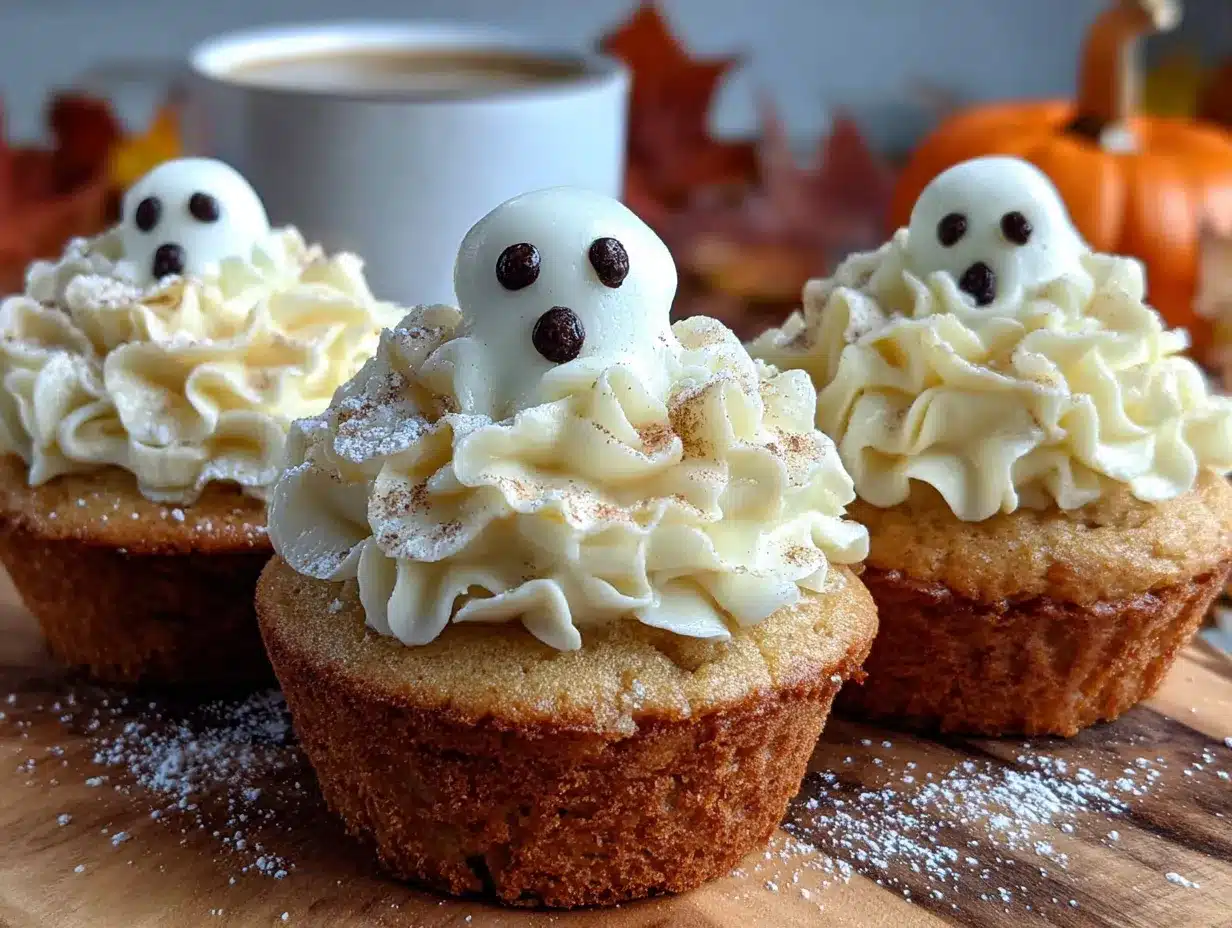
These cute ghost cupcakes with vanilla buttercream faces are the result of that frustration. They’re simple enough for a kid to help with but cute enough to steal the show at any Halloween party. The ghosts look like they’re having a little conversation with each other—some happy, some surprised, one or two looking slightly confused about their existence. It’s ridiculous and I love it.
The first batch disappeared before I could even get a decent photo. That’s when I knew I had something worth sharing. Not every recipe needs to be complicated to be memorable. Sometimes, all it takes is a good vanilla cake base, a fluffy buttercream, and a little imagination.
Why You’ll Love This Recipe
I’ve tested this recipe six times to get it just right. The first batch was too dry. The second had frosting that slid right off. By the third, I had learned that room temperature butter isn’t a suggestion—it’s a rule. By the fifth, I had figured out the perfect piping technique for the ghost shapes. This is that final, foolproof version.
- Quick & Easy : From start to finish, you’re looking at about 45 minutes. Perfect for a last-minute Halloween treat or a weekend baking project with the kids.
- Simple Ingredients : Butter, sugar, flour, eggs, vanilla—all pantry staples. No weird extracts or specialty flours required.
- Perfect for Halloween Parties : These little ghosts are the star of any dessert table. They’re cute without being scary, so even the littlest guests won’t be intimidated.
- Crowd-Pleaser : I’ve brought these to school events, office parties, and family gatherings. They always get the same reaction—a smile, then a bite, then a request for the recipe.
- Unbelievably Delicious : The vanilla cake is tender and moist. The buttercream is light and silky. Together, they’re the kind of combination that makes you close your eyes after the first bite.
What makes this recipe different from all the other ghost cupcakes out there? It’s the texture. The cake uses a technique called reverse creaming, which gives it a finer crumb and a softer bite. The buttercream is stabilized just enough to hold its shape without being stiff or greasy. And the ghost faces? They’re piped freehand, so each one has its own personality. No two ghosts look the same, and honestly, that’s the charm.
This isn’t just another Halloween recipe. It’s the one that makes people stop and smile. It’s comfort food dressed up in a silly little costume, and it works every single time.
What Ingredients You Will Need
This recipe uses simple, honest ingredients that come together to create something genuinely special. Most of these are probably already sitting in your pantry right now.
For the Vanilla Cupcakes
- All-purpose flour, 1 ½ cups (188g) — spoon and level it. Don’t scoop directly from the bag or you’ll end up with dense cakes.
- Granulated sugar, 1 cup (200g) — adds sweetness and helps with browning.
- Unsalted butter, softened, ½ cup (113g or 1 stick) — I use Kerrygold for the flavor, but any good unsalted butter works.
- Baking powder, 1 ½ teaspoons — make sure it’s fresh. Old baking powder won’t give you the rise you need.
- Baking soda, ¼ teaspoon — just a touch to help with browning.
- Salt, ½ teaspoon — balances the sweetness. Don’t skip it.
- Large eggs, room temperature, 2 — cold eggs can seize the batter. Leave them out for 30 minutes before starting.
- Whole milk, room temperature, ¾ cup (180ml) — whole milk gives the richest texture, but 2% works in a pinch.
- Vanilla extract, 2 teaspoons — pure vanilla, not imitation. It makes a real difference.
For the Vanilla Buttercream Frosting
- Unsalted butter, softened, 1 cup (226g or 2 sticks) — this is the base of your frosting. Soft but not melted.
- Powdered sugar, 4 cups (480g) — sifted if it’s lumpy. Lumpy sugar makes lumpy frosting.
- Heavy cream, 3-4 tablespoons (45-60ml) — whole milk works too, but heavy cream makes it extra silky.
- Vanilla extract, 2 teaspoons — again, pure vanilla.
- Salt, ¼ teaspoon — cuts the sweetness and brings out the vanilla flavor.
For the Ghost Faces
- Mini chocolate chips, ¼ cup — for the eyes. I prefer Ghirardelli for consistent size and shape.
- Black gel food coloring — for the mouths. Get the gel kind, not liquid. Liquid will thin out your frosting.
Ingredient Selection Tips: When choosing butter for the frosting, look for a brand with a higher fat content. European-style butters like Kerrygold or Plugrá have less water, which means a more stable, creamier frosting. For the chocolate chips, the mini ones are non-negotiable. Regular chocolate chips look too big and make the ghosts look surprised instead of cute.
Substitution Guidance: Need a dairy-free version? Swap the butter in the cake for a good plant-based butter, use oat milk instead of whole milk, and replace the buttercream with a coconut cream-based frosting. The texture won’t be exactly the same, but it’ll still be delicious. For a gluten-free option, use a 1:1 gluten-free baking flour blend. I’ve tested this with Bob’s Red Mill and it worked beautifully.
Equipment Needed
You don’t need a professional bakery setup to make these ghosts. Here’s what I use in my own kitchen:
- Standard 12-cup muffin pan — any dark or light metal pan works. Avoid glass or ceramic for even baking.
- Paper cupcake liners — I like white or black for Halloween. The ghosts pop against either color.
- Large mixing bowls — one for dry ingredients, one for wet.
- Hand mixer or stand mixer — a hand mixer is totally fine. I use my KitchenAid stand mixer because it frees up my hands, but I’ve made this recipe with a hand mixer many times.
- Rubber spatula — for scraping down the bowl. Get a good one. Cheap spatulas bend and break.
- Piping bags — disposable ones are easiest. You’ll need two: one for the frosting, one for the black gel mouths.
- Large round piping tip — Wilton 1A or any large round tip. This gives you the smooth ghost shape.
- Small round piping tip — Wilton 2 or 3 for the mouths.
- Cooling rack — wire rack for even cooling. Don’t skip this or your cupcakes will get soggy bottoms.
- Toothpicks — for placing the chocolate chip eyes.
Budget-Friendly Options: No piping bags? Use a sturdy zip-top bag with the corner snipped off. It’s not as precise, but it works. No stand mixer? A hand mixer and some elbow grease will get you there. The ghosts might look a little rustic, but rustic is part of the charm.
Preparation Method
Let’s make some ghosts. I’ll walk you through every step, including the little things I learned the hard way.
Step 1: Preheat and Prep
Preheat your oven to 350°F (175°C). Line your muffin pan with 12 paper liners. Set aside. This seems obvious, but I’ve forgotten to line the pan before and had to scrape batter out of a hot pan. Learn from my mistakes.
Step 2: Mix the Dry Ingredients
In a medium bowl, whisk together the flour, baking powder, baking soda, and salt. Whisk for about 20 seconds. This aerates the flour and distributes the leavening agents evenly. Set aside.
Step 3: Cream the Butter and Sugar
In a large mixing bowl, beat the softened butter and granulated sugar together on medium speed for 3-4 minutes. You’re looking for a light, fluffy texture. The mixture should look pale and almost creamy. Scrape down the sides and bottom of the bowl with your spatula.
Step 4: Add the Eggs and Vanilla
Add the eggs one at a time, beating well after each addition. The batter might look slightly curdled at this point. That’s normal. Add the vanilla extract and beat until combined. Scrape the bowl again.
Step 5: Alternate the Dry and Wet Ingredients
With the mixer on low speed, add about one-third of the flour mixture. Mix until just combined. Add half of the milk. Mix. Add another third of the flour. Mix. Add the remaining milk. Mix. Add the final third of the flour. Mix until just combined. Do not overmix. Overmixing develops gluten and makes tough cupcakes. Stop as soon as the flour disappears.
Step 6: Fill the Liners
Divide the batter evenly among the 12 liners. Fill each about two-thirds full. I use a cookie scoop for this. It’s faster and more consistent than spooning. The batter should be thick but scoopable.
Step 7: Bake
Bake for 18-22 minutes. At 18 minutes, start checking. Insert a toothpick into the center of a cupcake. If it comes out clean or with a few moist crumbs, they’re done. If there’s wet batter, give them 2 more minutes. The tops should be golden and spring back when lightly touched.
Step 8: Cool Completely
Let the cupcakes cool in the pan for 5 minutes. Then transfer them to a wire rack to cool completely. This is important. If you frost warm cupcakes, the buttercream will melt into a sad puddle. I’ve done it. It’s not pretty.
Step 9: Make the Buttercream
While the cupcakes cool, make the frosting. Beat the softened butter on medium speed for 2 minutes until smooth and creamy. Add the powdered sugar one cup at a time, beating on low speed after each addition. The mixture will look dry and crumbly at first. That’s okay. Add the heavy cream, one tablespoon at a time, and beat on medium-high speed for 3-4 minutes. The frosting should be light, fluffy, and spreadable. Add the vanilla extract and salt, and beat for another minute. Scrape the bowl well.
Step 10: Color the Frosting
Divide the frosting into two bowls. Leave the larger portion white. Take about ¼ cup of frosting and mix it with a few drops of black gel food coloring. You want a dark gray-black color. Transfer this to a small piping bag fitted with a small round tip. This will be for the mouths.
Step 11: Pipe the Ghosts
Fit a large piping bag with the large round tip. Fill it with the white frosting. Hold the bag perpendicular to the cupcake, about ½ inch above the surface. Squeeze gently, letting the frosting mound up in the center. As you pull up, ease the pressure slightly. The frosting should form a tall, rounded dome with a slight peak at the top. This is your ghost body. Repeat for all 12 cupcakes.
Step 12: Add the Faces
While the frosting is still soft, press two mini chocolate chips into each ghost for eyes. Place them close together for a cute look, or farther apart for a surprised expression. Then, using the black frosting bag, pipe a small mouth. Keep it simple. A little “o” shape for surprised, a curved line for happy, a wavy line for silly. Let each ghost have its own personality.
Step 13: Chill and Serve
Refrigerate the cupcakes for 15 minutes to set the frosting. This helps the ghosts hold their shape. Serve cold or at room temperature. They’re delicious either way.
Cooking Tips & Techniques
I’ve made enough mistakes with this recipe to fill a small notebook. Here are the things I wish someone had told me:
Room temperature ingredients matter. I know it’s annoying to wait, but cold butter doesn’t cream properly and cold eggs can make your batter curdle. Set everything out 30-45 minutes before you start. Your future self will thank you.
Don’t overmix the batter. The moment the flour disappears, stop. Overmixing develops gluten, which makes cupcakes tough and dense. You want tender, not tough. I learned this the hard way when my first batch came out like little hockey pucks.
The piping technique takes practice. Your first ghost might look more like a blob than a ghost. That’s fine. Keep going. The key is to start with steady pressure, then ease off as you pull up. If the peak is too pointy, dip your finger in water and gently press it down. If the ghost is too flat, you used too much pressure. Adjust for the next one.
Chill the frosting if it gets too soft. If your kitchen is warm, the buttercream might start to lose its shape. Pop the piping bag in the fridge for 10 minutes. It’ll firm up nicely.
Use a toothpick for the eyes. Dip a toothpick in water, then use it to pick up a chocolate chip and place it on the frosting. Your fingers will thank you. Chocolate chips are tiny and sticky, and trying to place them with your fingers is a recipe for frustration.
Make extra frosting. I always make a little more than I think I’ll need. Running out of frosting mid-pipe is a tragedy. Plus, extra frosting means you can practice your piping on a plate before committing to the cupcakes.
Variations & Adaptations
This recipe is surprisingly flexible. Here are some ways to make it your own:
Chocolate Ghost Cupcakes
Swap ¼ cup of the flour for ¼ cup of unsweetened cocoa powder. The chocolate base pairs beautifully with the vanilla buttercream. It’s like a little ghost in a chocolate costume.
Gluten-Free Version
Use a 1:1 gluten-free baking flour blend. I’ve tested this with Bob’s Red Mill and King Arthur Measure for Measure. Both worked perfectly. The texture is slightly more tender, but the flavor is spot on.
Vegan Ghost Cupcakes
Replace the butter with a good plant-based butter, use oat milk or almond milk, and substitute the eggs with flax eggs (1 tablespoon ground flaxseed mixed with 3 tablespoons water per egg). For the frosting, use a vegan butter and coconut cream instead of heavy cream. The ghosts won’t be quite as fluffy, but they’ll still be delicious.
Pumpkin Spice Ghost Cupcakes
Add ½ cup of pumpkin puree to the batter and replace the vanilla with pumpkin pie spice. Reduce the milk by 2 tablespoons to account for the extra moisture. These are perfect for a fall-themed party.
Different Ghost Expressions
Get creative with the faces. Use white chocolate chips for the eyes on darker cupcakes. Pipe little blush marks with pink frosting. Add tiny candy corn noses. Make one ghost look like it’s winking. The possibilities are endless.
Serving & Storage Suggestions
These ghosts are best served at room temperature. The cake is tender, the frosting is silky, and the chocolate chips add just a little crunch. If you’ve refrigerated them, let them sit out for about 20 minutes before serving.
For a Halloween party, arrange the ghosts on a black or orange platter. They look adorable clustered together, like a little ghost gathering. Add some fake cobwebs or plastic spiders around the platter for extra spooky vibes. If you’re feeling fancy, dust the ghosts with a little powdered sugar for a snow-dusted effect.
Storage: Store leftover cupcakes in an airtight container in the refrigerator for up to 5 days. The frosting will firm up, but the flavor will still be great. For longer storage, freeze the unfrosted cupcakes for up to 3 months. Wrap each one tightly in plastic wrap, then place them in a freezer bag. When you’re ready to serve, thaw them at room temperature, then frost and decorate.
Reheating: If you prefer your cupcakes warm, microwave them for 10-15 seconds. The frosting will soften but won’t melt completely. It’s a nice contrast to the cold chocolate chips.
Flavor Development: The cupcakes are actually better the next day. The flavors meld together and the texture becomes even more tender. So don’t stress about making them the day before. They’ll be perfect.
Nutritional Information & Benefits
Let’s be real—these are cupcakes. They’re a treat, not a health food. But here’s the nutritional breakdown per cupcake (based on 12 servings):
- Calories: 410
- Fat: 22g
- Carbohydrates: 53g
- Protein: 3g
- Sugar: 38g
- Sodium: 180mg
Health Benefits: The butter provides a small amount of vitamin A. The eggs add protein and B vitamins. The vanilla extract has antioxidant properties. But honestly, the real benefit here is joy. Baking connects us to the people we love. Sharing food creates memories. These cupcakes make people smile. That counts for something.
Dietary Considerations: This recipe contains dairy, eggs, and gluten. For allergen-friendly versions, see the variations section above. If you’re watching your sugar intake, you can reduce the sugar in the cake by ¼ cup without affecting the texture too much.
Conclusion
These cute ghost cupcakes with vanilla buttercream faces are more than just a Halloween treat. They’re a reminder that baking doesn’t have to be complicated to be special. Sometimes the simplest things—a good vanilla cake, a fluffy buttercream, a little imagination—are the ones that bring the most joy.
I love this recipe because it’s forgiving. It doesn’t demand perfection. The ghosts can be lopsided. The faces can be silly. That’s the whole point. Each ghost has its own personality, and that’s what makes them so charming.
So go ahead. Make a batch this weekend. Get the kids involved. Let them pipe their own ghosts. Laugh at the ones that look more like blobs than spirits. Take photos. Share them. And when someone asks for the recipe, send them this way.
I’d love to see your ghost creations! Leave a comment below and tell me how yours turned out. Did your ghosts have personalities? Did anyone try to eat the chocolate chips before they made it onto the cupcakes? Share your stories. I read every single one.
Happy Halloween, and happy baking!
Frequently Asked Questions
Can I use a cake mix instead of making the cupcakes from scratch?
Absolutely. If you’re short on time, a boxed vanilla cake mix works perfectly. Just follow the package instructions and bake according to the time listed above. The ghosts will still look adorable. No judgment here.
Why did my buttercream turn out runny?
Your butter was probably too soft. Butter should be softened but still cool to the touch. If it’s greasy or shiny, it’s too warm. Pop the frosting in the fridge for 15 minutes and then re-whip it. If it’s still runny, add more powdered sugar, one tablespoon at a time, until it firms up.
How do I get smooth ghost shapes?
Practice and consistency. Make sure your frosting is the right texture—not too stiff, not too soft. Hold the piping bag steady and use even pressure. If the ghost has a pointy peak, dip your finger in water and gently press it down. The water keeps the frosting from sticking to your finger.
Can I freeze the decorated cupcakes?
I don’t recommend it. The chocolate chips can get condensation when thawing, and the frosting might lose its texture. It’s better to freeze the unfrosted cupcakes and decorate them fresh. But if you’re in a pinch, freeze them in a single layer in an airtight container for up to 1 month.
How far in advance can I make these for a party?
You can bake the cupcakes up to 2 days in advance. Store them in an airtight container at room temperature. Make the frosting and decorate the day of the party for the best presentation. The ghosts will hold their shape for about 24 hours in the refrigerator.
Pin This Recipe!
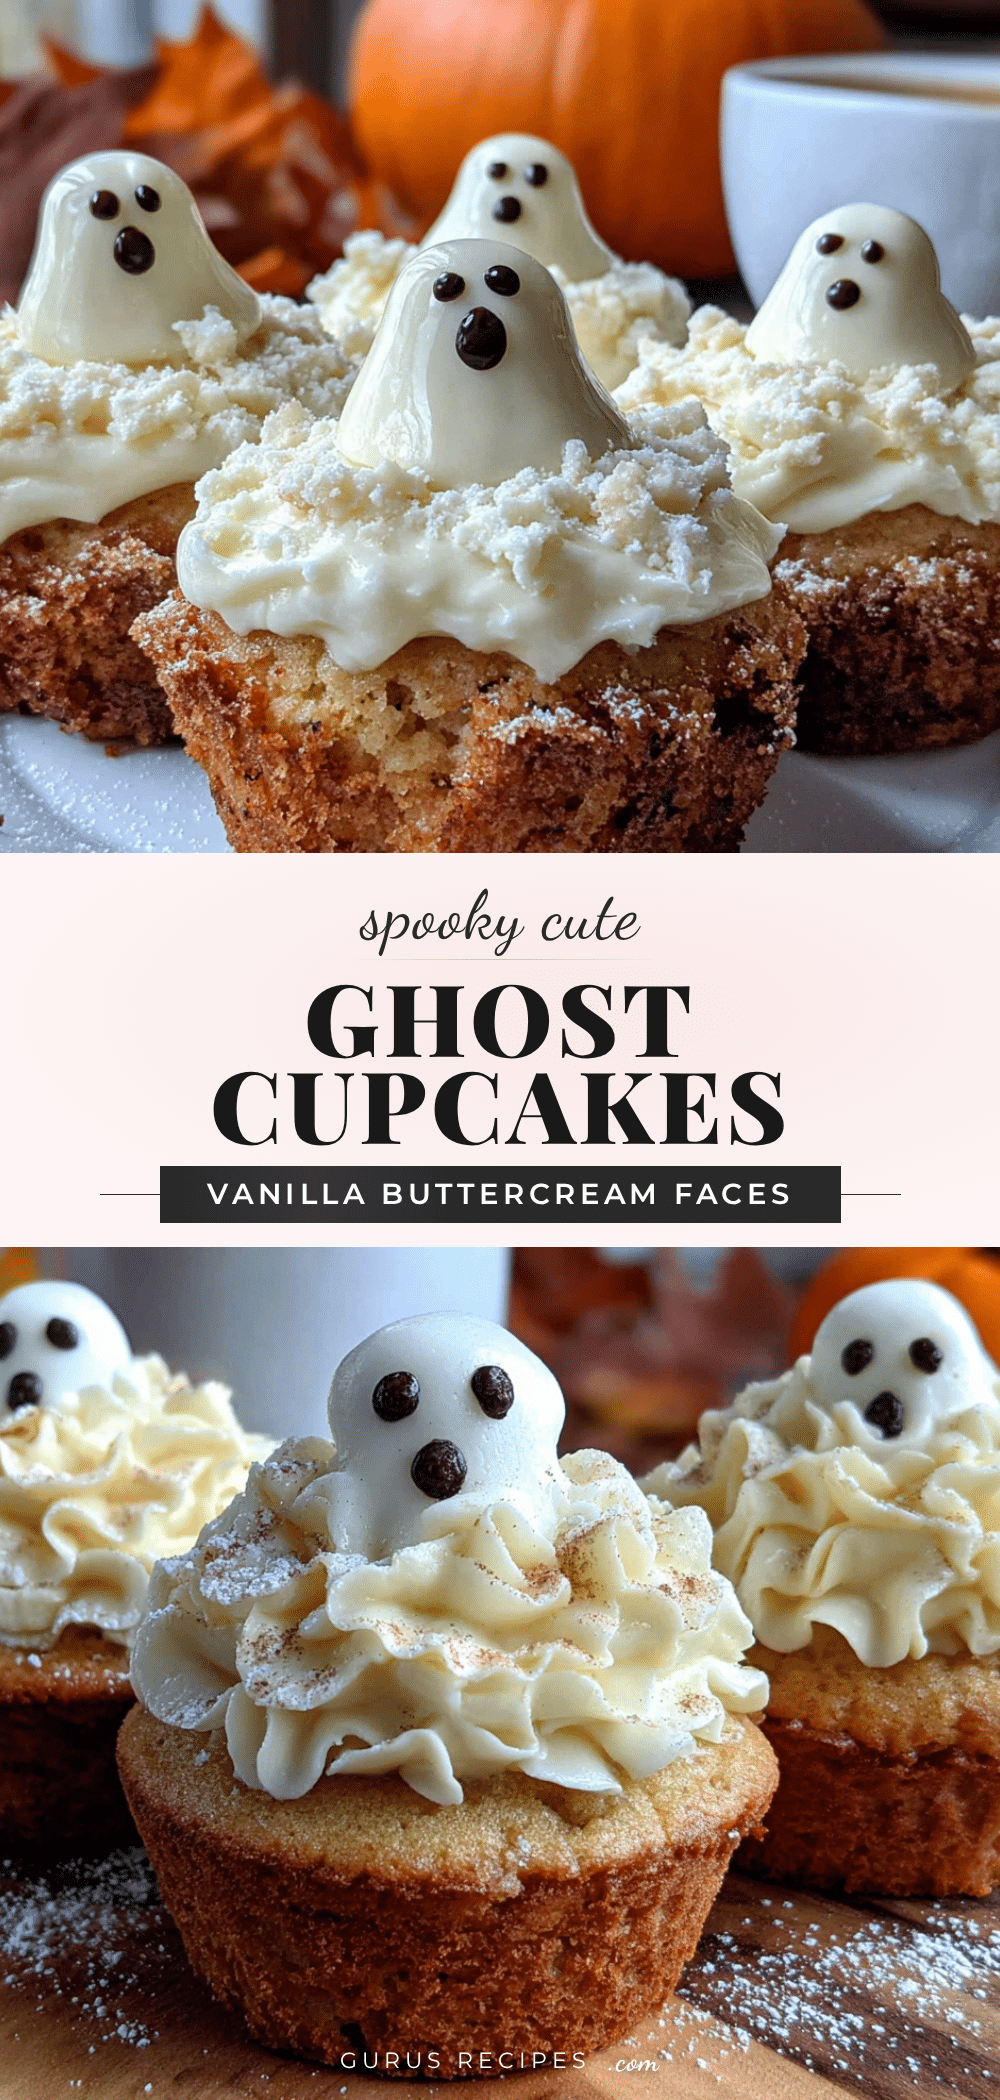

Cute Ghost Cupcakes: Easy Vanilla Buttercream Faces
Adorable ghost cupcakes with vanilla buttercream faces that are simple enough for kids to help with but cute enough to steal the show at any Halloween party. Each ghost has its own personality, making them a crowd-pleasing treat.
- Total Time: 45 minutes
- Yield: 12 servings 1x
Ingredients
- 1 ½ cups (188g) all-purpose flour
- 1 cup (200g) granulated sugar
- ½ cup (113g or 1 stick) unsalted butter, softened
- 1 ½ teaspoons baking powder
- ¼ teaspoon baking soda
- ½ teaspoon salt
- 2 large eggs, room temperature
- ¾ cup (180ml) whole milk, room temperature
- 2 teaspoons vanilla extract
- 1 cup (226g or 2 sticks) unsalted butter, softened (for frosting)
- 4 cups (480g) powdered sugar, sifted if lumpy
- 3–4 tablespoons (45-60ml) heavy cream
- 2 teaspoons vanilla extract (for frosting)
- ¼ teaspoon salt (for frosting)
- ¼ cup mini chocolate chips
- Black gel food coloring
Instructions
- Preheat oven to 350°F (175°C). Line a 12-cup muffin pan with paper liners.
- In a medium bowl, whisk together flour, baking powder, baking soda, and salt for about 20 seconds.
- In a large bowl, beat softened butter and granulated sugar on medium speed for 3-4 minutes until light and fluffy. Scrape down bowl.
- Add eggs one at a time, beating well after each. Add vanilla extract and beat until combined. Scrape bowl again.
- With mixer on low, add one-third of flour mixture, mixing until just combined. Add half of milk, mix. Add another third of flour, mix. Add remaining milk, mix. Add final third of flour, mixing until just combined. Do not overmix.
- Divide batter evenly among 12 liners, filling each about two-thirds full.
- Bake for 18-22 minutes, until a toothpick inserted in center comes out clean or with a few moist crumbs. Cool in pan for 5 minutes, then transfer to wire rack to cool completely.
- For buttercream: Beat softened butter on medium speed for 2 minutes until smooth. Add powdered sugar one cup at a time, beating on low. Add heavy cream one tablespoon at a time, then beat on medium-high for 3-4 minutes until light and fluffy. Add vanilla and salt, beat for 1 minute.
- Divide frosting: Keep most white. Mix about ¼ cup with black gel food coloring until dark gray-black. Transfer to a piping bag fitted with a small round tip.
- Fit a large piping bag with a large round tip (Wilton 1A) and fill with white frosting. Pipe ghost shapes: hold bag perpendicular to cupcake, squeeze gently to form a tall rounded dome with a slight peak.
- While frosting is soft, press two mini chocolate chips into each ghost for eyes. Use black frosting to pipe small mouths (e.g., ‘o’ shape, curved line, wavy line).
- Refrigerate cupcakes for 15 minutes to set frosting. Serve cold or at room temperature.
Notes
Room temperature ingredients are crucial for best results. Don’t overmix the batter. Practice piping on a plate first. Chill frosting if it gets too soft. Use a toothpick to place chocolate chips. Make extra frosting to avoid running out.
- Prep Time: 15 minutes
- Cook Time: 20 minutes
- Category: Dessert
- Cuisine: American
Nutrition
- Serving Size: 1 cupcake
- Calories: 410
- Sugar: 38
- Sodium: 180
- Fat: 22
- Saturated Fat: 13
- Carbohydrates: 53
- Fiber: 1
- Protein: 3
Keywords: ghost cupcakes, Halloween cupcakes, vanilla buttercream, easy Halloween treats, ghost faces, kid-friendly Halloween


