
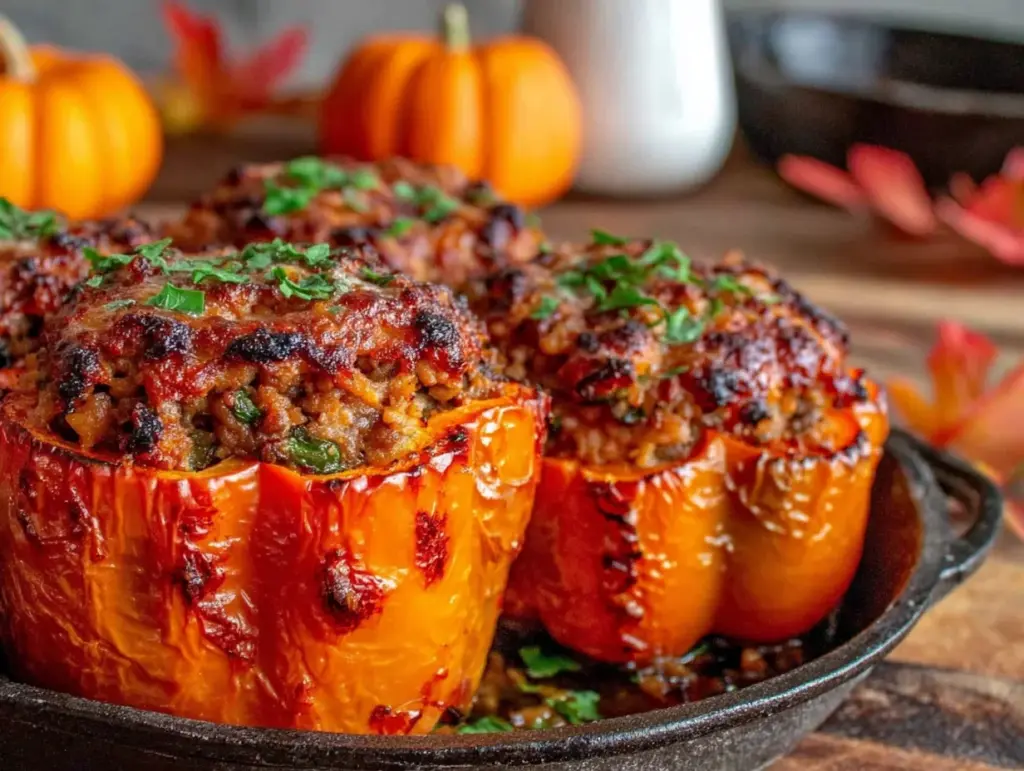
My neighbor, a guy named Leo who I’d only ever seen grilling in the rain, wasn’t trying to impress anyone. I’d stopped by to borrow a lug wrench after my tire decided to give up on a Tuesday, and the smell of garlic and oregano hit me before I even got to his driveway. It was early October, and the air had that crisp, golden-hour feeling. He was pulling a baking sheet out of his oven, and on it were these little orange bell peppers with faces carved into them, grinning back at me like tiny, edible jack-o’-lanterns. I just stood there, holding the wrench, completely forgetting why I’d walked over.
Leo just shrugged and said, “Oh, it’s just dinner. The kids get a kick out of it.” He wasn’t trying to be clever or creative. He was just trying to get a meal on the table that wasn’t a total fight with his three-year-old. The casualness of it was the whole point. He wasn’t a food blogger or a chef. He was a guy who worked construction and didn’t want to order pizza again. That night, I went home with the wrench and a new obsession. I made my own version the next day, and honestly? It was the most fun I’ve had cooking on a weeknight in years. You know that feeling when something is so simple it makes you wonder why you never thought of it?
This isn’t gourmet cooking. It’s wholesome, filling, and it makes the whole kitchen smell like a cozy fall evening. The best part? The faces are totally customizable. You can make them happy, scary, or just plain silly. It turns a Tuesday night into a mini-event without any extra stress. Maybe you’ve been there, staring at a pack of bell peppers wondering what to do that’s not another stir-fry. This is your answer. It’s the recipe that stayed with me because it proved that a little bit of fun can turn a chore into a moment you actually look forward to.
Why You’ll Love This Recipe
Let’s be real for a second. Weeknight dinners are a battlefield. You’re tired, the kids are hangry, and the last thing you want is a complicated recipe with a mile-long ingredient list. These Quick Jack-O-Lantern Stuffed Bell Peppers are the exact opposite of that. They are a win-win-win situation. I’ve tested this method about a dozen times now, tweaking the filling to make sure it stays juicy and the peppers stay firm enough to hold their carved smiles. Here is why this recipe is going to become your new fall favorite.
- Quick & Easy: From start to table in under 45 minutes. Seriously. The filling cooks while you carve the peppers, so you’re multitasking like a pro.
- Simple Ingredients: Ground beef (or turkey!), rice, tomato sauce, cheese, and basic spices. No trips to a specialty store. You probably have most of this in your pantry right now.
- Perfect for Picky Eaters: When dinner looks like a little pumpkin with a face, the battle is half won. My nephew, who swears he hates vegetables, ate two of these. The visual fun completely disarms the “ew, green stuff” reflex.
- Crowd-Pleaser: Adults love the nostalgia, and kids love the novelty. It’s a guaranteed hit for Halloween parties or just a fun October dinner.
- Unbelievably Delicious: The smoky paprika and garlic blend perfectly with the sweet bell pepper. The cheese on top gets all bubbly and golden. It’s comfort food that feels like a celebration.
What makes this recipe different from the rest is the “carve-and-stuff” technique. Instead of just cutting the top off, we carve a face into the side. This small change makes the entire eating experience more fun. It’s not just dinner; it’s an activity. It’s the kind of meal that makes you close your eyes after the first bite because it tastes as good as it looks. It’s a little bit of Halloween magic on a plate, without any of the scary cleanup.
What Ingredients You Will Need
This recipe uses simple, wholesome ingredients to deliver big flavor without the fuss. Everything is easy to find and easy to swap if you need to. Here is what you will need to bring these little guys to life.
- For the Peppers:
- 4 large orange bell peppers (look for ones that are squat and round, like a pumpkin, for the best face-carving surface)
- 1 tablespoon olive oil (for brushing the peppers before baking)
- For the Filling:
- 1 lb ground beef (85/15 is perfect; you can also use ground turkey or chicken)
- 1 small yellow onion, finely diced (about 1 cup)
- 2 cloves garlic, minced
- 1 cup cooked white or brown rice (a great way to use up leftovers!)
- 1 can (15 oz) tomato sauce
- 1 teaspoon smoked paprika (this gives the filling a deep, cozy flavor)
- 1 teaspoon dried oregano
- ½ teaspoon salt
- ¼ teaspoon black pepper
- 1 cup shredded mozzarella cheese (plus extra for topping)
- For the Faces:
- A small, sharp paring knife
- A spoon for scooping
Ingredient Tips & Swaps: I personally prefer using Hunt’s tomato sauce for its smooth texture, but any brand works. For the rice, jasmine or basmati adds a nice fragrance. If you are gluten-free, just make sure your rice is certified GF. To make this a low-carb option, swap the rice for 1 cup of riced cauliflower (sauté it with the onions until soft). For a vegetarian version, replace the meat with one can of black beans (rinsed and drained) and an extra ½ cup of corn. You can also add a pinch of cayenne pepper to the filling if you like a little heat. I always add a dash of Worcestershire sauce to my ground beef for an extra savory kick—it’s not traditional, but it adds a depth that my family loves.
Equipment Needed
You don’t need a fancy kitchen to make these. Here is the basic gear that will make the process smooth and easy. I’ve learned the hard way that using the right tool for carving makes a huge difference.
- Baking Sheet: A standard half-sheet pan works perfectly. Line it with parchment paper for the easiest cleanup ever.
- Paring Knife: This is your most important tool. A small, sharp knife gives you control for carving the faces. A dull knife will just crush the pepper. Trust me, I tried it.
- Chef’s Knife: For dicing the onion and mincing the garlic.
- Large Skillet: A 12-inch skillet is ideal for browning the meat and cooking the filling.
- Mixing Spoon: A wooden spoon or a silicone spatula works best.
- Measuring Cups & Spoons: For accuracy, especially with the spices.
- Small Bowl: For mixing the tomato sauce and spices before adding to the meat.
If you don’t have a paring knife, a small serrated steak knife can also work for carving, just be careful not to saw through the pepper too aggressively. A melon baller is actually amazing for scooping out the seeds and membranes cleanly, but a regular spoon does the job just fine. Budget-friendly tip: a basic $5 paring knife from the grocery store is all you need—just keep it sharp!
Preparation Method
Alright, let’s get cooking! This method is broken down into simple steps. I’ve added some notes from my own trials so you can avoid the little mistakes I made. The whole process takes about 40 minutes from start to finish.
- Preheat and Prep (5 minutes): Preheat your oven to 375°F (190°C). Line your baking sheet with parchment paper. This makes cleanup a breeze.
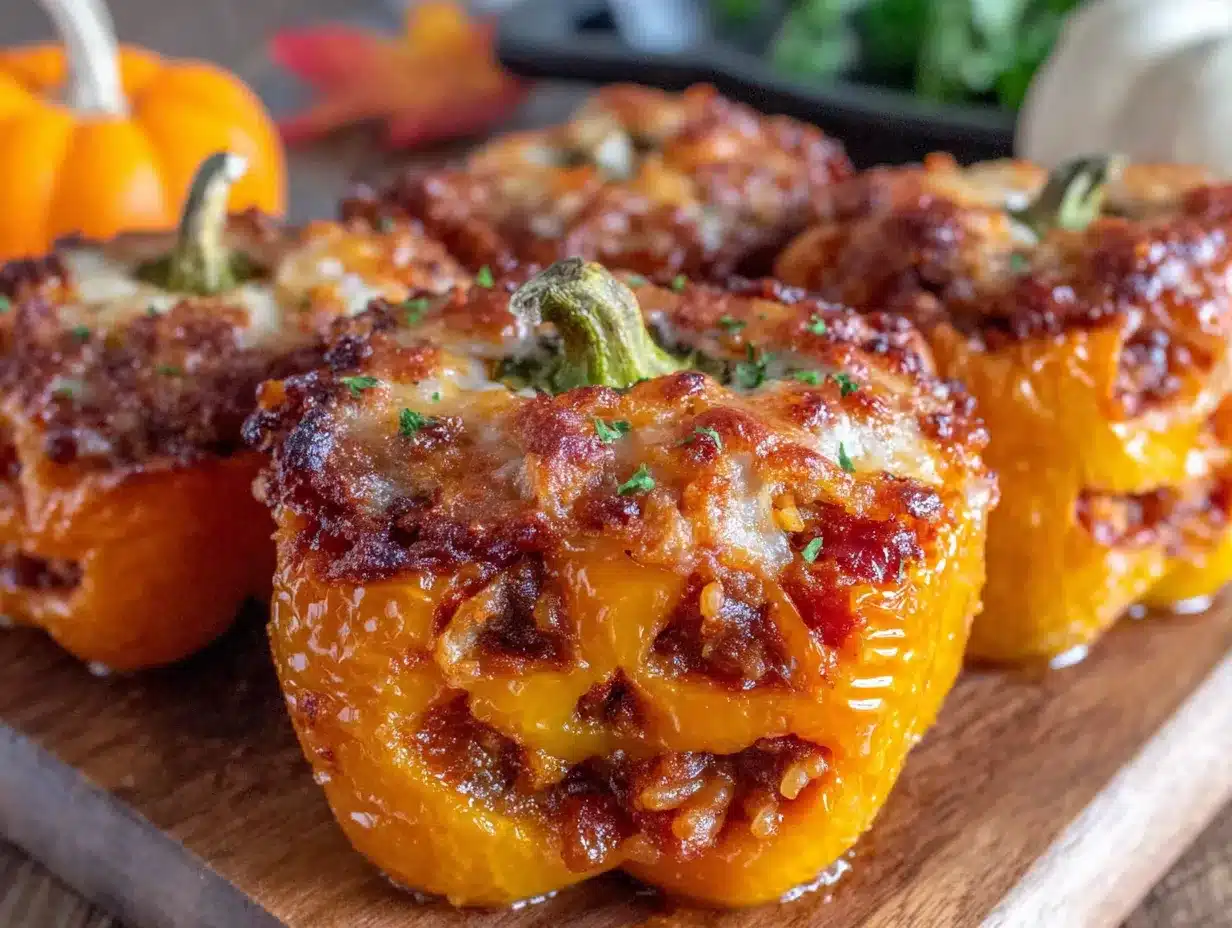
- Carve the Jack-O’-Lanterns (10 minutes): Wash and dry your bell peppers. Using your paring knife, carefully cut a small circle around the stem on the top of each pepper. Lift off the “lid” and set it aside (you can chop it up and add it to the filling if you want!). Now, using a spoon, scoop out all the seeds and white membranes from inside the pepper. Here is the key: Don’t throw away the lids! I once tossed them and regretted it. Now, I use the spoon to scoop out the seeds from the lid too. Next, onto the carving. Use your paring knife to cut small triangles for eyes and a zigzag or crescent shape for a mouth. You can make them happy or scary. Go slow—it’s easier to cut a little more than to fix a cut you made too big. I usually cut the eyes first to establish the spacing.
- Par-Bake the Peppers (10 minutes): Place the hollowed-out peppers (and their lids, if you kept them) on the baking sheet. Brush the outside lightly with olive oil. This helps them soften and get a nice sheen. Bake for 10 minutes. This par-baking step is crucial—it prevents the peppers from being crunchy when you eat them. I skipped this the first time, and the peppers were too firm to enjoy. While they bake, start the filling.
- Cook the Filling (10 minutes): While the peppers are in the oven, heat your large skillet over medium-high heat. Add the ground beef and cook, breaking it up with your spoon, until it’s browned (about 5-7 minutes). Drain off any excess fat. Add the diced onion and cook for 2 minutes until it softens. Add the minced garlic and cook for 30 seconds until fragrant. Don’t burn the garlic! It will turn bitter.
- Season and Simmer (5 minutes): Reduce the heat to low. In your small bowl, mix the tomato sauce with the smoked paprika, oregano, salt, and pepper. Pour this mixture into the skillet with the meat. Stir in the cooked rice. Let it all simmer together for 2-3 minutes, stirring occasionally, until it’s thickened slightly. Turn off the heat and stir in 1 cup of the shredded mozzarella cheese. The filling should be moist but not soupy.
- Stuff the Peppers (5 minutes): Take the par-baked peppers out of the oven. Using a spoon, carefully stuff each pepper with the meat and rice mixture. Pack it in gently but firmly. Don’t overstuff, or the filling will spill out during baking. I usually mound it just slightly above the top edge of the pepper. Sprinkle the remaining mozzarella cheese generously over the top of each stuffed pepper.
- Bake and Serve (15 minutes): Place the stuffed peppers back in the oven (uncovered) and bake for 15 minutes, or until the cheese is melted and bubbly and the peppers are tender. If you want the cheese extra golden, turn on the broiler for the last 1-2 minutes. Watch it closely! Broilers work fast, and you don’t want a burnt jack-o’-lantern. Let them rest on the baking sheet for 5 minutes before serving. They will be very hot!
Cooking Tips & Techniques
Over the last few weeks of testing this recipe, I’ve had a few failures that taught me a lot. Here are the best tips I can give you to make sure your first batch is perfect.
- The Peppers Need Support: If your peppers are wobbly on the baking sheet, don’t panic. You can use crumpled-up aluminum foil “nests” to hold them steady. Just shape a piece of foil into a ring and place the pepper on top. It keeps them from tipping over and spilling their filling.
- Don’t Overcook the Filling: The filling is already cooked before it goes into the oven. The final bake is just to melt the cheese and soften the pepper. If you bake them too long (over 20 minutes), the peppers can get mushy and lose their shape. Stick to the 15-minute timer.
- Sharp Knife, Happy Carving: I cannot stress this enough. A dull knife will crush the pepper walls and make the cuts look ragged. A sharp paring knife will glide through the pepper skin like butter. If your knife is dull, you can use a small serrated knife instead—it saws through the skin more easily.
- Use Leftover Rice: This is a game-changer for weeknight speed. If you have leftover rice from Chinese takeout or a previous dinner, you can skip the step of cooking it fresh. Cold rice works perfectly in the filling. Just break it up with your fingers before adding it to the pan.
- Multitasking is Your Friend: While the peppers are par-baking, you can cook the meat. While the meat is browning, you can dice the onion. This recipe is designed to be a symphony of parallel tasks. The total active time is only about 15-20 minutes.
Variations & Adaptations
One of the best things about stuffed peppers is how flexible they are. You can change almost everything and still end up with a delicious dinner. Here are a few of my favorite ways to mix it up.
- The “Taco Tuesday” Version: Swap the Italian seasoning for a packet of taco seasoning. Replace the mozzarella with shredded cheddar or Monterey Jack. Top with salsa, sour cream, and fresh cilantro after baking. It’s a completely different flavor profile, and it’s just as fast.
- The “Mediterranean” Version: Use ground lamb or turkey. Swap the rice for cooked quinoa. Add ½ cup of crumbled feta cheese, ¼ cup of chopped Kalamata olives, and a handful of fresh spinach to the filling. Top with a drizzle of tzatziki sauce before serving.
- The “Vegetarian Black Bean” Version: As mentioned before, replace the meat with one can of black beans (rinsed and drained) and ½ cup of frozen corn. Add a teaspoon of cumin and a pinch of chili powder to the tomato sauce. This version is incredibly hearty and packed with fiber.
- The “Buffalo Chicken” Version: Use shredded rotisserie chicken instead of ground beef. Mix it with ½ cup of buffalo sauce and 4 oz of cream cheese (softened). Stuff the peppers and top with blue cheese crumbles instead of mozzarella. This is a huge hit for game day.
- The “Breakfast” Version: Who says you can’t have these for breakfast? Fill the peppers with scrambled eggs, cooked breakfast sausage, and shredded cheddar cheese. Bake just until the cheese melts. Serve with a side of hot sauce. I tried this on a lazy Sunday, and it was surprisingly amazing.
Serving & Storage Suggestions
These peppers are best served hot, right out of the oven. The cheese should be gooey, and the pepper should be tender enough to cut with a fork. Here is how to make the most of them.
- Serving Temperature: Let them rest for 5 minutes after baking. This allows the filling to set slightly, so it doesn’t fall apart when you take a bite. They are delicious at room temperature too, but the cheese is best when it’s hot and stretchy.
- What to Serve With Them: A simple side salad with a tangy vinaigrette cuts through the richness of the filling perfectly. You can also serve them with a side of crusty bread to soak up any extra sauce from the pan. For a complete fall meal, pair them with a bowl of roasted butternut squash soup.
- Storage Instructions: Store any leftover stuffed peppers in an airtight container in the refrigerator for up to 4 days. The flavors actually meld together overnight, making them taste even better the next day. I often make a double batch just for leftovers.
- Reheating Methods: The best way to reheat them is in the oven at 350°F (175°C) for 15-20 minutes, or until warmed through. You can also use the microwave in a pinch (about 2 minutes on high), but the pepper will be softer. For a crispy top, reheat them in an air fryer at 350°F for 5-7 minutes.
- Freezer Tips: These freeze beautifully. Assemble the peppers completely (stuff and top with cheese) but do not bake them. Wrap each pepper tightly in plastic wrap, then place them in a freezer-safe bag. They will keep for up to 3 months. To bake from frozen, place them on a baking sheet, cover with foil, and bake at 375°F for 45 minutes. Remove the foil for the last 10 minutes to brown the cheese.
Nutritional Information & Benefits
While this is a comfort food recipe, it’s also surprisingly balanced. A single stuffed pepper (made with 85/15 ground beef and mozzarella) provides a good mix of protein, carbs, and veggies. Here is a rough estimate for one serving.
| Nutrient | Amount Per Serving |
|---|---|
| Calories | ~450 kcal |
| Protein | 32g |
| Carbohydrates | 28g |
| Fat | 22g |
| Fiber | 5g |
| Sugar | 8g |
| Vitamin C | 190% DV |
| Iron | 20% DV |
Pin This Recipe!
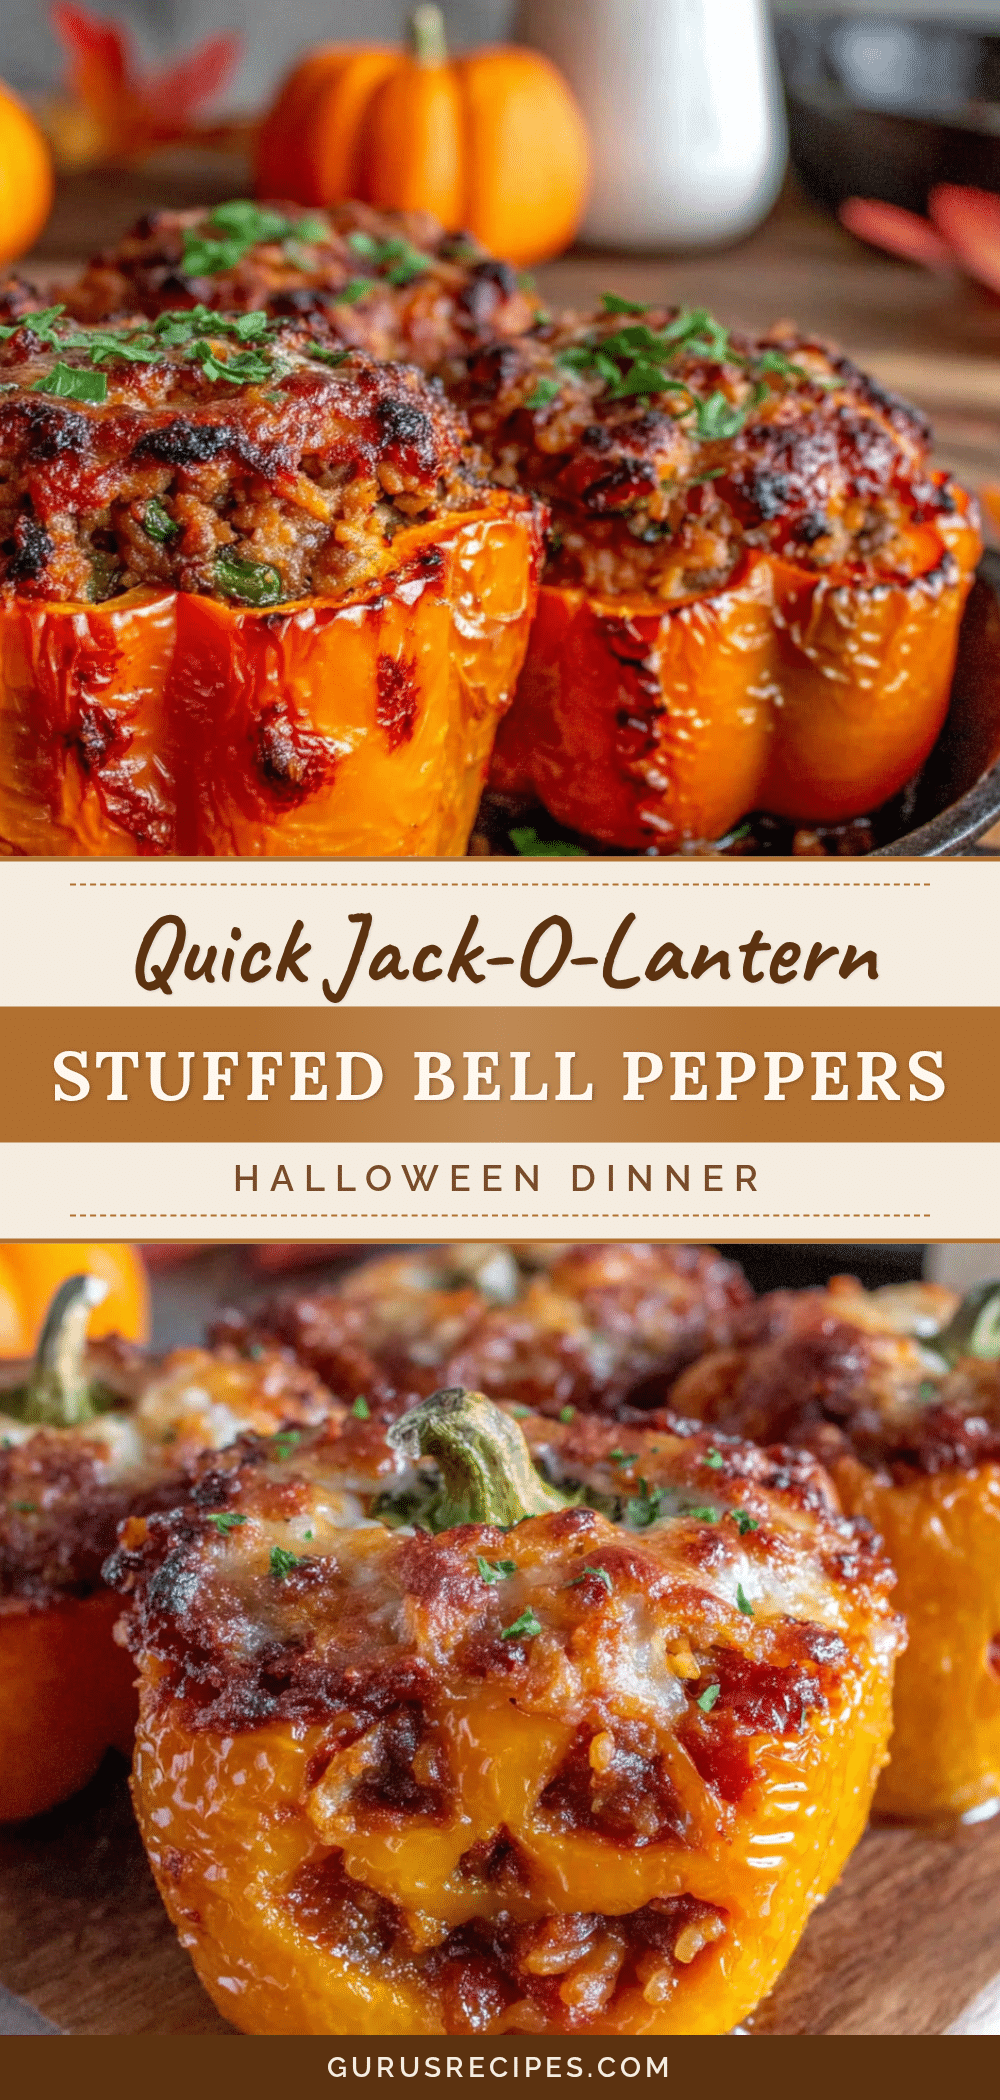

Easy Best Jack-O-Lantern Stuffed Bell Peppers Recipe
These fun and festive Jack-O-Lantern Stuffed Bell Peppers are a quick and easy weeknight dinner that turns a simple meal into a mini-event. With a savory ground beef and rice filling, they’re perfect for picky eaters and Halloween parties alike.
- Total Time: 45 minutes
- Yield: 4 servings 1x
Ingredients
- 4 large orange bell peppers
- 1 tablespoon olive oil
- 1 lb ground beef (85/15)
- 1 small yellow onion, finely diced (about 1 cup)
- 2 cloves garlic, minced
- 1 cup cooked white or brown rice
- 1 can (15 oz) tomato sauce
- 1 teaspoon smoked paprika
- 1 teaspoon dried oregano
- ½ teaspoon salt
- ¼ teaspoon black pepper
- 1 cup shredded mozzarella cheese (plus extra for topping)
Instructions
- Preheat oven to 375°F (190°C). Line a baking sheet with parchment paper.
- Wash and dry bell peppers. Cut a small circle around the stem on top of each pepper to create a lid. Scoop out seeds and membranes. Carve faces into the peppers using a small paring knife (e.g., triangles for eyes, zigzag for mouth).
- Place hollowed peppers and lids on the baking sheet. Brush lightly with olive oil. Bake for 10 minutes (par-bake).
- While peppers bake, heat a large skillet over medium-high heat. Add ground beef and cook until browned (5-7 minutes). Drain excess fat. Add onion and cook 2 minutes until softened. Add garlic and cook 30 seconds.
- Reduce heat to low. In a small bowl, mix tomato sauce with smoked paprika, oregano, salt, and pepper. Pour into skillet with meat. Stir in cooked rice. Simmer 2-3 minutes until thickened. Remove from heat and stir in 1 cup mozzarella cheese.
- Remove par-baked peppers from oven. Stuff each pepper with the meat and rice mixture, packing gently. Sprinkle remaining mozzarella cheese on top.
- Bake stuffed peppers (uncovered) for 15 minutes, until cheese is melted and bubbly and peppers are tender. Optionally, broil for 1-2 minutes for extra golden cheese. Let rest 5 minutes before serving.
Notes
For a flat base, cut a thin slice off the bottom of each pepper to prevent rolling. Use leftover rice to save time. For a vegetarian version, replace ground beef with 1 can black beans (rinsed) and ½ cup corn. For a low-carb option, swap rice for riced cauliflower. To freeze, assemble peppers without baking, wrap tightly, and freeze up to 3 months. Bake from frozen at 375°F for 45 minutes (covered with foil, remove foil last 10 minutes).
- Prep Time: 15 minutes
- Cook Time: 30 minutes
- Category: Main Course
- Cuisine: American
Nutrition
- Serving Size: 1 stuffed pepper
- Calories: 450
- Sugar: 8
- Sodium: 800
- Fat: 22
- Saturated Fat: 9
- Carbohydrates: 28
- Fiber: 5
- Protein: 32
Keywords: stuffed bell peppers, jack-o-lantern peppers, Halloween dinner, easy weeknight dinner, ground beef recipe, kid-friendly


