
I burned the caramel sauce three times before realizing I was rushing it — and honestly, I didn’t even like salted caramel ice cream that much at first. It was one of those stubborn cravings where I kept trying to get the balance right but kept overcooking the caramel or ending up with icy, grainy ice cream. I usually avoid sweets that seem complicated, but this easy creamy no-churn salted caramel ice cream changed the game for me. The first time I got it right, it wasn’t perfect—more like pleasantly imperfect. Yet, that rich, buttery caramel swirled with just the right amount of salt was so addictive I found myself making it again, and again. The texture? Oh, the texture took a few tries to nail down too. No-churn ice creams can be tricky if you don’t get the whipping just right.
What finally stuck was a simple method that skips the ice cream maker and uses pantry staples most of us already have. It’s creamy without being heavy, and the salted caramel ribbons add a touch of indulgence that feels special but isn’t fussy. This recipe has become my go-to for when I want a homemade treat without spending hours fussing. And although I used to think caramel was a finicky beast, this one’s foolproof once you get the hang of it. The quiet mix of sweet and salt, the cool creaminess melting in your mouth—that’s what makes this ice cream linger in my mind (and freezer) long after the scoops are gone.
Why You’ll Love This Recipe
- Quick & Easy: Comes together in about 15 minutes of active prep, then just freeze. Perfect for busy nights or when you want a last-minute dessert without the ice cream machine hassle.
- Simple Ingredients: No fancy or hard-to-find items here. Basic pantry staples like sweetened condensed milk, heavy cream, and caramel sauce make this recipe accessible for everyone.
- Perfect for Any Occasion: Whether it’s a spontaneous weekend treat, a summer BBQ dessert, or a cozy night in, this ice cream fits right in.
- Crowd-Pleaser: Kids and adults alike go crazy for the salty-sweet combo. It’s a guaranteed hit at family dinners or casual get-togethers.
- Unbelievably Delicious Texture: Creamy, smooth, and luscious—all without churning. The salted caramel swirls create bursts of flavor that make every scoop exciting.
- What Sets It Apart: I use a homemade salted caramel sauce that’s cooked low and slow to get that perfect golden color and depth of flavor. Plus, folding in softly whipped cream (not stiff peaks) keeps the texture light and creamy instead of icy.
- This isn’t just a dessert—it’s the kind of ice cream that makes you pause mid-bite and savor the moment.
What Ingredients You Will Need
This recipe uses simple, wholesome ingredients to deliver bold flavor and satisfying texture without the fuss. Most are pantry staples, and substitutions are easy if needed.
- Sweetened condensed milk (1 can, 14 oz / 397 g): The magic sweetener and base that keeps the ice cream creamy without churning.
- Heavy cream (2 cups / 480 ml): Chilled, to whip softly for that airy texture.
- Homemade salted caramel sauce (about 1 cup / 240 ml): I recommend making your own with granulated sugar, butter, cream, and sea salt for the best flavor. (You can use store-bought, but homemade tastes richer.)
- Sea salt (1/2 tsp): For sprinkling in the caramel and a touch extra on top. Maldon or fleur de sel works beautifully for texture and flavor bursts.
- Vanilla extract (1 tsp): Adds warmth and depth to the ice cream base.
Ingredient Tips: Use full-fat heavy cream for the best creamy texture. If you want a dairy-free version, swap the cream with coconut cream and use a vegan condensed milk alternative. For the caramel sauce, I prefer using raw cane sugar or organic sugar—it caramelizes more evenly.
Equipment Needed
- Mixing bowls: Large enough to whip the cream comfortably without splashing.
- Electric hand mixer or stand mixer: Essential for whipping the cream to the right softness quickly. You can try a whisk, but it takes much longer and can overwork your arms.
- Rubber spatula: To gently fold the whipped cream into the condensed milk and swirl in the caramel without deflating the mixture.
- Loaf pan or airtight container: For freezing the ice cream. I like using a metal loaf pan for even freezing, but any freezer-safe container works.
- Small saucepan: Needed to make the salted caramel sauce if you’re making it fresh.
I’ve tried making this in plastic containers, and it works fine, but metal chills faster. Also, keeping your mixing bowl and beaters chilled in the fridge before whipping the cream helps speed things up and improves texture.
Preparation Method
- Make the salted caramel sauce (if not using store-bought): In a medium saucepan over medium heat, melt 1 cup (200 g) granulated sugar, stirring constantly until it turns a deep amber color (about 8-10 minutes). Be patient here—rushing causes burning. Remove from heat and quickly stir in 6 tbsp (85 g) unsalted butter until melted. Slowly add 1/2 cup (120 ml) heavy cream while stirring. Return to low heat for 1-2 minutes to combine well. Stir in 1/2 tsp sea salt. Let cool to room temperature before using.
- Whip the cream: Pour 2 cups (480 ml) chilled heavy cream into a large bowl. Using an electric mixer, whip on medium speed until soft peaks form (about 3-4 minutes). Soft peaks mean the cream holds shape but still folds over gently when you lift the beater.
- Combine base ingredients: In another bowl, mix the entire can of sweetened condensed milk with 1 tsp vanilla extract until smooth.
- Fold whipped cream into condensed milk: Gently fold about one-third of the whipped cream into the condensed milk mixture to lighten it. Then fold in the remaining cream carefully to avoid deflating the airiness.
- Layer and swirl caramel: Pour half of the ice cream base into your freezing container. Drizzle half of the cooled salted caramel sauce over it. Use a butter knife or skewer to swirl the caramel through the ice cream gently. Repeat with the remaining ice cream base and caramel.
- Freeze: Cover the container tightly with plastic wrap or a lid. Freeze for at least 6 hours, preferably overnight, until firm.
- Serving: Let the ice cream sit at room temperature for 5 minutes before scooping for easier serving. Enjoy the creamy texture and salty-sweet caramel ribbons!
Note: If your caramel hardens too much in the swirl, you can soften it slightly by microwaving a small amount briefly before swirling next time.
Cooking Tips & Techniques
- Patience with caramel is key. I learned the hard way that stirring too fast or turning the heat too high burns the sugar quickly. The color should be a warm amber—not too dark or it’ll taste bitter.
- Soft peaks for whipped cream are perfect here. Too stiff and the ice cream feels dense; too loose and it won’t hold the air that keeps it creamy.
- Folding gently is not just a fancy word. I sometimes get impatient and mix too vigorously, which deflates the cream and makes the ice cream icy. Take your time to preserve the fluffiness.
- Freezer temperature matters—too warm and the texture suffers. I keep my freezer set as cold as possible without freezing other items solid.
- Use a metal loaf pan if you can. It chills faster and helps create a smoother texture compared to plastic tubs.
- Don’t skip the vanilla extract—it adds a subtle complexity that balances the caramel’s richness beautifully.
Variations & Adaptations
- Chocolate Salted Caramel: Swirl in some melted semi-sweet chocolate or add mini chocolate chips for a double-decker delight.
- Dairy-Free Version: Use full-fat coconut cream instead of heavy cream, and swap sweetened condensed milk for a coconut condensed milk alternative. The flavor changes, but the creamy texture remains.
- Spiced Caramel: Add a pinch of cinnamon or cayenne to the caramel sauce for a warm, spicy kick that’s especially nice in autumn.
- Nutty Twist: Mix in toasted pecans or walnuts with the caramel swirl for crunch and extra flavor.
- Fruity Salted Caramel: Try serving with fresh berries or a drizzle of homemade berry coulis, similar to the fresh strawberry galette with vanilla glaze I made recently that pairs so well with creamy desserts.
Personally, I once added a splash of bourbon to the caramel sauce—it brought an adult edge that was surprisingly addictive.
Serving & Storage Suggestions
This ice cream is best served slightly softened for easy scooping. I like to let it rest at room temperature for about 5 minutes before serving.
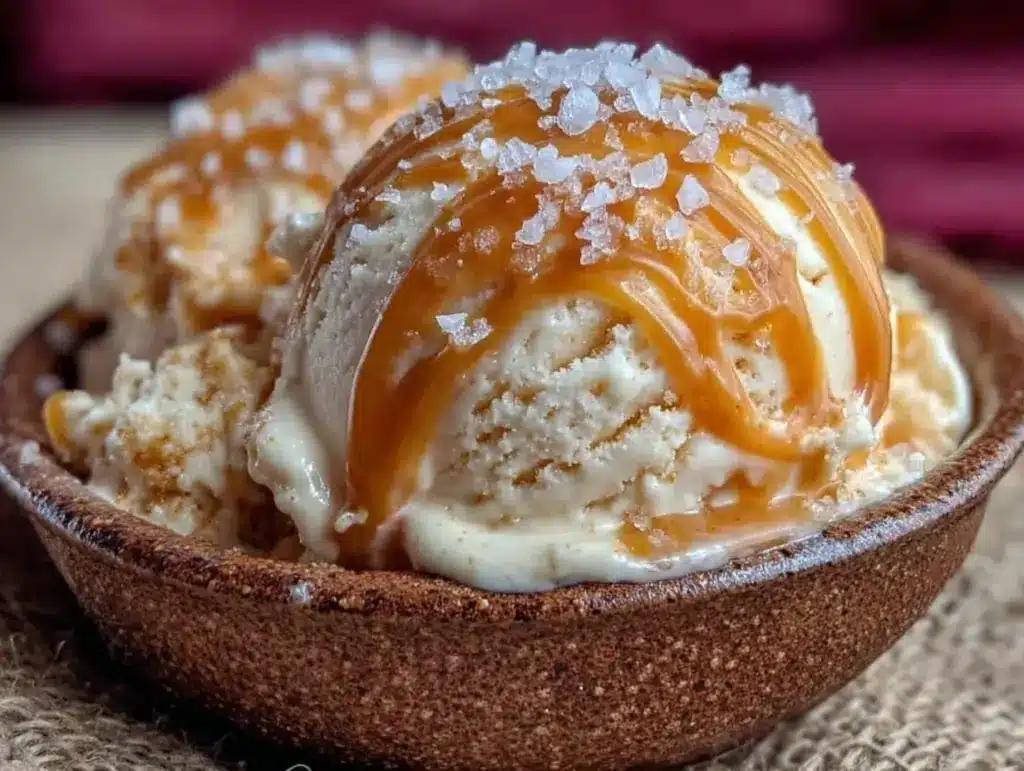
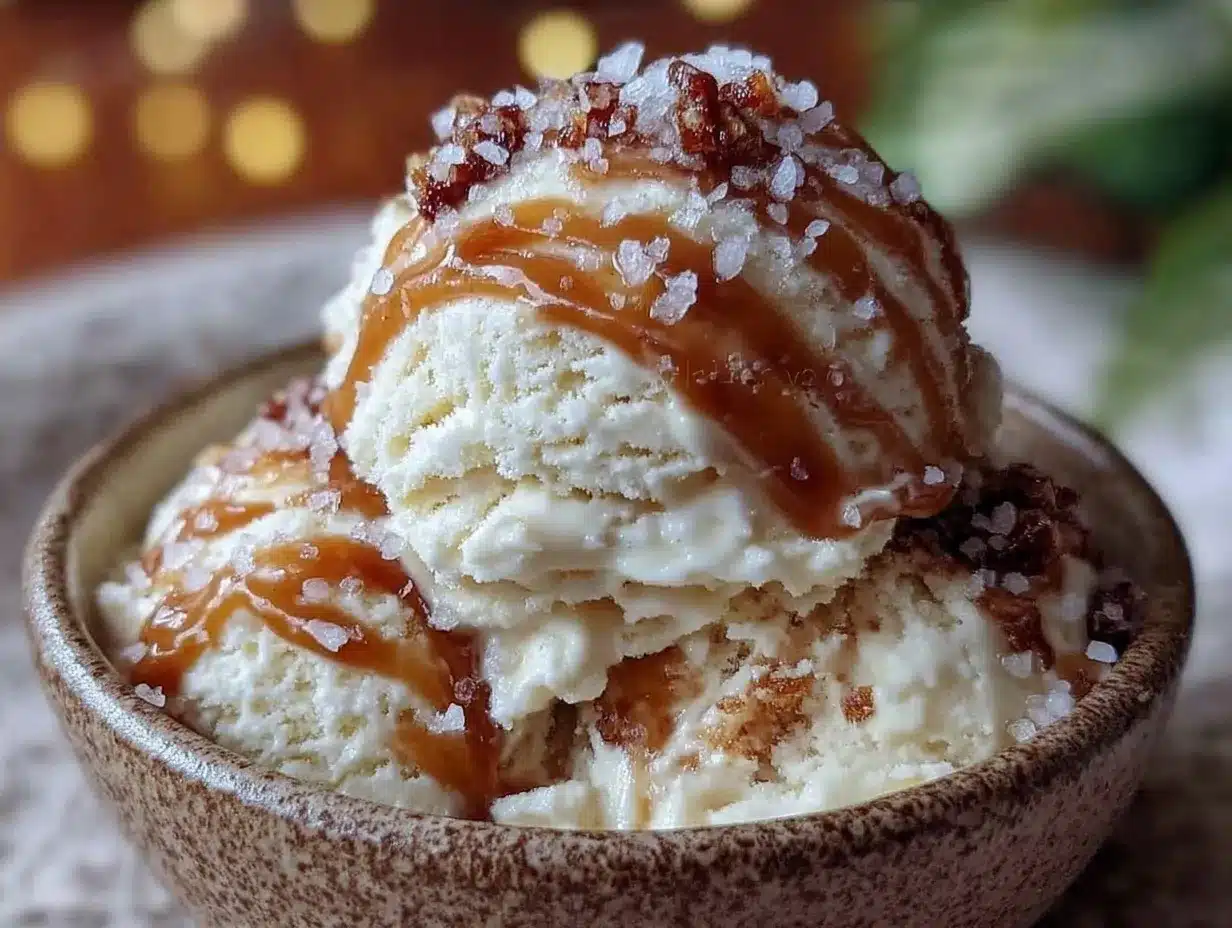
Presentation-wise, a scoop topped with a sprinkle of flaky sea salt and a drizzle of extra caramel sauce looks inviting and tastes divine. Pair it with warm desserts or fresh fruit for contrast. For instance, it’s amazing alongside a warm balsamic roasted strawberry shortcake or even a crispy garlic parmesan focaccia if you’re feeling adventurous with sweet and savory combos.
Store leftover ice cream tightly covered in the freezer. It keeps well for up to 2 weeks but tastes best within the first week.
When reheating or softening, avoid microwaving the whole container. Instead, scoop into bowls and let soften naturally or microwave individual portions for 10-15 seconds if needed.
Flavors mellow and meld beautifully after a day or two in the freezer, making it even better if you plan ahead.
Nutritional Information & Benefits
Estimated per serving (1/2 cup): approximately 250-300 calories, depending on portion size and caramel amount.
This recipe uses real dairy and natural sugars, providing calcium and vitamin A from the cream, plus a moderate amount of protein. The salted caramel adds sweetness without refined syrups or artificial flavors when homemade.
Gluten-free and vegetarian-friendly, this ice cream can be adapted for dairy-free diets as noted above. It’s not low-calorie, but it’s made with simple, recognizable ingredients.
From a wellness perspective, making your own ice cream means you control the sugar and fat quality, steering clear of preservatives found in many store-bought versions.
Conclusion
Easy creamy no-churn salted caramel ice cream isn’t just a recipe—it’s a small joy that came from a few mistakes and a lot of tasting. It’s proof that homemade ice cream doesn’t have to be complicated or require special equipment to be delicious. The balance of salty, sweet, and creamy makes it a dessert you’ll want to come back to, whether for a quick treat or a special occasion.
Feel free to tweak the caramel swirl or try one of the variations to make it your own. I love how flexible this recipe is and how it can be a base for endless indulgences. And hey, if you’re craving something fruitier and just as easy, the Creamy No-Churn Strawberry Ice Cream is a fantastic companion in the freezer!
Let me know how your salted caramel ice cream turns out—you might find it’s your new go-to dessert, just like it is for me.
FAQs
Can I make this ice cream without an ice cream maker?
Absolutely! This recipe is designed to be no-churn, so you only need a mixer and a freezer. It’s perfect for those without special equipment.
How long does homemade no-churn ice cream last in the freezer?
It stays good for up to 2 weeks when stored in an airtight container, though it’s best enjoyed within the first week for optimal texture and flavor.
What’s the best way to make salted caramel sauce at home?
Cook sugar slowly until amber, then add butter and cream carefully. Stir in sea salt last. Taking your time and watching heat closely prevents burning.
Can I substitute the heavy cream with something else?
You can use coconut cream for a dairy-free version or try evaporated milk for a lighter texture, but the creaminess will vary.
How do I prevent ice crystals in no-churn ice cream?
Whipping the cream to soft peaks and folding gently helps trap air, which reduces ice crystals. Also, keep your freezer as cold as possible and serve soon after freezing.
Pin This Recipe!
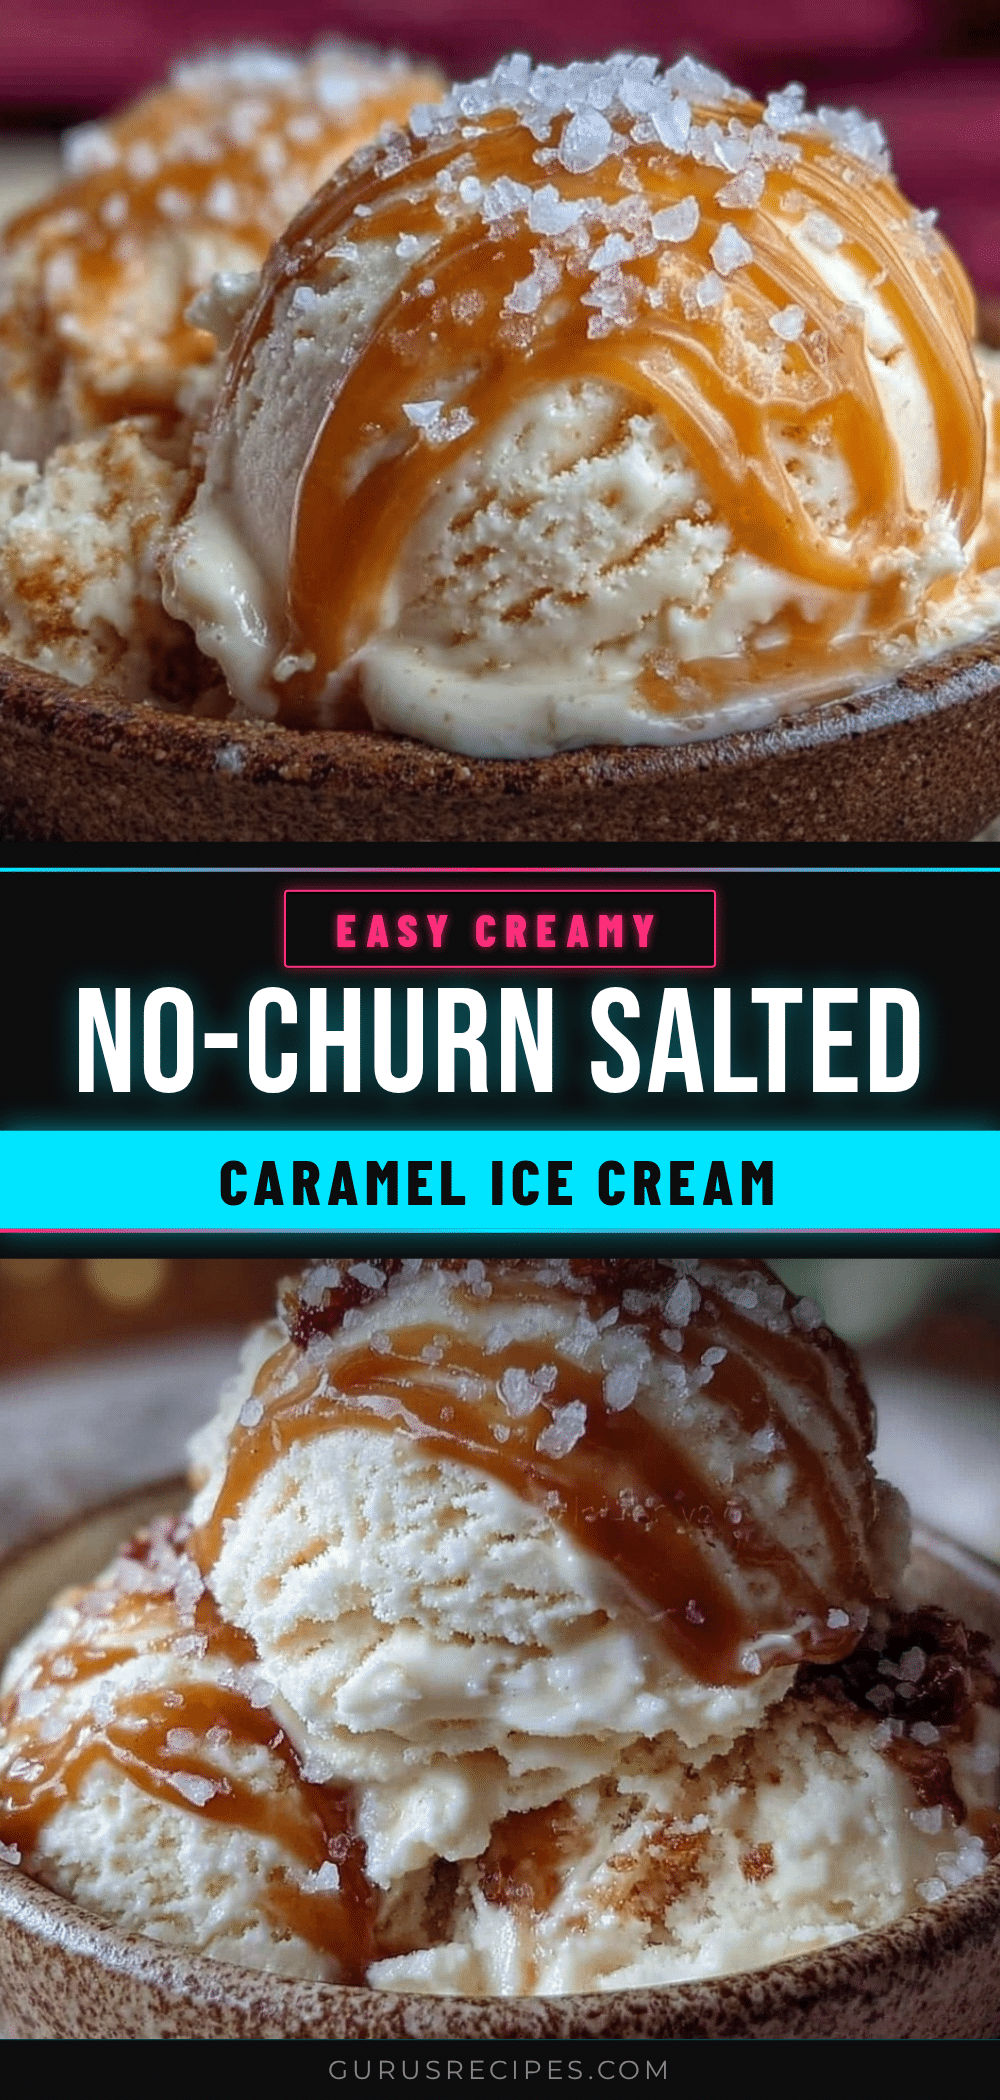

Easy Creamy No-Churn Salted Caramel Ice Cream Recipe to Make at Home
A quick and easy no-churn salted caramel ice cream recipe that uses simple pantry staples and homemade caramel sauce for a creamy, luscious dessert without an ice cream maker.
- Total Time: 6 hours 25 minutes
- Yield: 8 servings 1x
Ingredients
- 1 can (14 oz / 397 g) sweetened condensed milk
- 2 cups (480 ml) heavy cream, chilled
- About 1 cup (240 ml) homemade salted caramel sauce (granulated sugar, butter, cream, sea salt)
- 1/2 tsp sea salt (Maldon or fleur de sel recommended)
- 1 tsp vanilla extract
Instructions
- Make the salted caramel sauce (if not using store-bought): In a medium saucepan over medium heat, melt 1 cup (200 g) granulated sugar, stirring constantly until it turns a deep amber color (about 8-10 minutes). Remove from heat and quickly stir in 6 tbsp (85 g) unsalted butter until melted.
- Slowly add 1/2 cup (120 ml) heavy cream while stirring. Return to low heat for 1-2 minutes to combine well. Stir in 1/2 tsp sea salt. Let cool to room temperature before using.
- Whip the cream: Pour 2 cups (480 ml) chilled heavy cream into a large bowl. Using an electric mixer, whip on medium speed until soft peaks form (about 3-4 minutes).
- Combine base ingredients: In another bowl, mix the entire can of sweetened condensed milk with 1 tsp vanilla extract until smooth.
- Fold whipped cream into condensed milk: Gently fold about one-third of the whipped cream into the condensed milk mixture to lighten it. Then fold in the remaining cream carefully to avoid deflating the airiness.
- Layer and swirl caramel: Pour half of the ice cream base into your freezing container. Drizzle half of the cooled salted caramel sauce over it. Use a butter knife or skewer to swirl the caramel through the ice cream gently. Repeat with the remaining ice cream base and caramel.
- Freeze: Cover the container tightly with plastic wrap or a lid. Freeze for at least 6 hours, preferably overnight, until firm.
- Serving: Let the ice cream sit at room temperature for 5 minutes before scooping for easier serving.
Notes
Use full-fat heavy cream for best texture. For dairy-free, substitute coconut cream and vegan condensed milk. Patience is key when making caramel to avoid burning. Whip cream to soft peaks to keep ice cream creamy and avoid ice crystals. Use a metal loaf pan for faster chilling and smoother texture. Let ice cream soften 5 minutes before serving. Store in airtight container up to 2 weeks, best within 1 week.
- Prep Time: 15 minutes
- Cook Time: 10 minutes
- Category: Dessert
- Cuisine: American
Nutrition
- Serving Size: 1/2 cup
- Calories: 275
- Sugar: 26
- Sodium: 110
- Fat: 18
- Saturated Fat: 11
- Carbohydrates: 27
- Protein: 3
Keywords: no-churn ice cream, salted caramel ice cream, easy ice cream recipe, homemade ice cream, no ice cream maker, creamy dessert, caramel swirl


