
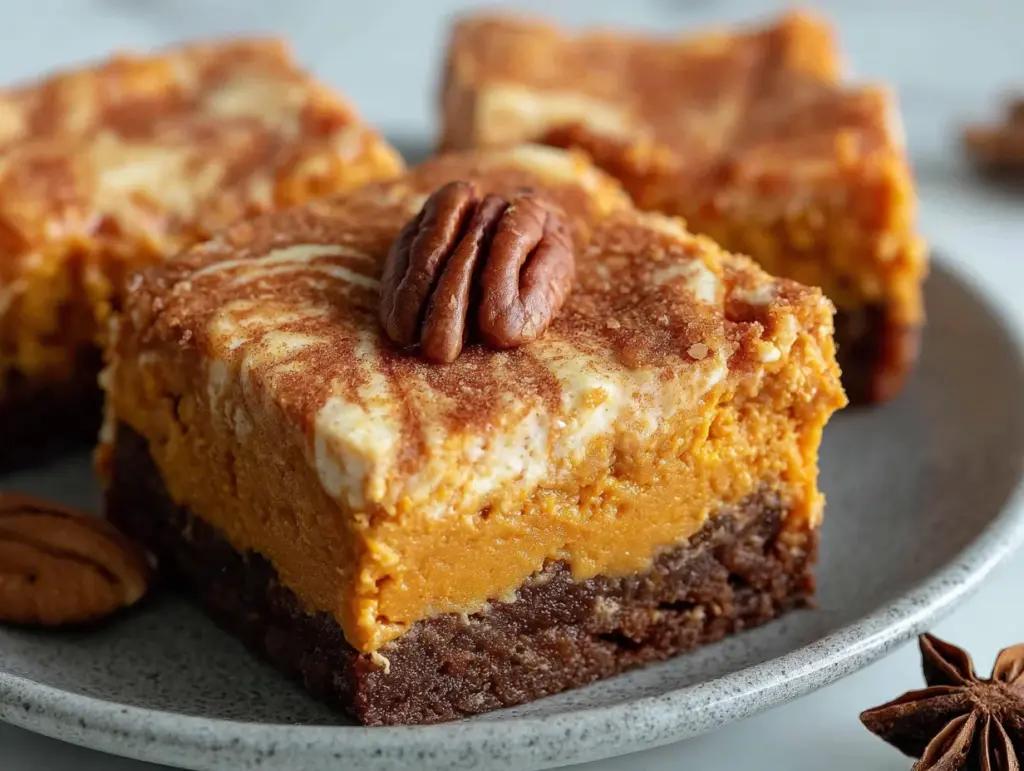
The pumpkin puree was sitting in the fridge, leftover from a pie I made three days ago, and it was staring at me every time I opened the door. My friend Sarah texted at 2 PM saying she was stopping by after work with wine, and I had maybe an hour to pull something together that didn’t look like I’d tried too hard. The brownie box mix in the pantry caught my eye, and then I spotted the cream cheese that needed using up by tomorrow, and honestly, that’s when the idea hit me like a brick.
I wasn’t planning on making anything fancy, but the combination of chocolate and pumpkin just works in that weird, wonderful way that fall demands. The first time I made these, I used way too much pumpkin puree and ended up with a soupy mess that tasted good but looked like a crime scene. After three more attempts (and a lot of taste-testing, because someone had to do it), I figured out the exact ratio that gives you that fudgy brownie base with a creamy, tangy cheesecake swirl that doesn’t sink to the bottom or turn into a puddle.
These brownies have become my go-to for last-minute gatherings, impromptu dessert cravings, and honestly, Tuesday afternoons when the kids are driving me crazy. They’re the kind of thing that makes people think you spent hours in the kitchen when really, you just got lucky with fridge odds and a little bit of patience.
Why You’ll Love This Recipe
Let me tell you why these brownies have earned a permanent spot in my baking rotation. First off, they’re incredibly forgiving. I’ve made them with both box mix and from-scratch brownie batter, and both versions work beautifully. The key is the technique, not the brand.
- Quick & Easy : From start to finish, you’re looking at about 45 minutes, with only 15 minutes of actual hands-on work. Perfect for those “I need dessert NOW” moments.
- Simple Ingredients : You probably have most of this stuff in your pantry already. Pumpkin puree, cream cheese, eggs, sugar, and a box of brownie mix. No fancy trips to specialty stores required.
- Perfect for Fall Gatherings : These brownies scream autumn without being overly pumpkin-spiced. They’re great for Thanksgiving, Halloween parties, or just cozy nights in.
- Crowd-Pleaser : I’ve served these to kids, adults, and even my picky mother-in-law who “doesn’t like pumpkin.” She ate three. Enough said.
- Unbelievably Fudgy : The pumpkin adds moisture without making the brownies cakey, and the cream cheese swirl cuts through the richness perfectly.
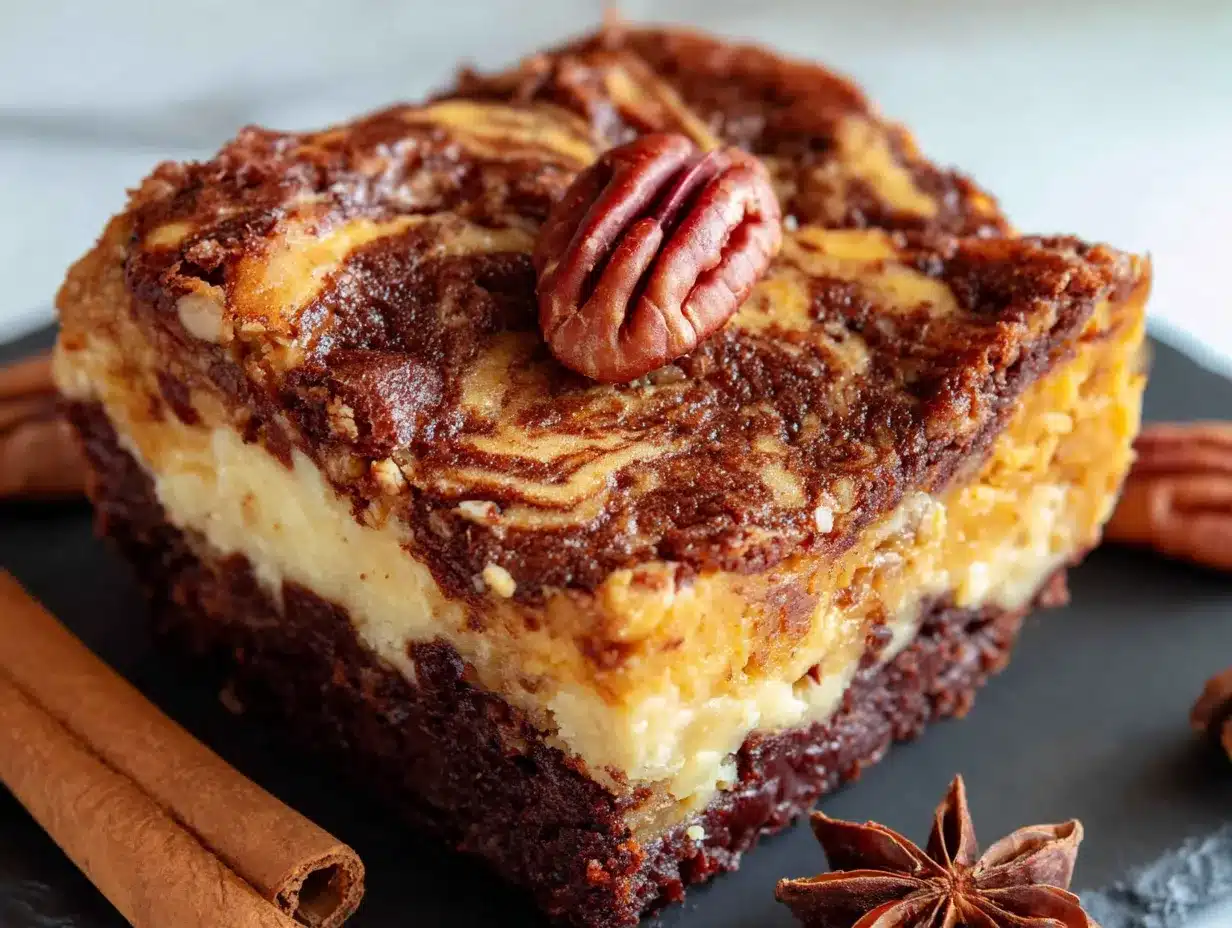
What makes these different from every other pumpkin brownie recipe out there? It’s the texture. Most recipes end up with a dry, cake-like brownie that crumbles when you try to cut it. Mine stays fudgy and dense, with that slight crackly top that brownie lovers crave. The cheesecake layer is thick enough to taste but thin enough to swirl beautifully into the chocolate. It’s not just another version—it’s the version that actually works.
These brownies are the kind that make you close your eyes after the first bite. The chocolate hits you first, then the subtle warmth of pumpkin and spices, and finally that creamy tang from the cheesecake. It’s comfort food reimagined—familiar but surprising, indulgent but not heavy.
What Ingredients You Will Need
This recipe uses simple, wholesome ingredients that come together to create something truly special. Most of these are pantry staples, especially if you do any fall baking at all.
For the Brownie Base
- 1 box (18.4 oz) fudge brownie mix (I prefer Ghirardelli or Duncan Hines for the best fudgy texture)
- 1/3 cup vegetable oil (or melted coconut oil for a subtle flavor twist)
- 2 large eggs, room temperature (this helps everything incorporate smoothly)
- 1/4 cup water (or brewed coffee for a deeper chocolate flavor)
- 1/2 cup pumpkin puree (not pumpkin pie filling—make sure it’s 100% pure pumpkin)
- 1 teaspoon vanilla extract (adds warmth and depth)
For the Cheesecake Swirl
- 8 oz cream cheese, softened to room temperature (Philadelphia is my go-to for consistent results)
- 1/4 cup granulated sugar
- 1 large egg yolk (the yolk adds richness without thinning the mixture too much)
- 1/2 teaspoon pumpkin pie spice (or a mix of cinnamon, nutmeg, and cloves)
- 1/2 teaspoon vanilla extract
Optional Toppings
- 1/4 cup chocolate chips (semi-sweet or dark, for extra chocolatey pockets)
- Flaky sea salt (trust me on this one—it’s a game changer)
- Powdered sugar for dusting (if you’re feeling fancy)
For the pumpkin puree, I’ve tested this with both canned and homemade, and both work great. Just make sure you’re not using pumpkin pie filling, which has added sugar and spices that will throw off the balance. If you’re using homemade puree, drain it slightly in a fine-mesh strainer to remove excess water—this prevents the brownies from becoming too wet.
The cream cheese needs to be truly softened, not just taken out of the fridge five minutes before. Let it sit on the counter for at least 30 minutes, or microwave it in 10-second bursts until it’s soft but not melted. Cold cream cheese will leave you with lumpy swirls that don’t blend properly.
For the brownie mix, feel free to use any brand you like. I’ve had great results with store brands too, though I find the texture is slightly better with the premium mixes. If you’re feeling ambitious, you can use your favorite from-scratch brownie recipe—just make sure it’s a fudgy recipe, not a cakey one.
Equipment Needed
You don’t need a professional bakery setup for these brownies, which is part of their charm. Here’s what you’ll need:
- 9×9-inch baking pan (an 8×8 works too, but you’ll need to bake a few minutes longer)
- Parchment paper (non-negotiable for easy removal and clean cutting)
- Two mixing bowls (one medium, one small)
- Whisk and rubber spatula
- Hand mixer or stand mixer (for the cheesecake layer—you can do it by hand, but your arm will hate you)
- Measuring cups and spoons
- Toothpick or skewer (for the swirling magic)
- Cooling rack
If you don’t have a hand mixer, a sturdy whisk and some elbow grease will work. Just make sure your cream cheese is extra soft to avoid lumps. I’ve also used a food processor for the cheesecake layer in a pinch—just pulse until smooth, being careful not to overmix.
For the pan, glass, ceramic, or metal all work fine. Just note that glass and ceramic pans retain heat longer, so check your brownies a few minutes early to prevent overbaking. I prefer metal pans for the most even baking, but that’s just my personal preference after years of trial and error.
Preparation Method
Alright, let’s get to the fun part. Follow these steps carefully, and you’ll have perfect brownies every time.
- Preheat your oven to 350°F (175°C). Line your 9×9-inch baking pan with parchment paper, leaving some overhang on two opposite sides. This creates handles for easy lifting later. Lightly spray the parchment with non-stick cooking spray for extra insurance.
- Make the brownie batter. In a medium bowl, combine the brownie mix, vegetable oil, eggs, water, pumpkin puree, and vanilla extract. Stir with a rubber spatula until just combined—about 20 strokes. You want to see a few streaks of flour still; overmixing will make the brownies tough. The batter will be thicker than regular brownie batter because of the pumpkin, and that’s exactly what we want.
- Prepare the cheesecake swirl. In a small bowl, beat the softened cream cheese with an electric mixer until smooth and creamy, about 1 minute. Add the sugar, egg yolk, pumpkin pie spice, and vanilla extract. Beat on medium speed until everything is fully combined and silky, about 2 minutes. Scrape down the sides of the bowl halfway through. The mixture should be thick but spreadable.
- Layer the brownie batter. Spread about two-thirds of the brownie batter evenly into the prepared pan. Use a small offset spatula or the back of a spoon to smooth it out. Don’t worry about being perfect—the swirl will hide any imperfections.
- Add the cheesecake layer. Dollop the cheesecake mixture over the brownie batter in spoonfuls, spacing them evenly. You should have about 6-8 dollops. Then drop the remaining brownie batter in spoonfuls on top of the cheesecake layer. Don’t spread it—just let it sit in clumps.
- Create the swirl. Take a toothpick, skewer, or butter knife and drag it through the layers in a figure-eight pattern. Start at one end and work your way across the pan. Don’t over-swirl—about 8-10 passes is plenty. Over-swirling will muddy the layers and you’ll lose that beautiful contrast. You want distinct ribbons of cheesecake and brownie, not a uniform tan mess.
- Bake. Place the pan in the center of the oven and bake for 28-33 minutes. The brownies are done when the edges are set and starting to pull away from the pan, and the center is slightly puffed but still jiggles a tiny bit when you gently shake the pan. A toothpick inserted into the center should come out with a few moist crumbs, not wet batter. If it comes out clean, you’ve overbaked them.
- Cool completely. This is the hardest part. Let the brownies cool in the pan on a wire rack for at least 1 hour. Then transfer the pan to the refrigerator and chill for another 2 hours. I know, I know—you want to eat them now. But chilling sets the cheesecake layer and makes the brownies infinitely easier to cut into clean squares. Warm brownies will crumble and smear.
- Cut and serve. Lift the brownies out of the pan using the parchment overhang. Use a sharp chef’s knife, wiping it clean between each cut, to slice into 16 squares. For extra clean cuts, run the knife under hot water and dry it before each slice.
A quick note on timing: the actual hands-on work takes about 15 minutes. The rest is baking and cooling time. If you’re making these for a party, I recommend making them the day before and storing them in the fridge overnight. The flavors actually meld together and get even better after 24 hours.
Cooking Tips & Techniques
After making these brownies more times than I care to count (okay, it’s probably 12 times at this point), I’ve picked up a few tricks that make a real difference.
Don’t overmix the brownie batter. This is the number one mistake I see people make. Brownie batter should be mixed until it just comes together. Overmixing develops the gluten in the flour, which leads to cakey, tough brownies instead of fudgy, dense ones. I mix mine with a rubber spatula by hand—no electric mixer needed—and stop as soon as the flour streaks disappear.
Room temperature ingredients matter. I know it’s tempting to use cold eggs and cold cream cheese straight from the fridge, but it really does make a difference. Cold ingredients don’t emulsify properly, which can lead to a grainy cheesecake layer and uneven baking. Take everything out of the fridge 30 minutes before you start. If you forget, place the eggs in a bowl of warm water for 5 minutes, and microwave the cream cheese in 10-second bursts until soft.
The toothpick test is tricky with these. Because of the cheesecake layer, a toothpick inserted into the center might come out with some creamy residue even when the brownies are perfectly baked. Instead, rely on visual cues: the edges should be set and slightly pulling away from the pan, and the center should be puffed but still have a slight jiggle. If the center looks completely firm and dry, you’ve gone too far.
Chill before cutting. I cannot stress this enough. I learned this the hard way when I tried to cut warm brownies for a party and ended up with a pan of crumbs and smears. The cheesecake layer needs time to firm up, and the brownie needs to set completely. Two hours in the fridge is the minimum. Overnight is even better.
Use good quality pumpkin pie spice. Not all spice blends are created equal. Some are heavy on the cinnamon and light on everything else. If your spice blend seems weak, add an extra pinch of cinnamon and a tiny pinch of nutmeg to the cheesecake mixture. You want the spices to be noticeable but not overwhelming—they should complement the chocolate, not compete with it.
Variations & Adaptations
One of the best things about this recipe is how adaptable it is. Here are some variations I’ve tried and loved.
Gluten-Free Version: Swap the regular brownie mix for a gluten-free blend. I’ve had great results with King Arthur’s gluten-free brownie mix. Just follow the package directions for the brownie base and proceed with the recipe as written. No other changes needed.
Dairy-Free Version: Use a dairy-free cream cheese alternative like Kite Hill or Tofutti. The texture will be slightly softer, so chill the brownies for at least 3 hours before cutting. Use coconut oil instead of butter if your brownie mix calls for it, and check that your mix doesn’t contain milk solids.
Extra Chocolatey Version: Fold 1/2 cup of semi-sweet chocolate chips into the brownie batter before layering. The pockets of melted chocolate add another dimension of richness. I also like to sprinkle a few chips on top before baking for a pretty finish.
Spiced Pumpkin Version: For those who want more pumpkin flavor, add 1 teaspoon of pumpkin pie spice directly to the brownie batter along with the pumpkin puree. You can also increase the pumpkin puree to 3/4 cup, but you’ll need to add 2 tablespoons of flour to compensate for the extra moisture.
Nutty Version: Sprinkle 1/2 cup of toasted pecans or walnuts over the top before baking. The nuts add a lovely crunch that contrasts with the fudgy brownie and creamy cheesecake. Toast the nuts first at 350°F for 5-7 minutes to bring out their flavor.
I once made a version with a layer of caramel sauce drizzled between the brownie and cheesecake layers. It was ridiculously good but also ridiculously messy. If you try it, use a thick caramel sauce and chill the brownies for at least 4 hours before cutting. The caramel will still ooze a bit, but that’s part of the charm.
Serving & Storage Suggestions
These brownies are incredibly versatile when it comes to serving. Here’s how I like to enjoy them.
Serving Temperature: I prefer these brownies straight from the fridge—the cheesecake layer is firm and almost like a cheesecake bar, and the brownie is dense and fudgy. But they’re also delicious at room temperature, especially if you want a softer, more gooey texture. If you’re serving them warm, pop an individual brownie in the microwave for 10-15 seconds. Top with a scoop of vanilla ice cream for the ultimate dessert experience.
Presentation Ideas: Dust the tops with powdered sugar just before serving for a pretty, bakery-style look. You can also drizzle with melted white chocolate or caramel sauce. For a fall-themed presentation, arrange the brownies on a platter with cinnamon sticks and small pumpkins.
Complementary Pairings: These brownies pair beautifully with a cup of hot coffee, a glass of cold milk, or a scoop of vanilla or cinnamon ice cream. If you’re feeling fancy, serve them alongside a Baileys Irish cream cheesecake for a dessert spread that will impress any crowd. For a cozy fall evening, they’re perfect with a mug of hot apple cider or spiced chai.
Storage Instructions: Store leftover brownies in an airtight container in the refrigerator for up to 5 days. Layer them between sheets of parchment paper to prevent sticking. If you live in a humid climate, add a paper towel to the container to absorb excess moisture—this keeps the brownies from getting soggy.
Freezing Instructions: These brownies freeze beautifully. Wrap individual squares tightly in plastic wrap, then place them in a freezer-safe bag or container. They’ll keep for up to 3 months. To thaw, transfer to the refrigerator overnight or let sit at room temperature for about 30 minutes. You can also microwave frozen brownies for 20-30 seconds for a warm, gooey treat.
One thing I’ve noticed: the flavors actually develop and deepen after a day or two in the fridge. The pumpkin and spice notes become more pronounced, and the chocolate mellows slightly. So don’t be afraid to make these ahead of time—they might even be better on day two.
Nutritional Information & Benefits
Let’s be real—these are brownies, not health food. But they do have some redeeming qualities worth mentioning.
| Nutrient | Per Serving (1 brownie) |
|---|---|
| Calories | 245 |
| Total Fat | 14g |
| Saturated Fat | 6g |
| Cholesterol | 45mg |
| Sodium | 180mg |
| Total Carbohydrates | 28g |
| Dietary Fiber | 1g |
| Sugars | 19g |
| Protein | 3g |
| Vitamin A | 35% DV |
| Calcium | 4% DV |
| Iron | 6% DV |
The pumpkin puree is the star here from a nutritional standpoint. It’s packed with vitamin A (over 35% of your daily value per serving), which is great for eye health and immune function. Pumpkin also provides fiber and antioxidants like beta-carotene. The cream cheese adds calcium and protein, though it’s also where most of the saturated fat comes from.
If you’re watching your sugar intake, you can reduce the sugar in the cheesecake layer to 2 tablespoons without affecting the texture too much. For a lower-calorie option, use a sugar-free brownie mix and a low-fat cream cheese. I’ve tried this combination and it works—though the texture is slightly less rich and fudgy.
These brownies are not gluten-free or dairy-free as written, but as I mentioned in the variations section, both adaptations are possible with simple substitutions.
Frequently Asked Questions
Can I use homemade pumpkin puree instead of canned?
Absolutely! Just make sure to drain it well. Homemade pumpkin puree tends to be more watery than canned, so place it in a fine-mesh strainer lined with paper towels for about 15 minutes to remove excess moisture. Otherwise, your brownies might turn out too wet and take longer to bake.
Why did my cheesecake layer sink to the bottom?
This usually happens for two reasons: either the cheesecake mixture was too thin (too much liquid or overmixing), or the brownie batter was too thick. Make sure your cream cheese is softened but not melted, and don’t add extra liquid to the cheesecake mixture. Also, make sure your brownie batter is on the thicker side—if it seems too thin, add an extra tablespoon of flour.
Can I make these brownies in a different size pan?
Yes, but you’ll need to adjust the baking time. For an 8×8-inch pan, the brownies will be slightly thicker and need about 5-7 minutes more baking time. For a 9×13-inch pan, the brownies will be thinner and need about 5-7 minutes less. Keep an eye on them and use the visual cues I mentioned earlier.
How do I get clean, sharp cuts?
Patience is key. Chill the brownies for at least 2 hours before cutting. Use a sharp chef’s knife, and wipe the blade clean with a damp paper towel between each cut. For the cleanest cuts, run the knife under hot water, dry it, then slice. The heat helps the knife glide through the chocolate and cheesecake layers without dragging.
Can I add nuts or chocolate chips to the batter?
Definitely! Fold in up to 1/2 cup of chocolate chips, chopped nuts, or even white chocolate chips after mixing the brownie batter. For nuts, I recommend toasting them first at 350°F for 5-7 minutes to bring out their flavor. Just be careful not to overmix once you add the mix-ins.
Conclusion
These fudgy pumpkin cheesecake swirl brownies are the kind of recipe that makes you look like a baking genius with minimal effort. They’re rich, indulgent, and perfectly balanced between chocolatey goodness and creamy pumpkin spice. Whether you’re making them for a fall gathering, a holiday party, or just because it’s Tuesday and you deserve something special, they never disappoint.
I love how forgiving this recipe is—you can use box mix or scratch, adjust the spices to your liking, and even sneak in some extra chocolate if you’re feeling wild. It’s the kind of recipe that becomes a staple, the one you pull out when you need to impress without stressing.
If you try these brownies, I’d love to hear how they turn out. Leave a comment below and let me know if you made any fun variations—I’m always looking for new ideas to test in my kitchen. And if you’re in the mood for more cozy fall desserts, don’t miss my creamy no-churn strawberry ice cream or my decadent Irish cream chocolate mousse for another indulgent treat. Happy baking, friends!
Pin This Recipe!
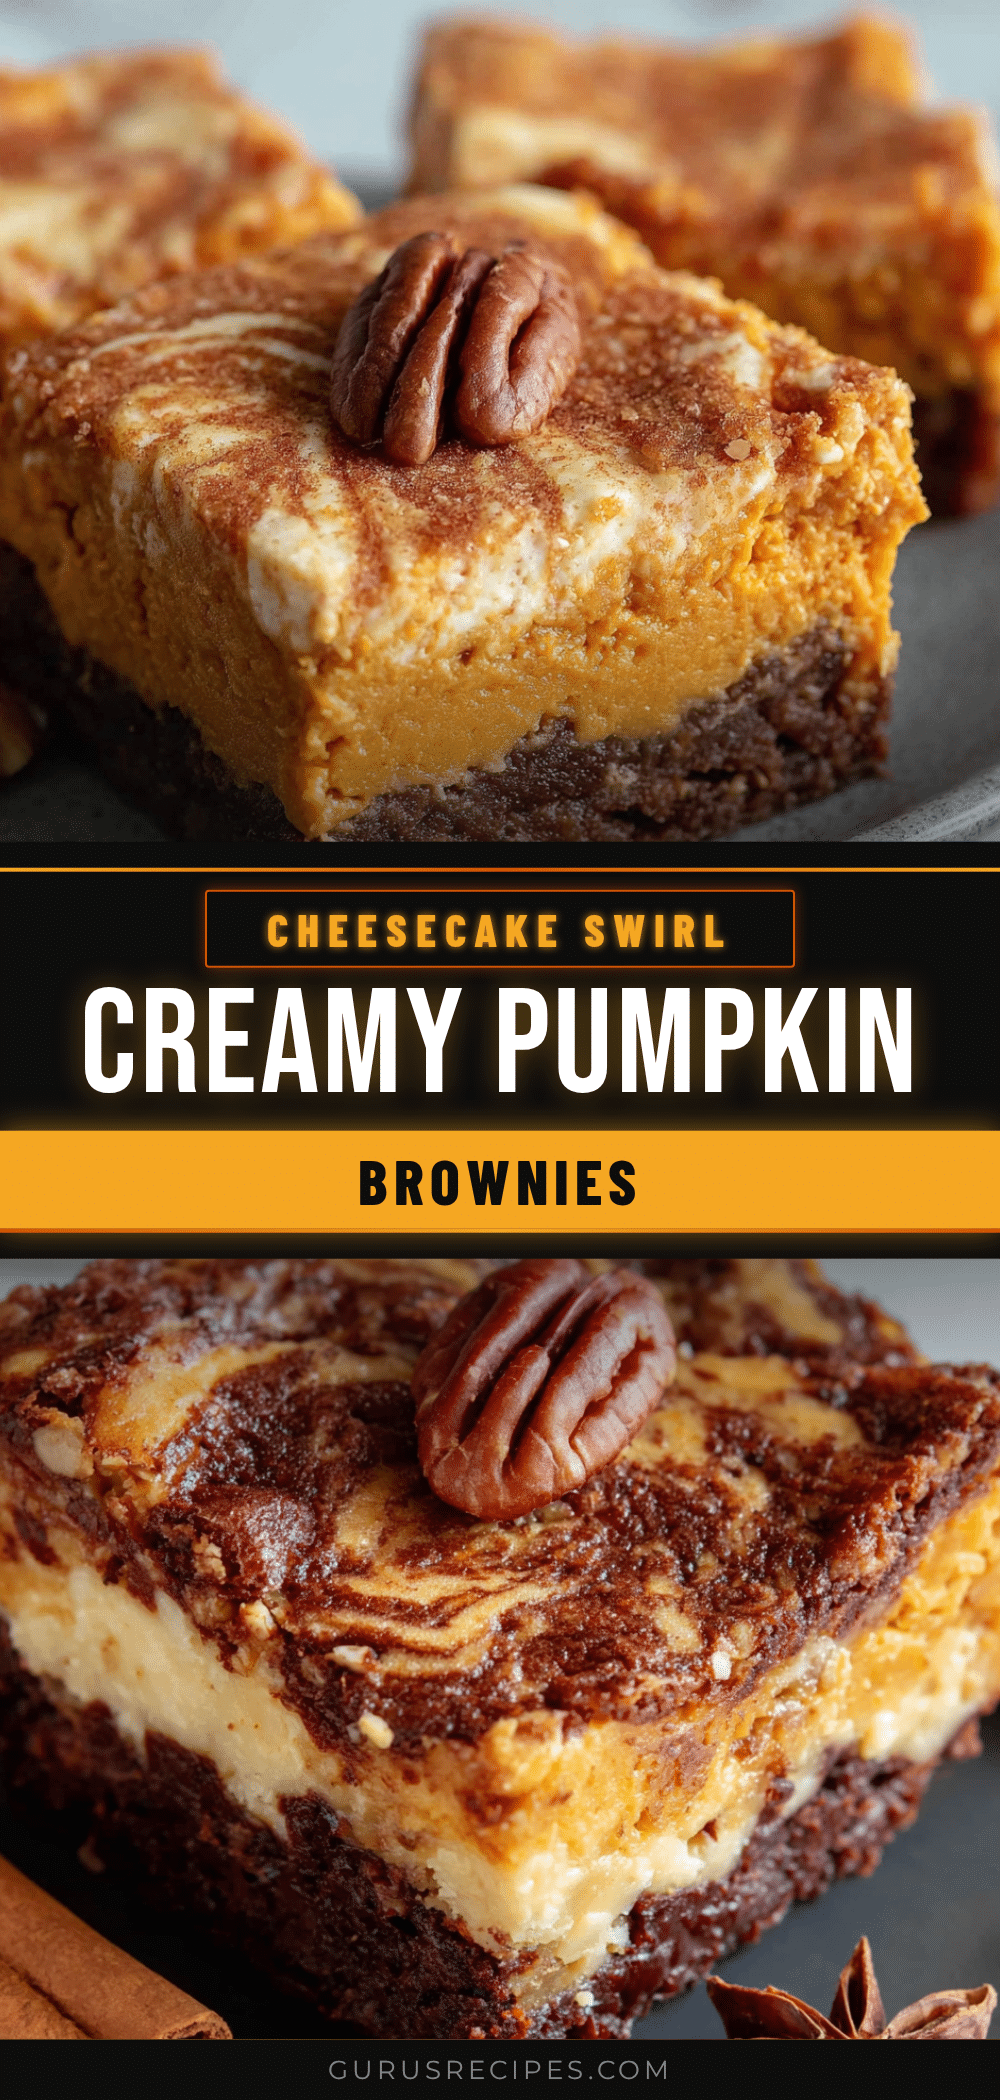

Easy Fudgy Pumpkin Cheesecake Swirl Brownies
Rich, fudgy brownies swirled with a creamy pumpkin cheesecake layer. This easy recipe uses a box mix for convenience but delivers bakery-quality results with a perfect crackly top and dense, moist texture.
- Total Time: 45 minutes (plus 3 hours chilling)
- Yield: 16 servings 1x
Ingredients
- 1 box (18.4 oz) fudge brownie mix
- 1/3 cup vegetable oil
- 2 large eggs, room temperature
- 1/4 cup water
- 1/2 cup pumpkin puree (not pumpkin pie filling)
- 1 teaspoon vanilla extract
- 8 oz cream cheese, softened
- 1/4 cup granulated sugar
- 1 large egg yolk
- 1/2 teaspoon pumpkin pie spice
- 1/2 teaspoon vanilla extract
- 1/4 cup chocolate chips (optional)
- Flaky sea salt (optional)
- Powdered sugar for dusting (optional)
Instructions
- Preheat oven to 350°F (175°C). Line a 9×9-inch baking pan with parchment paper, leaving overhang on two sides. Lightly spray with non-stick cooking spray.
- Make the brownie batter: In a medium bowl, combine brownie mix, vegetable oil, eggs, water, pumpkin puree, and vanilla extract. Stir with a rubber spatula until just combined (about 20 strokes). Batter should be thicker than regular brownie batter.
- Prepare the cheesecake swirl: In a small bowl, beat softened cream cheese with an electric mixer until smooth, about 1 minute. Add sugar, egg yolk, pumpkin pie spice, and vanilla extract. Beat on medium speed until fully combined and silky, about 2 minutes.
- Spread about two-thirds of the brownie batter evenly into the prepared pan.
- Dollop the cheesecake mixture over the brownie batter in 6-8 spoonfuls. Drop remaining brownie batter in spoonfuls on top of the cheesecake layer.
- Create the swirl: Drag a toothpick or skewer through the layers in a figure-eight pattern, making about 8-10 passes. Do not over-swirl.
- Bake for 28-33 minutes, until edges are set and center is slightly puffed but still jiggles slightly. A toothpick inserted in center should come out with moist crumbs.
- Cool in pan on a wire rack for at least 1 hour. Transfer to refrigerator and chill for at least 2 hours (overnight is best).
- Lift brownies out using parchment overhang. Cut into 16 squares with a sharp knife, wiping clean between cuts.
Notes
For clean cuts, chill brownies at least 2 hours before slicing. Use room temperature ingredients for best results. Do not overmix brownie batter. The toothpick test may show creamy residue from cheesecake layer; rely on visual cues instead. Brownies can be stored in refrigerator for up to 5 days or frozen for up to 3 months.
- Prep Time: 15 minutes
- Cook Time: 30 minutes
- Category: Dessert
- Cuisine: American
Nutrition
- Serving Size: 1 brownie
- Calories: 245
- Sugar: 19
- Sodium: 180
- Fat: 14
- Saturated Fat: 6
- Carbohydrates: 28
- Fiber: 1
- Protein: 3
Keywords: pumpkin brownies, cheesecake swirl brownies, fudgy brownies, fall dessert, pumpkin dessert, easy brownie recipe, cream cheese brownies


