
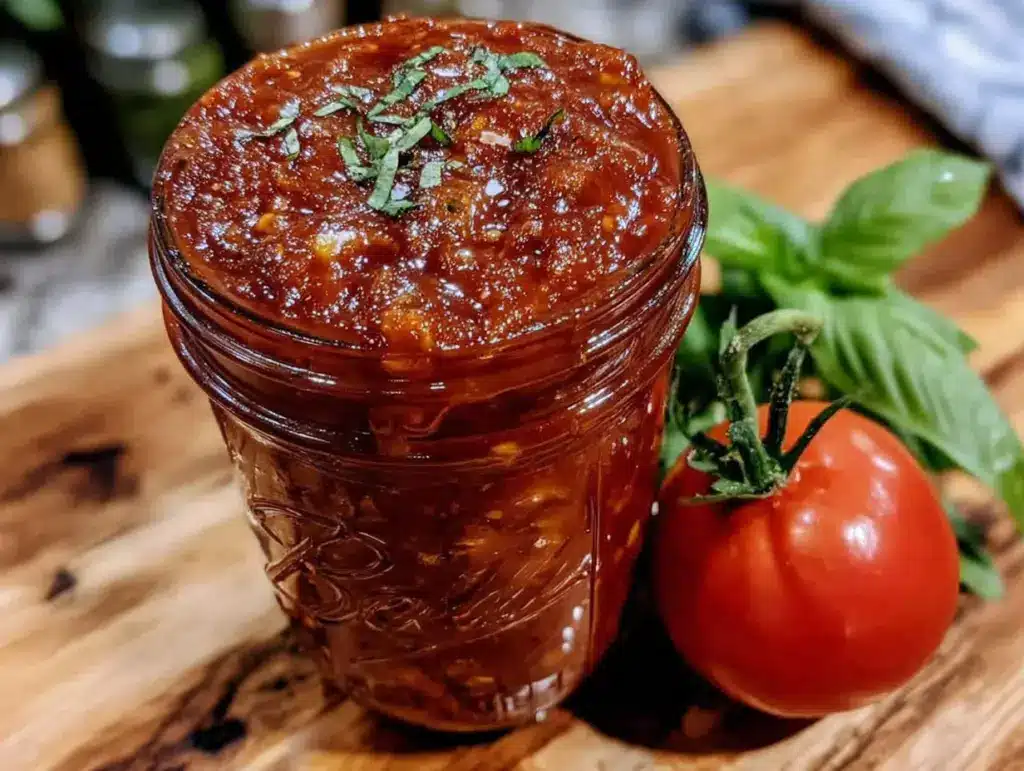
Bent over a cardboard box in the middle of September, tomatoes rolling past my ankles, when the reality hit me—I had way more than we could possibly eat fresh. Our garden had gone absolutely wild that year. Sun Golds splitting on the vine, Romas so heavy they snapped their stakes, and those big beefsteaks the size of my palm. I remember standing there, dirt under my nails, sweat dripping down my back, thinking, “What on earth am I going to do with all of you?” Giving them away only went so far. My neighbor’s kitchen counter looked like a tomato festival too. So I did what any slightly overwhelmed gardener would do—I grabbed every pot I owned, cleared the stove, and decided to make a homemade fresh garden tomato canning sauce for winter.
And honestly? That chaotic afternoon turned into one of my favorite kitchen traditions. There’s something about the smell of tomatoes simmering with garlic and basil that just settles into your bones. It’s not just about preserving food—it’s about preserving a moment. That first batch I made was a little too watery, and I definitely forgot to add enough salt. But I learned. The next time, I let it simmer longer. I tasted as I went. I stopped being afraid of the canning pot. This easy homemade tomato canning sauce became my winter secret weapon—ready for pasta nights, soup bases, and lazy Sundays when fresh produce feels like a distant memory. If you’ve got a glut of garden tomatoes or just love the idea of popping open a jar of summer in January, this recipe is for you.
Why You’ll Love This Recipe
Let me tell you why this homemade fresh garden tomato canning sauce is different from every other recipe you’ve seen. First off, it’s tested through years of trial and error—I’ve made watery sauce, burnt sauce, and sauce that tasted like tin. This version? It’s the one I stick with year after year. It’s built on simple, real ingredients and a method that even a nervous first-time canner can handle.
- Quick & Easy : From garden to jar in about two hours, including prep and processing time. That’s fast for canning.
- Simple Ingredients : Tomatoes, onions, garlic, basil, olive oil, salt, and a little lemon juice. That’s it. No weird additives.
- Perfect for Winter : Open a jar in February and taste July. It’s like a time capsule of summer flavor.
- Crowd-Pleaser : I’ve given jars to neighbors and family, and everyone asks for more. It’s not too chunky, not too smooth—just right.
- Unbelievably Delicious : The slow simmer concentrates the natural sweetness of the tomatoes. You won’t miss store-bought sauce ever again.
What makes this recipe stand out is the technique. Instead of just boiling tomatoes and calling it done, I roast half of them first. That little step adds a depth of flavor that’s hard to beat. It’s not just another tomato sauce—it’s your best version of it. And honestly, when you’re standing in your kitchen in December with snow outside and a jar of this sauce simmering on the stove, you’ll understand why I love this recipe so much. It’s comfort food you made yourself, from scratch, with your own two hands.
What Ingredients You Will Need
This recipe uses simple, wholesome ingredients to deliver bold flavor and satisfying texture without the fuss. Most of these are pantry staples or straight from the garden, which makes this sauce feel honest and uncomplicated.
- Fresh Tomatoes (about 10 pounds) – Use a mix of Roma, San Marzano, and beefsteak for the best balance of sweetness and thickness. Roma tomatoes are meaty with less water, which means less simmering time. If you only have one type, go with Romas—they’re the gold standard for sauce.
- Yellow Onions (2 large, diced) – Adds a natural sweetness that balances the acidity of the tomatoes. I prefer Vidalia or sweet onions when they’re in season.
- Garlic Cloves (8 to 10, smashed) – Don’t skimp here. Garlic is the backbone of this sauce. I use fresh cloves, not the pre-minced stuff in a jar.
- Fresh Basil (1 cup, loosely packed) – Adds that classic Italian flavor. I grow Genovese basil in my garden, but any sweet basil works. You can also add a sprig of fresh oregano if you have it.
- Extra Virgin Olive Oil (¼ cup) – Use a good quality oil for sautéing the aromatics. It adds richness and helps carry the flavors.
- Sea Salt (2 teaspoons, plus more to taste) – I use fine sea salt for even seasoning. Start with less and adjust at the end.
- Lemon Juice (2 tablespoons, bottled) – This is critical for safe canning. Bottled lemon juice has a consistent acidity level, which is important for water bath canning. Do not use fresh lemon juice here.
- Optional: Red Pepper Flakes (½ teaspoon) – Adds a gentle heat. I skip it for plain sauce, but my husband loves a little kick.
For the best results, look for tomatoes that are fully ripe but still firm. Overly soft or bruised tomatoes can make the sauce taste off. If you’re buying from a farmer’s market, ask for seconds—they’re cheaper and perfect for sauce. And if you’re using garden tomatoes, pick them on a dry day. Wet tomatoes have more water content, which means longer simmering time.
Equipment Needed
You don’t need a fancy kitchen to make this sauce. Here’s what you’ll need:
- Large Stockpot or Dutch Oven (8 to 10 quarts) – For simmering the sauce. I use my old enameled cast iron pot—it holds heat evenly and doesn’t scorch easily.
- Food Mill or Immersion Blender – A food mill removes skins and seeds in one step. If you don’t have one, an immersion blender works, but you’ll need to peel the tomatoes first.
- Canning Jars (pint or quart size) – I prefer wide-mouth pints for smaller portions. Make sure they’re free of cracks or chips.
- Water Bath Canner or Large Pot with Rack – For processing the jars. A dedicated canner is nice, but a deep stockpot with a rack works too.
- Jar Lifter and Canning Funnel – These save your hands and sanity. Trust me on this.
- Clean Kitchen Towels – For wiping jar rims and resting hot jars.
- Wooden Spoon or Silicone Spatula – For stirring. Metal can react with acidic tomatoes.
If you’re new to canning, don’t stress. I started with a borrowed pot and a pair of tongs. A jar lifter is worth the $10 investment, though—it makes handling hot jars so much safer. And if you don’t have a food mill, you can blanch and peel the tomatoes, then mash them with a potato masher. It’s more work, but it gets the job done.
Preparation Method
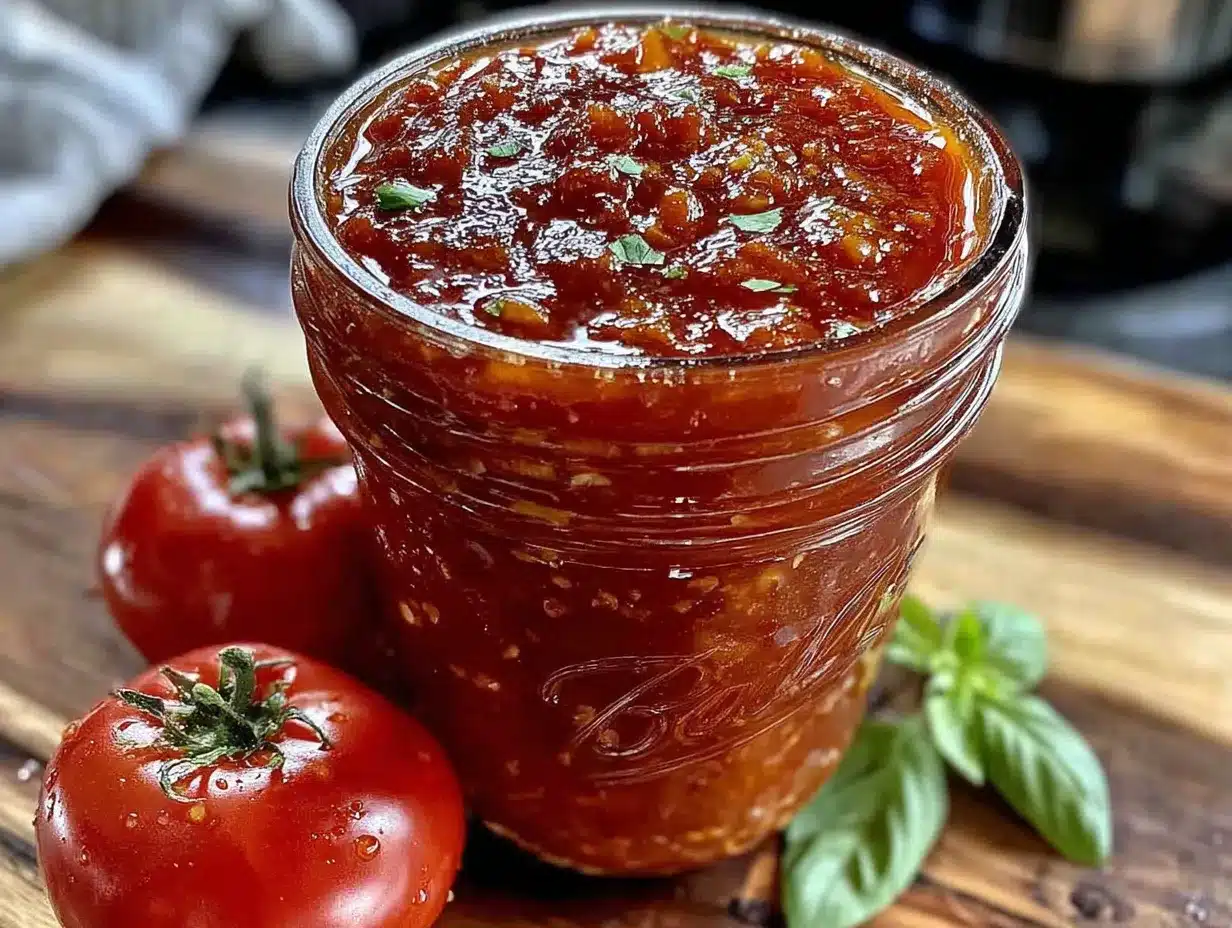
Alright, let’s get into the nitty-gritty. This is where the magic happens. Take your time, and don’t rush the simmer—that’s where the flavor builds.
- Prep the tomatoes. Wash your tomatoes thoroughly. Cut out any stems or bruised spots. If you’re using a food mill, you can leave the skins on—just quarter the tomatoes. If you’re using an immersion blender, blanch the tomatoes first: score an X on the bottom of each, drop them in boiling water for 30 to 45 seconds, then transfer to an ice bath. The skins will slip right off. This takes about 15 minutes for 10 pounds of tomatoes.
- Roast half the tomatoes (optional but recommended). Spread half the quartered tomatoes on a baking sheet. Drizzle with a little olive oil and sprinkle with salt. Roast at 400°F for 30 to 40 minutes, until they’re soft and slightly caramelized. This step adds a deep, almost smoky sweetness that really sets this sauce apart. While they roast, move on to the next step.
- Sauté the aromatics. In your large stockpot, heat the olive oil over medium heat. Add the diced onions and cook for 5 to 7 minutes, until they’re soft and translucent. Add the smashed garlic cloves and cook for another minute, until fragrant. Stir often so the garlic doesn’t burn—burnt garlic makes the sauce bitter.
- Add the tomatoes. Add the raw quartered tomatoes to the pot first. Stir them into the onions and garlic. Then add the roasted tomatoes. The mixture will look very liquidy at this point—don’t worry, that’s normal. Bring it to a gentle boil, then reduce the heat to low.
- Simmer the sauce. Let the sauce simmer uncovered for 45 to 60 minutes, stirring occasionally. The goal is to reduce the liquid by about a third. You’ll know it’s ready when the sauce has thickened and the color deepens to a rich red. Taste it and add salt as needed. Remember, you can always add more salt later, but you can’t take it out.
- Process the sauce. If you’re using a food mill, run the sauce through it now to remove skins and seeds. If you’re using an immersion blender, blend the sauce right in the pot until it reaches your desired consistency. I like mine slightly chunky, so I don’t blend it completely smooth.
- Add lemon juice for canning. Stir in the bottled lemon juice. This is non-negotiable for safe water bath canning. The lemon juice ensures the sauce has enough acidity to prevent botulism. Don’t skip it, and don’t use fresh lemon juice—the acidity levels vary too much.
- Prepare the jars and canner. While the sauce simmers, wash your jars, lids, and bands in hot soapy water. Rinse well. Place the jars in your canner or a large pot, cover with water, and bring to a simmer (180°F). Keep them hot until you’re ready to fill them. This prevents the jars from cracking when you add hot sauce.
- Fill the jars. Using your canning funnel and a ladle, fill each hot jar with sauce, leaving ½ inch of headspace. Run a clean chopstick or bubble remover around the inside of the jar to release any air bubbles. Wipe the rim of each jar with a clean, damp towel—any residue can prevent the lid from sealing. Center the lid on the jar and screw on the band until it’s fingertip-tight.
- Process the jars. Place the filled jars in the canner. Make sure they’re covered by at least 1 inch of water. Bring the water to a full rolling boil, then start your timer. Process pint jars for 35 minutes, quart jars for 40 minutes. Adjust for altitude if you’re above 1,000 feet (add 5 minutes for every 1,000 feet).
- Cool and check seals. After processing, turn off the heat and let the jars sit in the water for 5 minutes. Then use your jar lifter to transfer them to a towel-lined counter. Let them cool undisturbed for 12 to 24 hours. You’ll hear the satisfying “pop” as each jar seals. After cooling, press the center of each lid—it shouldn’t flex. If a jar doesn’t seal, store it in the fridge and use it within a week.
Sensory cue: when the sauce is done simmering, the kitchen will smell like a Sunday dinner in Italy. The sauce should coat the back of a spoon, and the color should be a deep, rich red, not orange or pale. If it’s still watery, let it simmer a little longer.
Cooking Tips & Techniques
I’ve made plenty of mistakes with tomato sauce over the years, so let me save you some trouble. First, don’t add sugar. I know some recipes call for it, but if you use ripe, in-season tomatoes and let them simmer long enough, they’ll be sweet enough on their own. Sugar masks the natural flavor. Second, don’t overcrowd your pot. If you’re making a big batch, work in batches. Overcrowding steams the tomatoes instead of simmering them, and you lose that concentrated flavor.
One technique I swear by is roasting half the tomatoes. It’s not essential, but it takes the sauce from good to “what did you put in this?” amazing. The caramelization adds a depth that you just can’t get from boiling alone. Another tip: taste as you go. I know it sounds obvious, but I’ve caught myself forgetting to season until the very end. Salt brings out the tomato’s natural sweetness, so add it gradually and taste after each addition.
If you’re new to canning, don’t be intimidated. The first time I canned, I was so nervous about the jars sealing that I checked them every hour. Now I just let them do their thing. The most common mistake is overfilling the jars or not leaving enough headspace. That ½ inch is important—it allows the vacuum seal to form properly. And always use bottled lemon juice for acidity. I learned that one the hard way when a batch didn’t seal because I used fresh lemons.
Variations & Adaptations
This sauce is a great base, but you can easily adapt it to your taste. Here are some variations I’ve tried over the years:
- Spicy Arrabbiata Sauce – Add 1 to 2 teaspoons of red pepper flakes along with the garlic. It gives the sauce a nice kick without overwhelming the tomato flavor. I make a batch of this every fall for my husband, who puts hot sauce on everything.
- Herb-Infused Version – Tuck a few sprigs of fresh oregano, thyme, and rosemary into the pot while the sauce simmers. Remove them before processing. This adds a lovely earthy note that’s perfect for meat sauces or lasagna.
- Roasted Garlic and Tomato Sauce – Instead of sautéing the garlic, roast a whole head of garlic alongside the tomatoes. Squeeze the soft cloves into the pot before simmering. The roasted garlic is sweet and mellow, not sharp like raw garlic.
- Low-Sodium Option – Reduce the salt to 1 teaspoon or omit it entirely. You can always add salt when you use the sauce later. The canning process doesn’t require salt for safety—it’s purely for flavor.
- Chunky Garden Sauce – After processing through the food mill, stir in 2 cups of finely diced zucchini or bell peppers that you’ve sautéed separately. This adds texture and stretches the sauce even further.
If you’re avoiding nightshades, this recipe isn’t for you—but you can try a similar method with roasted carrots and beets for a “tomato-free” sauce. It won’t taste the same, but it’s surprisingly good in its own way.
Serving & Storage Suggestions
This sauce is incredibly versatile. I use it straight from the jar for pasta, pizza, and even as a base for shakshuka. Serve it warm over your favorite noodles—I love it with thick crusty artisan bread for dipping. It’s also amazing spooned over roasted vegetables or mixed into soups. For a quick weeknight dinner, sauté some Italian sausage, add a jar of this sauce, and toss with rigatoni. Dinner in 15 minutes.
For storage, keep the sealed jars in a cool, dark place like a pantry or basement. They’ll stay good for 12 to 18 months. Once you open a jar, store it in the fridge and use it within 5 to 7 days. The flavor actually improves after a few weeks—the ingredients meld together and the sauce becomes even more complex.
If you want to freeze the sauce instead of canning it, let it cool completely, then pour it into freezer-safe bags or containers. Leave a little room for expansion. Frozen sauce keeps for 6 to 8 months. Thaw it in the fridge overnight or on the stovetop over low heat. The texture might be slightly different after freezing, but the flavor is still wonderful.
For reheating, warm the sauce gently on the stovetop over low heat. Stir occasionally to prevent scorching. If it’s too thick, add a splash of pasta water or broth to loosen it up. And don’t be afraid to add a pat of butter at the end—it makes the sauce silky and rich.
Nutritional Information & Benefits
This sauce is as healthy as it is delicious. Tomatoes are packed with lycopene, a powerful antioxidant that’s been linked to heart health and reduced inflammation. Cooking the tomatoes actually increases the bioavailability of lycopene, so this sauce is even more nutritious than eating raw tomatoes. The olive oil adds healthy monounsaturated fats, which help your body absorb the lycopene better. Garlic and onions are both known for their immune-boosting properties, making this sauce a great addition to your winter meal rotation.
Here’s an approximate nutritional breakdown per ½ cup serving (based on the recipe as written):
- Calories: 60
- Fat: 3g
- Carbohydrates: 8g
- Fiber: 2g
- Sugar: 5g (natural, from tomatoes)
- Protein: 1g
- Sodium: 200mg (adjustable)
This sauce is naturally vegan, gluten-free, and dairy-free. If you’re watching your sodium, reduce or omit the salt. It’s also low in calories and fat, making it a guilt-free addition to any meal. I love knowing that every jar I open in winter is packed with summer’s best nutrients.
Conclusion
Making your own homemade fresh garden tomato canning sauce is one of those kitchen projects that feels deeply satisfying. It’s not just about saving money or eating better—though you’ll do both. It’s about capturing a season and tucking it away for later. When you open a jar in the dead of winter and smell those tomatoes, you’ll remember the warm afternoons in the garden, the dirt under your nails, and the satisfaction of making something with your own hands.
I encourage you to customize this recipe to your taste. Add more garlic, throw in some herbs, or keep it simple. The beauty of homemade sauce is that it’s yours. And if you make a double batch? Even better. You’ll thank yourself on a cold February night when dinner practically makes itself. If you try this recipe, let me know how it goes in the comments below. Share your variations, your successes, and even your happy accidents. I’d love to hear about your canning adventures.
Happy canning, friends. Here’s to summer on a shelf.
Frequently Asked Questions
Can I use canned tomatoes instead of fresh for this recipe?
Yes, you can absolutely use canned tomatoes. Look for whole peeled San Marzano tomatoes in a can—they’re the closest to fresh. You’ll need about 6 to 8 cans (28 ounces each) to replace 10 pounds of fresh tomatoes. Drain some of the liquid to avoid a watery sauce, and skip the roasting step since the tomatoes are already cooked.
Do I have to peel the tomatoes before making sauce?
Not if you’re using a food mill. The food mill separates the skins and seeds from the pulp, so you can leave the skins on. If you’re using an immersion blender or a regular blender, you’ll want to peel the tomatoes first. Blanching them makes it easy—just a quick dip in boiling water and the skins slide right off.
Why did my jars not seal properly?
There are a few common reasons. The rim of the jar might have had food residue on it, preventing the lid from forming a tight seal. You might have overfilled the jars, leaving too little headspace. Or the lids might have been old or damaged. Always use new lids for canning, and make sure the rims are clean and dry before applying the lids.
Can I add meat or vegetables to this sauce before canning?
It’s not recommended to add meat or low-acid vegetables like mushrooms or peppers directly to the sauce for water bath canning. These ingredients change the acidity level and require pressure canning for safety. If you want a chunky sauce with vegetables, add them when you open the jar and reheat the sauce.
How long will this sauce last on the shelf?
Properly sealed jars of tomato sauce will last 12 to 18 months in a cool, dark pantry. The quality is best within the first year, but it’s still safe to eat beyond that as long as the seal is intact and there are no signs of spoilage like mold, bulging lids, or off smells. Always check the seal before using.
Pin This Recipe!
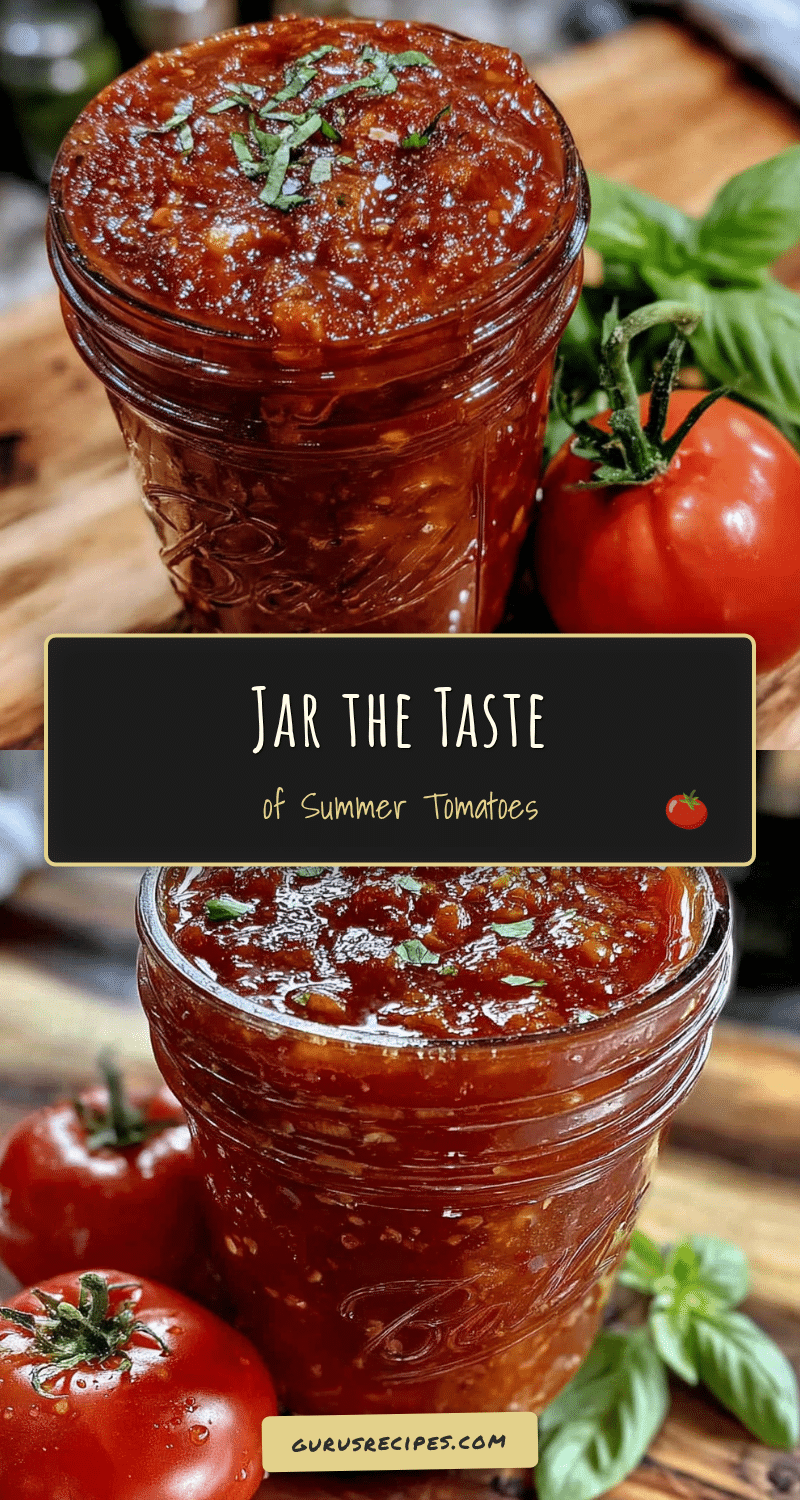

Easy Homemade Tomato Canning Sauce: Best for Winter
This easy homemade tomato canning sauce is perfect for preserving summer’s bounty. Made with fresh garden tomatoes, garlic, and basil, it’s a versatile base for pasta, soups, and more, ready to enjoy all winter long.
- Total Time: 2 hours
- Yield: 4 servings 1x
Ingredients
- 10 pounds fresh tomatoes (mix of Roma, San Marzano, and beefsteak)
- 2 large yellow onions, diced
- 8 to 10 garlic cloves, smashed
- 1 cup fresh basil, loosely packed
- 1/4 cup extra virgin olive oil
- 2 teaspoons sea salt, plus more to taste
- 2 tablespoons bottled lemon juice
- 1/2 teaspoon red pepper flakes (optional)
Instructions
- Prep the tomatoes: Wash thoroughly, remove stems and bruised spots. If using a food mill, quarter tomatoes with skins on. If using an immersion blender, blanch tomatoes first: score an X on the bottom, boil for 30-45 seconds, then transfer to an ice bath and peel.
- Roast half the tomatoes (optional but recommended): Spread half the quartered tomatoes on a baking sheet, drizzle with olive oil and sprinkle with salt. Roast at 400°F for 30-40 minutes until soft and caramelized.
- Sauté the aromatics: In a large stockpot, heat olive oil over medium heat. Add diced onions and cook for 5-7 minutes until soft and translucent. Add smashed garlic and cook for 1 minute until fragrant.
- Add the tomatoes: Add raw quartered tomatoes to the pot first, then the roasted tomatoes. Bring to a gentle boil, then reduce heat to low.
- Simmer the sauce: Let simmer uncovered for 45-60 minutes, stirring occasionally, until reduced by about a third and thickened. Season with salt to taste.
- Process the sauce: If using a food mill, run sauce through it to remove skins and seeds. If using an immersion blender, blend in the pot to desired consistency.
- Add lemon juice: Stir in bottled lemon juice for safe canning.
- Prepare jars and canner: Wash jars, lids, and bands in hot soapy water. Place jars in canner, cover with water, and bring to a simmer (180°F). Keep hot until filling.
- Fill the jars: Using a canning funnel and ladle, fill each hot jar with sauce, leaving 1/2 inch headspace. Remove air bubbles, wipe rims, center lids, and screw on bands fingertip-tight.
- Process the jars: Place jars in canner, cover with at least 1 inch of water. Bring to a full rolling boil. Process pint jars for 35 minutes, quart jars for 40 minutes (adjust for altitude).
- Cool and check seals: Turn off heat, let jars sit in water for 5 minutes. Transfer to a towel-lined counter and cool undisturbed for 12-24 hours. Check seals—lids should not flex.
Notes
Roasting half the tomatoes adds depth of flavor. Do not add sugar; ripe tomatoes are sweet enough. Use bottled lemon juice for safe canning—do not substitute fresh. For altitude above 1,000 feet, add 5 minutes processing time per 1,000 feet.
- Prep Time: 30 minutes
- Cook Time: 1 hour 30 minutes
- Category: Main Course
- Cuisine: Italian
Nutrition
- Serving Size: 1/2 cup
- Calories: 60
- Sugar: 5
- Sodium: 200
- Fat: 3
- Carbohydrates: 8
- Fiber: 2
- Protein: 1
Keywords: tomato sauce, canning, homemade, garden tomatoes, winter, pasta sauce, preserving


