
I was elbow-deep in soapy water last October when the smell of garlic and oregano hit me from the neighbor’s open window — and suddenly I was eight years old, standing on a step stool in my Aunt Carol’s tiny kitchen, my fingers sticky with tomato sauce. She had this way of making cooking feel like a secret club, and I was desperate to be let in. Her kitchen smelled like garlic and chaos, and she’d let me press olive slices into dough until my thumbs were wrinkled. I can still hear her saying, “It doesn’t have to be perfect, honey. It just has to be fun.”
That memory hit me hard, you know? Because here I am, a grown-up with my own kids, and I’ve been trying to recreate that feeling ever since. Not the recipe exactly — Aunt Carol’s gone now, and I never did get her exact measurements — but the feeling of standing next to someone who made you believe you could make anything. So last Halloween, when my kids were bouncing off the walls with sugar-fueled energy, I grabbed some pizza dough and a bag of olives and said, “Let’s make faces.” And honestly? It worked. The chaos quieted down, flour went everywhere, and for twenty minutes, we were all just laughing.
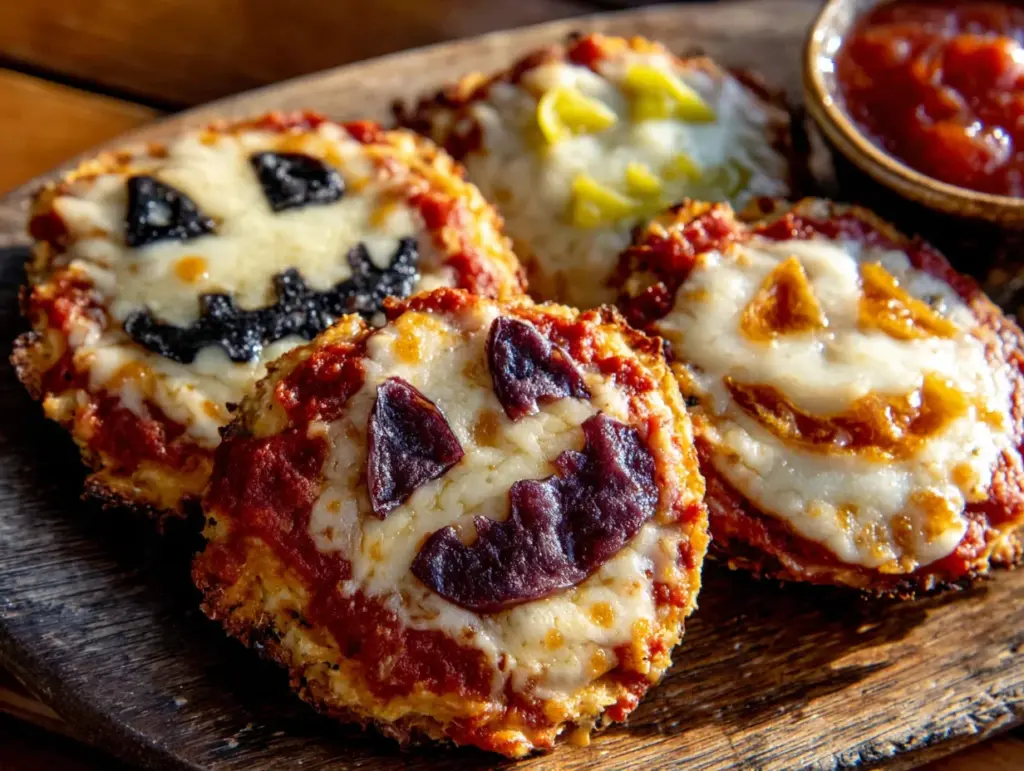
That’s how these Kid-Approved Mini Halloween Pizza Faces were born. They’re not fancy. They’re not perfect. But they are the kind of thing you make when you want to stop stressing about Halloween and just have a good time. Maybe you’ve been there — trying to find something fun that doesn’t involve a trip to the store for weird ingredients or an hour of cleanup. These little pizza faces are the answer. They’re easy, they’re silly, and they taste like the best kind of childhood memory. Let me show you how to make them.
Why You’ll Love This Recipe
Let’s be real — Halloween can be a lot. Between the costume drama, the candy negotiations, and the sugar crashes, sometimes you just need something that works. These mini pizza faces are that thing. I’ve tested them with my own kids (ages 4 and 7, both picky in different ways), and they passed the test with flying colors. Here’s why this recipe is a keeper:
- Quick & Easy: From start to finish, you’re looking at about 20 minutes. That’s less time than it takes to argue about costume accessories.
- Simple Ingredients: You probably have most of this stuff in your fridge right now. No special Halloween-themed products required.
- Perfect for Halloween Fun: Whether it’s a classroom party, a family movie night, or just a way to survive October 31st, these fit the bill.
- Crowd-Pleaser: My kids devoured them, and so did the neighbor kids who “just happened” to stop by. Even the ones who swear they don’t like olives ate them.
- Unbelievably Delicious: The combination of crispy mini crusts, gooey cheese, and salty toppings is pure comfort food magic.
What makes these different from other Halloween recipes? It’s the technique. Instead of trying to shape dough into perfect pumpkins or ghosts (which always ends in tears), you let the toppings do the work. A slice of olive becomes an eye, a strip of bell pepper becomes a creepy smile. It’s low-pressure and high-reward. Plus, kids can actually do most of it themselves — and that’s the whole point.
This isn’t just a recipe; it’s a way to make Halloween feel manageable. You’re not trying to win a baking competition. You’re just trying to make your kids smile. And trust me, they will.
What Ingredients You Will Need
This recipe uses simple, everyday ingredients to create something that feels special. No fancy grocery trips required — I promise. Here’s what you’ll need to make about 12 mini pizza faces:
For the Pizza Base
- 1 pound store-bought pizza dough (I prefer the refrigerated kind from the grocery store bakery section — it’s forgiving and easy to work with. If you’re feeling ambitious, homemade works too, but store-bought saves time)
- 1/2 cup pizza sauce (look for one with no added sugar if possible, or use plain tomato sauce with a pinch of oregano)
- 2 cups shredded mozzarella cheese (low-moisture, whole-milk mozzarella melts best — I’ve tried part-skim and it gets a bit rubbery)
- 1 tablespoon olive oil (for brushing the crusts — it helps them get golden and crispy)
For the Face Toppings
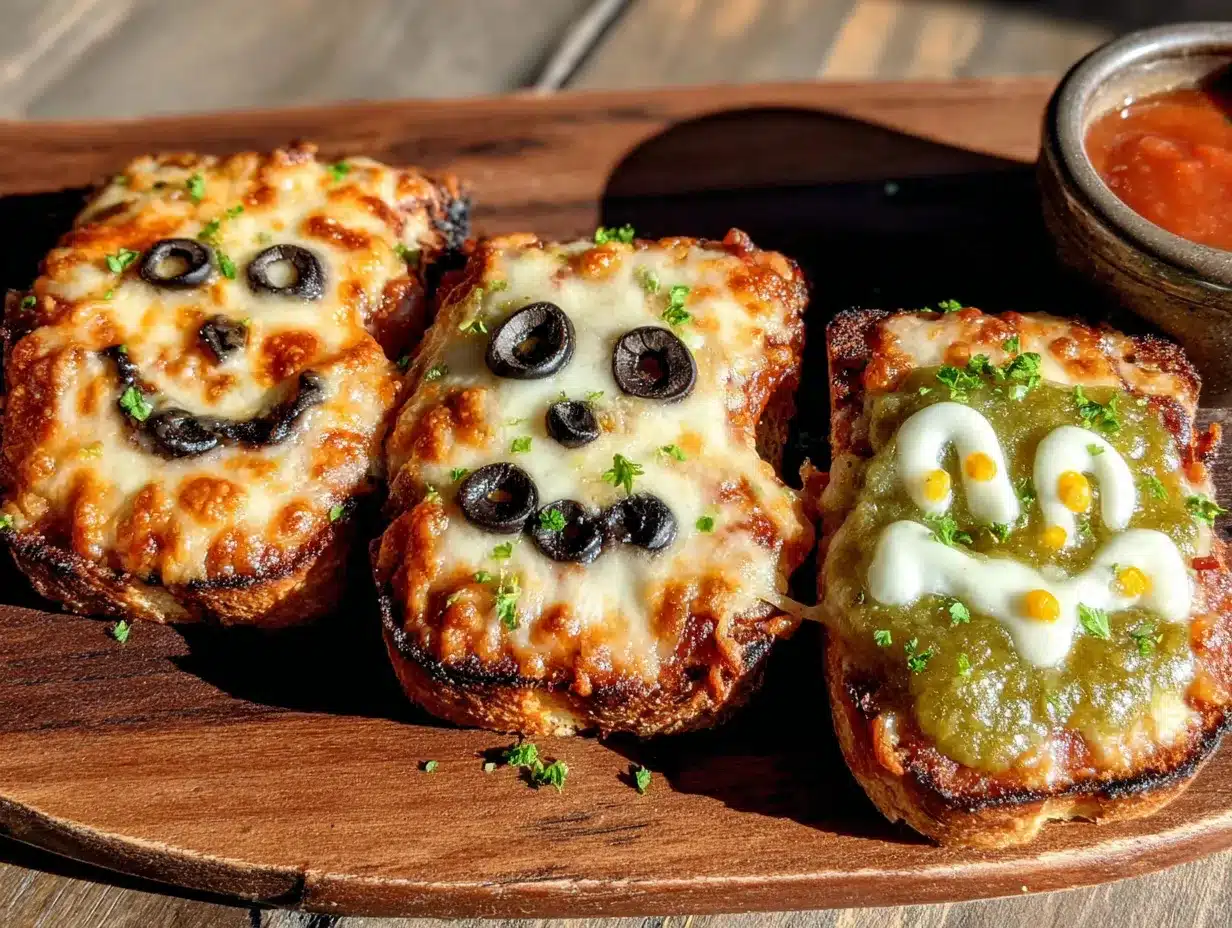
- 1/4 cup black olives, sliced (these make perfect eyes and mouths — I like Lindsay brand for consistent slicing)
- 1/4 cup green olives with pimentos, sliced (these add a pop of color and a tangy flavor that kids surprisingly love)
- 1/4 cup pepperoni slices (cut into triangles or strips for noses, eyebrows, or scary teeth)
- 1/4 cup red bell pepper, cut into thin strips (great for making creepy smiles or scars)
- 1/4 cup yellow bell pepper, cut into small triangles (these look like little pumpkin teeth or monster horns)
- 2 tablespoons capers, drained (optional, but they make excellent warts or eyeballs — my kids call them “monster freckles”)
Optional Add-Ons
- 1/4 cup cooked and crumbled Italian sausage (for extra protein — just sprinkle it on before the cheese)
- 1/4 cup sliced mushrooms (for a spooky, earthy look — my daughter says they look like “witch fingers”)
- Fresh basil leaves (for making “hair” or “eyebrows” — just tear them into small pieces)
Ingredient Tip: Let your pizza dough sit at room temperature for about 20 minutes before you start. Cold dough is stubborn and will fight you when you try to shape it. Room-temp dough is like a relaxed friend — much easier to work with.
Equipment Needed
You don’t need a professional kitchen to make these, but having the right tools makes everything smoother. Here’s what I use:
- Baking sheets — two standard 13×18 inch sheets work perfectly. If you only have one, just bake in batches.
- Parchment paper — absolute lifesaver. It prevents sticking and makes cleanup almost nonexistent. I buy the pre-cut sheets for convenience.
- Rolling pin — or a wine bottle in a pinch. I’ve used both. The wine bottle actually works better for small dough pieces.
- Small round cookie cutter — about 3 inches in diameter. A biscuit cutter or even a clean tuna can works too.
- Pastry brush — for brushing olive oil on the crusts. A silicone one is easiest to clean.
- Sharp knife — for cutting toppings into shapes. A paring knife is perfect.
- Cutting board — dedicate one for veggie prep only.
- Small bowls — for organizing your toppings. This makes the “face assembly line” much more fun for kids.
Budget-Friendly Tip: Don’t have a rolling pin? A clean, empty glass bottle works just fine. I’ve used a hot sauce bottle in a pinch — just make sure it’s washed and dry.
Preparation Method
Alright, let’s make some pizza faces. This is where the magic happens. I’ll walk you through it step by step, including all the little things I’ve learned from making these about a dozen times now.
Step 1: Prep Your Workspace
Preheat your oven to 425°F (220°C). While that’s heating up, line your baking sheets with parchment paper. Trust me on this — parchment paper is your friend. I tried making these on a greased pan once and spent 20 minutes scrubbing cheese off. Never again.
Set up your “face station” with small bowls of toppings. This is where kids can really get involved. I put out the olive slices, pepperoni, bell pepper strips, and capers in little bowls. It looks like an art supply station, which is exactly the point.
Step 2: Prep the Dough
Lightly flour your work surface. Take your pizza dough and divide it into 12 equal pieces. I use a bench scraper for this, but a knife works fine. Each piece should be about the size of a golf ball.
Roll each piece into a ball, then use your rolling pin to flatten it into a circle about 3 inches in diameter. Don’t stress about getting perfect circles — these are monster faces, after all. Imperfect shapes just add character. I actually prefer when the edges are a little jagged — it makes them look more like creepy creatures.
Step 3: Add the Sauce
Spoon about 1 tablespoon of pizza sauce onto each dough circle. Spread it around with the back of the spoon, leaving a 1/4-inch border for the crust. Here’s a tip: don’t go overboard on the sauce. Too much and your pizza faces will be soggy. You want a thin, even layer.
I learned this the hard way when my first batch turned into saucy puddles. Now I use a light hand and the results are much better.
Step 4: Add the Cheese
Sprinkle about 2 tablespoons of shredded mozzarella on each mini pizza. Don’t pile it on — you want to be able to see the toppings underneath. Think of the cheese as the canvas, not the whole painting.
Pro Tip: If you want the faces to be really distinct, add the toppings first, then sprinkle the cheese lightly over everything. This helps the toppings stay visible after baking.
Step 5: Create the Faces
This is the fun part. Let your imagination — and your kids’ imaginations — run wild. Here are some ideas to get you started:
- Classic Monster: Two olive slices for eyes, a pepperoni triangle for a nose, and a curved strip of red bell pepper for a smile.
- Frankenstein: A row of green olive slices across the top for the forehead scar, two capers for eyes, and a straight line of yellow pepper for the mouth.
- Witch: A triangle of green pepper for the hat, two olive eyes, and a crooked smile made from a strip of red pepper.
- Pumpkin Face: Use yellow pepper triangles to make a jack-o-lantern smile, with olive eyes and a green pepper stem on top.
- Alien: Three capers in a triangle for eyes, a curved pepperoni slice for a mouth, and strips of red pepper for antennae.
Don’t overthink it. I’ve seen my kids make faces that looked like abstract art and they were thrilled with the results. The goal is fun, not perfection.
Step 6: Brush and Bake
Brush the edges of each mini pizza with a little olive oil. This helps them get golden and crispy. Transfer the baking sheets to the preheated oven and bake for 10-12 minutes, or until the crusts are golden brown and the cheese is bubbly.
Keep an eye on them after the 10-minute mark. Ovens vary, and you don’t want burnt pizza faces. I usually rotate the pans halfway through for even baking.
Step 7: Cool and Serve
Let the mini pizzas cool on the baking sheets for 5 minutes before serving. This is crucial — the cheese needs time to set, or it will slide right off the faces. I learned this when my daughter tried to eat one immediately and ended up with a cheese beard.
Serve them warm, with extra pizza sauce for dipping if you want. Watch the smiles appear.
Cooking Tips & Techniques
After making these more times than I can count, I’ve picked up a few tricks that make the process smoother and the results better. Here’s what I wish someone had told me:
Don’t overwork the dough. I know it’s tempting to keep rolling and shaping, but the more you handle pizza dough, the tougher it gets. Just roll it out once, cut your circles, and move on. Overworked dough makes for tough crusts.
Use room-temperature toppings. Cold cheese and cold pepperoni don’t melt as evenly. Let your toppings sit out for about 15 minutes before you start assembling. This little step makes a big difference in how everything cooks together.
Bake in the middle of the oven. I used to put my baking sheets on the top rack thinking it would brown the cheese faster, but it actually just burned the edges. The middle rack gives you even heat distribution and perfect golden crusts every time.
Make extra dough. Seriously. The first time I made these, I only made enough for 12 and my kids ate them all before I could even take a picture. Now I always double the batch. They reheat beautifully, so leftovers are never a problem.
Let kids own the process. I know it’s messy, but that’s part of the fun. Give each kid their own dough circle and a small bowl of toppings. Let them create their own faces. The results might not look like much, but the pride on their faces is worth every smear of sauce on the counter.
Variations & Adaptations
One of the best things about this recipe is how flexible it is. Here are some ways to mix it up:
Dietary Variations
- Gluten-Free: Use gluten-free pizza dough. I’ve tried a few brands and find that the pre-made cauliflower crusts work surprisingly well for mini pizzas. Just cut them into circles before baking.
- Dairy-Free: Swap the mozzarella for dairy-free shredded cheese. Look for one that melts well — I like the brands that use coconut oil as a base. Add a little nutritional yeast for extra cheesy flavor.
- Vegetarian: Load up on veggie toppings. Roasted red peppers, artichoke hearts, and sun-dried tomatoes all work beautifully. My kids love when I use sliced zucchini for “monster scales.”
Flavor Twists
- BBQ Chicken Faces: Swap the pizza sauce for BBQ sauce and top with shredded cooked chicken and red onion slices. Use the same face-making technique with the toppings.
- White Pizza Faces: Use ricotta cheese as the base instead of tomato sauce. Top with mozzarella and garlic powder. The faces look especially spooky against the white background.
- Mexican Pizza Faces: Use refried beans as the base, top with cheddar cheese and black olives. Add jalapeño slices for “warts” if your kids can handle the heat.
Seasonal Adaptations
- Fall Fun: Use pumpkin-shaped cookie cutters instead of round ones. Top with roasted butternut squash cubes and sage leaves for a seasonal twist.
- Winter Holiday: Make snowman faces using cream cheese as the base, with olive eyes and a carrot strip for the nose.
- Spring/Easter: Use bunny-shaped cookie cutters and top with pastel-colored veggies like yellow peppers and purple cabbage.
I tried the BBQ chicken version last summer and it was a hit. The smoky sweetness of the BBQ sauce paired with the salty olives was unexpected but totally delicious. My kids still ask for it, even when it’s not Halloween.
Serving & Storage Suggestions
These mini pizza faces are best served warm, right after they come out of the oven. The cheese is stretchy, the crust is crispy, and the faces are still intact. But I get it — you’re busy, and sometimes you need to make things ahead. Here’s how to handle it:
Serving Temperature: Serve them warm, but not piping hot. Let them rest for 5 minutes after baking. If you’re serving them at a party, you can keep them warm in a low oven (200°F) for up to 30 minutes. Just put them on a baking sheet and cover loosely with foil.
Presentation Ideas: Arrange them on a large platter with a bowl of extra pizza sauce in the center for dipping. You can also arrange them in a circle to look like a wreath of monster faces — creepy and cute at the same time.
Complementary Dishes: Serve them with a side of carrot sticks and ranch dressing for dipping (the orange color is perfect for Halloween). A simple green salad with a tangy vinaigrette balances out the richness of the pizza. For drinks, apple cider or sparkling water with a splash of cranberry juice works beautifully.
Storage Instructions: Leftover mini pizzas can be stored in an airtight container in the refrigerator for up to 3 days. To reheat, place them on a baking sheet in a 350°F oven for 5-7 minutes, or until the cheese is bubbly again. I don’t recommend the microwave — it makes the crusts soggy.
Freezing: You can freeze the unbaked mini pizzas. Assemble them completely on a parchment-lined baking sheet, then freeze until solid. Transfer to a freezer bag and store for up to 2 months. Bake from frozen, adding 2-3 minutes to the baking time.
Here’s something I’ve noticed: the flavors actually get better after a day in the fridge. The toppings meld together and the crust absorbs some of the sauce, making them even more delicious. My kids actually prefer them cold, straight from the fridge, as a weird little snack. Don’t judge — it’s kind of good.
Nutritional Information & Benefits
Let’s be honest — these are still pizza, so they’re not exactly health food. But they’re not terrible either, especially compared to what you’d get at a fast food joint. Here’s the breakdown per mini pizza (based on one serving):
- Calories: Approximately 180-200 calories
- Protein: 8-10 grams (thanks to the cheese and any meat toppings)
- Carbohydrates: 18-22 grams (mostly from the dough)
- Fat: 8-10 grams (from cheese and olive oil)
- Fiber: 1-2 grams (from the dough and veggie toppings)
- Sodium: 400-500 mg (pizza is naturally higher in sodium)
Health Benefits: The mozzarella cheese provides calcium and protein, which are important for growing kids. The bell peppers are packed with vitamin C — one mini pizza has about 15% of the daily recommended intake. Olives offer healthy monounsaturated fats and antioxidants. And let’s not forget the fun factor — cooking together has proven benefits for kids’ confidence and willingness to try new foods.
Dietary Considerations: This recipe can be made gluten-free and dairy-free with simple substitutions (see variations above). It’s naturally nut-free and egg-free, making it safe for most common allergies. If you’re watching sodium, use low-sodium cheese and go easy on the olives.
I’m not a nutritionist, but I’ve learned that balance is key. These mini pizzas are a treat, and treats are part of a healthy relationship with food. Serve them with veggies on the side, and everyone wins.
Conclusion
These Kid-Approved Mini Halloween Pizza Faces are more than just a recipe — they’re a way to make Halloween feel fun instead of frantic. They’re the kind of thing you make when you want to slow down, get a little messy, and actually enjoy the holiday with your kids. The best part? They’re so simple that you can focus on the laughter instead of the instructions.
I love this recipe because it reminds me of that night in my aunt’s kitchen, when the world felt full of possibility and a handful of olives could become a masterpiece. It’s not about perfection — it’s about the joy of creating something together. And honestly? That’s the best kind of Halloween treat.
So go ahead — grab some dough, raid your fridge for toppings, and let your kids make the ugliest, most beautiful pizza faces you’ve ever seen. Take pictures. Laugh at the mess. And when someone asks for the recipe, tell them it’s from Aunt Carol’s secret club. She would have loved that.
I’d love to see your creations! Drop a comment below with your kids’ favorite face designs, or tag me on social media if you share a photo. And if you have a variation that worked especially well, please share it — I’m always looking for new ideas. Happy Halloween, and happy cooking!
Frequently Asked Questions
Can I make these ahead of time for a party?
Absolutely! You can assemble the mini pizzas up to 24 hours in advance and store them in the refrigerator on the baking sheet, covered with plastic wrap. Bake them just before serving for the best results. You can also bake them completely, let them cool, and reheat them in a 350°F oven for 5-7 minutes.
My kids are picky eaters — will they like these?
I’ve tested these on multiple picky eaters (including my own), and the answer is usually yes. The key is letting them choose their own toppings. When kids feel in control, they’re more willing to try new things. Start with basic toppings like cheese and pepperoni, then gradually introduce olives and peppers.
Can I use homemade pizza dough?
Of course! Homemade dough works beautifully. Just make sure it’s at room temperature before you roll it out. If you’re short on time, store-bought dough is perfectly fine — I use it all the time and nobody can tell the difference.
How do I prevent the toppings from falling off?
Press the toppings gently into the cheese before baking. This helps them stick. Also, avoid overloading the pizzas — stick to 3-4 toppings per face. Too many toppings can make the pizza unstable. And don’t forget to let them cool for 5 minutes after baking so the cheese sets.
Can I make these with other types of cheese?
Absolutely! Cheddar, provolone, or a pizza blend all work well. Just keep in mind that different cheeses melt differently — cheddar gets oily, while provolone is stretchy. I’ve also used fresh mozzarella pearls cut in half, which gives a beautiful, creamy texture. Experiment and find your favorite!
Pin This Recipe!
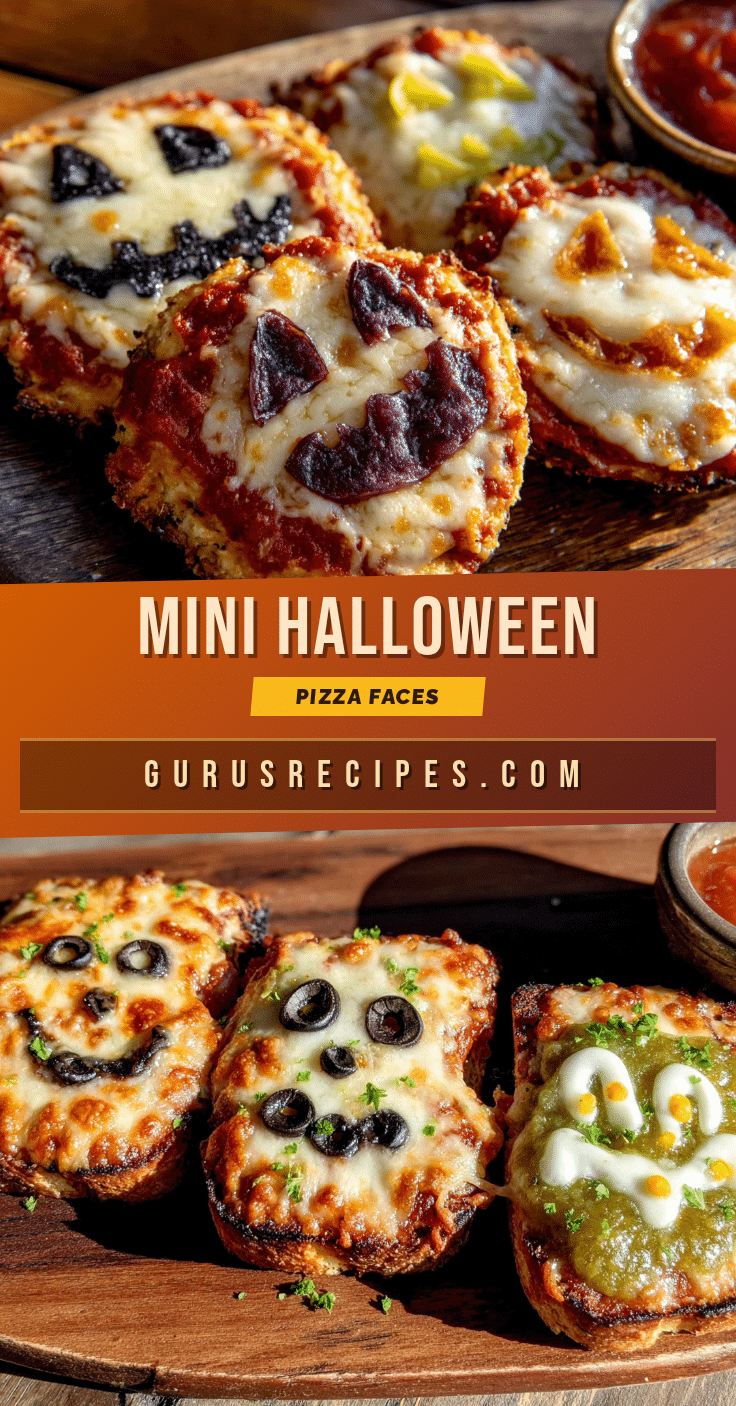

Easy Kid-Approved Mini Halloween Pizza Faces
These fun and easy mini pizza faces are perfect for Halloween. Made with simple ingredients, they let kids create their own monster faces using olives, peppers, and pepperoni. A quick, crowd-pleasing recipe that turns dinner into a playful activity.
- Total Time: 22 minutes
- Yield: 12 servings 1x
Ingredients
- 1 pound store-bought pizza dough
- 1/2 cup pizza sauce
- 2 cups shredded mozzarella cheese
- 1 tablespoon olive oil
- 1/4 cup black olives, sliced
- 1/4 cup green olives with pimentos, sliced
- 1/4 cup pepperoni slices
- 1/4 cup red bell pepper, cut into thin strips
- 1/4 cup yellow bell pepper, cut into small triangles
- 2 tablespoons capers, drained
- 1/4 cup cooked and crumbled Italian sausage (optional)
- 1/4 cup sliced mushrooms (optional)
- Fresh basil leaves (optional)
Instructions
- Preheat oven to 425°F (220°C). Line baking sheets with parchment paper.
- Lightly flour a work surface. Divide pizza dough into 12 equal pieces and roll each into a ball.
- Roll each ball into a 3-inch circle. Place on prepared baking sheets.
- Spoon about 1 tablespoon of pizza sauce onto each dough circle, spreading to leave a 1/4-inch border.
- Sprinkle about 2 tablespoons of shredded mozzarella on each mini pizza.
- Create faces using toppings: olive slices for eyes, pepperoni for noses, bell pepper strips for smiles, etc.
- Brush edges of each mini pizza with olive oil.
- Bake for 10-12 minutes, until crusts are golden and cheese is bubbly. Rotate pans halfway through if needed.
- Let cool on baking sheets for 5 minutes before serving.
Notes
Let pizza dough sit at room temperature for 20 minutes before using. Use room-temperature toppings for even melting. Bake in the middle of the oven for best results. Let kids choose their own toppings for more fun. Leftovers can be stored in the refrigerator for up to 3 days and reheated in a 350°F oven for 5-7 minutes.
- Prep Time: 10 minutes
- Cook Time: 12 minutes
- Category: Main Course
- Cuisine: American
Nutrition
- Serving Size: 1 mini pizza
- Calories: 190
- Sugar: 2
- Sodium: 450
- Fat: 9
- Saturated Fat: 4
- Carbohydrates: 20
- Fiber: 1.5
- Protein: 9
Keywords: Halloween, pizza, kid-friendly, mini pizzas, monster faces, easy recipe, party food


