
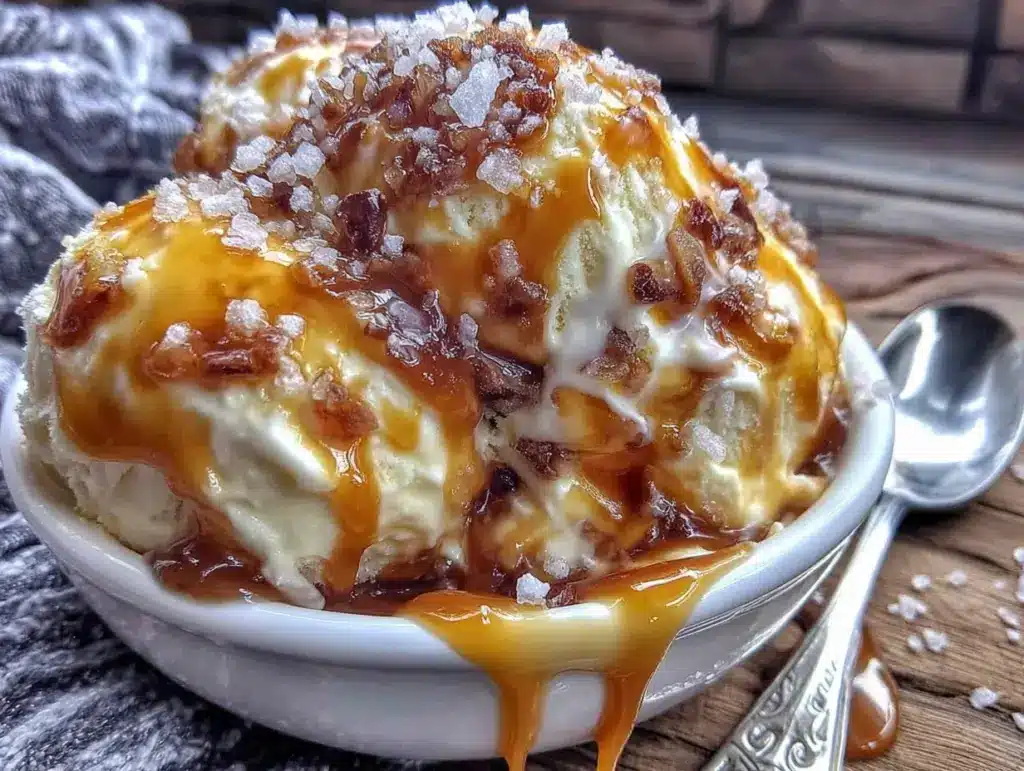
My friend Jen asked why I couldn’t just dump the caramel sauce into the cream and freeze it. I started to explain why that wouldn’t work—something about ice crystals and sugar ratios and the science of churning. Then I stopped. Honestly, I had no good reason. I’d just always assumed you had to use an ice cream maker. That’s what the blogs said. That’s what my grandmother’s ancient recipe card insisted. But Jen was standing in my kitchen on a sticky Tuesday afternoon in July, and the air conditioner was struggling, and she looked so hopeful holding that jar of homemade caramel. So I shrugged. “Fine. Let’s try it your way.”
I grabbed a mixing bowl, some heavy cream, and a can of sweetened condensed milk because that’s what I had. I figured worst case, we’d end up with sweet soup. Best case? Maybe something scoopable. I poured the cream, whipped it until soft peaks formed, then folded in the condensed milk and a generous swirl of salted caramel. I poured it into a loaf pan, crossed my fingers, and shoved it in the freezer. I fully expected to open it later and find a crystallized mess.
Eight hours later, I pulled it out. The spoon went through like butter. The texture was creamy, rich, and absolutely scoopable. No ice crystals. No weird separation. Just pure, silky, salted caramel ice cream. Jen took one bite and just looked at me. “Told you,” she said. I had to admit—she was right. I’ve been making it this way ever since, and I haven’t touched my ice cream maker in two years. This easy no-churn salted caramel ice cream recipe is the one that proved I didn’t know as much as I thought I did. And honestly? I’m glad I was wrong.
Why You’ll Love This Recipe
This isn’t just another ice cream recipe. This is the kind that makes you close your eyes after the first bite and forget about the heat outside. Here’s why it works so well:
- No Machine Required — You don’t need an ice cream maker, a churn, or any fancy equipment. Just a mixer, a bowl, and a freezer.
- Four Ingredients — Heavy cream, sweetened condensed milk, salted caramel sauce, and flaky sea salt. That’s it. No eggs, no custard base, no fuss.
- Ready in Under 10 Minutes — The active prep time is laughably short. Whip, fold, swirl, freeze. You’ll spend more time deciding what to watch on TV.
- Perfect for Summer — When the temperatures hit 90 degrees, this ice cream is your best friend. It’s cold, creamy, and exactly what you need.
- Better Than Store-Bought — Trust me on this. The homemade caramel is deeper, the salt is flakier, and the texture is somehow lighter than anything you’ll find in a pint.
I’ve tested this recipe at least a dozen times, tweaking the caramel ratio, the salt level, the whipping time. This version is the one I keep coming back to because it’s balanced—sweet but not cloying, salty but not aggressive, creamy but not heavy. It’s the kind of dessert that makes you feel like you’re treating yourself, even though it took almost no effort.
What Ingredients You Will Need
This recipe uses simple, everyday ingredients to create something that tastes surprisingly luxurious. No weird stabilizers, no obscure extracts, no trips to a specialty store.
- 2 cups heavy cream (also called heavy whipping cream—look for at least 36% milk fat for the best texture)
- 1 can (14 ounces) sweetened condensed milk (I prefer Eagle Brand or Borden, but any brand works)
- 1/2 cup salted caramel sauce (homemade or store-bought—I’ve used both and they both work beautifully)
- 1 teaspoon flaky sea salt (like Maldon or Jacobsen—don’t use table salt here, the texture matters)
- 1 teaspoon vanilla extract (optional but recommended—it rounds out the flavor)
Let me talk about the caramel sauce for a second. You can absolutely make your own—it’s just sugar, butter, and cream cooked until golden and glossy. But on a hot day when you don’t want to stand over a stove, a good store-bought jar works perfectly. I’ve used Trader Joe’s salted caramel sauce and it’s fantastic. Just make sure it’s thick, not watery. Thin caramel will sink to the bottom instead of creating those beautiful ribbons.
The heavy cream is non-negotiable. Don’t try to substitute half-and-half or milk—it won’t whip properly and you’ll end up with a thin, icy mess. The sweetened condensed milk is what gives this no-churn ice cream its creamy texture without needing eggs or a custard base. It’s the secret weapon here.
For the flaky sea salt, don’t skip it. It’s not just for garnish—it balances the sweetness and adds those little bursts of salty crunch that make salted caramel so addictive. I’ve tried this with regular table salt and it’s just not the same. The flakes are key.
Equipment Needed
The beauty of this recipe is how little equipment it requires. Here’s what you’ll need:
- Large mixing bowl (glass or metal—plastic can retain grease and affect whipping)
- Electric hand mixer or stand mixer (you can whip by hand with a whisk, but your arm will hate you)
- Rubber spatula (for folding in the condensed milk and caramel)
- 9×5-inch loaf pan (or any freezer-safe container with a lid)
- Parchment paper (optional but helpful for easy removal)
- Plastic wrap or lid (to cover the ice cream while it freezes)
If you don’t have a loaf pan, use a 8×8-inch square dish or even a metal mixing bowl. The key is a container that’s wide enough to allow even freezing. I’ve also used disposable aluminum pans when I’m making this for a party and don’t want to worry about washing dishes. Works perfectly.
One tip: chill your mixing bowl and beaters in the freezer for 10 minutes before you start. It helps the cream whip faster and hold its shape better. Not essential, but it makes a difference on a hot day.
Preparation Method
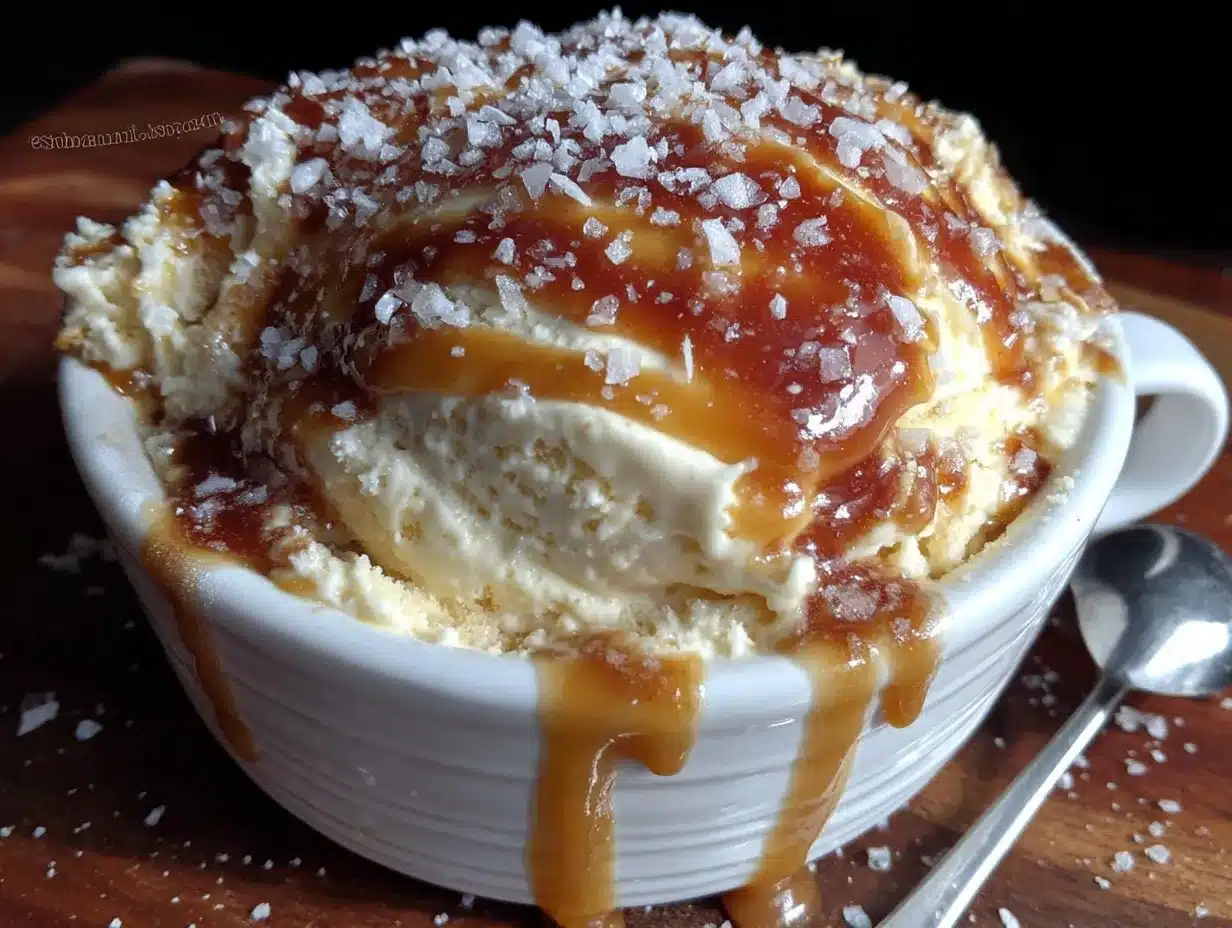
This is where the magic happens. Follow these steps and you’ll have creamy, dreamy ice cream without breaking a sweat.
- Chill your equipment. Place your mixing bowl and beaters in the freezer for 10 minutes. This helps the cream whip up faster and hold its volume.
- Whip the cream. Pour the heavy cream into the chilled bowl. Beat on medium-high speed until soft peaks form—about 3-4 minutes. You’re looking for peaks that gently flop over when you lift the beaters. Don’t over-whip or you’ll end up with butter. I learned that the hard way.
- Add the condensed milk. Pour the sweetened condensed milk and vanilla extract into the whipped cream. Fold gently with a rubber spatula until fully combined. Don’t stir vigorously—you want to keep as much air in the mixture as possible. The air is what gives the ice cream its light, creamy texture.
- Swirl in the caramel. Gently fold in about 1/3 cup of the salted caramel sauce. You want streaks of caramel running through the mixture, not fully incorporated. A few folds is enough. Over-mixing will turn the whole thing brown and you’ll lose those beautiful ribbons.
- Layer in the pan. Line your loaf pan with parchment paper if using. Spoon half the ice cream mixture into the pan and spread it evenly. Drizzle with half the remaining caramel sauce and sprinkle with half the flaky sea salt. Add the rest of the ice cream mixture, then top with the remaining caramel and salt.
- Create a swirl pattern. Use a knife or skewer to gently swirl the caramel through the top layer. Don’t overdo it—you want distinct pockets of caramel, not a uniform color.
- Cover and freeze. Press a piece of plastic wrap directly onto the surface of the ice cream (this prevents ice crystals from forming). Cover the pan with its lid or another layer of plastic wrap. Freeze for at least 6 hours, but overnight is better. The longer it freezes, the firmer and creamier it gets.
- Let it soften before serving. When you’re ready to eat, let the ice cream sit at room temperature for 5-10 minutes. This makes scooping so much easier. Trust me, I’ve cracked a few spoons trying to scoop straight from the freezer.
One more thing—if you’re in a hurry, you can eat this after 4 hours, but it’ll be more like soft-serve. Which honestly, is still pretty amazing.
Cooking Tips & Techniques
I’ve made this recipe more times than I can count, and I’ve learned a few things along the way. Here are the tips that make the biggest difference:
Don’t over-whip the cream. This is the most common mistake. Soft peaks are perfect—they should look like fluffy clouds that just barely hold their shape. If you whip until stiff peaks, the ice cream can turn out a little grainy. I’ve done it. It’s still edible, but not as silky.
Use room temperature condensed milk. Cold condensed milk is thick and hard to fold in evenly. Let it sit on the counter for 15 minutes before you start. It’ll incorporate much more smoothly.
Warm the caramel slightly. If your caramel sauce is fridge-cold, it’ll seize up when you try to swirl it into the cream. Microwave it for 10-15 seconds until it’s pourable but not hot. You want ribbons, not chunks.
Layer strategically. Putting caramel in the middle AND on top ensures every scoop has some caramel goodness. I used to just swirl it all on top, and the bottom half of the ice cream was plain. Now I layer it and every bite is perfect.
Freeze it flat. Make sure your loaf pan is level in the freezer. I once tilted the pan getting it in, and half the ice cream ended up thicker than the other half. It still tasted fine, but it looked funny.
Variations & Adaptations
This recipe is incredibly forgiving and easy to customize. Here are some of my favorite variations:
Chocolate Salted Caramel — Add 1/4 cup cocoa powder to the condensed milk before folding it into the cream. The chocolate and caramel combo is absolutely killer. I made this for a friend’s birthday and it disappeared in 10 minutes.
Vegan Version — Use full-fat coconut cream (chilled overnight) instead of heavy cream, and use a dairy-free sweetened condensed coconut milk. The texture is slightly different—a little icier—but still delicious. I’ve tested this with a vegan friend and she gave it two thumbs up.
Peanut Butter Swirl — Replace the caramel with 1/3 cup peanut butter (warmed slightly) and add crushed peanuts on top. It’s like a frozen peanut butter cup. Dangerously addictive.
Spiced Caramel — Add 1/2 teaspoon cinnamon and a pinch of cayenne pepper to the caramel sauce before swirling. The warmth of the spices pairs beautifully with the cold cream. This is my go-to for fall.
Cookie Crumble — Fold in crushed shortbread cookies or graham crackers right before freezing. They add a lovely crunch and make the ice cream feel even more indulgent.
Serving & Storage Suggestions
This ice cream is best served straight from the freezer with a slight softening. Let it sit out for 5-10 minutes before scooping—it makes a huge difference in texture.
For serving, I love to drizzle a little extra caramel sauce on top and sprinkle with more flaky sea salt. It looks gorgeous and adds that extra pop of flavor. You can also serve it in waffle cones, bowls, or even between two cookies for an ice cream sandwich.
Storage is simple: keep the ice cream in an airtight container in the freezer. Press plastic wrap directly onto the surface before sealing to prevent ice crystals. It’ll keep for up to 2 weeks, though honestly, it never lasts that long in my house.
If the ice cream gets too hard after a few days, just let it soften at room temperature for 10-15 minutes before scooping. The texture stays creamy even after a week in the freezer—no weird crystallization or freezer burn.
One thing I’ve noticed: the flavors actually deepen after a day or two. The caramel becomes more pronounced and the salt mellows out a bit. So if you can wait, make it a day ahead. Your taste buds will thank you.
Nutritional Information & Benefits
Let’s be real—this is a treat, not a health food. But here’s the estimated nutritional breakdown per serving (about 1/2 cup):
- Calories: 320
- Fat: 22g
- Carbohydrates: 28g
- Protein: 4g
- Sugar: 24g
- Sodium: 210mg
That said, there are a few redeeming qualities. The heavy cream provides some calcium and vitamin A. The caramel, if homemade, contains fewer preservatives than store-bought versions. And honestly, there’s something to be said for the mental health benefits of a truly satisfying dessert. Life is short—eat the ice cream.
If you’re watching your sugar intake, you can use a sugar-free sweetened condensed milk and a low-sugar caramel sauce. The texture will be slightly different, but it’s a decent alternative.
Conclusion
This easy no-churn salted caramel ice cream recipe is proof that you don’t need fancy equipment or culinary school to make something genuinely amazing. It’s creamy, it’s indulgent, and it comes together in minutes. Every time I make it, I think about that afternoon with Jen and how she was right to question my assumptions. Sometimes the simplest method really is the best.
I hope you give this recipe a try. Play with the variations, adjust the salt level to your taste, and make it your own. And when you take that first bite and realize you made ice cream from scratch with almost no effort, I hope you smile. You deserve it.
If you make this, I’d love to hear about it. Drop a comment below or tag me in your photos. Happy scooping!
Frequently Asked Questions
Can I use low-fat or skim milk instead of heavy cream?
No, unfortunately. Heavy cream is essential for the texture. Low-fat or skim milk won’t whip properly and will result in an icy, thin ice cream. Stick with heavy cream for the best results.
How long does this ice cream need to freeze?
At least 6 hours, but overnight is best. The longer it freezes, the firmer and creamier it gets. If you’re in a rush, 4 hours will give you a soft-serve consistency that’s still delicious.
Can I use homemade caramel sauce?
Absolutely! Homemade caramel works beautifully. Just make sure it’s thick and not too runny. If it’s too thin, it will sink to the bottom instead of creating ribbons throughout the ice cream.
Why did my ice cream turn out icy?
This usually happens if the cream was over-whipped or if the mixture wasn’t covered properly during freezing. Make sure to press plastic wrap directly onto the surface to prevent ice crystals from forming.
Can I double this recipe?
Yes, you can easily double it. Just use a larger container for freezing, like a 9×13-inch dish. The freezing time might be slightly longer, so check it after 8 hours.
Pin This Recipe!

Easy No-Churn Salted Caramel Ice Cream Recipe
This easy no-churn salted caramel ice cream is creamy, rich, and requires no ice cream maker. With just four ingredients and minimal prep, you can enjoy homemade ice cream that’s better than store-bought.
- Total Time: 6 hours 10 minutes (includes freezing time)
- Yield: 8 servings 1x
Ingredients
- 2 cups heavy cream (36% milk fat or higher)
- 1 can (14 ounces) sweetened condensed milk
- 1/2 cup salted caramel sauce (homemade or store-bought)
- 1 teaspoon flaky sea salt (e.g., Maldon or Jacobsen)
- 1 teaspoon vanilla extract (optional)
Instructions
- Chill your mixing bowl and beaters in the freezer for 10 minutes.
- Pour the heavy cream into the chilled bowl and beat on medium-high speed until soft peaks form, about 3-4 minutes.
- Add the sweetened condensed milk and vanilla extract (if using) to the whipped cream. Fold gently with a rubber spatula until fully combined.
- Gently fold in about 1/3 cup of the salted caramel sauce, leaving streaks of caramel.
- Line a 9×5-inch loaf pan with parchment paper (optional). Spoon half the ice cream mixture into the pan and spread evenly. Drizzle with half the remaining caramel sauce and sprinkle with half the flaky sea salt.
- Add the rest of the ice cream mixture, then top with the remaining caramel and salt. Use a knife or skewer to gently swirl the caramel through the top layer.
- Press plastic wrap directly onto the surface of the ice cream, cover the pan with a lid or more plastic wrap, and freeze for at least 6 hours, preferably overnight.
- Before serving, let the ice cream sit at room temperature for 5-10 minutes to soften for easier scooping.
Notes
For best results, chill your mixing bowl and beaters before whipping. Use room temperature condensed milk and slightly warmed caramel sauce for easier folding. Press plastic wrap directly onto the ice cream surface to prevent ice crystals. The ice cream can be stored for up to 2 weeks.
- Prep Time: 10 minutes
- Cook Time: 0 minutes
- Category: Dessert
- Cuisine: American
Nutrition
- Serving Size: 1/2 cup
- Calories: 320
- Sugar: 24
- Sodium: 210
- Fat: 22
- Saturated Fat: 14
- Carbohydrates: 28
- Protein: 4
Keywords: no-churn ice cream, salted caramel ice cream, easy ice cream, homemade ice cream, no machine ice cream


