
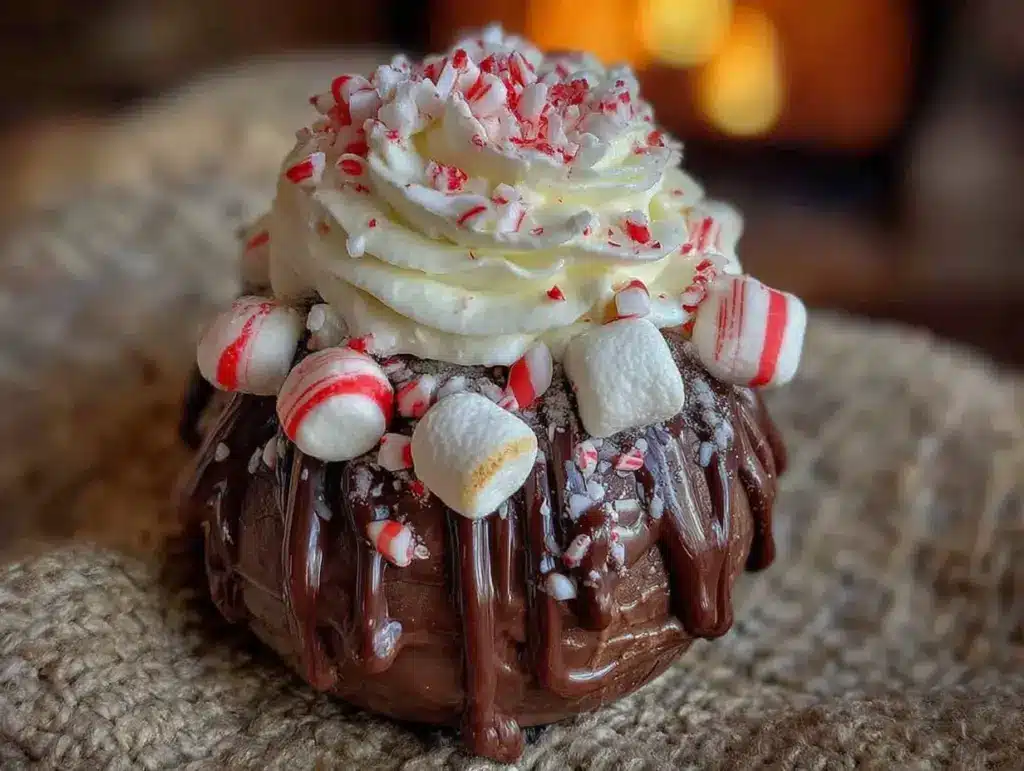
My sister swore she hated hot cocoa. For years. Like, since we were kids standing in the snow waiting for the school bus, she’d turn up her nose at the powdered packets I was perfectly happy with. “It’s just watery chocolate milk,” she’d say, and honestly, she wasn’t totally wrong about the instant stuff. Then, last December, I was testing out these little chocolate spheres I’d seen all over my feed—you know, the ones you drop in a mug of hot milk and they explode into a marshmallow-filled masterpiece. I made a batch just for myself, a little experiment on a quiet Tuesday night. I turned my back for one second to grab my phone, and when I looked back, she was standing at the counter, one of the finished bombs in her hand, halfway to her mouth. “What?” she said, all defensive. “It looked like a chocolate truffle.” She dropped it in her mug, poured the hot milk over it, and I swear, the look on her face when that thing bloomed was pure disbelief. She’s been requesting them every single week since. That’s the power of a good hot cocoa bomb, I guess. It doesn’t just taste good—it puts on a show.
Why You’ll Love This Recipe
Let’s be real for a second. You’re probably reading this on a weeknight, you’re tired, and you want something that feels special without spending two hours in the kitchen. I get it. That’s exactly why I love these Quick Peppermint Hot Cocoa Bombs. They look like something you’d buy from a fancy bakery, but they come together in about 10 minutes of actual work.
- Quick & Easy: We’re talking 10 minutes of active time. The hardest part is waiting for the chocolate to set in the freezer. Seriously, you can make these while dinner is cooking.
- Simple Ingredients: You need chocolate chips, a little coconut oil, hot cocoa mix, and some mini marshmallows. That’s it. No weird specialty ingredients you’ll never use again.
- Perfect for Weeknights: This is the kind of treat that turns a regular Tuesday into something cozy and special. The kids love watching them “explode” in the mug, and honestly? So do I.
- Crowd-Pleaser: I’ve brought these to holiday parties and book club meetings, and they disappear. Everyone wants to know how you made them.
- Unbelievably Delicious: The combination of rich chocolate, cool peppermint, and gooey marshmallows is just… perfect. It’s comfort in a mug.
What makes these different from every other hot cocoa bomb recipe out there? It’s the peppermint twist and the super simple method. Instead of fussing with special molds and tempering chocolate, we’re using a silicone mold and a quick freezer trick. No fancy equipment, no stress. Just pure, minty chocolate goodness that makes you close your eyes after that first sip.
What Ingredients You Will Need
This recipe uses simple, pantry-friendly ingredients to deliver that rich, minty hot chocolate experience without any complicated shopping trips. Most of these things you probably already have on hand.
- Chocolate Chips (1 cup / 175g): I prefer semi-sweet chocolate chips for a balanced flavor that’s not too sweet. Ghirardelli or Guittard are my go-to brands for consistent melting. You can use milk chocolate if you want a sweeter bomb, or dark chocolate for a more intense cocoa flavor.
- Coconut Oil (1 teaspoon / 5ml): This is the secret ingredient for getting that smooth, shiny shell. It helps the chocolate melt evenly and gives it a nice snap when you bite into it. Refined coconut oil has no coconut flavor, which is what I use here.
- Hot Cocoa Mix (¼ cup / 30g): Use your favorite brand. I’m partial to Swiss Miss for that nostalgic taste, but any instant hot cocoa mix works great. You can also use a homemade mix if you’re feeling fancy.
- Mini Marshmallows (½ cup / 25g): These get sealed inside the bomb and puff up when you pour the hot milk over them. Look for the tiny ones—they fit better inside the chocolate spheres.
- Crushed Peppermint Candies (¼ cup / 30g): This is where the peppermint magic happens. You can crush candy canes in a ziplock bag with a rolling pin, or buy pre-crushed peppermint pieces. I like to leave some small chunks for texture.
- Peppermint Extract (¼ teaspoon / 1ml): A little goes a long way. This boosts the minty flavor without overpowering the chocolate. Make sure you’re using pure extract, not peppermint oil, which is much stronger.
Optional Toppings:
- Extra crushed peppermint for sprinkling on top
- Drizzle of white chocolate for decoration
- Small candy cane pieces for garnish
Equipment Needed
Don’t let the fancy-looking results fool you—the equipment list for this recipe is short and sweet. You probably own most of this stuff already.
- Silicone Sphere Mold: This is the only “special” piece of equipment. I got a 6-cavity silicone mold on Amazon for like eight bucks. It’s totally worth it. The silicone makes it super easy to pop the chocolate halves out without breaking them.
- Microwave-Safe Bowl: For melting the chocolate. Glass or ceramic works best. I use a Pyrex measuring cup because the spout makes pouring easier.
- Spoon or Offset Spatula: For spreading the chocolate inside the mold cavities. A small spoon works fine, but an offset spatula gives you more control.
- Small Cookie Sheet or Plate: To hold the mold while it’s in the freezer. A flat surface helps the chocolate set evenly.
- Ziplock Bag: For crushing the peppermint candies. Double bag it to prevent any leaks—trust me on this one.
If you don’t have a silicone sphere mold, you can use a regular muffin tin, but the spheres won’t be as round. The silicone mold really is worth the small investment for that professional look.
Preparation Method
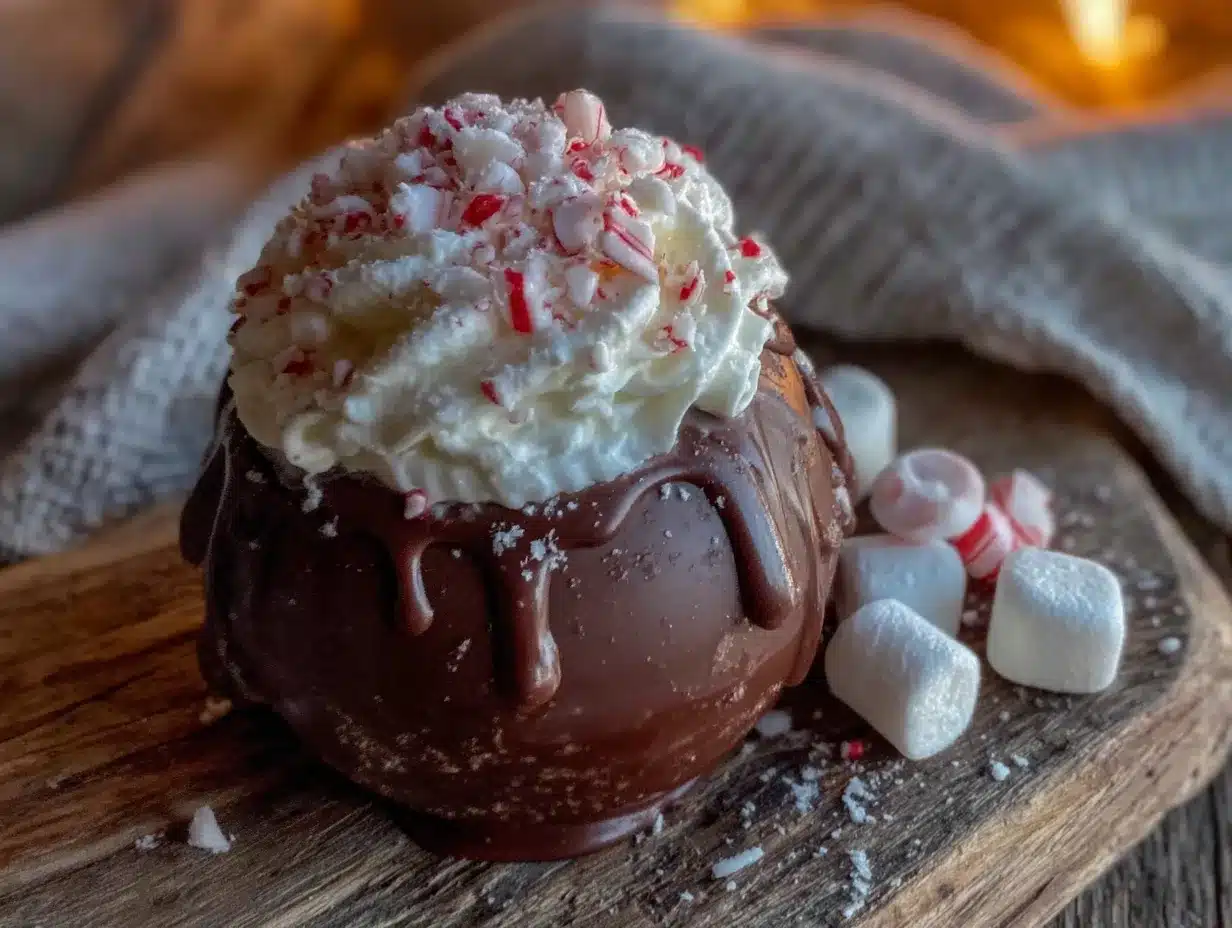
Alright, let’s get to the fun part. I’m going to walk you through this step by step so you get perfect peppermint hot cocoa bombs every single time. The whole process takes about 10 minutes of hands-on work, plus some freezer time.
- Melt the Chocolate: In a microwave-safe bowl, combine 1 cup of chocolate chips and 1 teaspoon of coconut oil. Microwave in 30-second intervals, stirring between each one, until the chocolate is completely smooth and glossy. This usually takes about 90 seconds total. Be careful not to overheat it—burnt chocolate is a tragedy.
- Prepare the Mold: Place your silicone sphere mold on a small cookie sheet or flat plate. Using a spoon or small offset spatula, spoon about 1 tablespoon of melted chocolate into each cavity. Use the back of the spoon to spread the chocolate up the sides, making sure you cover the entire surface evenly. You want a nice, thick shell—about ⅛ inch thick. Don’t worry if it’s not perfect; the chocolate will even out as it sets.
- First Freeze: Pop the mold into the freezer for 10 minutes. This is crucial—it sets the chocolate shells so they’re firm enough to pop out of the mold. While you’re waiting, crush your peppermint candies if you haven’t already.
- Pop Out the Halves: After 10 minutes, remove the mold from the freezer. Gently press on the bottom of each cavity to release the chocolate half-spheres. They should come out easily. You should have 6 perfect half-spheres. Handle them carefully—they’re delicate at this point.
- Fill the Bombs: Take 3 of the half-spheres and place them on a clean plate. Into each one, add about 1 tablespoon of hot cocoa mix, a handful of mini marshmallows (about 1 tablespoon), and a sprinkle of crushed peppermint. Don’t overfill—you need room to seal the bomb.
- Seal the Bombs: Warm up a small plate in the microwave for about 15 seconds. Take one of the empty half-spheres and gently press the rim onto the warm plate for about 5 seconds to slightly melt the edge. Immediately place it on top of a filled half-sphere, pressing gently to seal. Hold it for about 10 seconds to make sure the seam is closed. Repeat for the remaining bombs.
- Decorate (Optional): If you want to get fancy, drizzle some melted white chocolate over the tops and sprinkle with extra crushed peppermint. This step is totally optional, but it makes them look incredible.
- Final Chill: Place the finished bombs back in the freezer for 5 minutes to fully set the seals. After that, they’re ready to use or store.
How to Serve: Heat up 8 ounces of milk (dairy or non-dairy) until it’s steaming hot but not boiling. Drop one cocoa bomb into a mug and pour the hot milk over it. Watch the magic happen as the chocolate melts and the marshmallows puff up. Stir and enjoy!
Cooking Tips & Techniques
I’ve made these peppermint hot cocoa bombs about a dozen times now, and I’ve learned a few things the hard way. Let me save you some trouble.
Don’t Skip the Coconut Oil. I tried making these without it once, thinking it was an unnecessary step. Big mistake. The chocolate was too thick to spread evenly, and the shells cracked when I tried to pop them out. That little bit of coconut oil makes the chocolate much more workable and gives it that nice snap.
Work Quickly with the Chocolate. Once the chocolate is melted, it starts to thicken as it cools. If it gets too thick while you’re spreading it in the mold, just pop it back in the microwave for 10 seconds to loosen it up. You want it to be fluid enough to spread easily but not so thin that it runs down the sides.
Check Your Freezer Temperature. Your freezer needs to be at 0°F or below for the chocolate to set properly. If your freezer is too warm, the chocolate won’t firm up enough to release from the mold. I learned this when I was using a mini-fridge freezer—total fail.
Don’t Overfill the Bombs. I got excited my first time and stuffed them full of marshmallows and cocoa mix. The bombs didn’t seal properly, and I ended up with a chocolatey mess. Leave a little room at the top—about ¼ inch—for a clean seal.
Use Room Temperature Ingredients. If your chocolate chips are cold, they’ll take longer to melt and might seize up. Let them sit on the counter for 15 minutes before you start. Same goes for the coconut oil.
Variations & Adaptations
One of the best things about this recipe is how easy it is to customize. Here are some of my favorite variations.
Peppermint White Chocolate Bombs: Swap the semi-sweet chocolate for white chocolate chips. The creamy sweetness pairs beautifully with the peppermint. I made these for a friend’s holiday party, and they were gone in 20 minutes.
Spicy Mexican Hot Cocoa Bombs: Add a pinch of cinnamon and a tiny pinch of cayenne pepper to the hot cocoa mix before sealing the bombs. The warmth of the spices plays off the cool peppermint in a surprisingly delicious way. This is my personal favorite for cold winter nights.
Dairy-Free Version: Use dairy-free chocolate chips (Enjoy Life makes great ones) and a dairy-free hot cocoa mix. The coconut oil is already dairy-free, so you’re good there. Serve with oat milk or almond milk for a completely dairy-free treat.
Double Chocolate Bombs: Mix 2 tablespoons of cocoa powder into the melted chocolate before spreading it in the molds. This gives you an extra-rich chocolate shell that’s almost fudge-like. My kids went absolutely nuts for these.
Marshmallow-Free Bombs: If you’re not a marshmallow person (I know, I know, but they exist), just leave them out. Fill the bombs with extra cocoa mix and a few more crushed peppermint pieces instead. They’re still amazing.
Serving & Storage Suggestions
These peppermint hot cocoa bombs are best served fresh, but they store surprisingly well if you need to make them ahead of time.
Serving: Serve the bombs at room temperature. Drop one into a mug of steaming hot milk (dairy or non-dairy) and watch it bloom. I like to use a clear glass mug so you can see the chocolate melting and the marshmallows puffing up. It’s honestly half the fun.
Storage: Store the finished bombs in an airtight container in the refrigerator for up to 2 weeks. Layer them between sheets of parchment paper so they don’t stick together. They’ll also keep in the freezer for up to 3 months—just let them sit at room temperature for 5 minutes before using.
Reheating: Don’t microwave the bombs themselves—that’s a disaster waiting to happen. Just heat your milk on the stovetop or in the microwave, then pour it over the bomb. The heat of the milk does all the work.
Flavor Development: The peppermint flavor actually mellows and blends with the chocolate over time. If you’re making these more than a week ahead, you might want to add an extra ⅛ teaspoon of peppermint extract to the cocoa mix to keep that minty punch.
Nutritional Information & Benefits
Let’s be honest—these are a treat, not a health food. But they’re made with real ingredients, and there are a few bright spots nutritionally.
Estimated Per Serving (1 bomb with 8 oz milk): About 350 calories, 18g fat, 45g carbohydrates, 6g protein, 30g sugar. These numbers vary depending on the type of milk and chocolate you use.
Health Highlights: Dark chocolate is rich in antioxidants and contains minerals like iron and magnesium. The peppermint can aid digestion—which is nice after a heavy meal. And hey, there’s calcium from the milk, so that’s something.
Dietary Considerations: This recipe can be made gluten-free by using certified gluten-free hot cocoa mix (most brands are). It’s also easily adaptable for dairy-free diets. The coconut oil adds a small amount of healthy medium-chain triglycerides (MCTs).
Potential Allergens: Contains dairy and may contain soy (check your chocolate chips). The peppermint candies are typically gluten-free, but always check the label if that’s a concern.
My personal take? Life is short. Enjoy the hot cocoa bomb. Balance it out with a healthy dinner and a walk in the fresh air. That’s my kind of wellness.
Conclusion
These Quick Peppermint Hot Cocoa Bombs are the kind of recipe that makes you look like a kitchen rockstar with almost zero effort. They’re fun to make, even more fun to serve, and absolutely delicious to drink. The combination of rich chocolate, cool peppermint, and gooey marshmallows is just pure winter comfort in a mug.
I love that I can whip these up on a busy weeknight when the kids are begging for something special, or make a big batch to give as gifts during the holidays. They’re versatile, forgiving, and honestly, a little bit magical to watch.
So go ahead—give these a try. Customize them however you like, make a mess in your kitchen, and enjoy every single sip. And when you do, come back and tell me about it. I’d love to hear how yours turned out, what variations you tried, and who you shared them with. Drop a comment below or tag me in your photos. Happy sipping!
Frequently Asked Questions
Can I use a different mold shape?
Absolutely! While sphere molds give you that classic hot cocoa bomb look, you can use any silicone mold shape you have. Heart shapes are great for Valentine’s Day, and star shapes work well for Christmas. Just make sure the two halves are roughly the same size so they seal properly.
Why did my chocolate shells crack?
This usually happens when the chocolate is too thick or the shells are too thin. Make sure you’re spreading the chocolate evenly and aiming for about ⅛ inch thickness. Also, don’t skip the coconut oil—it adds flexibility to the chocolate. If your kitchen is very cold, the shells might crack from the temperature shock when you pop them out of the mold.
How do I get the seam to seal properly?
The warm plate trick works like a charm. Heat a small plate in the microwave for 15 seconds, then gently press the rim of the empty half-sphere onto it for about 5 seconds. The warmth slightly melts the chocolate edge, creating a perfect seal when you press it onto the filled half. Hold it gently for 10 seconds to make sure it sticks.
Can I make these without a microwave?
Yes! You can melt the chocolate using a double boiler on the stovetop. Just bring an inch of water to a simmer in a small saucepan, place a heatproof bowl on top (make sure it doesn’t touch the water), and melt the chocolate chips with the coconut oil, stirring until smooth. The rest of the process is exactly the same.
How far ahead can I make these for gifts?
You can make these up to 2 weeks in advance and store them in an airtight container in the refrigerator. For longer storage, freeze them for up to 3 months. Just make sure they’re in a container that protects them from absorbing any fridge or freezer odors—nobody wants hot cocoa that tastes like last week’s leftovers.
Pin This Recipe!
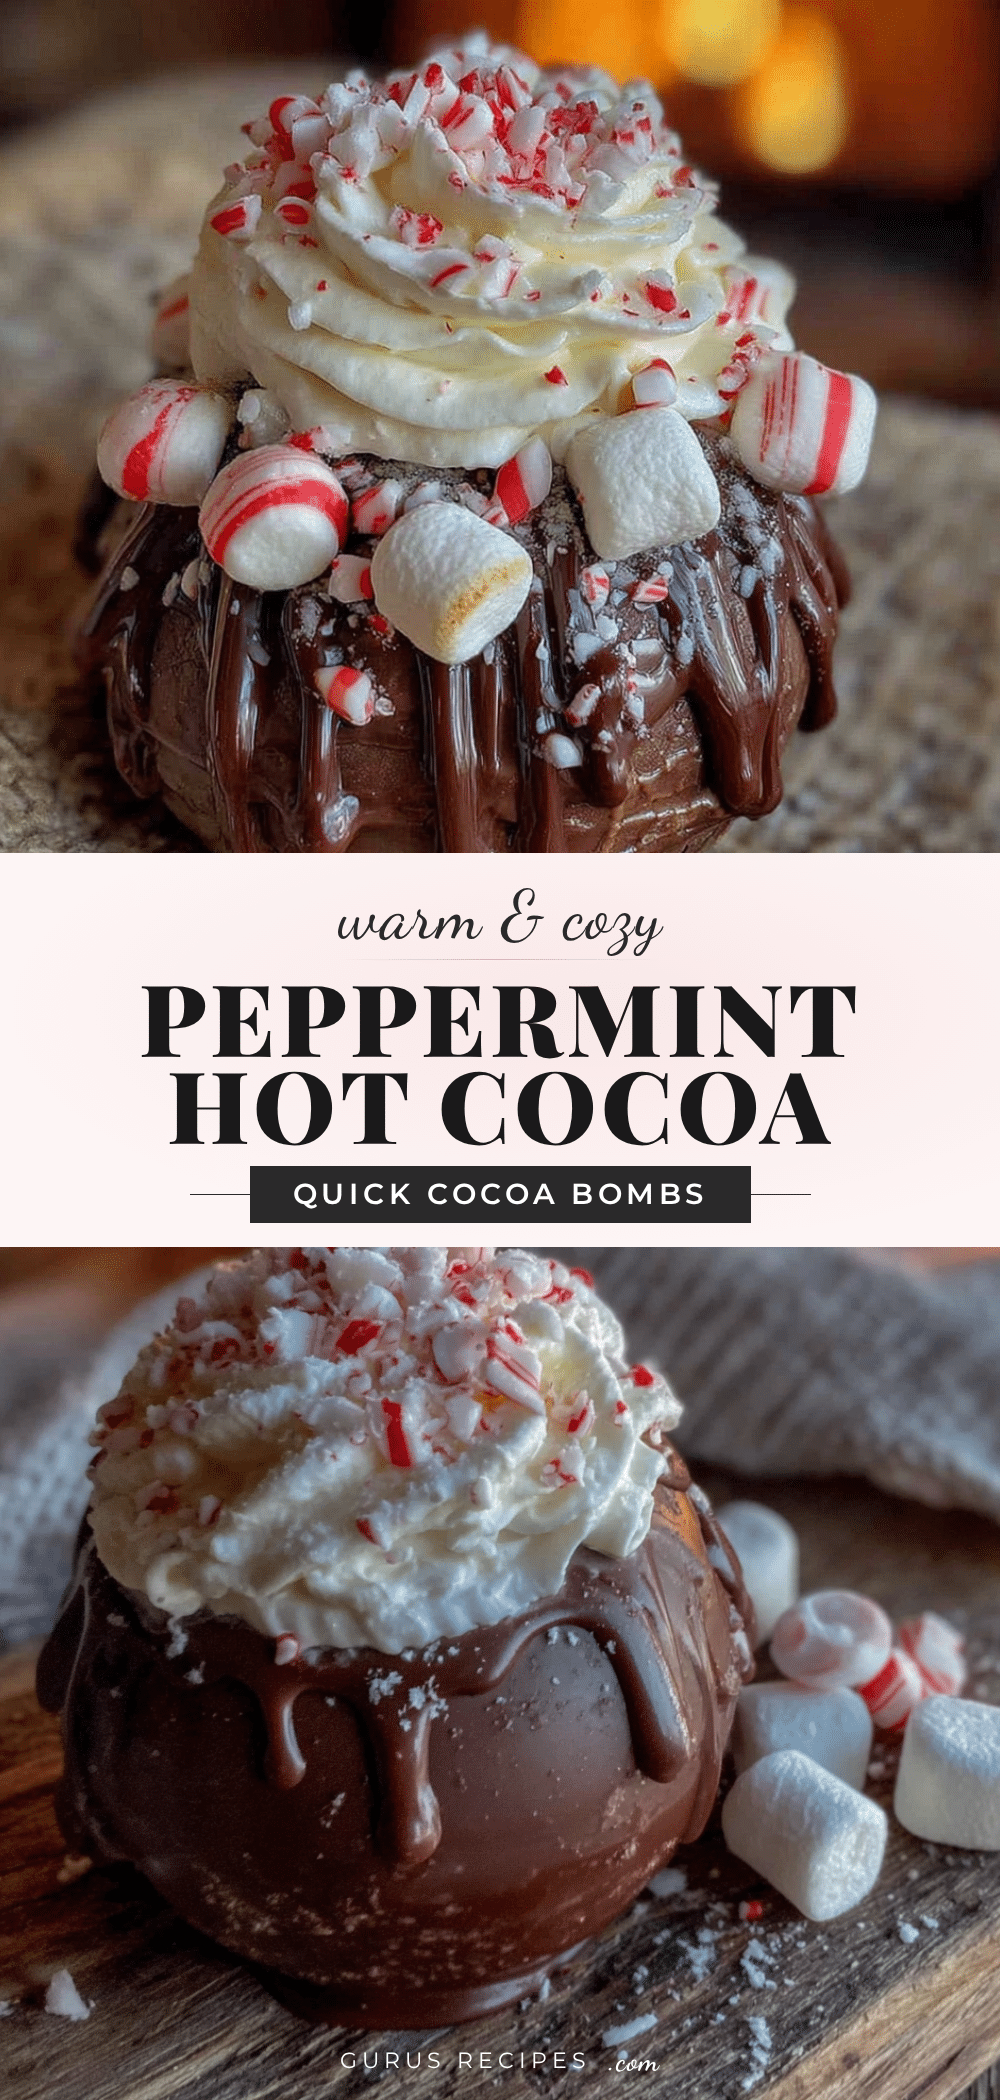

Easy Peppermint Hot Cocoa Bombs in 10 Minutes
These quick and easy peppermint hot cocoa bombs are made with simple ingredients and come together in just 10 minutes. Drop one in a mug of hot milk for a magical, marshmallow-filled treat that’s perfect for weeknights or holiday gatherings.
- Total Time: 25 minutes (includes 15 minutes freezing time)
- Yield: 3 servings 1x
Ingredients
- 1 cup (175g) semi-sweet chocolate chips
- 1 teaspoon (5ml) coconut oil
- 1/4 cup (30g) hot cocoa mix
- 1/2 cup (25g) mini marshmallows
- 1/4 cup (30g) crushed peppermint candies
- 1/4 teaspoon (1ml) peppermint extract
Instructions
- Melt the chocolate: In a microwave-safe bowl, combine 1 cup of chocolate chips and 1 teaspoon of coconut oil. Microwave in 30-second intervals, stirring between each one, until the chocolate is completely smooth and glossy (about 90 seconds total).
- Prepare the mold: Place a silicone sphere mold on a small cookie sheet or flat plate. Spoon about 1 tablespoon of melted chocolate into each cavity. Use the back of a spoon to spread the chocolate up the sides, covering the entire surface evenly to about 1/8 inch thick.
- First freeze: Place the mold in the freezer for 10 minutes to set the chocolate shells.
- Pop out the halves: Remove the mold from the freezer. Gently press on the bottom of each cavity to release the chocolate half-spheres. You should have 6 half-spheres.
- Fill the bombs: Take 3 of the half-spheres and place them on a clean plate. Into each one, add about 1 tablespoon of hot cocoa mix, a handful of mini marshmallows (about 1 tablespoon), and a sprinkle of crushed peppermint.
- Seal the bombs: Warm a small plate in the microwave for about 15 seconds. Take one of the empty half-spheres and gently press the rim onto the warm plate for about 5 seconds to slightly melt the edge. Immediately place it on top of a filled half-sphere, pressing gently to seal. Hold for about 10 seconds to ensure the seam is closed. Repeat for the remaining bombs.
- Decorate (optional): Drizzle melted white chocolate over the tops and sprinkle with extra crushed peppermint, if desired.
- Final chill: Place the finished bombs back in the freezer for 5 minutes to fully set the seals. They are now ready to use or store.
Notes
Don’t skip the coconut oil—it helps the chocolate spread evenly and prevents cracking. Work quickly with the melted chocolate as it thickens as it cools. If it gets too thick, microwave for 10 seconds to loosen. Use room temperature ingredients for best results. Store finished bombs in an airtight container in the refrigerator for up to 2 weeks or freeze for up to 3 months.
- Prep Time: 10 minutes
- Cook Time: 0 minutes
- Category: Dessert
- Cuisine: American
Nutrition
- Serving Size: 1 bomb with 8 oz mil
- Calories: 350
- Sugar: 30
- Sodium: 150
- Fat: 18
- Saturated Fat: 10
- Carbohydrates: 45
- Fiber: 2
- Protein: 6
Keywords: hot cocoa bombs, peppermint hot cocoa, easy hot cocoa bombs, quick dessert, holiday treat, chocolate bombs, marshmallow hot cocoa


