
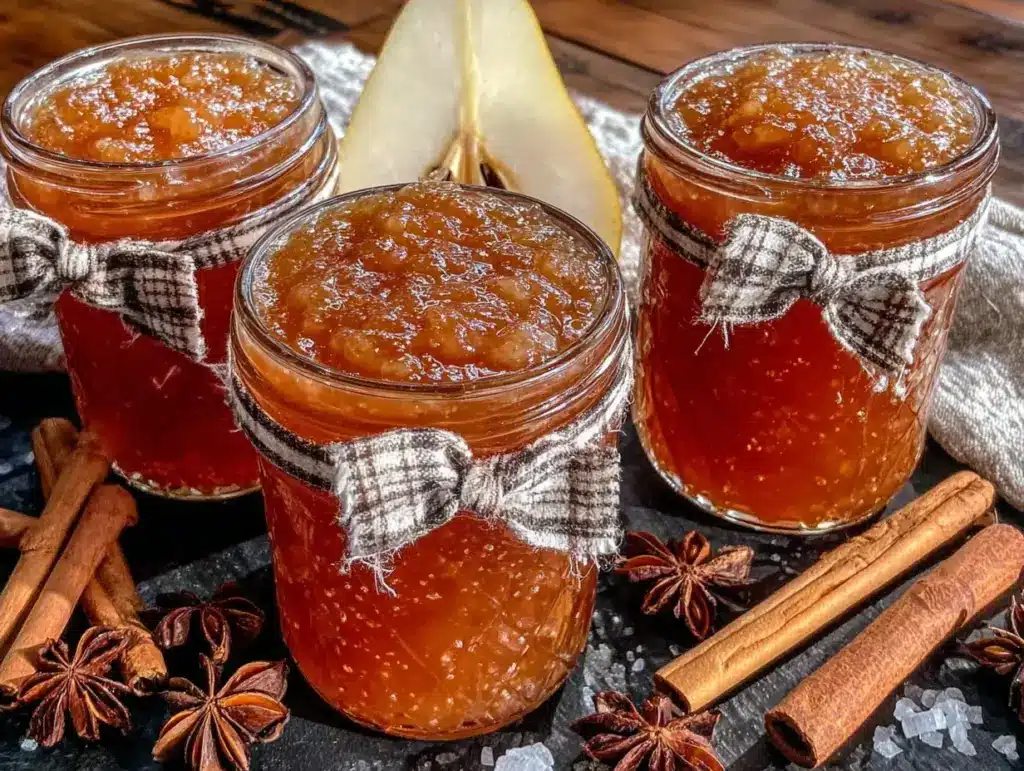
I ruined three batches of pear preserves before I finally figured out what I was doing wrong. Two of them turned into something closer to pear candy—stiff, crystallized, and impossible to spread. The third one just tasted flat, like sweet nothing with a vague pear ghost in the background. I was about ready to give up on the whole idea and stick to buying jam at the farmers’ market. But then I found a box of slightly bruised Bosc pears at the grocery store for almost nothing, and something in me just refused to let them go to waste.
That fourth batch was the one. I stopped trying to follow a generic pectin-heavy recipe and started paying attention to what the pears themselves were telling me. I added a cinnamon stick, a couple of cloves, and a whisper of fresh ginger—not because a recipe told me to, but because it just felt right. The preserves came out exactly how I’d imagined them in my head all along: dark amber, speckled with spice, thick enough to hold its shape on a spoon but soft enough to melt into warm toast. This Easy Small Batch Spiced Pear Preserves Recipe is that fourth batch. It’s the one that taught me to trust my instincts instead of the timer.
I think that’s why I love making preserves now. It’s not about perfection. It’s about catching a moment in a jar—the smell of pears cooking down with cinnamon, the way the kitchen gets all steamy and golden, the quiet satisfaction of twisting the lid on something you made with your own hands. This recipe makes just about three small jars, which feels like exactly the right amount. Enough to share, but not so much that you’re overwhelmed by the project.
Why You’ll Love This Recipe
Listen, I get it. Canning and preserving can feel intimidating. But this small batch approach takes all the pressure off. You don’t need a water bath canner or a giant pot of boiling water. You don’t need to sterilize a dozen jars. This is preserves made for real life—the kind you can whip up on a Sunday afternoon with pears you grabbed on a whim.
- Small Batch, Big Flavor: This recipe makes about 3 cups of preserves. Perfect for gifting, topping your morning yogurt, or slathering on crispy no-knead rosemary sea salt bread without committing to a year’s supply.
- Simple Ingredients: You probably have most of the spices in your pantry already. The only special item is fresh pears, and they’re everywhere in the fall.
- No Pectin Needed: Pears have natural pectin, especially when they’re slightly underripe. This recipe lets the fruit do the work. No boxes, no measuring, no fuss.
- Perfect for Gifting: Tie a ribbon around a jar and you’ve got a hostess gift that looks like you spent hours in the kitchen. (You did, but in a relaxing way.)
- Unbelievably Versatile: Use it on toast, swirled into oatmeal, spooned over ice cream, or paired with a sharp cheese board. It’s sweet, spiced, and completely addictive.
I’ve tested this recipe with different pear varieties, different spice combinations, and different cooking times. This version is the one that consistently delivers that deep, complex flavor without turning into a science experiment. It’s the recipe I send to friends who say they can’t make jam. And they always text me back with photos of their jars.
What Ingredients You Will Need
This recipe relies on a short list of ingredients, each one playing a specific role in building that rich, spiced flavor. Don’t be tempted to skip the lemon juice—it’s not just for tartness. The acid helps balance the sweetness and activates the natural pectin in the pears.
- 3 pounds ripe but firm pears (about 6-7 medium pears): Bosc or Bartlett work beautifully. Bosc pears hold their shape a bit better during cooking, while Bartletts break down more for a smoother texture. I like using a mix of both. Look for pears that yield slightly to pressure at the stem but aren’t mushy. If they’re too ripe, the preserves will be watery.
- 2 cups granulated sugar: This is the sweet spot for a balanced preserve. You can reduce it to 1 ½ cups if your pears are very sweet, but don’t go lower or the texture will suffer. The sugar isn’t just for sweetness—it’s essential for preservation and thickening.
- ¼ cup fresh lemon juice (about 2 lemons): Always use fresh. Bottled lemon juice has a flat, metallic taste that will dull the flavor of your preserves. The acidity also helps prevent the pears from oxidizing and turning brown.
- 1 cinnamon stick: A whole stick infuses the preserves with a warm, subtle cinnamon flavor without making it gritty. If you only have ground cinnamon, use 1 teaspoon, but add it near the end of cooking to avoid bitterness.
- 3 whole cloves: These pack a punch, so don’t overdo it. Three cloves add just enough warmth without making the preserves taste like holiday potpourri. Fish them out before jarring.
- 1-inch piece fresh ginger, peeled and thinly sliced: Fresh ginger adds a gentle heat that complements the sweetness of the pears. Don’t substitute dried ginger here—it’s a completely different flavor.
- Pinch of salt: A tiny pinch enhances all the flavors and balances the sweetness. Trust me on this one.
Equipment Needed
You don’t need a fancy canning setup for this small batch recipe. Here’s what you’ll actually use:
- Large heavy-bottomed pot or Dutch oven: A 5- to 6-quart pot works best. The heavy bottom prevents scorching, which is the number one cause of burnt preserves. I use my savory jalapeno cheddar Dutch oven bread pot for this, and it works perfectly.
- Wooden spoon or heat-resistant spatula: Metal utensils can react with the acid in the preserves. Wood or silicone is the way to go.
- Sharp knife and cutting board: For peeling and chopping the pears.
- Vegetable peeler: A good peeler makes quick work of pear skins. I prefer a Y-shaped peeler for control.
- Measuring cups and spoons: For accuracy, especially with the sugar and lemon juice.
- Small jars with lids: Three 8-ounce jars or one 24-ounce jar works perfectly. Make sure they’re clean and dry. You can sterilize them in boiling water for 10 minutes if you plan to store the preserves at room temperature, but for refrigerator storage, a good wash in hot soapy water is sufficient.
- Funnel: Optional, but makes filling jars much less messy.
Preparation Method
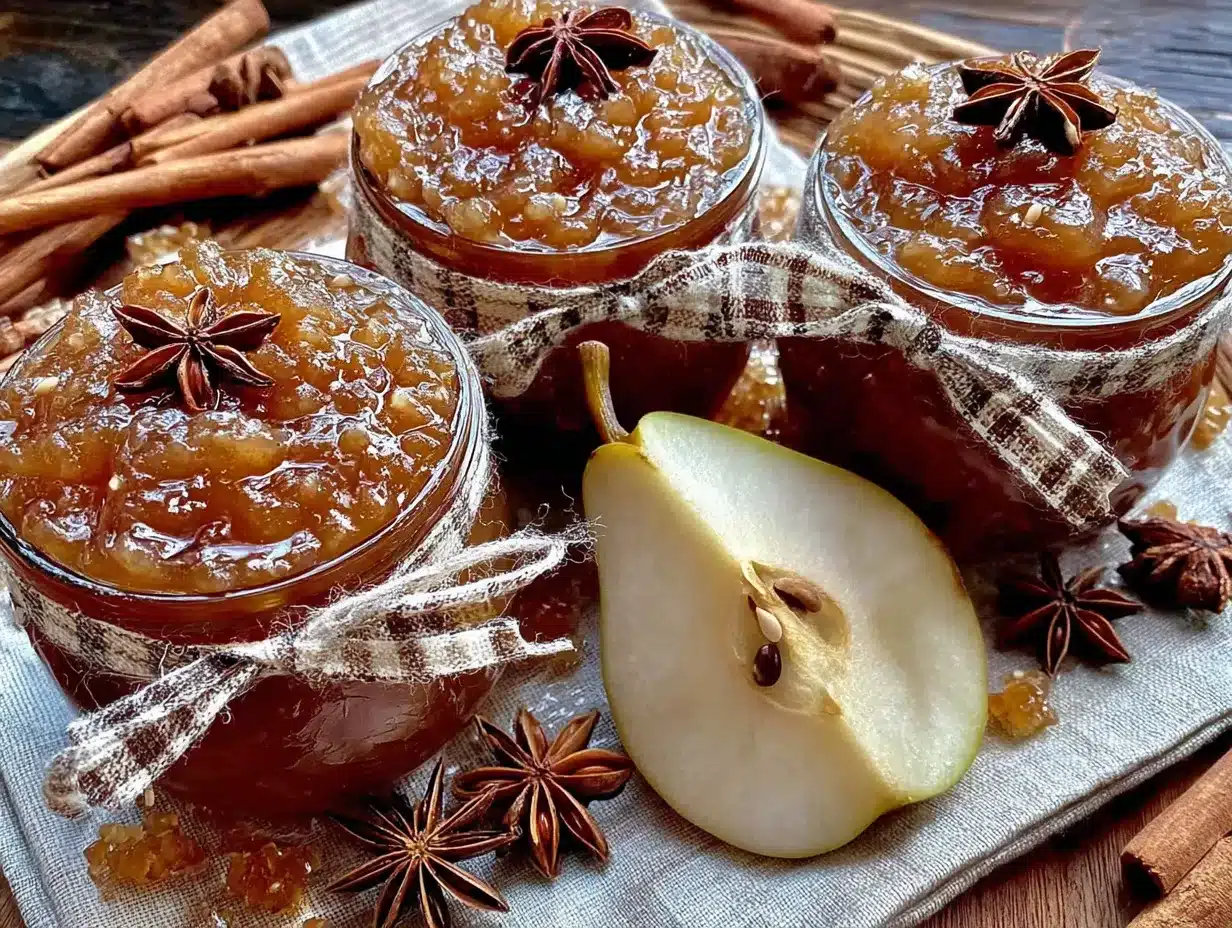
Set aside about an hour and a half for this project. The actual hands-on time is maybe 20 minutes—the rest is just letting the pears do their thing on the stove. Put on some music or a podcast. This is the kind of cooking that rewards patience.
- Prepare the pears: Wash the pears thoroughly. Peel them with a vegetable peeler, then cut them in half lengthwise. Use a melon baller or small spoon to scoop out the core and seeds. Cut the pears into ½-inch chunks. Don’t stress about uniformity, but try to keep the pieces roughly the same size so they cook evenly. You should have about 6 cups of chopped pears.
- Macerate the fruit: In your large pot, combine the chopped pears, sugar, and lemon juice. Stir gently to coat all the pear pieces. Let this sit for 15-20 minutes. The sugar will draw out the natural juices from the pears, creating a syrupy liquid. This step is crucial—it helps the pears break down evenly and prevents them from burning before they release their own liquid.
- Add the spices: Tuck the cinnamon stick, whole cloves, and sliced ginger into the pear mixture. Give everything a gentle stir. The spices will infuse the preserves as they cook.
- Bring to a simmer: Place the pot over medium heat. Stir occasionally as the mixture heats up. You’ll see the sugar dissolve and the liquid become clear. Once it reaches a gentle simmer—small bubbles breaking the surface—reduce the heat to medium-low. This should take about 8-10 minutes.
- Cook and stir: Let the preserves simmer gently for 35-45 minutes, stirring every 5 minutes or so. The mixture will slowly thicken and deepen in color. Don’t walk away for too long—especially toward the end, the sugar can catch and burn quickly. The preserves are ready when they’ve reduced by about a third and look glossy and thick. A good test: drag your spoon through the mixture. If it leaves a clear trail that doesn’t immediately fill back in, you’re there.
- Remove the spices: Fish out the cinnamon stick, cloves, and ginger slices. I use tongs for the big pieces and a slotted spoon for the cloves. Be thorough—biting into a whole clove is not a pleasant surprise.
- Test the set: Place a small plate in the freezer for a few minutes. Spoon a tiny amount of the hot preserves onto the cold plate. Let it sit for 30 seconds, then push it with your finger. If it wrinkles and holds its shape, it’s ready. If it’s still runny, cook for another 5 minutes and test again.
- Jar the preserves: Ladle the hot preserves into clean jars, leaving about ½ inch of headspace at the top. Wipe the rims with a clean, damp cloth to remove any sticky residue. Screw on the lids fingertip-tight—don’t overtighten, or air won’t be able to escape during cooling.
- Cool and store: Let the jars cool completely at room temperature. You’ll hear the satisfying “pop” of the lids sealing as they cool. Once cool, store in the refrigerator for up to 3 months. If you want to store them at room temperature, process the jars in a boiling water bath for 10 minutes.
Cooking Tips & Techniques
I’ve made this recipe more times than I can count, and I’ve made every mistake in the book. Here’s what I’ve learned the hard way so you don’t have to:
- Don’t rush the maceration step: I know it’s tempting to skip the 15-minute wait and just dump everything in the pot. But that initial rest is what creates the syrup that carries the flavor. Without it, you’ll end up with dry, sugary pears that burn before they soften.
- Watch the heat: Medium-low is your friend. High heat will cook the sugar too quickly, leading to crystallization or burning. If you see the mixture bubbling aggressively, dial it back. A gentle simmer is what you’re after.
- Use a timer, but trust your senses: The 35-45 minute window is a guideline, not a rule. Some batches of pears are juicier than others and need more time. Look for visual cues: the color should deepen to a rich amber, the bubbles should get larger and slower, and the mixture should feel heavy on the spoon.
- Skim the foam if you want: As the preserves cook, a foam will form on the surface. This is natural pectin and air bubbles. You can skim it off with a spoon for a clearer final product, or stir it back in—it doesn’t affect the flavor either way.
- Don’t double the recipe: This small batch recipe is designed for a reason. If you try to double it, the cooking time increases significantly, and the texture won’t be the same. If you want more, make two separate batches. It’s actually faster in the long run.
Variations & Adaptations
Once you’ve mastered the basic recipe, feel free to play around. Preserves are forgiving, and small tweaks can lead to delicious discoveries.
- Vanilla-Pear Preserves: Add 1 whole vanilla bean (split lengthwise) along with the spices. The vanilla adds a floral, creamy note that pairs beautifully with pears. Remove the bean before jarring.
- Spiced Pear and Apple Blend: Replace half the pears with firm apples like Granny Smith or Honeycrisp. Apples have more pectin, so the set will be firmer. The flavor combination is classic and comforting.
- Cardamom and Orange Variation: Swap the cloves and ginger for 4 crushed cardamom pods and the zest of 1 orange. This gives the preserves a brighter, more aromatic profile that’s wonderful with breakfast pastries or stirred into yogurt.
- Low-Sugar Version: Reduce the sugar to 1 cup and add 2 tablespoons of chia seeds. The chia seeds will help thicken the preserves naturally. The texture will be slightly different—more like a chia jam—but it’s delicious and works well for those watching their sugar intake.
- Bourbon-Infused Preserves: Add 2 tablespoons of good bourbon during the last 5 minutes of cooking. The alcohol cooks off, leaving behind a warm, smoky depth that’s incredible with sharp cheddar cheese.
Serving & Storage Suggestions
These preserves are incredibly versatile. Here’s how I like to use them:
- On toast or biscuits: The classic application. Slather generously on warm, buttered crispy Dutch oven no-knead bread for a breakfast that feels special.
- With cheese: Spoon over a wedge of brie or camembert and bake until bubbly. Serve with crackers for an easy appetizer that looks impressive.
- In yogurt or oatmeal: Swirl a spoonful into plain Greek yogurt or warm oatmeal. The spiced sweetness eliminates the need for additional sweetener.
- On pancakes or waffles: Use it in place of maple syrup. The texture is perfect—not too runny, not too thick.
- As a glaze: Warm a few spoonfuls and brush over roasted pork chops or chicken in the last few minutes of cooking. The sweet-spiced glaze caramelizes beautifully.
Storage: Refrigerated preserves will keep for up to 3 months. Once opened, always use a clean, dry spoon to avoid introducing bacteria. If you see any mold, discard the entire jar—don’t try to scoop it out. For long-term storage, processed jars can be kept in a cool, dark pantry for up to a year.
Freezing: These preserves freeze beautifully. Pour cooled preserves into freezer-safe containers, leaving ½ inch of headspace. They’ll keep for up to 6 months. Thaw in the refrigerator overnight before using.
Nutritional Information & Benefits
While preserves are a treat, they also offer some surprising nutritional benefits thanks to the pears and spices.
- Pears: Rich in fiber, vitamin C, and copper. The fiber helps with digestion, and the vitamin C supports immune health. Pears also contain antioxidants that help reduce inflammation.
- Ginger: Known for its anti-inflammatory properties and ability to soothe digestive issues. Even in small amounts, it adds a gentle warmth that’s good for you.
- Cinnamon: Helps regulate blood sugar levels and has antimicrobial properties. It’s also packed with antioxidants.
Estimated nutrition per 2-tablespoon serving: 60 calories, 0g fat, 15g carbohydrates, 0g protein, 12g sugar. Please note these are estimates. Actual values will vary based on pear variety and exact sugar content.
Dietary considerations: This recipe is naturally gluten-free, dairy-free, and vegan. It contains no common allergens beyond the pears themselves.
Conclusion
This Easy Small Batch Spiced Pear Preserves Recipe has become one of my favorite things to make in the fall. It’s simple enough for a weekday afternoon but special enough to give as a gift. There’s something deeply satisfying about opening a jar in the middle of winter and being transported back to that golden, spice-scented kitchen.
I’d love to hear how your batch turns out. Did you try a variation? Serve it with something unexpected? Leave a comment below and let me know—I read every single one. And if you share a photo on social media, tag me so I can see your beautiful jars. Happy preserving, friends. You’ve got this.
Frequently Asked Questions
Can I use canned pears instead of fresh?
I wouldn’t recommend it. Canned pears are already cooked and packed in syrup, which throws off the sugar balance and results in a mushy, overly sweet preserve. Fresh pears are worth the extra few minutes of peeling.
How do I know when the preserves are done?
The plate test is the most reliable method. Place a small plate in the freezer, spoon a bit of hot preserves onto it, wait 30 seconds, and push it with your finger. If it wrinkles and holds its shape, it’s ready. Visual cues include a glossy appearance and slower, larger bubbles.
My preserves turned out too runny. Can I fix them?
Yes! Pour the cooled preserves back into a pot, add 1 tablespoon of lemon juice, and simmer gently for another 10-15 minutes. The additional acid and cooking time will help activate more pectin. Test again with the plate method before jarring.
Do I have to peel the pears?
You don’t have to, but I recommend it. Pear skins can be tough and slightly bitter, and they don’t break down during cooking. The resulting texture is much smoother and more pleasant without them.
Can I reduce the sugar?
You can reduce it to 1 ½ cups without affecting the texture too much. Below that, the preserves will be thinner and won’t keep as long in the refrigerator. If you want a lower-sugar option, try the chia seed variation mentioned above.
Pin This Recipe!
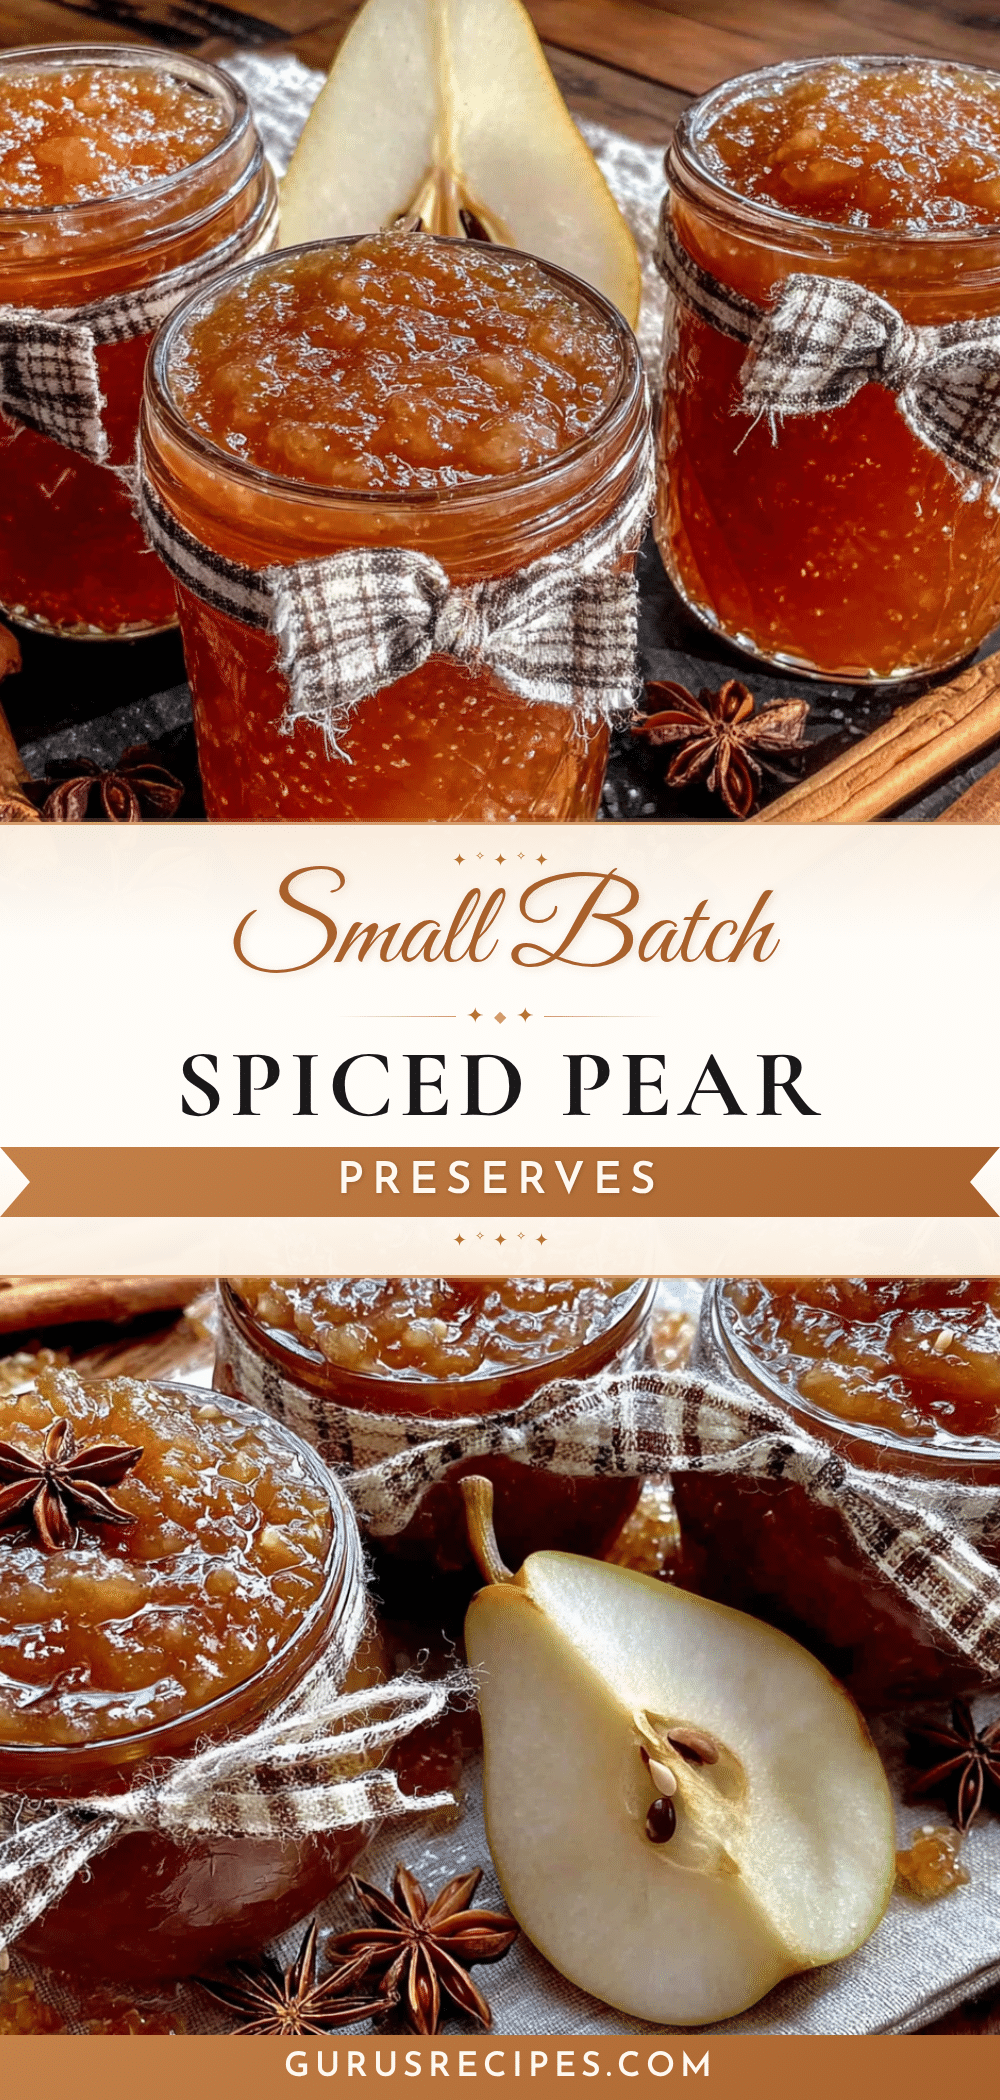

Easy Small Batch Spiced Pear Preserves Recipe
This small batch spiced pear preserves recipe is the perfect way to capture the flavors of fall. Made with fresh pears, cinnamon, cloves, and ginger, it’s simple enough for a weekday afternoon but special enough to give as a gift.
- Total Time: 1 hour 5 minutes
- Yield: 3 cups (about three 8-ounce jars) 1x
Ingredients
- 3 pounds ripe but firm pears (about 6–7 medium pears), peeled, cored, and cut into ½-inch chunks
- 2 cups granulated sugar
- ¼ cup fresh lemon juice (about 2 lemons)
- 1 cinnamon stick
- 3 whole cloves
- 1-inch piece fresh ginger, peeled and thinly sliced
- Pinch of salt
Instructions
- Prepare the pears: Wash the pears thoroughly. Peel them with a vegetable peeler, then cut them in half lengthwise. Use a melon baller or small spoon to scoop out the core and seeds. Cut the pears into ½-inch chunks. You should have about 6 cups of chopped pears.
- Macerate the fruit: In your large pot, combine the chopped pears, sugar, and lemon juice. Stir gently to coat all the pear pieces. Let this sit for 15-20 minutes. The sugar will draw out the natural juices from the pears, creating a syrupy liquid.
- Add the spices: Tuck the cinnamon stick, whole cloves, and sliced ginger into the pear mixture. Give everything a gentle stir.
- Bring to a simmer: Place the pot over medium heat. Stir occasionally as the mixture heats up. Once it reaches a gentle simmer—small bubbles breaking the surface—reduce the heat to medium-low. This should take about 8-10 minutes.
- Cook and stir: Let the preserves simmer gently for 35-45 minutes, stirring every 5 minutes or so. The mixture will slowly thicken and deepen in color. The preserves are ready when they’ve reduced by about a third and look glossy and thick. A good test: drag your spoon through the mixture. If it leaves a clear trail that doesn’t immediately fill back in, you’re there.
- Remove the spices: Fish out the cinnamon stick, cloves, and ginger slices using tongs or a slotted spoon.
- Test the set: Place a small plate in the freezer for a few minutes. Spoon a tiny amount of the hot preserves onto the cold plate. Let it sit for 30 seconds, then push it with your finger. If it wrinkles and holds its shape, it’s ready. If it’s still runny, cook for another 5 minutes and test again.
- Jar the preserves: Ladle the hot preserves into clean jars, leaving about ½ inch of headspace at the top. Wipe the rims with a clean, damp cloth. Screw on the lids fingertip-tight.
- Cool and store: Let the jars cool completely at room temperature. Once cool, store in the refrigerator for up to 3 months. For room temperature storage, process the jars in a boiling water bath for 10 minutes.
Notes
Don’t rush the maceration step; it creates the syrup that carries the flavor. Watch the heat—medium-low is your friend. Use a timer but trust your senses. Skim the foam if you want a clearer final product. Don’t double the recipe; make two separate batches instead.
- Prep Time: 20 minutes
- Cook Time: 45 minutes
- Category: Preserves
- Cuisine: American
Nutrition
- Serving Size: 2 tablespoons
- Calories: 60
- Sugar: 12
- Carbohydrates: 15
Keywords: pear preserves, spiced pear preserves, small batch preserves, homemade jam, pear jam, fall preserves, easy preserves recipe, no pectin preserves


