
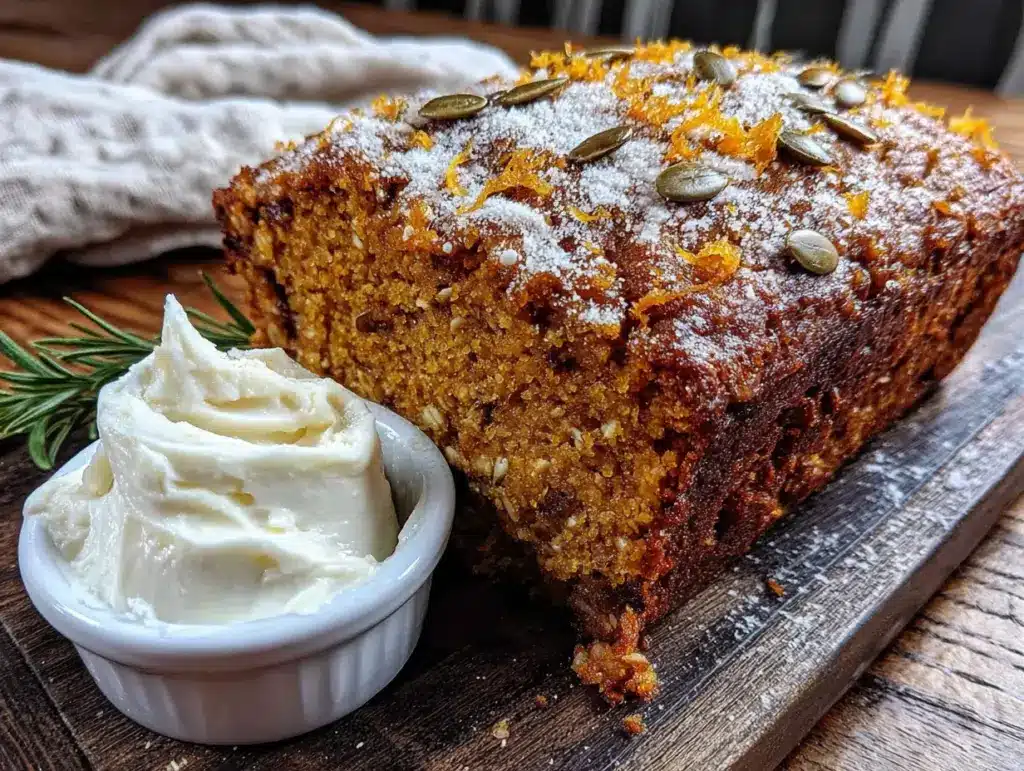
Pulling a glass loaf pan out of the oven, the whole kitchen smelled like fall—cinnamon, nutmeg, something warm and faintly sweet. I wasn’t even trying to bake. I had a half-can of pumpkin puree staring at me from the fridge, a few overripe bananas on the counter, and zero motivation to run to the store for sugar. Honestly, I was tired of recipes that promised “healthy” but tasted like cardboard sprinkled with hope. So I just started throwing things together. Oats instead of flour. Maple syrup instead of white sugar. A handful of chocolate chips because, let’s be real, I needed a little joy. And somehow, this healthy pumpkin oat bread came out of that messy, impatient moment.
It wasn’t supposed to be a recipe. It was supposed to be a quick breakfast that didn’t make me feel sluggish. But the first slice changed everything. It was moist—like, actually moist—with that soft, tender crumb you only get from something baked with love (and maybe a little too much pumpkin). No weird aftertaste. No dry, crumbly edges. Just pure, cozy pumpkin flavor with a hint of banana sweetness. My kid ate two slices before I could even get a photo. And I thought, okay, this one is worth sharing.
This healthy pumpkin oat bread has become my go-to fall loaf, and I don’t even wait for autumn to make it anymore. It’s that good. It’s that easy. And it proves you don’t need refined sugar to make something that tastes like a hug.
Why You’ll Love This Recipe
I’ve tested this recipe about seven times to get it just right. The first batch was too dense. The second was too sweet (yes, even with maple syrup). But this version? It’s the one I keep coming back to. Here’s what makes it stand out:
- No Refined Sugar: Sweetened only with maple syrup and ripe banana. No white sugar, no brown sugar, no weird sugar alcohols. Just natural sweetness that actually complements the pumpkin.
- Whole Grain Goodness: Rolled oats do the heavy lifting here. They blend into a flour-like texture that keeps the bread hearty without being heavy. Plus, they add fiber that keeps you full way longer than regular white flour bread.
- One Bowl, Zero Fuss: No stand mixer. No sifting. No separating eggs. You mix the wet ingredients, stir in the dry, pour, and bake. It’s the kind of recipe you can make while your coffee is brewing.
- Perfectly Moist Every Time: Pumpkin puree and mashed banana work together to create a loaf that stays soft for days. I’m not kidding—day three is still delicious.
- Kid-Approved and Picky-Eater Tested: My niece, who refuses to eat anything green or beige, asked for seconds. That’s a win in my book.
- Freezes Like a Dream: Make two loaves. Freeze one. Thank yourself later when you need a quick breakfast or a healthy snack.
This isn’t just another pumpkin bread recipe. It’s the one that makes you forget you’re eating something good for you. The texture is so soft, the flavor so warm and cozy, you’ll actually look forward to breakfast.
What Ingredients You Will Need
This recipe uses simple, everyday ingredients that you probably already have in your pantry. No fancy health food store runs required. Here’s what you’ll need and why each one matters.
Dry Ingredients
- Rolled oats (2 cups / 180g): Not quick oats—use old-fashioned rolled oats for the best texture. They blend into a flour that’s hearty but not gritty. I prefer Bob’s Red Mill or store-brand organic oats. If you’re gluten-sensitive, use certified gluten-free oats.
- Baking soda (1 teaspoon): This helps the bread rise and stay fluffy. Make sure it’s fresh—old baking soda can make your bread flat and dense.
- Baking powder (1 teaspoon): Adds extra lift. Aluminum-free is best to avoid any metallic aftertaste.
- Ground cinnamon (2 teaspoons): The star spice here. It brings warmth and depth that pairs perfectly with pumpkin.
- Ground nutmeg (½ teaspoon): Just a pinch adds that classic fall flavor. Freshly grated is amazing if you have it.
- Ground ginger (½ teaspoon): Adds a little zing. You can skip it if you don’t have any, but it really rounds out the spice profile.
- Salt (¼ teaspoon): Don’t skip this. Salt enhances all the other flavors and balances the sweetness.
Wet Ingredients
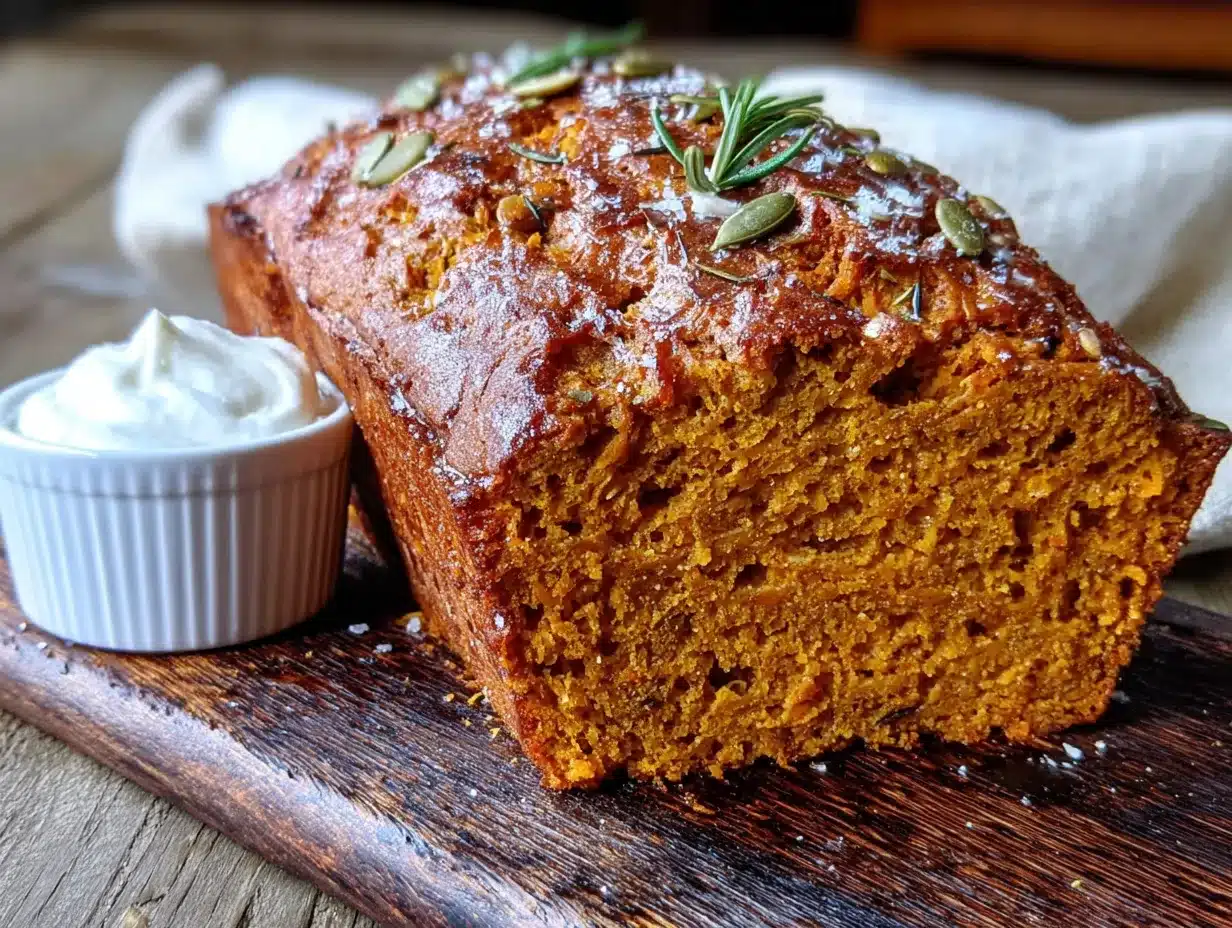
- Pumpkin puree (1 cup / 245g): Not pumpkin pie filling—make sure you grab 100% pure pumpkin puree. Libby’s is my go-to, but any brand works. If you have leftover puree from another recipe, this is a great way to use it up.
- Ripe banana (1 medium, mashed): The riper the better. Brown spots are perfect. The banana adds natural sweetness and moisture without making the bread taste like banana bread. It just rounds out the flavor.
- Maple syrup (⅓ cup / 80ml): Pure maple syrup, not pancake syrup. Grade A or B both work. This is the main sweetener, so don’t substitute with honey unless you want a different flavor profile. (Honey works, but it changes the taste slightly.)
- Eggs (2 large, room temperature): They bind everything together and add structure. Room temperature eggs mix more evenly into the batter. If you forgot to take them out early, place them in a bowl of warm water for 5 minutes.
- Coconut oil (¼ cup / 60ml, melted): Adds moisture without making the bread greasy. You can substitute with melted butter or avocado oil if you prefer. Coconut oil gives a subtle tropical note that pairs surprisingly well with pumpkin.
- Vanilla extract (1 teaspoon): Pure vanilla extract, not imitation. It enhances the sweetness and adds warmth.
- Milk (¼ cup / 60ml): Any milk works—dairy, almond, oat, or coconut. I usually use unsweetened almond milk. It keeps the bread tender without adding extra fat.
Optional Add-Ins
- Dark chocolate chips (½ cup / 90g): Because chocolate makes everything better. Use 70% cocoa or higher to keep it lower in sugar. I like Enjoy Life brand for dairy-free options.
- Chopped walnuts or pecans (½ cup / 60g): Adds crunch and healthy fats. Toast them lightly first for extra flavor.
- Dried cranberries (¼ cup / 30g): A tart pop that balances the sweetness. Look for unsweetened if you want to keep it sugar-free.
Equipment Needed
You don’t need a fancy kitchen to make this bread. Here’s what I use and what you can substitute if you’re short on tools.
- 9×5-inch loaf pan: Standard size works best. If you only have an 8×4-inch pan, the bread will take a few minutes longer to bake. Glass or metal both work—I prefer glass because it heats evenly and I can see when the sides are golden.
- Blender or food processor: This is essential for grinding the oats into flour. A high-speed blender like a Vitamix works in about 30 seconds. A regular blender might take a minute. If you don’t have either, you can use oat flour (just measure 1¾ cups oat flour instead of 2 cups rolled oats).
- Mixing bowls: One large bowl for wet ingredients, one medium bowl for dry. I use glass or ceramic bowls because they don’t hold onto odors.
- Whisk and spatula: A whisk for the wet ingredients and a rubber spatula for folding everything together. A wooden spoon works too, but a spatula helps you scrape every last bit of batter.
- Parchment paper: Line your loaf pan with parchment paper for easy removal. If you don’t have parchment, grease the pan well with coconut oil or butter.
- Cooling rack: Letting the bread cool completely on a rack prevents a soggy bottom. If you don’t have one, you can use the inverted loaf pan or just let it cool in the pan for 10 minutes, then transfer to a plate.
Budget-friendly tip: You don’t need a fancy blender. I used a $30 Hamilton Beach blender for years and it worked perfectly for grinding oats.
Preparation Method
Let’s get baking. This recipe comes together in about 10 minutes of active prep time, then the oven does the rest.
- Preheat your oven to 350°F (175°C). Line a 9×5-inch loaf pan with parchment paper, leaving some overhang on the long sides. This makes lifting the bread out super easy later. If you’re using a glass pan, let it heat up fully before adding the batter.
- Grind the oats into flour. Add 2 cups of rolled oats to your blender or food processor. Blend on high for 30-45 seconds until you have a fine, powdery flour. Stop and shake the blender halfway through to make sure everything gets ground evenly. You should have about 1¾ cups of oat flour. Don’t over-blend or it can get gummy.
- Mix the dry ingredients. In a medium bowl, whisk together the oat flour, baking soda, baking powder, cinnamon, nutmeg, ginger, and salt. Set aside. This step ensures the leavening agents and spices are evenly distributed so you don’t get a pocket of baking soda in your bread.
- Mash the banana. In a large bowl, mash the ripe banana with a fork until it’s mostly smooth with a few small lumps. The lumps will melt into the bread as it bakes, so don’t stress about getting it perfectly smooth.
- Combine the wet ingredients. To the mashed banana, add the pumpkin puree, maple syrup, eggs, melted coconut oil, vanilla extract, and milk. Whisk everything together until smooth and well combined. The mixture should look creamy and slightly orange from the pumpkin.
- Fold in the dry ingredients. Pour the dry ingredients into the wet mixture. Use a rubber spatula to fold gently until just combined. A few streaks of flour are okay—over-mixing will make the bread tough. The batter will be thick but scoopable, like a muffin batter.
- Add your mix-ins (optional). If you’re using chocolate chips, nuts, or cranberries, fold them in now. Reserve a handful to sprinkle on top for a pretty finish. The batter should be thick enough to hold them without them sinking to the bottom.
- Pour into the prepared pan. Scrape the batter into the lined loaf pan and spread it evenly with your spatula. Tap the pan on the counter a few times to release any air bubbles. Sprinkle the reserved mix-ins on top if you’re using them.
- Bake for 45-55 minutes. Place the pan in the center of the oven. Bake until the top is golden brown and a toothpick inserted into the center comes out clean or with just a few moist crumbs. If the top is browning too quickly (around 35 minutes), tent loosely with foil for the remaining time.
- Cool completely. Let the bread cool in the pan for 10 minutes, then lift it out using the parchment paper overhang and transfer to a wire rack. Let it cool completely before slicing—at least 1 hour. I know it’s hard to wait, but slicing too early will make the bread crumble. Trust me, I learned this the hard way.
Sensory cues: Your kitchen should smell like a cozy fall bakery by the 20-minute mark. The bread will look puffed and golden when done. If you tap the top gently, it should feel firm and spring back slightly.
Cooking Tips & Techniques
After making this bread more times than I can count, I’ve picked up a few tricks that make a real difference. Here’s what I wish someone had told me the first time.
- Don’t skip the parchment paper. I once tried to grease the pan with butter and flour, and half the bread stuck to the bottom. Parchment paper is a lifesaver—it lifts right out with zero mess.
- Room temperature eggs matter. Cold eggs can make the coconut oil solidify when you mix them together, leaving little lumps of fat in your batter. If you forgot to take them out early, place them in a bowl of warm water for 5 minutes before cracking them.
- Measure your pumpkin correctly. Scoop the pumpkin puree into the measuring cup and level it off with a knife. Don’t pack it down. Too much pumpkin can make the bread dense and wet in the center.
- Check for doneness with a thermometer. If you have an instant-read thermometer, the bread is done when the internal temperature reaches 200°F (93°C). This is more reliable than the toothpick test, especially if you add chocolate chips that can make the toothpick look wet.
- Let it cool completely. I know, I already said this, but it’s worth repeating. The bread continues to set as it cools. Slicing it warm will give you a crumbly mess. Patience pays off here.
- Store with a paper towel. Place a paper towel at the bottom of your storage container and another on top of the bread. It absorbs excess moisture without drying out the loaf. Your bread will stay fresh for up to 5 days.
One time, I accidentally used baking powder instead of baking soda (they look so similar!). The bread rose beautifully but had a slightly bitter aftertaste. Double-check your labels before you start.
Variations & Adaptations
This recipe is incredibly forgiving. Here are some ways to make it your own.
Vegan Version
Replace the eggs with flax eggs (2 tablespoons ground flaxseed mixed with 6 tablespoons water, let sit for 5 minutes). Use dairy-free milk and maple syrup as usual. The bread will be slightly denser but still delicious. I’ve made this for vegan friends and they couldn’t tell the difference.
Gluten-Free Option
Use certified gluten-free rolled oats. That’s it—the recipe is naturally gluten-free since we’re using oat flour instead of wheat flour. Just make sure your oats are labeled gluten-free to avoid cross-contamination.
Pumpkin Chocolate Chip Version
Fold in ½ cup dark chocolate chips and skip the nuts. The combination of pumpkin and chocolate is surprisingly perfect—the bitterness of dark chocolate balances the sweetness of the maple syrup. My personal favorite variation.
Nutty Pumpkin Bread
Add ½ cup toasted walnuts or pecans. Toast them in a dry skillet for 3-4 minutes until fragrant before adding to the batter. The crunch adds a lovely contrast to the soft crumb.
Spice It Up
Add ¼ teaspoon ground cloves or allspice for a more complex spice profile. You can also swap the cinnamon for pumpkin pie spice if you have it on hand. Use 2 teaspoons of pumpkin pie spice instead of the individual spices.
Lower-Carb Option
Replace the oats with almond flour (use 1½ cups almond flour instead of oat flour). The texture will be more delicate and slightly denser, but it works. Reduce the maple syrup to ¼ cup since almond flour is less absorbent.
Serving & Storage Suggestions
This bread is incredibly versatile. Here’s how to enjoy it at its best.
Serving temperature: Serve at room temperature or slightly warm. If you want to warm it up, pop a slice in the toaster or microwave for 10-15 seconds. Spread a little butter, coconut oil, or cream cheese on top for extra richness.
Perfect pairings: This bread is amazing with a hot cup of coffee or chai tea. For breakfast, serve it alongside scrambled eggs and fresh fruit. For dessert, top a slice with a scoop of vanilla ice cream or a drizzle of maple syrup. It also pairs beautifully with a cozy hearty lentil stew for a comforting fall meal.
Storage: Store the bread in an airtight container at room temperature for up to 5 days. If your kitchen is warm, you can refrigerate it—just let it come to room temperature before serving for the best texture. The flavors actually deepen after a day or two, so day-old bread can be even better.
Freezing instructions: This bread freezes beautifully. Wrap the cooled loaf tightly in plastic wrap, then in aluminum foil, and freeze for up to 3 months. You can also slice it before freezing and grab individual slices as needed. To thaw, leave at room temperature for about 30 minutes or pop a frozen slice in the toaster.
Reheating tips: For a freshly baked taste, reheat slices in a 300°F (150°C) oven for 5-7 minutes. The toaster works great too—just watch it so the edges don’t burn. Avoid microwaving for too long, as it can make the bread rubbery.
Nutritional Information & Benefits
This bread isn’t just delicious—it’s actually good for you. Here’s a rough breakdown per slice (based on 10 slices, without add-ins):
- Calories: ~185
- Protein: 5g
- Carbohydrates: 28g
- Fiber: 4g
- Sugar: 10g (all natural from maple syrup and banana)
- Fat: 7g
- Iron: 8% DV
- Vitamin A: 70% DV (from pumpkin!)
Health highlights: Pumpkin is packed with vitamin A, which supports eye health and immunity. Oats provide soluble fiber that helps lower cholesterol and keeps you full longer. The maple syrup and banana add sweetness without the blood sugar spike of refined sugar. Plus, the healthy fats from coconut oil support brain function.
Dietary considerations: This recipe is naturally dairy-free (if you use plant-based milk), nut-free (if you skip the walnuts), and can be made vegan and gluten-free with easy swaps. It’s also free from refined sugar, making it a great option for anyone watching their sugar intake.
Allergen note: Contains eggs and oats. Oats are naturally gluten-free but may be processed in facilities that handle wheat, so choose certified gluten-free oats if needed.
Conclusion
This healthy pumpkin oat bread is proof that you don’t need sugar, white flour, or complicated techniques to make something truly satisfying. It’s the kind of bread that makes you feel good about eating a second slice—because it’s packed with real, whole ingredients that actually nourish you.
I love this recipe because it came from a real, messy, “I have no idea what I’m doing” moment in my kitchen. And it turned into something I genuinely look forward to making again and again. Whether you’re new to baking or a seasoned pro, this bread is forgiving, flexible, and always delicious.
Give it a try and make it your own. Swap in your favorite add-ins, adjust the spices, or double the batch for a week’s worth of breakfasts. And when you do, I’d love to hear about it. Leave a comment below and tell me how yours turned out—did you add chocolate chips? Walnuts? A secret spice blend? Share your creation and tag a friend who needs a little pumpkin bread in their life.
Happy baking, friend. You’ve got this.
Frequently Asked Questions
Can I use canned pumpkin pie filling instead of pumpkin puree?
No, don’t do that. Pumpkin pie filling has added sugar and spices that will throw off the recipe completely. Stick with 100% pure pumpkin puree. If you only have pie filling, reduce the maple syrup to 2 tablespoons and skip the spices, but honestly, the texture won’t be the same.
Can I make this bread without a blender?
Yes! You can use pre-made oat flour instead of grinding your own. Just measure 1¾ cups of oat flour instead of 2 cups of rolled oats. Most grocery stores carry oat flour in the baking aisle or health food section. Bob’s Red Mill makes a good one.
Why is my bread dense and heavy?
This usually happens for one of three reasons: you over-mixed the batter (mix until just combined), your baking soda is old (test it by dropping a little in vinegar—it should fizz), or you added too much pumpkin puree. Measure carefully and mix gently for the best results.
Can I use honey instead of maple syrup?
Yes, but it will change the flavor slightly. Honey is sweeter than maple syrup, so you might want to reduce it to ¼ cup. The texture will be similar, but the bread will have a more distinct honey flavor. If you’re vegan, stick with maple syrup.
How do I know when the bread is fully baked?
The best test is an instant-read thermometer—the bread is done at 200°F (93°C). If you don’t have one, insert a toothpick into the center. It should come out clean or with just a few moist crumbs. If it’s wet with batter, bake for another 5-10 minutes. If the top is browning too fast, tent with foil.
If you enjoyed this recipe, you might also love my easy crusty artisan bread recipe for a savory option, or try my creamy no-churn strawberry ice cream for a sweet treat that’s just as simple to make.
Pin This Recipe!
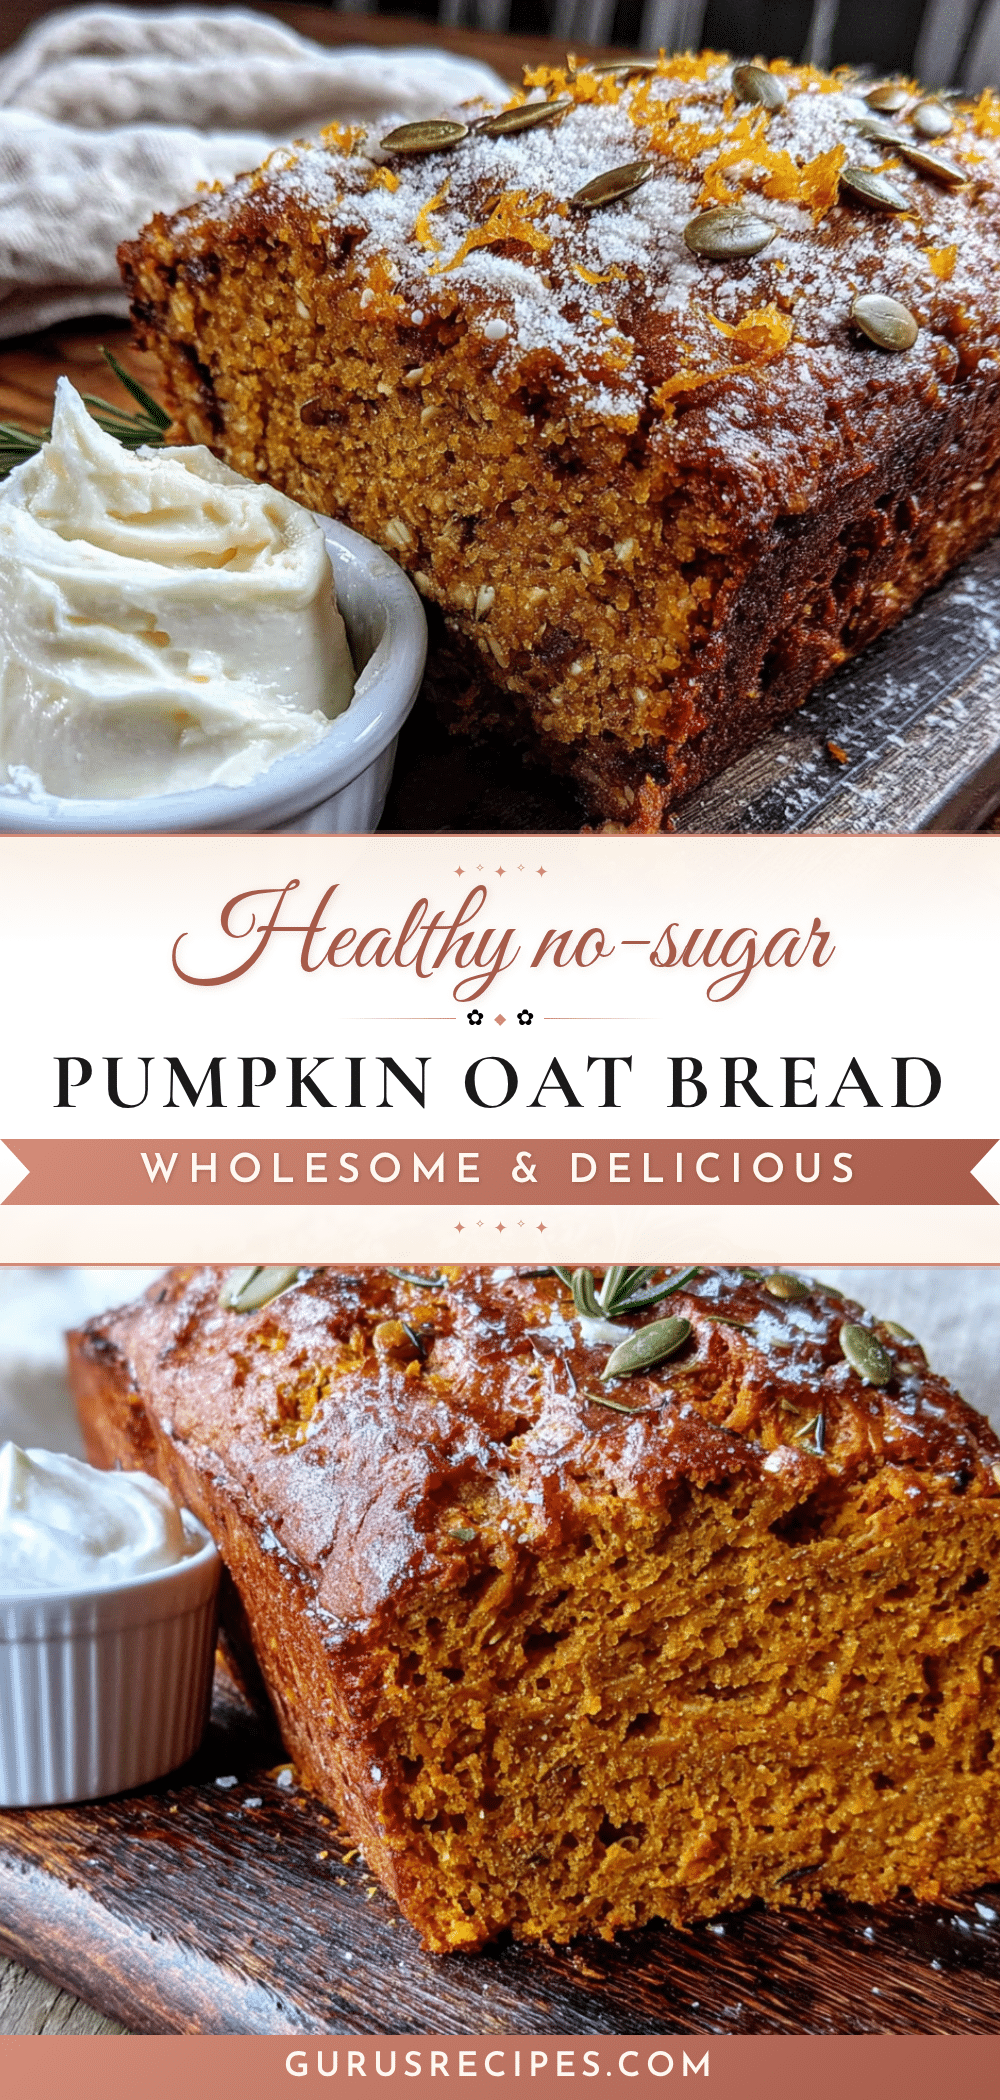

Healthy Pumpkin Oat Bread: Easy, No Sugar Recipe
This healthy pumpkin oat bread is moist, tender, and naturally sweetened with maple syrup and banana. Made with whole grain oats and no refined sugar, it’s an easy one-bowl recipe that tastes like a cozy fall hug.
- Total Time: 1 hour 10 minutes
- Yield: 10 servings 1x
Ingredients
- 2 cups (180g) rolled oats (old-fashioned)
- 1 teaspoon baking soda
- 1 teaspoon baking powder
- 2 teaspoons ground cinnamon
- ½ teaspoon ground nutmeg
- ½ teaspoon ground ginger
- ¼ teaspoon salt
- 1 cup (245g) pumpkin puree (100% pure, not pie filling)
- 1 medium ripe banana, mashed
- ⅓ cup (80ml) pure maple syrup
- 2 large eggs, room temperature
- ¼ cup (60ml) coconut oil, melted
- 1 teaspoon vanilla extract
- ¼ cup (60ml) milk (dairy or plant-based)
- ½ cup (90g) dark chocolate chips (optional)
- ½ cup (60g) chopped walnuts or pecans (optional)
- ¼ cup (30g) dried cranberries (optional)
Instructions
- Preheat your oven to 350°F (175°C). Line a 9×5-inch loaf pan with parchment paper, leaving some overhang on the long sides.
- Grind the oats into flour: Add 2 cups of rolled oats to your blender or food processor. Blend on high for 30-45 seconds until you have a fine, powdery flour. You should have about 1¾ cups of oat flour.
- Mix the dry ingredients: In a medium bowl, whisk together the oat flour, baking soda, baking powder, cinnamon, nutmeg, ginger, and salt. Set aside.
- Mash the banana: In a large bowl, mash the ripe banana with a fork until mostly smooth with a few small lumps.
- Combine the wet ingredients: To the mashed banana, add the pumpkin puree, maple syrup, eggs, melted coconut oil, vanilla extract, and milk. Whisk until smooth and well combined.
- Fold in the dry ingredients: Pour the dry ingredients into the wet mixture. Use a rubber spatula to fold gently until just combined. A few streaks of flour are okay—do not over-mix.
- Add your mix-ins (optional): If using chocolate chips, nuts, or cranberries, fold them in now. Reserve a handful to sprinkle on top.
- Pour into the prepared pan: Scrape the batter into the lined loaf pan and spread evenly. Tap the pan on the counter a few times to release air bubbles. Sprinkle reserved mix-ins on top if using.
- Bake for 45-55 minutes: Place the pan in the center of the oven. Bake until the top is golden brown and a toothpick inserted into the center comes out clean or with just a few moist crumbs. If the top browns too quickly (around 35 minutes), tent loosely with foil.
- Cool completely: Let the bread cool in the pan for 10 minutes, then lift it out using the parchment paper overhang and transfer to a wire rack. Cool completely before slicing—at least 1 hour.
Notes
For best results, use room temperature eggs to prevent coconut oil from solidifying. Measure pumpkin puree correctly by scooping and leveling—do not pack. Let bread cool completely before slicing to avoid crumbling. Store with a paper towel in an airtight container at room temperature for up to 5 days. Freezes well for up to 3 months.
- Prep Time: 10 minutes
- Cook Time: 50 minutes
- Category: Breakfast, Snack, Dessert
- Cuisine: American
Nutrition
- Serving Size: 1 slice (1/10 of loa
- Calories: 185
- Sugar: 10
- Sodium: 220
- Fat: 7
- Saturated Fat: 4
- Carbohydrates: 28
- Fiber: 4
- Protein: 5
Keywords: healthy pumpkin bread, no sugar pumpkin bread, oat flour pumpkin bread, pumpkin oat bread, refined sugar free, fall baking, easy pumpkin bread


