
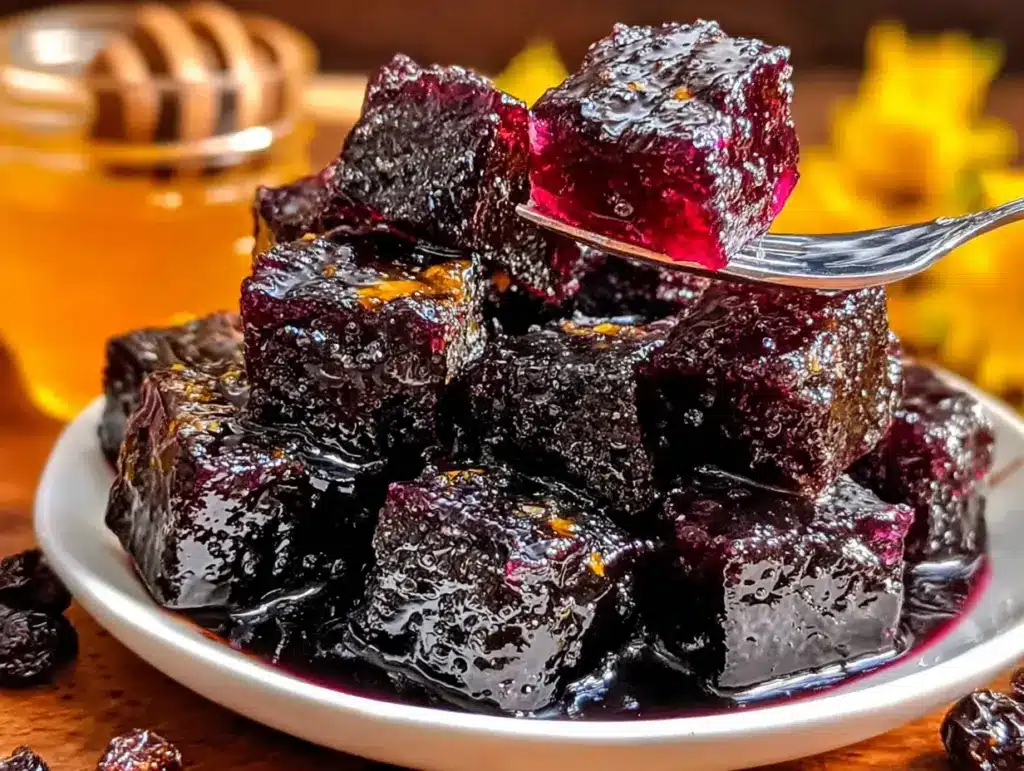
“These taste like candy, not medicine. Are you sure there’s garlic in here?” My neighbor Jenna said that after I handed her a little jar of these gummies last winter. She had been complaining about her kids catching everything that went through school, and I had just finished my third batch of homemade honey garlic elderberry gummies. I told her to try one, half-expecting a face. Instead, she ate three more before walking back to her house.
That moment stuck with me. I never set out to be the person who makes gummies from scratch. Honestly, I used to buy the store-bought ones. But after reading the ingredient list on a popular brand one night — corn syrup, artificial flavors, and barely any actual elderberry — I figured I could do better. I mean, how hard could it be? Turns out, not hard at all. The first batch I made was a little too sticky and I used way too much honey, but the second one? That was the one. The texture was bouncy, the flavor was sweet with just a tiny kick from the garlic, and I knew I had stumbled onto something worth keeping around.
Now I make a batch almost every other week. They sit in a jar on my counter, and somehow they disappear faster than any cookie I’ve ever baked. The kids grab them without being asked, my husband sneaks them before work, and I feel good knowing what’s actually in them. No weird additives, no fake sugar, just real ingredients doing what they’re supposed to do. And honestly? They’re fun to make. There’s something satisfying about watching the mixture come together and set into those little chewy squares. It feels like a small act of taking care of yourself, one gummy at a time.
Why You’ll Love This Recipe
Let me tell you why this recipe has become a staple in my kitchen. I’ve tested it more times than I care to admit, and every single batch has taught me something new. Here’s what makes these gummies stand out from anything you’ll find at the store:
- Only 4 Ingredients: No crazy shopping list. You probably already have honey and garlic in your pantry. Elderberry syrup is easy to find online or at health food stores, and gelatin is a pantry staple for anyone who bakes.
- No Artificial Anything: These are free from artificial colors, flavors, and preservatives. The deep purple color comes straight from the elderberries. It’s beautiful and natural.
- Kid-Approved: My own kids are picky eaters, but they ask for these by name. The honey balances out the earthiness of the elderberry, and the garlic is barely noticeable. It’s a win for parents everywhere.
- Perfect for Cold Season: I started making these during the winter months, but honestly, they’re great year-round. Elderberry is known for supporting the immune system, and garlic adds its own benefits. It’s like a little shield in gummy form.
- So Much Cheaper Than Store-Bought: A small bottle of premium elderberry gummies can cost a fortune. Making them at home costs a fraction of that, and you get way more gummies. Your wallet will thank you.
- Customizable: You can adjust the sweetness, the strength of the garlic, or even add other herbs like ginger or echinacea. This recipe is a starting point, not a rulebook.
What makes this recipe different from the rest is the balance. I spent a lot of time figuring out the right ratio of honey to elderberry so the garlic doesn’t overpower everything. The first few batches were either too sweet or had a weird aftertaste. This version is just right. It’s the kind of gummy that makes you do a double-take because you can’t believe something this good for you tastes this good.
What Ingredients You Will Need
This recipe uses simple, wholesome ingredients that work together to create a gummy that’s both delicious and functional. Each ingredient plays a specific role, and I’ve tested a few brands to find what works best. Here’s what you’ll need:
- 1 cup elderberry syrup: This is the star of the show. I prefer to make my own using dried elderberries, water, and a bit of honey, but store-bought works great too. Look for a syrup that doesn’t have added sugar or artificial flavors. Some brands add lemon or ginger, which can change the flavor profile slightly, so keep that in mind. If you’re making your own, simmer 1/2 cup dried elderberries in 2 cups of water for about 30 minutes, then strain and add honey to taste. It’s simple and gives you full control over the ingredients.
- 3 tablespoons grass-fed gelatin: Gelatin is what gives gummies their signature chewy texture. I use grass-fed gelatin because it’s higher in protein and doesn’t have any weird additives. You can find it in the baking aisle or order it online. Avoid flavored gelatin packets — you want unflavored, unsweetened gelatin for this recipe. The brand I use most often is Vital Proteins, but any reputable brand will work. Just make sure it’s not a vegan substitute, as those won’t set the same way.
- 2 tablespoons raw honey: Honey adds sweetness and helps balance the earthiness of the elderberry. I use raw, local honey because it has more flavor and retains its natural enzymes. If you don’t have honey, you can substitute maple syrup or agave, but the flavor will be slightly different. The honey also helps preserve the gummies, so don’t skip it. If you’re making this for someone with a compromised immune system, you might want to use pasteurized honey instead of raw.
- 1 clove fresh garlic, minced: This might sound strange, but trust me. The garlic adds a subtle warmth and depth that you won’t even notice as “garlicky.” It blends into the background and just makes the gummies taste more complex. I use one small clove, minced very finely. If you’re worried about the flavor, start with half a clove and work your way up. You can also use garlic powder in a pinch, but fresh garlic gives a better result. The heat from the simmering process mellows out the sharpness, so don’t be scared.
That’s it. Four ingredients. No weird stabilizers, no corn syrup, no artificial colors. The elderberry syrup gives the gummies that beautiful deep purple color, and the honey adds a natural sweetness that makes them feel like a treat. I’ve also experimented with adding a pinch of cinnamon or a splash of lemon juice, and both work great if you want to change things up.
One thing I’ve learned is that the quality of your elderberry syrup matters a lot. If you’re using a store-bought syrup, check the label for added sugars or preservatives. Some brands add citric acid, which can affect how the gummies set. I’ve had the best luck with syrups that list elderberries, water, and honey as the only ingredients. If you’re making your own, you have complete control, and honestly, it’s worth the extra effort.
Equipment Needed
You don’t need any fancy equipment to make these gummies, which is one of the reasons I love this recipe. Here’s what you’ll need:
- Small saucepan: A 1-quart saucepan works perfectly. You just need enough room to heat the elderberry syrup without it boiling over. I use a stainless steel one, but nonstick works too.
- Silicone gummy molds: These are the easiest way to get uniform gummies. I have a set of bear-shaped molds that my kids love, but you can use any shape you like. If you don’t have molds, you can pour the mixture into a small glass dish and cut it into squares once it sets. That’s actually what I did the first few times, and it works fine.
- Whisk: A small whisk helps you combine the gelatin without clumps. A fork works in a pinch, but a whisk is better for getting a smooth mixture.
- Dropper or small measuring cup with a spout: This makes filling the molds much easier. I use a glass dropper I bought online, but a small measuring cup with a spout works just as well. You can also use a turkey baster if that’s what you have.
- Baking sheet: Place your filled molds on a baking sheet before refrigerating. This makes them easier to move and catches any spills.
- Fine-mesh strainer: If you’re making your own elderberry syrup, you’ll need this to strain out the berries. It’s also useful if you want to strain out the minced garlic pieces for a smoother texture.
I’ve made these gummies with and without the silicone molds, and both methods work. The molds give you cute shapes that kids love, but cutting them into squares is faster and doesn’t require any special equipment. If you’re just starting out, I’d recommend trying the dish method first to see if you like the recipe before investing in molds.
Preparation Method
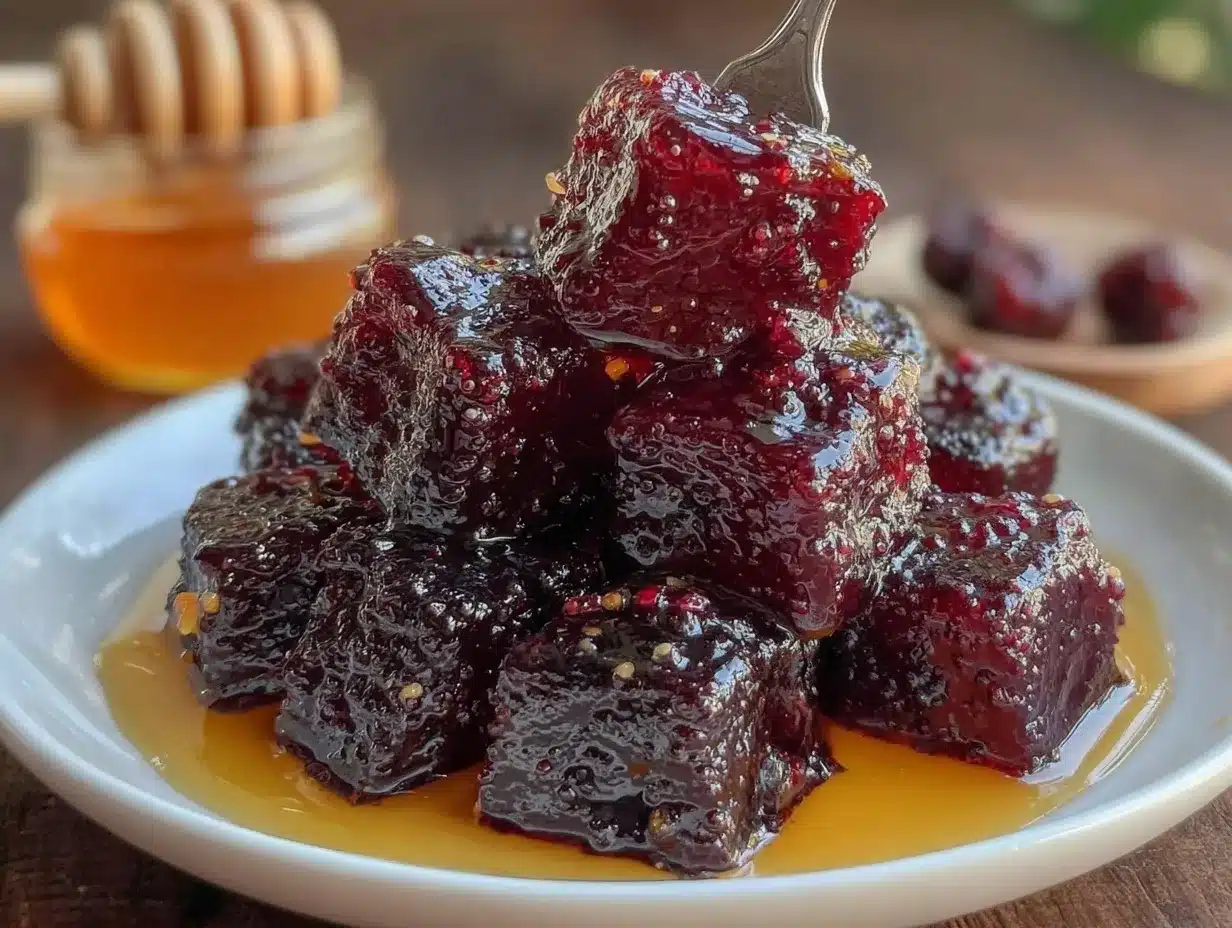
Making these gummies is surprisingly simple, but there are a few tricks to getting the perfect texture. Follow these steps carefully, and you’ll have a batch of chewy, flavorful gummies in no time.
- Prepare your molds: If you’re using silicone molds, place them on a baking sheet. This makes them easier to move to the refrigerator. If you’re using a glass dish, lightly grease it with a tiny bit of coconut oil or line it with parchment paper. Set this aside while you prepare the mixture.
- Bloom the gelatin: In a small bowl, combine the gelatin with 1/4 cup of cold water. Stir gently with a fork until the gelatin is fully dissolved and there are no lumps. Let it sit for about 5 minutes. This step is crucial — if you skip it, your gummies will be grainy and won’t set properly. The gelatin will absorb the water and become a thick, spongy mass. That’s exactly what you want.
- Heat the elderberry syrup: Pour the elderberry syrup into a small saucepan and add the minced garlic. Heat over medium-low heat until the mixture is warm but not boiling. You want it to be hot enough to dissolve the gelatin but not so hot that it kills the beneficial properties of the elderberry. I usually heat it until I see tiny bubbles forming around the edges, then remove it from the heat immediately. This takes about 3-4 minutes.
- Combine the gelatin and syrup: Add the bloomed gelatin to the warm elderberry syrup. Whisk continuously until the gelatin is fully dissolved. This should take about 1-2 minutes. The mixture should be smooth and slightly thick. If you see any lumps, keep whisking until they disappear. Add the honey and whisk again until everything is well combined.
- Strain the mixture (optional): If you want smoother gummies without bits of garlic, pour the mixture through a fine-mesh strainer into a clean measuring cup with a spout. I usually do this because my kids prefer the texture. If you don’t mind the tiny bits of garlic, you can skip this step.
- Fill the molds: Using a dropper or your measuring cup with a spout, carefully fill each cavity of the silicone molds. Don’t overfill them — leave a tiny bit of space at the top. Work quickly because the mixture will start to set as it cools. If it becomes too thick, you can gently reheat it for a few seconds on the stove.
- Refrigerate: Place the baking sheet with the filled molds in the refrigerator. Let them set for at least 2-3 hours, but overnight is even better. The gummies should be firm to the touch and pop easily out of the molds. If they’re still sticky, give them more time.
- Unmold and store: Once the gummies are fully set, gently pop them out of the molds. If they stick, try flexing the mold slightly or pressing gently on the back. Transfer the gummies to an airtight container. Store them in the refrigerator for up to 2 weeks, or freeze them for up to 3 months.
A few things I’ve learned the hard way: Don’t rush the blooming step. I tried skipping it once because I was in a hurry, and the gummies turned out grainy and weird. Also, don’t let the syrup boil. High heat can break down the gelatin and ruin the texture. Low and slow is the way to go. And if you’re using a glass dish instead of molds, pour the mixture in and let it set, then cut it into small squares with a sharp knife. That method is actually faster than using individual molds.
Cooking Tips & Techniques
After making these gummies more times than I can count, I’ve picked up a few tricks that make the process smoother and the results better. Here are my best tips:
Don’t skip the blooming step. I know it seems like an extra step, but blooming the gelatin in cold water before adding it to the warm syrup is non-negotiable. It ensures the gelatin dissolves evenly and gives you a smooth, consistent texture. The first time I made these, I was impatient and just dumped the gelatin powder into the hot syrup. Big mistake. The gummies were lumpy and some parts were harder than others. Learn from my mistake.
Use a thermometer if you have one. The ideal temperature for dissolving gelatin is around 110°F to 120°F. If the mixture gets too hot, the gelatin can break down and lose its setting power. If it’s not hot enough, the gelatin won’t dissolve fully. A simple kitchen thermometer takes the guesswork out of it. I use an instant-read thermometer, and it’s been a game-changer.
Work quickly when filling molds. The mixture starts to set as soon as it cools, so you want to fill your molds as fast as possible. I like to have everything ready before I start — molds on a baking sheet, dropper or measuring cup within reach, and a clear workspace. If the mixture gets too thick while you’re working, just pop the saucepan back on low heat for a few seconds to loosen it up.
Grease your molds lightly. Even though silicone molds are non-stick, a very light spray of coconut oil can help the gummies pop out more easily. I use a spray bottle with liquid coconut oil, but you can also use a paper towel to rub a tiny bit of oil into the molds. Don’t overdo it, or the gummies will look greasy.
Let them set overnight for best results. Two hours is the minimum, but I’ve found that letting the gummies set in the refrigerator overnight gives them a much better texture. They become firmer and chewier, more like store-bought gummies. If you’re in a hurry, you can pop them in the freezer for about an hour, but the texture won’t be quite as good.
Store them properly. These gummies need to be kept in the refrigerator because they don’t have preservatives. If you leave them out at room temperature, they’ll get soft and sticky. I keep mine in a glass jar in the fridge, and they last for about two weeks. If you make a big batch, you can freeze them in a single layer on a baking sheet, then transfer them to a freezer bag. They thaw in just a few minutes at room temperature.
Variations & Adaptations
One of the things I love about this recipe is how easy it is to adapt. I’ve experimented with quite a few variations, and here are some of my favorites:
Spiced Elderberry Gummies: Add a pinch of cinnamon, ginger, and cloves to the syrup while it heats. These warming spices complement the elderberry beautifully and add an extra layer of immune support. I make this version during the fall and winter months, and it feels like a cozy hug in gummy form.
Lemon-Ginger Elderberry Gummies: Add 1 tablespoon of fresh lemon juice and 1 teaspoon of grated ginger to the mixture. The lemon brightens the flavor and adds vitamin C, while the ginger gives a gentle warmth. This is my go-to version when I feel a cold coming on. The lemon also helps balance the sweetness of the honey.
Vegan Version: This recipe relies on gelatin for its texture, but you can make a vegan version using agar agar powder. Use the same amount of agar agar as gelatin, but you’ll need to boil the mixture for a full minute to activate the agar agar. The texture will be a bit firmer and less chewy, but it’s a great alternative if you don’t eat animal products. I’ve tested this twice, and while it’s not exactly the same, it’s still delicious.
Extra Garlicky Version: If you’re a garlic lover like my husband, you can double the amount of garlic. Use 2 cloves instead of 1, and mince them very finely. The garlic flavor will be more noticeable, but it still blends well with the elderberry and honey. I wouldn’t go beyond 2 cloves, though, or the garlic might overwhelm everything else.
Herbal Blend: Add 1 teaspoon of dried echinacea or astragalus root to the syrup while it heats. Strain it out before adding the gelatin. These herbs are known for their immune-supporting properties and pair well with elderberry. I make this version when I want an extra boost during cold and flu season.
Each variation changes the flavor profile slightly, so don’t be afraid to experiment. Start with the basic recipe first, then try one variation at a time. That way you’ll know exactly what each ingredient adds to the mix.
Serving & Storage Suggestions
These gummies are incredibly versatile in terms of how you serve them. Here’s what I’ve found works best:
Serving Temperature: These are best served cold, straight from the refrigerator. The texture is firmer and chewier when they’re cold. If you leave them out for more than 30 minutes, they’ll start to soften. I usually take out a small handful and leave the rest in the fridge.
How Many to Eat: I typically have 2-3 gummies per day, usually in the morning or before bed. Kids can have 1-2 depending on their age. Since these are made with real ingredients and not concentrated supplements, you don’t have to worry too much about overdoing it, but moderation is always a good idea.
Pairing Suggestions: These gummies pair beautifully with a warm cup of herbal tea, especially chamomile or ginger tea. I also like to pack them in lunchboxes for a fun, healthy treat. They’re great for travel too — just keep them in a small cooler bag if you’re going to be out for a while.
Storage Instructions: Store the gummies in an airtight container in the refrigerator. They’ll stay fresh for up to 2 weeks. I use a glass jar with a tight-fitting lid. If you notice any condensation forming inside the container, wipe it dry with a paper towel to prevent the gummies from getting sticky.
Freezing Instructions: These freeze beautifully. Arrange the gummies in a single layer on a baking sheet lined with parchment paper and freeze for 2-3 hours. Once they’re frozen solid, transfer them to a freezer-safe bag or container. They’ll keep for up to 3 months. To thaw, just take out what you need and let them sit at room temperature for 5-10 minutes, or eat them frozen — they’re like little frozen fruit snacks.
How Flavors Develop: I’ve noticed that the flavors actually get better after a day or two in the refrigerator. The honey and garlic meld together, and the elderberry flavor becomes more pronounced. So don’t worry if they taste a little strong right after you make them — give them time to settle.
Nutritional Information & Benefits
These gummies are more than just a tasty treat — they pack a nutritional punch thanks to their simple, whole-food ingredients. Here’s a breakdown of what you’re getting in each serving (about 4-5 gummies):
- Calories: Approximately 60-80 calories per serving
- Protein: 4-5 grams (from the gelatin)
- Carbohydrates: 12-15 grams (mostly from the honey and elderberry syrup)
- Sugar: 10-12 grams (natural sugars from honey and elderberries)
- Vitamin C: 4-6% of daily value (from elderberries)
- Antioxidants: High (elderberries are rich in anthocyanins)
The health benefits of these gummies come from their key ingredients. Elderberries are packed with antioxidants and have been used for centuries to support the immune system. They’re particularly rich in anthocyanins, which give them their deep purple color and help fight oxidative stress. Garlic is another immune-supporting powerhouse, known for its antimicrobial properties. And honey isn’t just a sweetener — it has natural antibacterial properties and can help soothe a sore throat.
These gummies are naturally gluten-free, dairy-free, and nut-free, making them suitable for most dietary restrictions. The only potential allergen is the gelatin, which is derived from animal collagen. If you’re vegetarian or vegan, try the agar agar version I mentioned in the variations section. Also, if you’re using raw honey, it’s not recommended for children under 1 year old.
From a personal wellness perspective, I love that these gummies let me support my family’s health in a way that feels good, not forced. My kids don’t complain about taking them, and I feel confident knowing exactly what’s in each batch. It’s a small daily habit that adds up to something meaningful.
Conclusion
These homemade honey garlic elderberry gummies have honestly become one of my favorite things to make. They’re simple, they’re effective, and they taste way better than anything you can buy at the store. Every time I make a batch, I feel like I’m doing something good for myself and my family, and that’s a pretty great feeling.
I encourage you to make this recipe your own. Adjust the sweetness, try different add-ins, or experiment with the garlic level until it feels right to you. That’s the beauty of homemade food — you’re in control. And if you end up with a batch that’s a little too sticky or not quite garlicky enough, that’s okay. You’ll know for next time.
I’d love to hear how your gummies turn out. Drop a comment below and let me know if you tried any variations, or share your own tips for making these gummies even better. And if you’re looking for more simple, wholesome recipes, check out this homemade dandelion honey — it’s another one of my favorite kitchen projects that feels like a little act of self-care. Happy cooking, and here’s to staying healthy one gummy at a time!
Frequently Asked Questions
Can I use store-bought elderberry syrup instead of making my own?
Absolutely. Store-bought elderberry syrup works perfectly in this recipe. Just make sure to choose one that doesn’t have added sugar or artificial ingredients. Some brands add lemon or ginger, which will change the flavor slightly but still work great.
Why did my gummies turn out grainy?
Grainy gummies usually happen when the gelatin isn’t fully dissolved. Make sure you bloom the gelatin in cold water first, then whisk it into warm (not hot) elderberry syrup until it’s completely smooth. If the syrup is too hot, the gelatin can also clump up, so keep the heat low.
How long do these gummies last?
Stored in an airtight container in the refrigerator, these gummies will stay fresh for up to 2 weeks. You can also freeze them for up to 3 months. Just thaw them at room temperature for a few minutes before eating.
Can I make these without garlic?
Yes, you can absolutely leave out the garlic. The gummies will still be delicious and beneficial. If you want to replace the garlic with something else, try adding a pinch of ginger or a splash of lemon juice for a different flavor profile.
Are these safe for kids?
Yes, these gummies are safe for kids, but use common sense. For young children, cut the gummies into smaller pieces to prevent choking. Also, if you’re using raw honey, it’s not recommended for children under 1 year old. For older kids, 1-2 gummies per day is a reasonable serving.
Pin This Recipe!
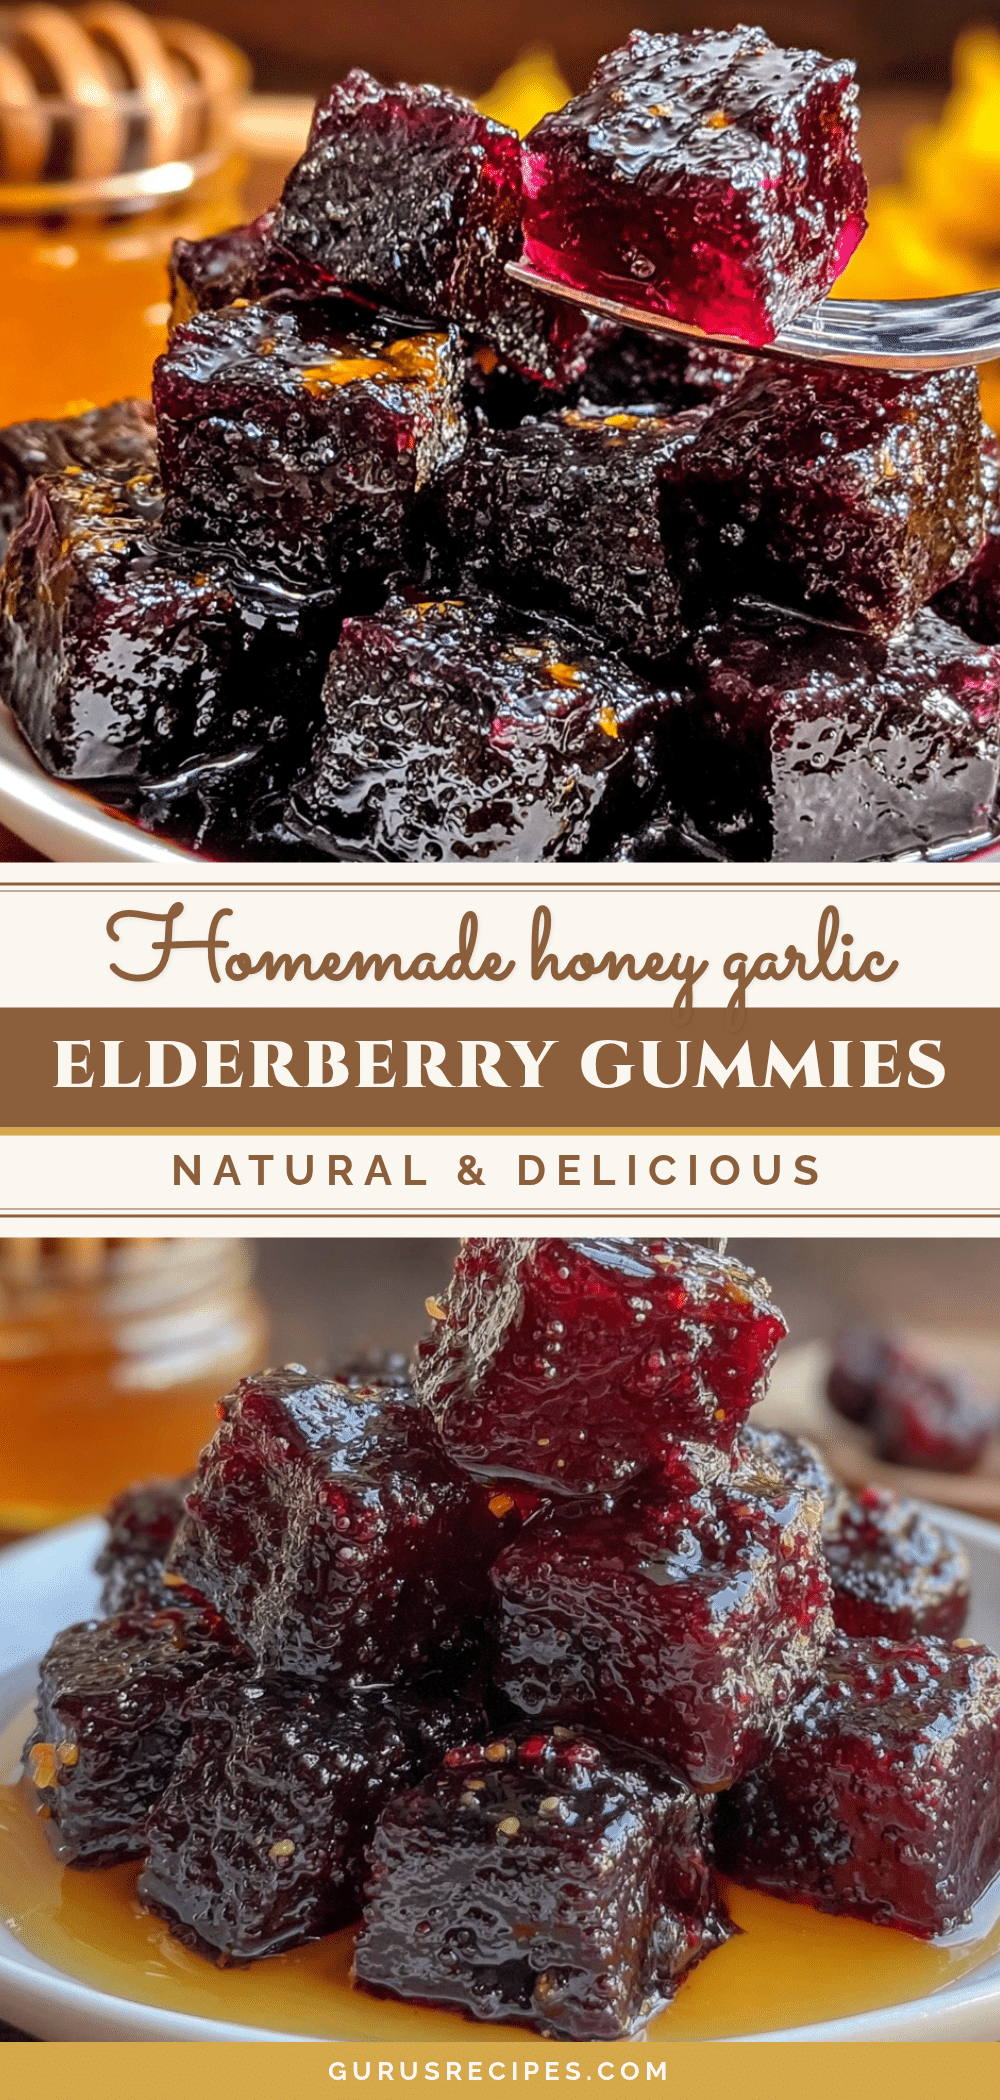

Homemade Honey Garlic Elderberry Gummies: Easy 4-Ingredient Recipe
These homemade honey garlic elderberry gummies are a delicious and healthy immune-supporting treat made with just four simple ingredients. They taste like candy but are free from artificial additives, making them a kid-approved and budget-friendly alternative to store-bought gummies.
- Total Time: 2 hours 20 minutes (including setting time)
- Yield: 4 servings 1x
Ingredients
- 1 cup elderberry syrup
- 3 tablespoons grass-fed gelatin
- 2 tablespoons raw honey
- 1 clove fresh garlic, minced
Instructions
- Prepare your molds: If using silicone molds, place them on a baking sheet. If using a glass dish, lightly grease it with coconut oil or line with parchment paper.
- Bloom the gelatin: In a small bowl, combine the gelatin with 1/4 cup of cold water. Stir gently until dissolved and let sit for 5 minutes.
- Heat the elderberry syrup: Pour the elderberry syrup into a small saucepan and add the minced garlic. Heat over medium-low heat until warm but not boiling (tiny bubbles around edges). Remove from heat immediately.
- Combine the gelatin and syrup: Add the bloomed gelatin to the warm elderberry syrup. Whisk continuously until fully dissolved (1-2 minutes). Add honey and whisk again until well combined.
- Strain the mixture (optional): Pour through a fine-mesh strainer into a clean measuring cup with a spout for smoother gummies.
- Fill the molds: Using a dropper or measuring cup with a spout, carefully fill each cavity of the silicone molds. Work quickly as the mixture will start to set.
- Refrigerate: Place the baking sheet with filled molds in the refrigerator. Let set for at least 2-3 hours, preferably overnight.
- Unmold and store: Gently pop gummies out of molds. Transfer to an airtight container and store in the refrigerator for up to 2 weeks, or freeze for up to 3 months.
Notes
Don’t skip the blooming step for smooth texture. Avoid boiling the syrup to preserve beneficial properties. Let gummies set overnight for best texture. Store in refrigerator. For vegan version, use agar agar powder (boil for 1 minute to activate).
- Prep Time: 15 minutes
- Cook Time: 5 minutes
- Category: Snack
- Cuisine: American
Nutrition
- Serving Size: 4-5 gummies
- Calories: 6080
- Sugar: 1012
- Sodium: 5
- Carbohydrates: 1215
- Protein: 45
Keywords: elderberry gummies, honey garlic gummies, immune support gummies, homemade gummies, healthy gummies, elderberry recipe, garlic gummies


