
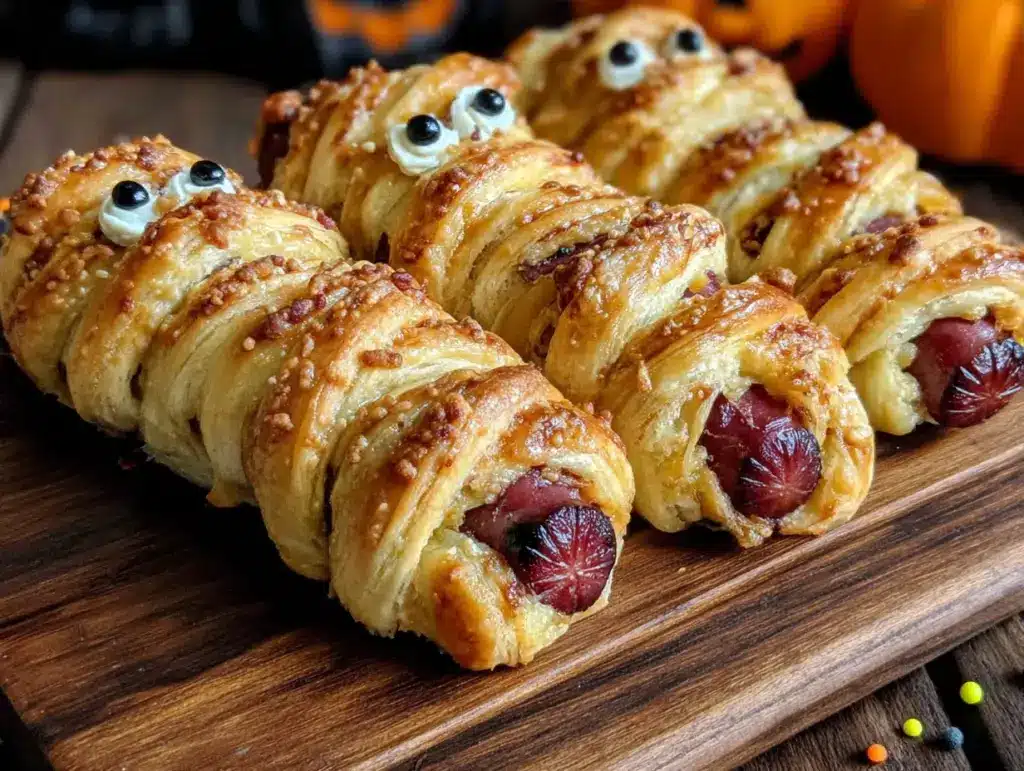
It was 11:47 PM on a random Tuesday in late September, and I had a very specific craving for something I couldn’t quite name. Not sweet, not exactly savory—just something fun. I’d spent the evening scrolling through Halloween recipes online, bookmarking elaborate things I’d never actually make, when the craving hit. I didn’t have the patience for fancy pastry work or the budget for specialty ingredients, but I had a package of hot dogs in the fridge and a can of crescent rolls that was about to expire. And that’s when the idea arrived: wrap them up like little bandages, stick on some mustard eyes, and call them mummies. Honestly, it felt a little silly at first—like something you’d make for a kids’ party, not a regular Tuesday dinner. But let me tell you, when I pulled that baking sheet out of the oven at midnight, the smell was ridiculous. Buttery, flaky, smoky—it was everything I didn’t know I needed. I stood there in my pajamas, eating one straight off the tray (no judgment, you know that feeling when something is just too good to wait), and I thought, “This is it. This is the recipe.” I mean, sure, I was supposed to be sleeping, but instead I was solving dinner for the next month. Maybe you’ve been there—staring into the fridge at 10 PM, wondering if you can make something magical out of almost nothing. These Kid-Approved Halloween Mummy Hot Dogs are that magic. They’re cheap, they’re fast, and they make everyone at the table smile. And honestly? That’s the kind of dinner I keep coming back to.
Why You’ll Love This Recipe
Let me tell you why these mummy hot dogs have earned a permanent spot in our dinner rotation. I’ve tested this recipe about six times now (yes, six—my family was very patient), and every single time, they disappear before I can even set the table.
- Quick & Easy: From fridge to table in under 25 minutes. Seriously, that’s faster than ordering pizza and way cheaper.
- Simple Ingredients: You only need four things—hot dogs, crescent roll dough, mustard, and maybe some cheese if you’re feeling fancy. No special grocery trips required.
- Perfect for Halloween: These are the ultimate spooky-season dinner. They’re fun enough for a Halloween party but simple enough for a regular Tuesday night.
- Crowd-Pleaser: I’ve served these to kids, adults, picky eaters, and even my neighbor who “doesn’t do themed food”—everyone loves them. They’re just good, you know?
- Unbelievably Delicious: The flaky, buttery crescent roll wrapped around a smoky hot dog, with that little pop of tangy mustard for eyes—it’s comfort food at its finest.
What makes this recipe different from other mummy hot dogs out there? It’s the technique. I learned the hard way that if you wrap the dough too tight, it splits during baking. Too loose, and it unravels like a bad bandage. I’ve perfected the wrap so every mummy comes out looking adorable and staying intact. Plus, I’ve tested this with all kinds of hot dogs—beef, turkey, even plant-based—and they all work beautifully. This isn’t just another Halloween recipe; it’s my best version, tested and tweaked until it was just right. And when you see your kids’ faces light up as they grab a “mummy” off the tray, you’ll know exactly why I keep coming back to this one.
What Ingredients You Will Need
This recipe uses simple, affordable ingredients to deliver big flavor and even bigger fun. Most of these are pantry staples, which means you can whip these up without a special trip to the store. Here’s what you’ll need:
- 1 package (8-count) refrigerated crescent roll dough — I prefer Pillsbury for the flakiest texture, but store brands work fine too. Look for the sheets if you can find them (they don’t have perforations, so they’re easier to cut into strips).
- 8 hot dogs — Any brand works here. I’ve used Oscar Mayer, Ball Park, and even the store brand—they all taste great. For a budget-friendly option, go with whatever’s on sale. Turkey or beef hot dogs both work well.
- Mustard for the eyes — Yellow mustard gives the best color contrast, but Dijon or honey mustard work too. You only need a tiny bit for the “eyes,” so don’t worry about using much.
- Optional: 4 slices of cheese, cut into thin strips — Cheddar, mozzarella, or even American cheese slices work. This adds a melty, gooey layer under the dough that kids absolutely love. Totally optional, but highly recommended.
- Optional: Cooking spray or melted butter for brushing — This gives the dough a golden, shiny finish. I use butter because it tastes better, but cooking spray is faster and less messy.
Ingredient Tips:
- Hot dogs: If you’re feeding picky eaters, stick with classic beef or pork hot dogs. Turkey hot dogs can be a little drier, but they still taste great wrapped in dough.
- Crescent roll dough: Keep it refrigerated until you’re ready to use it. Warm dough gets sticky and hard to work with. If you’re using the perforated kind, just press the seams together before cutting.
- Mustard: A squeeze bottle makes applying the eyes way easier. If you don’t have one, use a toothpick to dab small dots of mustard onto the baked mummies.
- Cheese: If you’re adding cheese, use thin strips so they melt completely without making the dough soggy. I’ve tried thicker strips, and they just don’t melt as nicely.
Substitution Guidance:
- Gluten-free: Use gluten-free crescent roll dough or puff pastry. I’ve tested this with Schar’s gluten-free puff pastry, and it works beautifully—just adjust the baking time by a couple of minutes.
- Dairy-free: Skip the cheese and use dairy-free crescent roll dough (some brands offer this). Brush with olive oil instead of butter for that golden finish.
- Vegetarian: Use plant-based hot dogs. I’ve tried the Field Roast brand, and they hold up really well. Just note that plant-based dogs can be a little softer, so handle them gently when wrapping.
Equipment Needed
You don’t need any fancy tools for this recipe—that’s part of the beauty. Here’s what you’ll need:
- Baking sheet — A standard half-sheet pan works perfectly. Line it with parchment paper for easy cleanup.
- Sharp knife or pizza cutter — For cutting the dough into strips. A pizza cutter makes this step faster and cleaner.
- Small bowl — For melted butter, if you’re using it.
- Pastry brush — Optional, but helpful for brushing butter or oil onto the dough. A paper towel works in a pinch.
- Toothpicks — For dabbing on the mustard eyes if you don’t have a squeeze bottle.
Budget-Friendly Alternatives: Don’t have a pizza cutter? A regular kitchen knife works just fine. No pastry brush? Use the back of a spoon or just drizzle the butter on. I’ve made these in a tiny apartment kitchen with literally just a knife and a baking sheet, and they turned out perfect. The key is having a sharp blade for cutting the dough—dull knives will squish the layers and make them less flaky.
Preparation Method
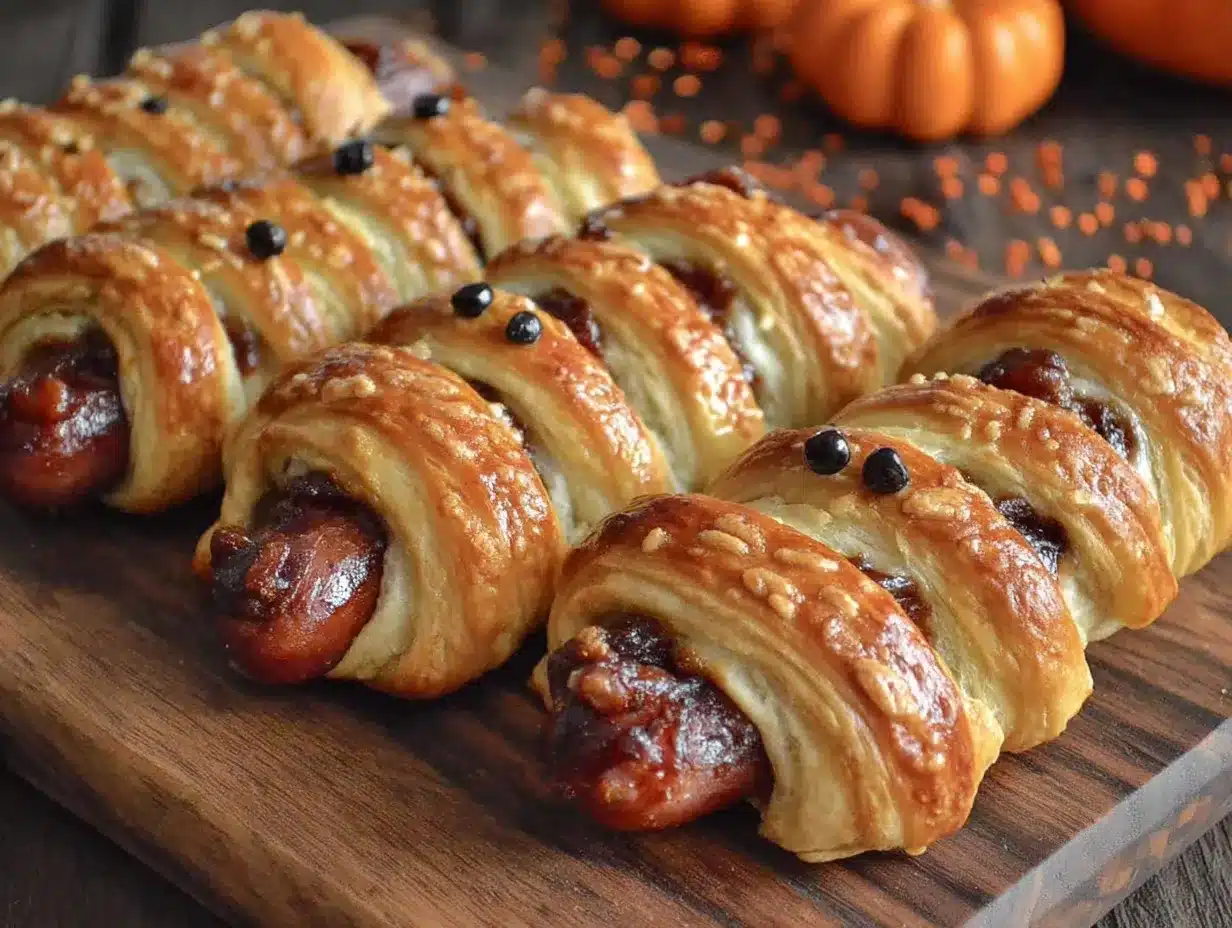
Alright, let’s make some mummies! This recipe comes together fast, so read through the steps once before you start. Trust me, it’s easier than it looks.
- Preheat your oven to 375°F (190°C). Line a baking sheet with parchment paper. Don’t skip the parchment—it makes cleanup so much easier, and it prevents the bottoms from burning.
- Prepare the dough. Open the can of crescent roll dough and unroll it onto a clean cutting board. If you’re using the perforated kind, press the seams together firmly with your fingers so you have one solid sheet. Using a sharp knife or pizza cutter, cut the dough lengthwise into thin strips—about 1/4 inch (6 mm) wide. You should get about 8 to 10 strips per can. Don’t worry if they’re not perfectly even; the mummies will still look cute.
- Optional: Add cheese. If you’re using cheese, cut each slice into thin strips about 1/4 inch wide. Place one strip of cheese on top of each hot dog before wrapping. This adds a melty surprise inside every mummy.
- Wrap the mummies. Take a hot dog and start wrapping a strip of dough around it, slightly overlapping as you go. Leave a small gap at the top for the “face” where the eyes will go. Don’t wrap too tightly—leave a little slack so the dough can expand as it bakes. If you wrap too tight, the dough will split. I learned this the hard way on my first batch, and it looked like my mummies had been in a fight. Tuck the end of the dough strip underneath the hot dog to secure it.
- Place on baking sheet. Arrange the wrapped hot dogs on the prepared baking sheet, leaving about an inch (2.5 cm) of space between each one. They don’t spread much, so you can fit all 8 on one standard sheet.
- Brush with butter (optional). If you want that beautiful golden color, melt 1 to 2 tablespoons of butter and brush it lightly over the dough. This step is optional, but it makes them look bakery-fresh.
- Bake for 12 to 15 minutes. Bake until the dough is golden brown and puffed. The hot dogs should be heated through. Keep an eye on them after the 12-minute mark—ovens vary, and you don’t want burnt mummies. They should smell buttery and toasty when they’re done.
- Add the eyes. Let the mummies cool for 2 to 3 minutes on the baking sheet—they’re too hot to handle right away. Using a squeeze bottle or a toothpick, dab two small dots of mustard onto the exposed hot dog area to make the eyes. Don’t add the mustard before baking, or it will dry out and lose that bright yellow color. Trust me on this one.
- Serve immediately. These are best eaten warm, while the dough is still flaky and the cheese (if you used it) is still melty. Arrange them on a platter with some extra mustard for dipping, and watch them disappear.
Pro Tip: If you’re making a big batch for a party, keep the baked mummies warm in a 200°F (93°C) oven while you finish the rest. Just don’t add the mustard eyes until right before serving, or they’ll dry out.
Cooking Tips & Techniques
After testing this recipe way more times than I’d like to admit, I’ve picked up a few tricks that make a real difference. Here’s what I’ve learned:
The Dough Strip Width Matters. I tried thick strips (about 1/2 inch) on my first batch, and they looked more like bandaged sausages than mummies. Too thin (1/8 inch), and they tore while wrapping. The sweet spot is about 1/4 inch (6 mm). This gives you enough coverage to look like mummy wrappings without being overwhelming.
Don’t Overwrap. I made this mistake on batch number three. I wrapped the dough so tightly that when the hot dog expanded during baking, the dough split right down the middle. Leave a tiny bit of slack as you wrap, and tuck the end loosely underneath. Your mummies will come out looking perfect every time.
The Mustard Eye Trick. I tried painting the eyes on before baking once, and the mustard turned into a dull, crusty mess. Always add the eyes after baking, when the mummies are still warm but not hot. The mustard sticks better to a slightly warm surface, and it stays bright and glossy. If you’re using a toothpick, dip it in mustard and dab two dots—don’t smear, just dab.
Timing is Everything. These come together fast, so I like to set up my workstation before I start. Unroll the dough, cut the strips, arrange the hot dogs—everything ready to go. Then I wrap all eight in about 3 minutes. If you’re multitasking, set a timer for the baking step. It’s easy to get distracted and end up with over-baked mummies.
Consistency Tip: If you’re making these for a party, bake them in batches and keep the first batch warm in the oven. The dough stays flaky for about 30 minutes in a low oven, but after that, it starts to soften. For best results, serve within 15 minutes of baking.
Variations & Adaptations
One of the best things about this recipe is how easy it is to customize. Here are some variations I’ve tried and loved:
Cheesy Mummy Hot Dogs: Before wrapping, tuck a thin strip of cheddar, mozzarella, or pepper jack cheese between the hot dog and the dough. The cheese melts into every bite, and it adds a gooey factor that kids absolutely lose their minds over. I’ve also tried cream cheese (just a smear), and it was surprisingly good—rich and tangy.
Spicy Mummy Dogs: For the adults at the table, swap the regular hot dogs for spicy Italian sausages or chorizo-style links. Add a thin slice of jalapeño under the dough for extra heat. My husband loves these with a side of sriracha mayo for dipping. Just be careful with the spice level if you’re serving kids.
Breakfast Mummies: Use breakfast sausage links instead of hot dogs, and wrap them in crescent dough brushed with maple syrup before baking. These are perfect for Halloween morning before school. My kids went crazy for these—they called them “breakfast mummies” and asked for them every day for a week.
Air Fryer Method: If you have an air fryer, these come out even crispier. Preheat to 350°F (175°C), place the wrapped hot dogs in a single layer in the basket (don’t overcrowd), and cook for 8 to 10 minutes, flipping halfway through. The dough gets extra flaky and golden. I’ve tested this method about four times, and it’s my new favorite way to make them.
Gluten-Free Version: Use gluten-free crescent roll dough or gluten-free puff pastry. I’ve tested this with Schar’s gluten-free puff pastry, and it works beautifully. Just note that gluten-free dough can be a little more delicate, so handle it gently when wrapping. Bake for the same time, but check at the 12-minute mark.
Serving & Storage Suggestions
These mummy hot dogs are best served warm, right after the eyes go on. The contrast between the hot, flaky dough and the cool, tangy mustard is just perfect. Here’s how I like to serve and store them:
Serving: Arrange the mummies on a platter with a small bowl of extra mustard for dipping. Ketchup works too, but mustard really sells the “mummy” look. For a full Halloween dinner, serve them with a side of roasted potato wedges (cut into bone shapes if you’re feeling extra) and a simple green salad. My kids love them with baby carrots and ranch dressing—the orange and green colors look festive without any extra effort.
Storage: Leftover mummy hot dogs (if you have any) can be stored in an airtight container in the refrigerator for up to 3 days. The dough will soften a bit, but they’re still delicious. To reheat, pop them in the oven at 350°F (175°C) for 5 to 7 minutes, or in the air fryer at 325°F (163°C) for 3 to 4 minutes. Avoid the microwave—it makes the dough soggy and sad.
Freezing: You can freeze the unbaked, wrapped hot dogs for up to 3 months. Arrange them on a baking sheet and freeze until solid, then transfer to a freezer bag. When you’re ready to bake, add 3 to 5 minutes to the baking time (no need to thaw). I keep a bag in the freezer for those nights when I need dinner in 20 minutes and don’t have the energy to think.
Flavor Development: Honestly, these are best fresh from the oven. The dough loses its flakiness after a few hours, so I don’t recommend making them more than an hour ahead of time. If you’re planning a party, prep the wrapped hot dogs on the baking sheet, refrigerate them, and bake just before serving. That way, you get that perfect fresh-from-the-oven texture.
Nutritional Information & Benefits
Let’s be real—these mummy hot dogs are a treat, not a health food. But that doesn’t mean they can’t fit into a balanced diet. Here’s a rough estimate per serving (one mummy hot dog without cheese):
- Calories: Approximately 280-320
- Protein: 10-12 grams
- Carbohydrates: 22-25 grams
- Fat: 16-18 grams
- Sodium: 700-800 mg
Health Benefits of Key Ingredients:
- Hot dogs provide protein and iron, which are important for growing kids. Look for uncured or nitrate-free options if you’re concerned about additives.
- Crescent roll dough offers carbohydrates for quick energy—perfect for active kids.
- Mustard is low in calories and adds flavor without fat or sugar.
Dietary Considerations: This recipe can be made gluten-free, dairy-free (skip the butter and cheese), and vegetarian (use plant-based hot dogs). If you’re watching sodium, choose low-sodium hot dogs and use unsalted butter. For a lighter version, use turkey hot dogs and skip the butter wash.
Allergens: This recipe contains wheat (crescent roll dough) and may contain milk (butter, cheese). Check your hot dog labels for potential allergens like soy or nitrates.
My Personal Perspective: I believe in balance. We eat salads and grilled chicken most nights, but Halloween only comes once a year. These mummy hot dogs are a fun, affordable way to celebrate without breaking the bank or spending hours in the kitchen. And honestly? The joy on my kids’ faces when they see these on the table is worth every single calorie.
Conclusion
So there you have it—my tried-and-true recipe for Kid-Approved Halloween Mummy Hot Dogs. These little guys have saved me on busy weeknights, Halloween parties, and even that one random Tuesday when I just needed something fun. They’re cheap, they’re fast, and they make everyone at the table smile—even the grown-ups who pretend they’re too cool for themed food.
What I love most about this recipe is how adaptable it is. You can make them cheesy, spicy, breakfast-style, or keep them classic. You can bake them in the oven or the air fryer. You can even freeze them for those nights when you need dinner in a hurry. They’re like a blank canvas for your creativity, and they always turn out delicious.
I’d love to hear how yours turn out! Drop a comment below and let me know if your kids loved them, if you tried a fun variation, or if you have any questions. And if you’re looking for more easy, budget-friendly dinner ideas, don’t forget to check out my easy weeknight casseroles and kid-friendly pasta recipes—they’re lifesavers on busy nights. Happy Halloween, and happy cooking!
Frequently Asked Questions
Can I use puff pastry instead of crescent roll dough?
Absolutely! Puff pastry works beautifully. Just thaw it according to package directions, cut it into thin strips, and wrap the same way. The baking time might be a minute or two longer, and the texture will be even flakier. I actually prefer puff pastry for a more “fancy” version, but crescent roll dough is cheaper and easier to find.
How do I keep the dough from unraveling during baking?
The key is to tuck the end of the dough strip underneath the hot dog. As the dough bakes, it puffs up and seals itself in place. If you’re still worried, you can press the end gently against the dough underneath—the heat will fuse them together. Just don’t use toothpicks to hold them, because they’re a choking hazard for kids.
Can I make these ahead of time for a party?
Yes! You can wrap the hot dogs up to 24 hours in advance and keep them covered in the refrigerator. Bake them just before serving for the best texture. If you need to reheat them, use the oven or air fryer—not the microwave. The dough gets soggy in the microwave, and nobody wants a sad, floppy mummy.
What can I use instead of mustard for the eyes?
If your kids don’t like mustard, you can use ketchup (though it’s runnier, so use a toothpick), sriracha (for the adults), or even small dots of cream cheese. For a completely different look, you can use candy eyes from the baking aisle—just press them onto the dough right after baking while it’s still soft. My kids love the candy eye version for Halloween parties.
Are these mummy hot dogs freezer-friendly?
Yes! Freeze the unbaked, wrapped hot dogs on a baking sheet until solid, then transfer to a freezer bag. They’ll keep for up to 3 months. Bake from frozen at 375°F (190°C) for 15 to 18 minutes, or until golden brown. Add the mustard eyes after baking. This is my secret weapon for busy weeks—just grab a few from the freezer and dinner is solved.
Pin This Recipe!
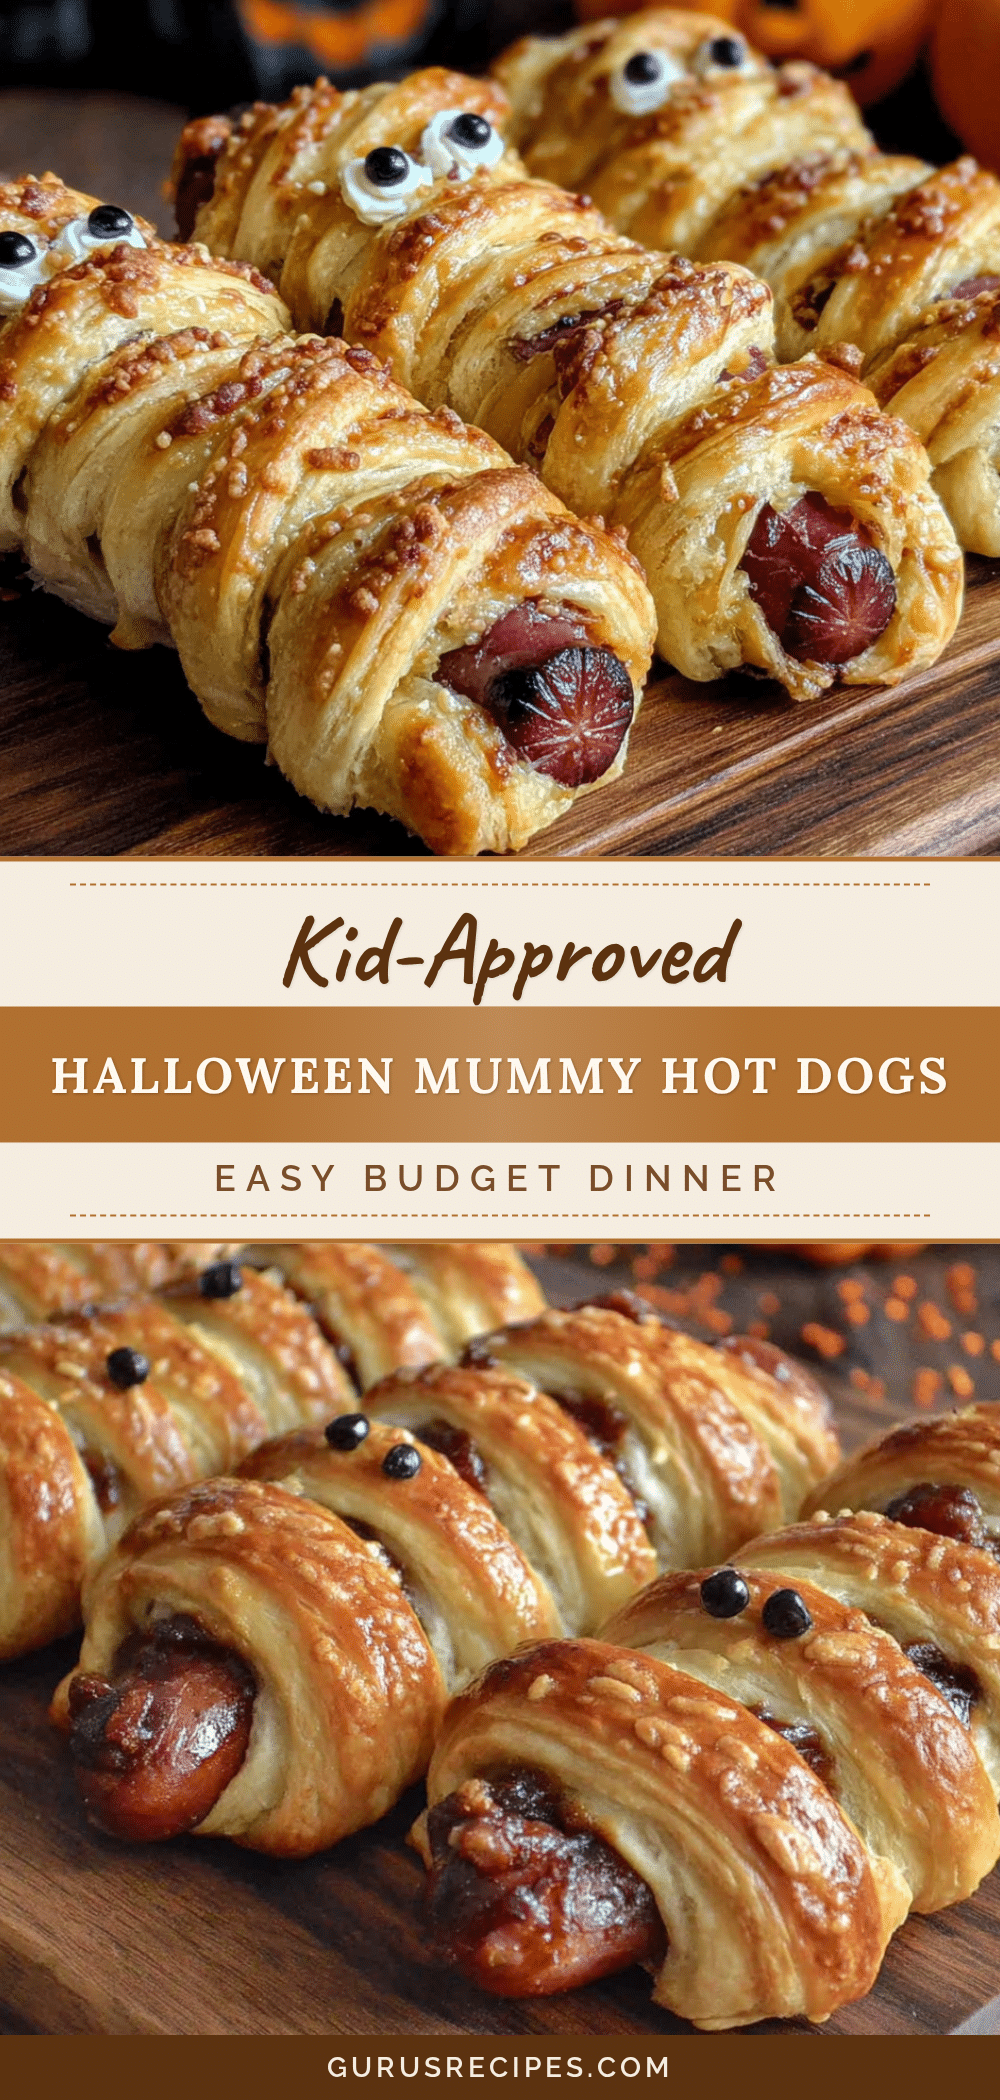

Kid-Approved Halloween Mummy Hot Dogs – Easy Budget Dinner
These Kid-Approved Halloween Mummy Hot Dogs are a quick, budget-friendly dinner that’s perfect for Halloween or any fun weeknight. Made with just hot dogs, crescent roll dough, and mustard, they’re ready in under 25 minutes and guaranteed to make everyone smile.
- Total Time: 25 minutes
- Yield: 8 servings 1x
Ingredients
- 1 package (8-count) refrigerated crescent roll dough
- 8 hot dogs
- Mustard for the eyes
- Optional: 4 slices of cheese, cut into thin strips
- Optional: Cooking spray or melted butter for brushing
Instructions
- Preheat your oven to 375°F (190°C). Line a baking sheet with parchment paper.
- Open the can of crescent roll dough and unroll it onto a clean cutting board. If using perforated dough, press the seams together firmly. Cut the dough lengthwise into thin strips, about 1/4 inch (6 mm) wide. You should get about 8 to 10 strips per can.
- Optional: If using cheese, cut each slice into thin strips about 1/4 inch wide. Place one strip of cheese on top of each hot dog before wrapping.
- Take a hot dog and start wrapping a strip of dough around it, slightly overlapping as you go. Leave a small gap at the top for the ‘face’ where the eyes will go. Don’t wrap too tightly—leave a little slack so the dough can expand as it bakes. Tuck the end of the dough strip underneath the hot dog to secure it.
- Arrange the wrapped hot dogs on the prepared baking sheet, leaving about an inch (2.5 cm) of space between each one.
- Optional: Melt 1 to 2 tablespoons of butter and brush it lightly over the dough for a golden color.
- Bake for 12 to 15 minutes, until the dough is golden brown and puffed, and the hot dogs are heated through.
- Let the mummies cool for 2 to 3 minutes on the baking sheet. Using a squeeze bottle or a toothpick, dab two small dots of mustard onto the exposed hot dog area to make the eyes.
- Serve immediately while warm.
Notes
For best results, add mustard eyes after baking to keep them bright. Don’t wrap dough too tightly to prevent splitting. Can be made gluten-free with gluten-free crescent roll dough, dairy-free by skipping cheese and butter, and vegetarian with plant-based hot dogs. Freeze unbaked wrapped hot dogs for up to 3 months; bake from frozen adding 3-5 minutes.
- Prep Time: 10 minutes
- Cook Time: 15 minutes
- Category: Main Course
- Cuisine: American
Nutrition
- Serving Size: 1 mummy hot dog
- Calories: 300
- Sugar: 4
- Sodium: 750
- Fat: 17
- Saturated Fat: 6
- Carbohydrates: 23
- Protein: 11
Keywords: Halloween, mummy hot dogs, kid-friendly, budget dinner, easy recipe, crescent roll, hot dog recipe, spooky dinner


