
Last October, I was at the community garden packing up my plot for the season when my neighbor, an older woman named Rosa who grew the most incredible citrus I’d ever seen, watched me struggling with a stubborn zucchini plant. She didn’t say anything at first. Then she just walked over, knelt down, and snapped the stem clean with her bare hands. “You’re overthinking it,” she said, handing me the squash. Later that week, she brought over a basket of oranges from her tree—the most fragrant ones I’d ever smelled—and mentioned she’d been making a dark chocolate cake with orange frosting for her family for forty years. She never gave me a written recipe. She just told me how it felt, how the batter should look, and how the orange zest had to be from that specific tree. I went home and tried to recreate it, and honestly, the first batch was a mess. Too dry. Not dark enough. I called her, embarrassed, and she laughed. “You have to trust the process,” she said. “And stop opening the oven door.”
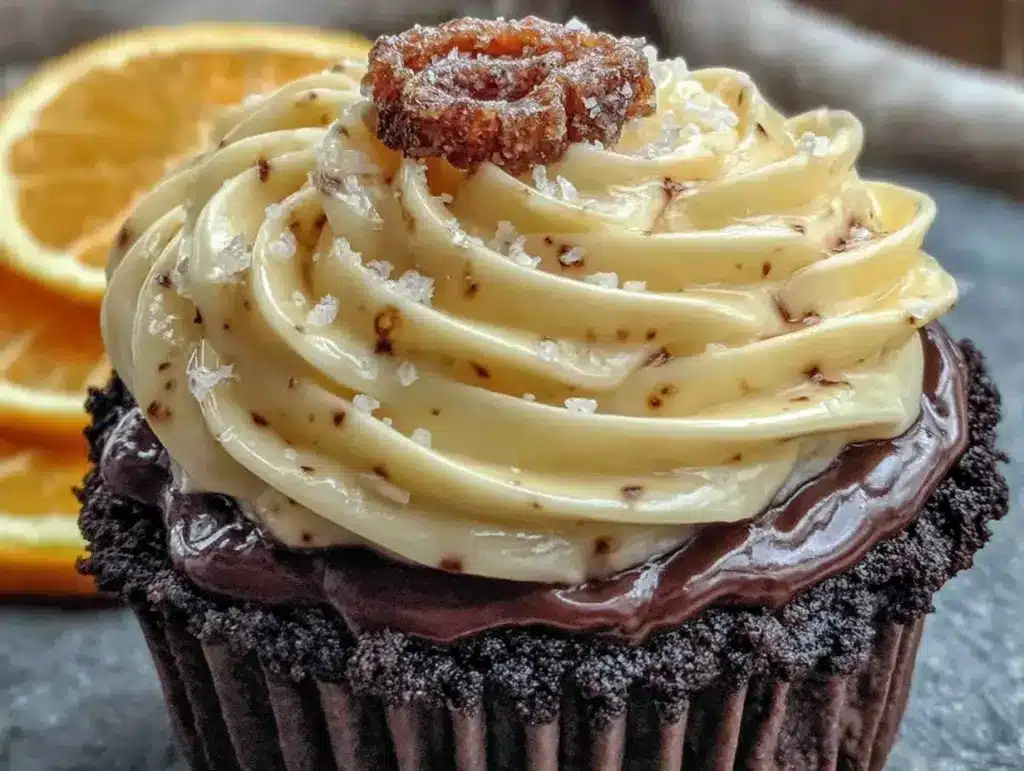
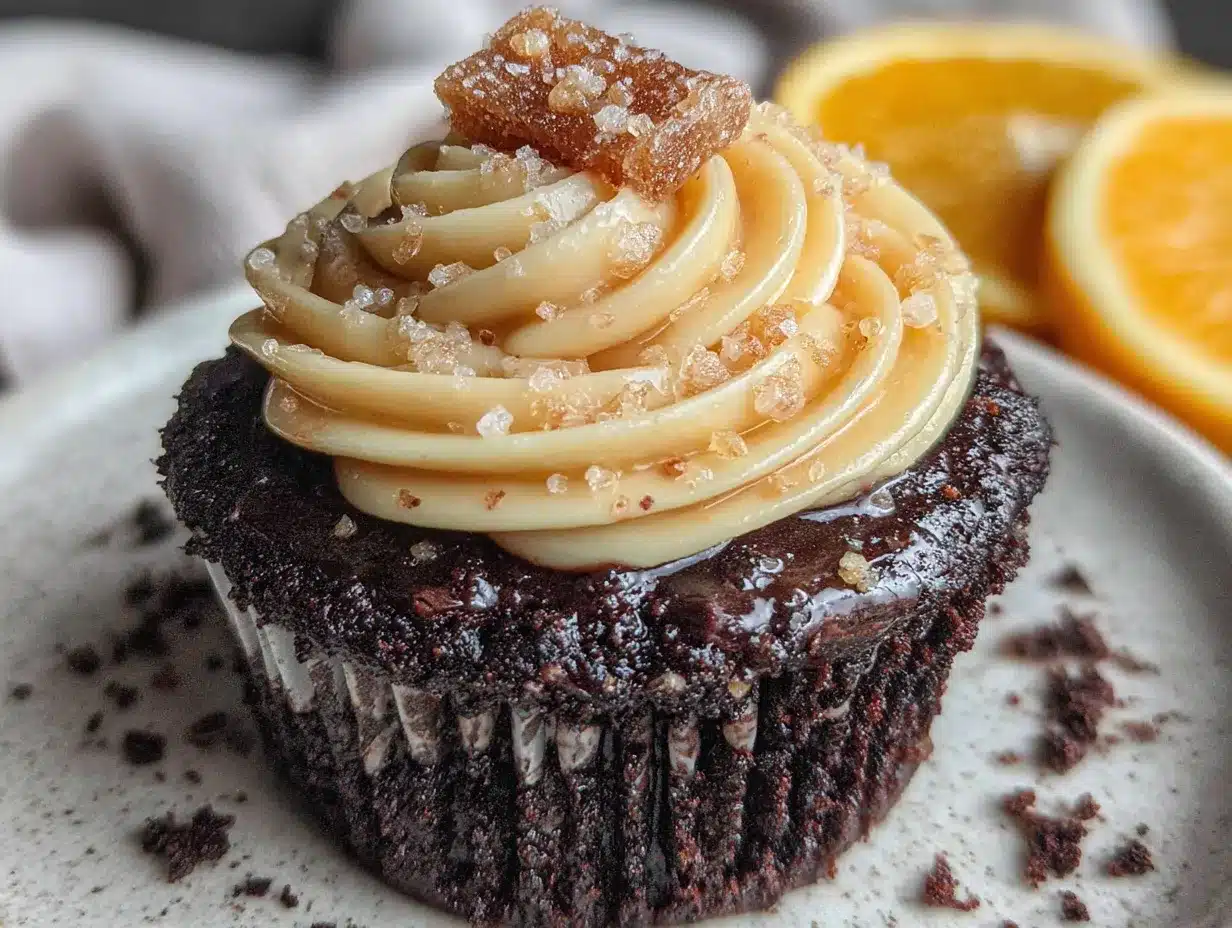
These Perfect Black Velvet Cupcakes with Orange Buttercream are the result of that conversation—a recipe born from a garden exchange and a neighbor’s patience. The cake is impossibly dark, tender, and moist, with a subtle tang from buttermilk that makes the chocolate taste deeper. And the orange buttercream? It’s bright, creamy, and just sweet enough to balance the richness of the cocoa. I’ve made these for Halloween parties, birthday dinners, and random Tuesday cravings, and every time I finish frosting them, I think of Rosa’s hands breaking that zucchini stem. Maybe you’ve been there—standing in your kitchen, wondering if a recipe will actually work, hoping for that one bite that makes it all worth it. This is that recipe. Trust me on this one.
Why You’ll Love This Recipe
Let me tell you why these cupcakes have become my most-requested bake. I’ve tested this recipe more times than I care to admit, and every tweak brought me closer to that perfect bite—soft, dark, and topped with a cloud of citrus buttercream that makes people close their eyes when they taste it.
- Quick & Easy: From start to finish, these come together in about 45 minutes. Perfect for when you need a showstopper dessert without spending your whole afternoon in the kitchen.
- Simple Ingredients: No fancy grocery trips needed. You probably have most of these in your pantry right now—flour, sugar, cocoa powder, buttermilk, and eggs. The black velvet color comes from a simple trick, not food coloring.
- Perfect for Any Occasion: These cupcakes shine at Halloween parties, Valentine’s Day dinners, birthday celebrations, or even just a cozy weekend treat. The orange buttercream makes them feel festive without being over-the-top.
- Crowd-Pleaser: I’ve brought these to potlucks, office parties, and family gatherings, and they disappear every single time. Kids love the color, adults love the flavor, and everyone asks for the recipe.
- Unbelievably Delicious: The texture is what gets me every time—tender, moist, with a crumb that’s sturdy enough to hold a generous swirl of buttercream. The orange zest cuts through the richness in a way that feels intentional, not accidental.
What makes these different from other chocolate cupcakes? It’s the combination of dark cocoa powder and a touch of espresso powder that deepens the chocolate flavor without making it taste like coffee. Plus, the orange buttercream isn’t just a garnish—it’s a counterpoint. The brightness of fresh orange zest and juice lifts the whole dessert, making each bite feel balanced rather than heavy. This isn’t just another chocolate cupcake recipe. It’s the one I turn to when I want to impress someone without stress, when I want comfort food that feels a little bit special.
What Ingredients You Will Need
This recipe uses simple, wholesome ingredients to deliver that signature black velvet color and rich flavor. I’ve tested substitutions and variations, so I’ll share what works best and what to avoid.
For the Cupcakes
- All-purpose flour, 1 ½ cups (190g) – Spoon and level for accuracy. Too much flour makes dry cupcakes.
- Dark cocoa powder, ½ cup (50g) – I prefer Guittard or Droste for that deep, almost black color. Regular cocoa works, but the color won’t be as dramatic.
- Granulated sugar, 1 cup (200g) – Adds sweetness and helps with structure.
- Baking soda, 1 teaspoon – Reacts with the buttermilk for a tender crumb.
- Salt, ½ teaspoon – Balances sweetness and enhances chocolate flavor.
- Espresso powder, 1 teaspoon – This is my secret ingredient. It doesn’t make the cupcakes taste like coffee; it deepens the chocolate flavor. (Optional, but highly recommended.)
- Buttermilk, 1 cup (240ml), room temperature – The acid in buttermilk reacts with the baking soda for lift and tenderness. No buttermilk? Add 1 tablespoon of lemon juice or vinegar to regular milk and let it sit for 5 minutes.
- Vegetable oil, ½ cup (120ml) – Keeps the cupcakes moist for days. I’ve used canola and avocado oil with great results.
- Large eggs, 2, room temperature – Room temperature eggs emulsify better into the batter.
- Vanilla extract, 2 teaspoons – Pure vanilla adds warmth and depth.
- White vinegar, 1 teaspoon – This is the trick for the black velvet color. The vinegar reacts with the cocoa powder to deepen the hue naturally. Trust me on this.
For the Orange Buttercream
- Unsalted butter, 1 cup (226g), softened – Let it sit on the counter for at least an hour. Cold butter won’t cream properly.
- Powdered sugar, 3-4 cups (360-480g) – Sift it if you want a silky smooth frosting. I don’t always sift, but it makes a difference.
- Fresh orange zest, 2 tablespoons – From about 2 medium oranges. This is non-negotiable for that bright flavor.
- Fresh orange juice, 2-3 tablespoons – Adds flavor and helps achieve the right consistency.
- Vanilla extract, 1 teaspoon – Rounds out the citrus notes.
- Salt, a pinch – Balances sweetness.
Optional Garnishes
- Orange slices, candied or fresh – For a pretty presentation.
- Chocolate shavings – Adds texture and visual contrast.
- Edible glitter – Because sometimes you want a little sparkle.
Equipment Needed
You don’t need a professional bakery setup to make these cupcakes, but having the right tools makes the process smoother. Here’s what I use:
- Muffin tin – Standard 12-cup tin works perfectly. I’ve used both non-stick and aluminum, and both work fine with paper liners.
- Paper cupcake liners – I prefer white or black liners to match the dark cake. Avoid thin liners; they tend to peel away from the cake.
- Mixing bowls – You’ll need one large bowl for dry ingredients and one medium bowl for wet ingredients.
- Whisk – For combining dry ingredients evenly.
- Hand mixer or stand mixer – For the buttercream. You can whisk by hand, but your arm will thank you for using a mixer.
- Rubber spatula – For scraping down the bowl and folding ingredients.
- Cooling rack – Essential for even cooling. Don’t skip this, or the bottoms will get soggy.
- Piping bag and tip – I use a Wilton 1M tip for that classic swirl. A zip-top bag with the corner snipped off works in a pinch.
- Microplane or zester – For zesting oranges without the bitter white pith.
- Ice cream scoop or cookie scoop – For evenly portioning batter. This ensures all cupcakes bake at the same rate.
Preparation Method
Let’s walk through this step by step. I’ve included timing estimates and sensory cues so you know exactly what to look for at each stage.
Step 1: Preheat and Prepare
Preheat your oven to 350°F (175°C). Line your muffin tin with 12 paper liners. This is a good time to take your butter and eggs out of the fridge if they aren’t already at room temperature. I’ve made the mistake of using cold eggs before—the batter seizes up and the texture suffers. Set a timer for 15 minutes and let everything warm up.
Step 2: Mix Dry Ingredients
In a large bowl, whisk together the flour, dark cocoa powder, sugar, baking soda, salt, and espresso powder. Whisk for about 30 seconds to aerate the mixture and break up any lumps. You’ll smell the chocolate and espresso coming together—that’s a good sign.
Step 3: Combine Wet Ingredients
In a separate medium bowl, whisk together the buttermilk, vegetable oil, eggs, vanilla extract, and white vinegar. Whisk until the eggs are fully incorporated and the mixture looks smooth and slightly thickened. It should be a pale brown color at this point.
Step 4: Make the Batter
Pour the wet ingredients into the dry ingredients. Use a rubber spatula to fold everything together gently. Don’t overmix—stop as soon as you no longer see streaks of flour. The batter will be thin, much thinner than you’d expect for cupcakes. That’s normal. It should look like a dark, glossy liquid that flows easily off the spatula. If it looks thick or pasty, you might have overmixed or used too much flour.
Step 5: Fill the Liners
Using your cookie scoop or a measuring cup, divide the batter evenly among the 12 liners. Fill each about ⅔ full—any more and they’ll dome too much. I’ve overfilled before and ended up with muffin tops that looked more like hockey pucks. Learn from my mistake. The batter will seem very liquid, but trust the process.
Step 6: Bake
Bake for 18-22 minutes, rotating the pan halfway through. The cupcakes are done when a toothpick inserted into the center comes out with a few moist crumbs—not wet batter. The tops should spring back when lightly touched. Don’t open the oven door for the first 15 minutes, or the cupcakes might sink in the middle. I learned this the hard way when I checked on my first batch and watched them deflate.
Step 7: Cool
Let the cupcakes cool in the pan for 5 minutes, then transfer them to a wire rack to cool completely. This is crucial—if you frost them while they’re still warm, the buttercream will melt into a puddle. I’ve done that too, and it’s a sad sight. Wait at least 30 minutes for full cooling.
Step 8: Make the Buttercream
While the cupcakes cool, make the frosting. In a large bowl, beat the softened butter with a hand mixer or stand mixer on medium speed until smooth and creamy—about 2 minutes. Add the orange zest and beat for another 30 seconds until fragrant. Gradually add the powdered sugar, one cup at a time, beating on low speed to avoid a sugar cloud. Add the orange juice and vanilla extract, then increase speed to medium-high and beat for 3-4 minutes until light and fluffy. If the frosting is too thick, add more orange juice a teaspoon at a time. If it’s too thin, add more powdered sugar. You’re looking for a consistency that holds its shape when you lift the beater.
Step 9: Frost and Garnish
Transfer the buttercream to a piping bag fitted with your chosen tip. Pipe a generous swirl onto each cooled cupcake. I like to start from the outside and work inward, building height as I go. Top with a thin slice of fresh orange or a sprinkle of chocolate shavings if you’re feeling fancy.
Cooking Tips & Techniques
After making these cupcakes more times than I can count, I’ve collected a few tricks that make a real difference. Here’s what I’ve learned through trial and error.
Don’t skip the vinegar. I know it sounds weird, but the white vinegar reacts with the cocoa powder to create that deep black color. Without it, the cupcakes will be a dark brown—still delicious, but not the dramatic black velvet effect. I once forgot to add it and ended up with cupcakes that looked more like regular chocolate. They tasted fine, but the visual impact was missing.
Room temperature ingredients matter. Cold buttermilk and eggs can cause the batter to curdle or not emulsify properly. If you’re short on time, place your eggs in a bowl of warm water for 5 minutes and microwave the buttermilk for 10-15 seconds. I’ve done this many times when I forgot to plan ahead, and it works perfectly.
Don’t overmix the batter. Overmixing develops gluten, which makes cupcakes tough and dense. Mix just until the flour disappears. A few small lumps are fine—they’ll bake out. I used to obsess over a perfectly smooth batter until a friend who’s a pastry chef told me to relax. She was right.
Use a cookie scoop for even portions. This ensures all cupcakes bake at the same rate. I’ve used a measuring cup before, and the results were uneven—some cupcakes were underdone while others were overbaked. A scoop takes the guesswork out of it.
Let the buttercream beat for the full 3-4 minutes. This incorporates air and makes the frosting light and fluffy. Underbeaten buttercream will feel dense and greasy. I’ve been tempted to rush this step, and every time I regret it.
Toast the orange zest briefly. If you want an even more intense orange flavor, spread the zest on a baking sheet and toast it in a 300°F oven for 5 minutes. This concentrates the oils and adds a subtle caramelized note. I tried this on a whim and loved the result.
Variations & Adaptations
One of the best things about this recipe is how adaptable it is. Here are some variations I’ve tried and loved.
Gluten-Free Version: Substitute the all-purpose flour with a 1:1 gluten-free baking flour blend. I’ve used Bob’s Red Mill and King Arthur brands with good results. Add ¼ teaspoon of xanthan gum if your blend doesn’t already include it. The texture will be slightly more delicate, but still delicious.
Dairy-Free Adaptation: Use full-fat coconut milk mixed with 1 tablespoon of lemon juice in place of buttermilk. For the buttercream, use a vegan butter stick (not the spreadable kind). I’ve made these for a friend with dairy allergies and they turned out beautifully—just let the vegan butter soften completely before creaming.
Lemon Variation: Swap the orange zest and juice for lemon in the buttercream. Add 1 tablespoon of lemon zest and 2-3 tablespoons of lemon juice. The tartness pairs beautifully with the dark chocolate. I made these for a spring brunch and they were a hit.
Spiced Chocolate Version: Add 1 teaspoon of cinnamon and ½ teaspoon of cayenne pepper to the dry ingredients for a Mexican chocolate twist. The heat is subtle but adds a lovely warmth. I served these at a fall gathering and they disappeared quickly.
Cupcake to Cake Conversion: Pour the batter into two 8-inch round cake pans lined with parchment paper. Bake at 350°F for 25-30 minutes. Double the buttercream recipe for a layered cake. I’ve done this for birthdays and it always impresses.
Mini Cupcakes: Use a mini muffin tin and bake for 10-12 minutes. This yields about 36 mini cupcakes. Perfect for parties or lunchbox treats.
Serving & Storage Suggestions
These cupcakes are best served at room temperature, which lets the buttercream soften slightly and the cake release its full flavor. If you’ve refrigerated them, let them sit on the counter for 20-30 minutes before serving. The difference is noticeable—cold buttercream can taste dense and less flavorful.
For presentation, I like to arrange the cupcakes on a tiered stand with fresh orange slices scattered around. The contrast between the dark cake and bright citrus makes for a stunning visual. If you’re serving them at a party, consider adding a small bowl of chocolate shavings for guests to sprinkle on top themselves.
Storage: Store unfrosted cupcakes in an airtight container at room temperature for up to 3 days. Frosted cupcakes should be refrigerated in a single layer in an airtight container for up to 5 days. I’ve found that the cake stays moist even after a few days, thanks to the oil in the recipe.
Freezing: You can freeze unfrosted cupcakes for up to 3 months. Wrap each one individually in plastic wrap, then place in a freezer-safe bag. Thaw at room temperature for about an hour before frosting. I’ve also frozen the buttercream in a piping bag for up to 3 months—just thaw it in the refrigerator overnight and re-whip briefly before using.
Reheating: If you want that just-baked warmth, pop an unfrosted cupcake in the microwave for 10-15 seconds. Don’t do this with frosted cupcakes unless you want a melty mess.
One thing I love about these cupcakes is how the flavors develop over time. The day you bake them, the chocolate is bold and the orange is bright. By day two, the flavors have melded together into something more harmonious. Honestly, I sometimes prefer them on day two—if they last that long.
Nutritional Information & Benefits
Here’s an approximate nutritional breakdown for one cupcake with buttercream (based on 12 servings):
- Calories: 420
- Total Fat: 22g
- Saturated Fat: 10g
- Cholesterol: 65mg
- Sodium: 280mg
- Total Carbohydrates: 54g
- Dietary Fiber: 2g
- Sugars: 40g
- Protein: 4g
While these are definitely a treat, there are a few nutritional bright spots. Dark cocoa powder is rich in antioxidants called flavonoids, which can support heart health. Oranges provide vitamin C, and the zest contains essential oils that may aid digestion. The buttermilk adds calcium and probiotics (if using cultured buttermilk).
For dietary considerations: This recipe contains gluten, dairy, and eggs. For a lower-sugar version, you can reduce the sugar in the cupcake batter to ¾ cup and use a sugar-free powdered sugar alternative in the buttercream. I’ve tried this with a monk fruit blend and it worked reasonably well—the texture was slightly different but still satisfying.
I believe in balance, so I don’t stress about the numbers. These cupcakes are for celebrations, comfort, and joy. Enjoy them mindfully and savor every bite.
Conclusion
These Perfect Black Velvet Cupcakes with Orange Buttercream have become a staple in my kitchen for good reason. They’re dramatic enough to impress at a party but simple enough to whip up on a random Tuesday when you need a little sweetness in your life. The combination of deep, dark chocolate and bright, citrusy buttercream is one of those flavor pairings that just works—like peanut butter and jelly or strawberries and cream.
I love that this recipe started from a casual conversation with a neighbor who shared more than just a technique. She shared a way of cooking that’s intuitive and forgiving. Every time I make these cupcakes, I think about that afternoon in the garden and how the best recipes often come from the most unexpected places. I hope these cupcakes bring you the same joy they’ve brought me.
Now I want to hear from you! Have you tried making black velvet cupcakes before? What’s your favorite flavor combination with chocolate? Drop a comment below and let me know how these turned out for you. And if you come up with your own variation, I’d love to hear about it. Happy baking, friends.
Frequently Asked Questions
Can I use regular cocoa powder instead of dark cocoa powder?
Yes, you can use regular unsweetened cocoa powder, but the color won’t be as dark. The cupcakes will still taste delicious—they’ll just be a dark brown rather than black. For the most dramatic black velvet effect, stick with dark or black cocoa powder.
Why did my cupcakes sink in the middle?
This usually happens for one of three reasons: the oven door was opened too early, the batter was overmixed, or the cupcakes were underbaked. Make sure your oven is fully preheated, don’t open the door for the first 15 minutes of baking, and test for doneness with a toothpick before removing them from the oven.
Can I make the cupcakes ahead of time?
Absolutely! You can bake the cupcakes up to 3 days in advance and store them in an airtight container at room temperature. Frost them the day you plan to serve them for the best presentation. You can also freeze unfrosted cupcakes for up to 3 months.
How do I get my buttercream to be perfectly smooth?
Start with fully softened butter—it should be soft enough that your finger leaves an indent without resistance. Sift your powdered sugar to remove lumps, and beat the frosting for the full 3-4 minutes until light and fluffy. If you still see small lumps, try warming the bowl slightly by placing it over a pot of warm water for 30 seconds, then re-beating.
Can I make this recipe into a layer cake instead of cupcakes?
Yes! Pour the batter into two 8-inch round cake pans lined with parchment paper. Bake at 350°F for 25-30 minutes, or until a toothpick comes out clean. Let the layers cool completely before frosting. You’ll want to double the buttercream recipe to have enough for filling and frosting the cake.
Pin This Recipe!
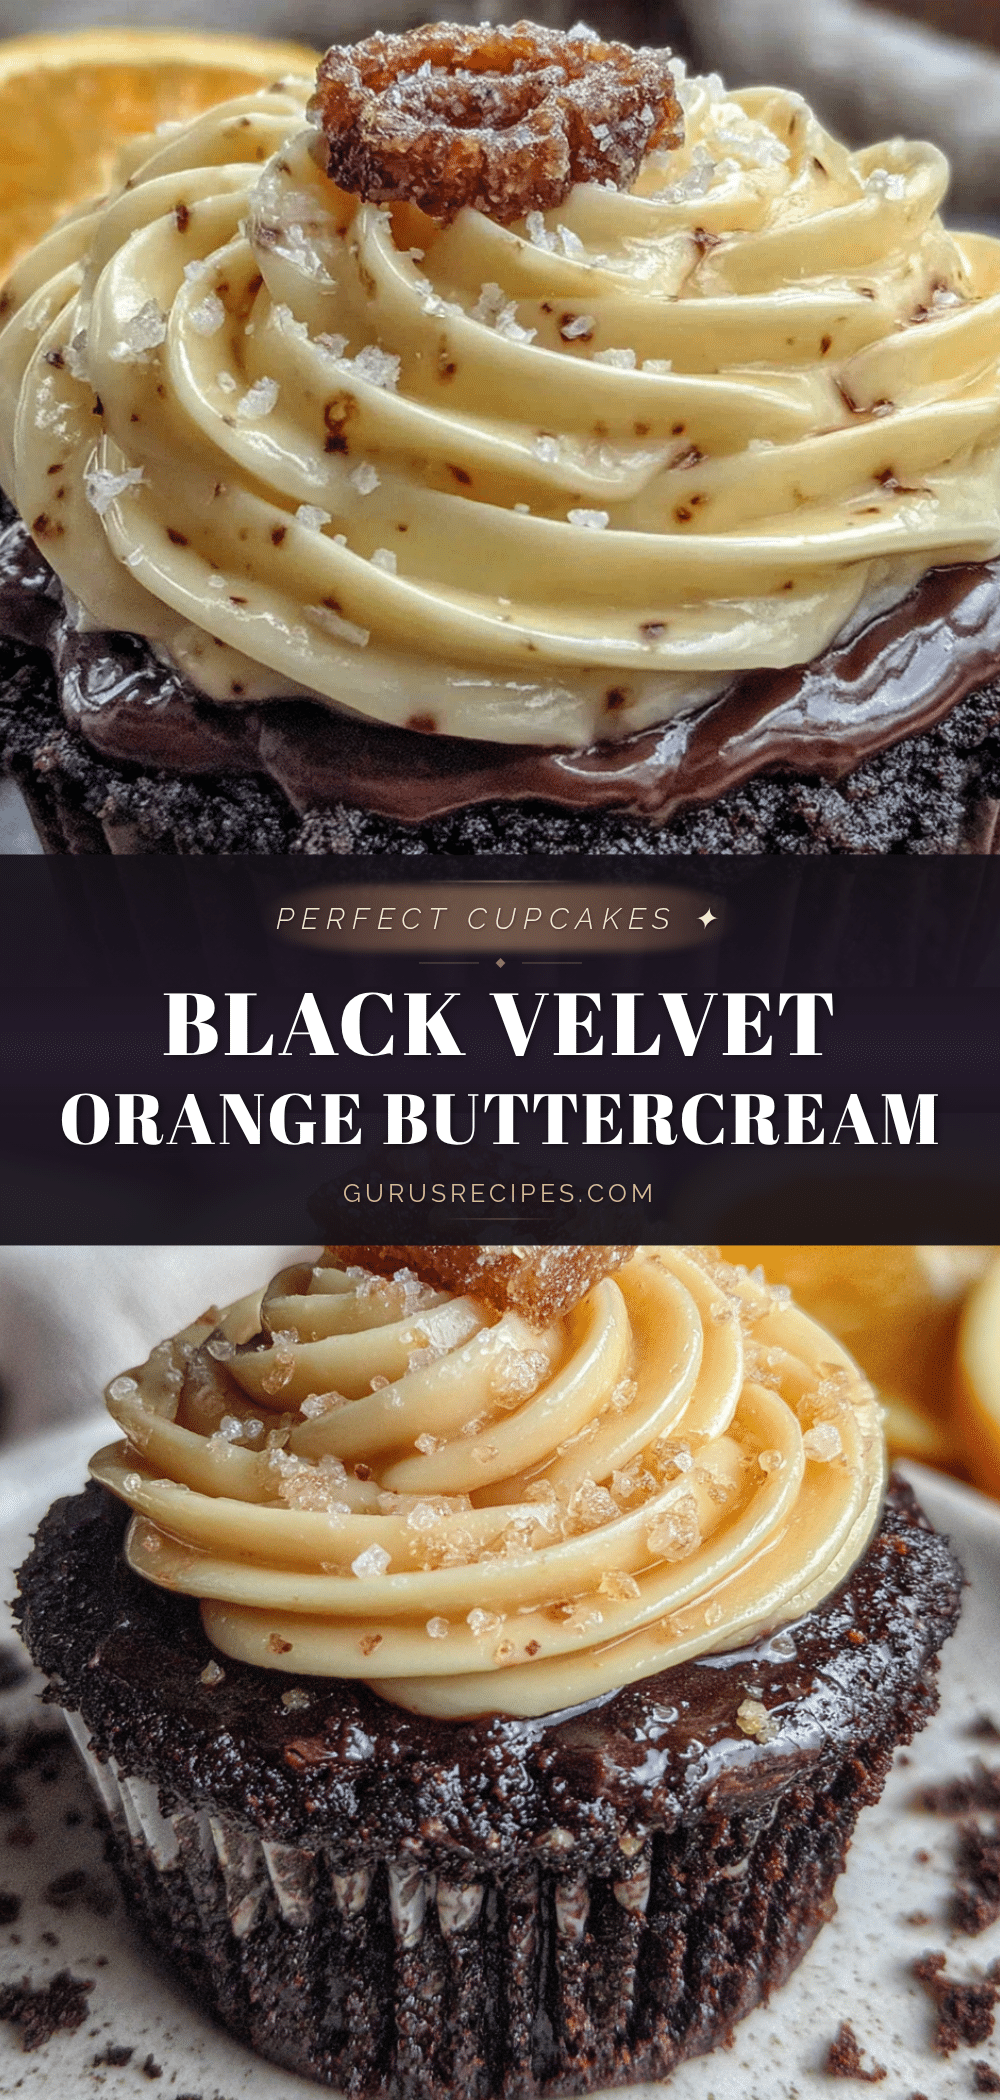

Perfect Black Velvet Cupcakes with Orange Buttercream
These impossibly dark, tender, and moist black velvet cupcakes are topped with a bright and creamy orange buttercream. A secret ingredient—white vinegar—creates the dramatic black color, while fresh orange zest balances the rich chocolate flavor.
- Total Time: 45 minutes
- Yield: 12 cupcakes 1x
Ingredients
- 1 ½ cups (190g) all-purpose flour
- ½ cup (50g) dark cocoa powder
- 1 cup (200g) granulated sugar
- 1 teaspoon baking soda
- ½ teaspoon salt
- 1 teaspoon espresso powder (optional)
- 1 cup (240ml) buttermilk, room temperature
- ½ cup (120ml) vegetable oil
- 2 large eggs, room temperature
- 2 teaspoons vanilla extract
- 1 teaspoon white vinegar
- 1 cup (226g) unsalted butter, softened
- 3–4 cups (360-480g) powdered sugar
- 2 tablespoons fresh orange zest
- 2–3 tablespoons fresh orange juice
- 1 teaspoon vanilla extract
- a pinch of salt
Instructions
- Preheat oven to 350°F (175°C). Line a 12-cup muffin tin with paper liners.
- In a large bowl, whisk together flour, dark cocoa powder, sugar, baking soda, salt, and espresso powder for about 30 seconds.
- In a separate medium bowl, whisk together buttermilk, vegetable oil, eggs, vanilla extract, and white vinegar until smooth and slightly thickened.
- Pour the wet ingredients into the dry ingredients. Fold gently with a rubber spatula until just combined—batter will be thin and glossy.
- Divide batter evenly among the 12 liners, filling each about ⅔ full.
- Bake for 18-22 minutes, rotating the pan halfway through. Cupcakes are done when a toothpick inserted into the center comes out with a few moist crumbs.
- Let cupcakes cool in the pan for 5 minutes, then transfer to a wire rack to cool completely (at least 30 minutes).
- For the buttercream: In a large bowl, beat softened butter on medium speed until smooth and creamy, about 2 minutes. Add orange zest and beat for 30 seconds.
- Gradually add powdered sugar, one cup at a time, beating on low speed. Add orange juice and vanilla extract, then increase speed to medium-high and beat for 3-4 minutes until light and fluffy.
- Transfer buttercream to a piping bag fitted with a tip (e.g., Wilton 1M). Pipe a generous swirl onto each cooled cupcake. Garnish with orange slices or chocolate shavings if desired.
Notes
Don’t skip the white vinegar—it reacts with the cocoa powder to create the deep black color. Room temperature ingredients are crucial for proper emulsification. Do not overmix the batter. For even baking, use a cookie scoop to portion batter. Let buttercream beat for the full 3-4 minutes for a light and fluffy texture. For more intense orange flavor, toast the zest briefly in a 300°F oven for 5 minutes.
- Prep Time: 15 minutes
- Cook Time: 20 minutes
- Category: Dessert
- Cuisine: American
Nutrition
- Serving Size: 1 cupcake
- Calories: 420
- Sugar: 40
- Sodium: 280
- Fat: 22
- Saturated Fat: 10
- Carbohydrates: 54
- Fiber: 2
- Protein: 4
Keywords: black velvet cupcakes, orange buttercream, chocolate cupcakes, dark chocolate, citrus frosting, easy dessert, Halloween cupcakes


