
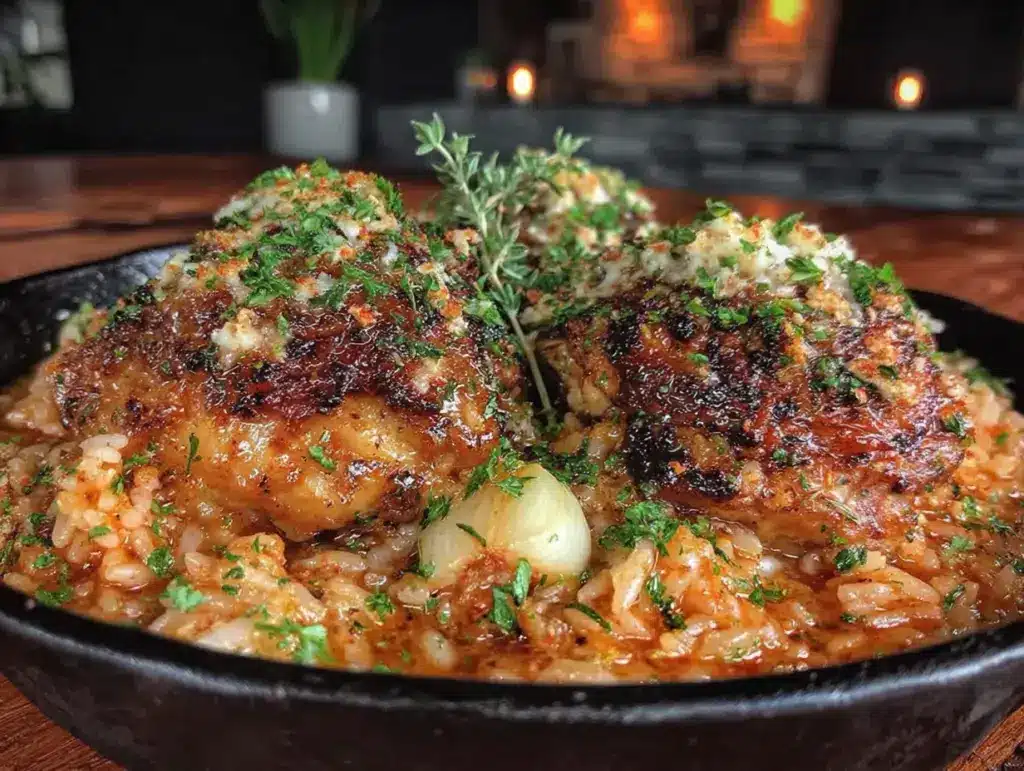
My neighbor, Carla, wasn’t trying to impress anyone. I’d stopped by on a Tuesday evening to borrow a lug wrench—don’t ask—and the smell hit me before I even got past her screen door. It was this rich, savory, garlicky aroma that made my knees a little weak. I honestly forgot what I was there for. She was standing over her stove in sweatpants, holding a spatula, looking completely bored. “Oh, it’s just chicken and rice,” she said when I asked. “Takes like twenty minutes.” Just chicken and rice. I practically begged her for the details while she half-watched the news. That’s where this recipe comes from—a woman who didn’t even realize she was making magic.
The thing about Carla’s method was that she used one pan. One. She didn’t dirty a pot for the rice or a separate skillet for the chicken. It all happened in the same deep skillet, and the cleanup was almost non-existent. I stood there, maybe a little too long, watching her work. She threw in the butter, smashed some garlic cloves with the flat of her knife (not even bothering to peel them all the way), and just let things happen. It was the most relaxed cooking I’d ever seen. She wasn’t measuring anything precisely. She was just… feeling it. And the result was this incredibly flavorful, comforting meal that felt like it took hours of effort.
I went home that night, lug wrench in hand, and immediately tried to recreate it. My first attempt was a disaster—I burned the garlic because I got distracted. But you know what? I learned from it. The second time, I nailed it. And now, this quick one-pan garlic butter chicken and rice has become my go-to for those nights when I’m tired, hungry, and just want something that tastes like a hug. It’s the recipe I make when I have zero energy but still want to eat something that feels special. It’s the recipe that makes me feel like a competent adult, even when I’m wearing sweatpants. Maybe you’ve been there. Let’s make it together.
Why You’ll Love This Recipe
Let’s be real for a second. You’re probably reading this because you’re tired, you’re hungry, and you don’t want to spend an hour cleaning up a mountain of dishes. I get it. That’s exactly why this recipe exists. After testing this dish about six times (and eating the evidence every single time), I can confidently say this is the best version of a weeknight dinner I’ve ever made. It’s not just good—it’s the kind of meal that makes you close your eyes after the first bite.
- Quick & Easy: From start to finish, this dish comes together in about 30 minutes. The active cooking time is even less. It’s perfect for those “I need to eat in 20 minutes or I’m going to eat my own arm” kind of nights.
- Simple Ingredients: You probably already have 90% of these things in your kitchen. Chicken thighs, rice, butter, garlic, chicken broth. No fancy trips to a specialty store required.
- Perfect for a Weeknight: This is the definition of a weeknight hero. It’s unfussy, it’s forgiving, and it makes the whole kitchen smell amazing.
- Crowd-Pleaser: My kids devour this. My husband asks for seconds. Even my picky aunt, who “doesn’t like rice,” went back for more. It’s a universal win.
- Unbelievably Delicious: The garlic butter sauce seeps into every grain of rice and coats the chicken in this glossy, savory perfection. The rice gets a little bit of a crispy crust on the bottom if you let it sit—my favorite part.
What makes this recipe different from all the other one-pan chicken and rice recipes out there? It’s the technique. Most recipes tell you to cook the chicken, remove it, cook the rice, then add the chicken back. Too many steps. Here, we cook the chicken in the same pan, then build the rice right around it. The chicken juices flavor the rice, and the rice absorbs all that garlicky butter goodness. It’s a symbiotic relationship. Plus, I’ve figured out the exact ratio of liquid to rice so you don’t end up with mushy or crunchy rice. It’s been tested. It works. Trust me.
What Ingredients You Will Need
This recipe uses simple, everyday ingredients to deliver a big, bold flavor. There’s nothing exotic here—just smart combinations of pantry staples that work together beautifully. Here’s what you’ll need to grab:
For the Chicken
- 4 boneless, skinless chicken thighs (about 1.5 lbs) – I prefer thighs over breasts here because they stay juicier and have more flavor. If you want to use breasts, just watch the cooking time so they don’t dry out.
- Salt and black pepper – to taste. Don’t be shy with the salt—it helps season the whole dish.
- 1 teaspoon paprika (optional, but adds a nice color and subtle smokiness)
- 2 tablespoons olive oil – for searing the chicken. You could use avocado oil too.
For the Garlic Butter Rice
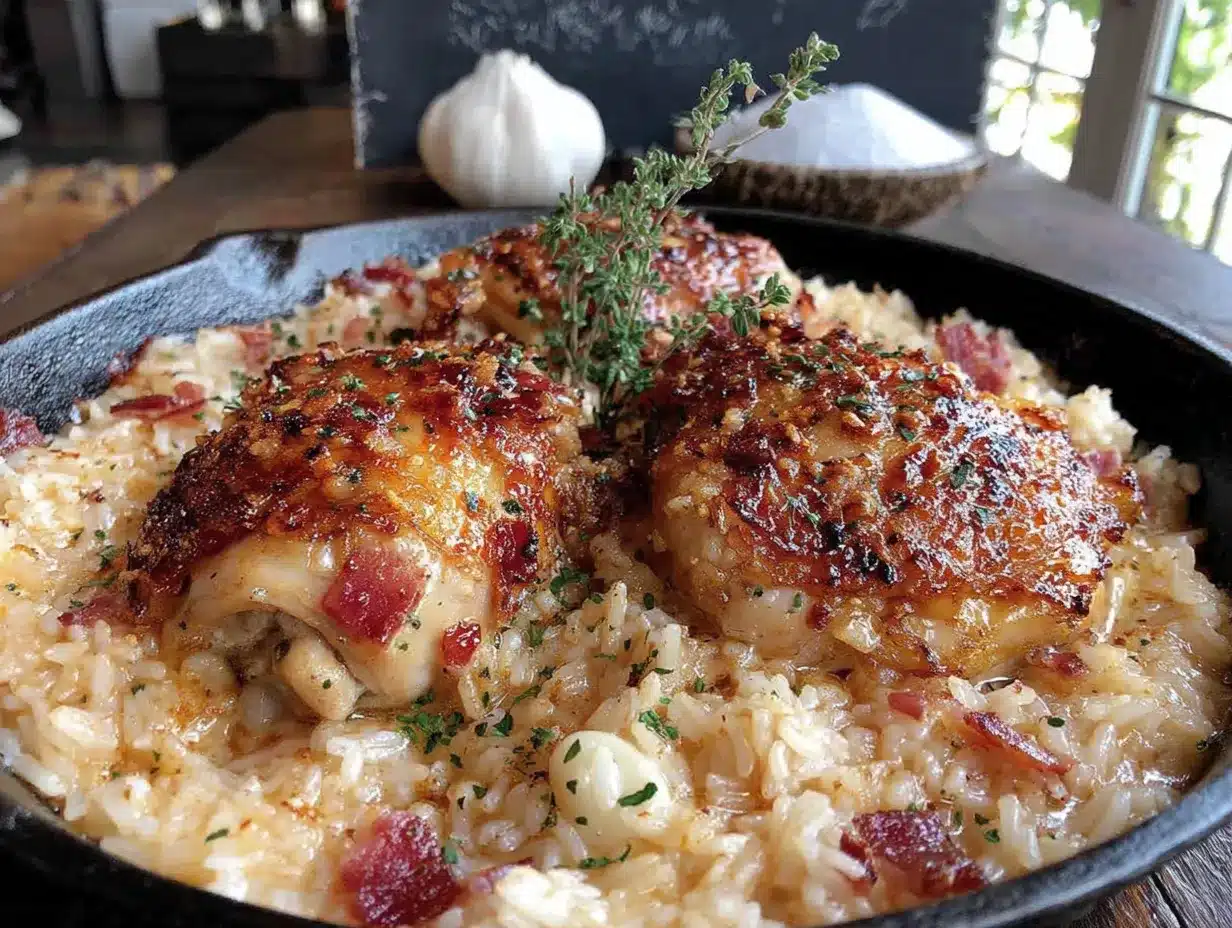
- 3 tablespoons unsalted butter – I like using unsalted so I can control the salt level. If you only have salted, just reduce the added salt in the broth.
- 6 cloves garlic, minced – this is not the time to be shy. Fresh garlic is key here. Pre-minced from a jar works in a pinch, but the flavor won’t be as bright.
- 1 cup long-grain white rice – I’ve tested this with jasmine and basmati, and both work great. Do not use minute rice or brown rice without adjusting the liquid and time.
- 2 cups low-sodium chicken broth – the low-sodium part is important so you don’t end up with a salt bomb. You can also use water with a bouillon cube, but broth gives better depth.
- 1/2 teaspoon dried thyme – this adds a subtle earthy note that pairs beautifully with garlic. You can use oregano or rosemary if that’s what you have.
- 1/4 teaspoon red pepper flakes (optional) – for a tiny kick of heat. I add it because I like a little warmth, but leave it out if you’re serving kids.
- Salt and pepper – to taste.
For Garnish (Optional but Recommended)
- Fresh parsley, chopped – a sprinkle of green makes it look pretty and adds a fresh pop of flavor.
- Lemon wedges – a squeeze of lemon right before eating cuts through the richness of the butter. I highly recommend it.
One quick note on the rice: I’ve found that rinsing the rice before cooking makes a big difference. It washes off the excess starch, which helps the rice stay fluffy and separate rather than turning into a sticky mess. Just put it in a fine-mesh strainer and run cold water over it for about 30 seconds until the water runs clear. It’s a tiny step that pays off big time.
Equipment Needed
The beauty of this recipe is that it truly only needs one pan. Here’s what you’ll need to have on hand:
- A large, deep skillet or sauté pan – I use a 12-inch skillet with a lid. A deep non-stick pan works well, but a stainless steel or cast iron skillet will give you better browning on the chicken. Just make sure it has a lid that fits snugly.
- A sharp knife and cutting board – for mincing the garlic and chopping the parsley.
- Measuring cups and spoons – for the rice, broth, and spices.
- A wooden spoon or silicone spatula – for stirring the rice and scraping up the browned bits from the bottom of the pan (those bits are flavor gold).
- A fine-mesh strainer – for rinsing the rice (optional, but recommended).
If you don’t have a lid for your skillet, you can use a piece of aluminum foil crimped tightly around the edges. I’ve done it in a pinch, and it works just fine. Also, if your pan is smaller than 12 inches, the rice might take a little longer to cook, and you risk it being crowded. Go bigger if you can.
Preparation Method
Alright, let’s get cooking. This whole process takes about 30 minutes, and most of that is hands-off time while the rice simmers. Here’s the step-by-step breakdown:
- Prep the Chicken (5 minutes): Pat the chicken thighs dry with paper towels. This is important—dry chicken browns better. Season both sides generously with salt, pepper, and the paprika (if using). Let them sit at room temperature while you get the pan ready.
- Sear the Chicken (8-10 minutes): Heat the olive oil in your large skillet over medium-high heat. Once the oil is shimmering (you can test it by flicking a drop of water in—it should sizzle), carefully place the chicken thighs in the pan, smooth side down. Don’t crowd them—if they don’t all fit, do it in batches. Let them cook undisturbed for 4-5 minutes, until the bottom is a deep golden brown. Flip and cook for another 3-4 minutes. The chicken doesn’t need to be fully cooked through at this point—it will finish cooking with the rice. Transfer the chicken to a plate and set aside.
- Start the Garlic Butter Base (2 minutes): Reduce the heat to medium. Add the butter to the same pan. As it melts, use your wooden spoon to scrape up all those browned bits from the bottom of the pan—that’s called deglazing, and it’s where the flavor lives. Add the minced garlic and cook for about 30 seconds, stirring constantly. You want it fragrant, not brown. Burnt garlic is bitter, so keep an eye on it.
- Toast the Rice (2 minutes): Add the rinsed and drained rice to the pan. Stir it around in the garlic butter for about a minute. You want every grain to get coated and slightly translucent at the edges. This toasting step helps the rice stay separate and gives it a nutty flavor.
- Add the Liquid and Seasonings (1 minute): Pour in the chicken broth, dried thyme, and red pepper flakes (if using). Add a pinch of salt and pepper. Stir everything together, scraping up any last bits from the bottom.
- Nestle the Chicken Back In (1 minute): Place the seared chicken thighs on top of the rice, pressing them down gently so they’re partially submerged. Any juices that accumulated on the plate should go into the pan too—that’s flavor.
- Simmer and Cook (15-18 minutes): Bring the liquid to a gentle boil, then reduce the heat to low. Cover the skillet with a tight-fitting lid. Let it simmer undisturbed for 15-18 minutes. Do not lift the lid during this time—you’ll let out all the steam that’s needed to cook the rice.
- Rest and Fluff (5 minutes): After 15-18 minutes, turn off the heat. Let the pan sit, covered, for another 5 minutes. This resting period allows the rice to absorb any remaining liquid and steam itself to perfection. After resting, remove the lid and fluff the rice gently with a fork. Check the chicken’s internal temperature—it should be at least 165°F (74°C). If it’s not quite there, cover and let it sit for another 2-3 minutes.
- Garnish and Serve (2 minutes): Sprinkle with fresh parsley and serve with lemon wedges on the side. The squeeze of lemon at the end really wakes everything up.
One thing I learned the hard way: don’t stir the rice while it’s cooking. I know it’s tempting, but stirring releases starch and makes the rice gluey. Just let it do its thing under the lid. Trust the process.
Cooking Tips & Techniques
Over the years, I’ve made this recipe enough times to know where things can go wrong. Here are the tips I wish someone had told me the first time:
Don’t Skip the Searing. I know it adds a few extra minutes, but that golden-brown crust on the chicken is non-negotiable. It adds so much flavor to the dish. If you’re in a huge rush, you can skip it and just cook the chicken with the rice, but honestly, you’ll lose half the magic. I once tried to save time by just throwing raw chicken in with the rice, and the result was pale, sad, and bland. Never again.
Use a Hot Pan. When you add the chicken to the oil, it should sizzle immediately. If it doesn’t, your pan isn’t hot enough. A hot pan gives you a good sear without overcooking the inside. I learned this after making “steamed” chicken for years because my pan was too cold.
Watch the Garlic. Garlic burns in seconds. Once you add it to the butter, you have about 30 seconds before it goes from fragrant to bitter. If you’re a slow chopper, mince the garlic before you even start cooking. I keep a jar of pre-minced garlic in the fridge for emergencies, but fresh is always better.
Rest the Rice. That 5-minute rest at the end is not optional. It’s the difference between perfectly fluffy rice and rice that’s crunchy on top and mushy on the bottom. I used to skip this step because I was too hungry to wait, and my rice was always hit or miss. Now I set a timer. It’s worth it.
Multitask Wisely. While the chicken is searing, you can rinse the rice and mince the garlic. While the rice is simmering, you can set the table or make a quick side salad. This recipe is designed to let you do other things while it works its magic.
Variations & Adaptations
One of the best things about this recipe is how flexible it is. Here are some ways to change it up depending on what you have on hand or what you’re in the mood for:
Vegetable-Packed Version: Add a cup of frozen peas and carrots during the last 5 minutes of cooking. Or throw in a handful of fresh spinach right before you cover the pan. The spinach will wilt down into the rice and add a boost of nutrients. I’ve also added sliced mushrooms along with the garlic, and it was fantastic.
Spicy Kick: If you like heat, double the red pepper flakes, or add a chopped jalapeño with the garlic. You can also drizzle some sriracha or chili crisp over the finished dish. My husband loves it with a spoonful of chili oil on top.
Creamy Version: Stir in 1/4 cup of heavy cream or a dollop of cream cheese right after the rice is done cooking. It makes the rice extra rich and luxurious. I do this when I’m feeling indulgent, and it turns into a whole different dish.
Herb Swap: Don’t have thyme? Use dried oregano, rosemary, or even a teaspoon of Italian seasoning. Fresh herbs work too—just add them at the end so they don’t lose their flavor during cooking. I’ve used fresh dill and parsley together, and it was lovely.
Dietary Adaptations: To make this gluten-free, just use certified gluten-free chicken broth. The recipe is naturally gluten-free as written. For a dairy-free version, substitute the butter with a good quality vegan butter or olive oil. It won’t be quite as rich, but it’s still delicious. To make it lower in fat, use chicken breasts instead of thighs and reduce the butter to 2 tablespoons.
I once tried a version with coconut milk instead of half the broth, and it was surprisingly good—gave it a subtle tropical flavor that worked with the garlic. Just a thought if you’re feeling adventurous.
Serving & Storage Suggestions
This dish is a complete meal in one pan, but if you want to round it out, here are some ideas:
Serving: Serve the chicken and rice hot, straight from the skillet. I like to put the whole pan on the table (on a trivet!) so everyone can help themselves. A squeeze of fresh lemon juice over each serving really brightens things up. For a side, a simple green salad with a vinaigrette or some steamed broccoli pairs perfectly. The acidity of the salad dressing cuts through the richness of the butter.
Storage: Let any leftovers cool completely before storing. Transfer to an airtight container and refrigerate for up to 4 days. The flavors actually meld together overnight, making it even better the next day. I love having this for lunch—it microwaves beautifully.
Freezing: This recipe freezes well. Place the cooled chicken and rice in a freezer-safe container or zip-top bag. It will keep for up to 3 months. To thaw, move it to the refrigerator overnight. Reheat in the microwave or in a skillet with a splash of water or broth to loosen it up.
Reheating: The best way to reheat this is in a skillet over medium-low heat. Add a tablespoon of water or broth, cover, and let it steam for about 5 minutes. This brings back the moisture without drying out the chicken. The microwave works too, but the chicken skin (if you left it on) won’t be crispy. I usually just microwave it and call it a win.
Flavor Development: Honestly, this dish is one of those rare recipes that tastes better the next day. The rice absorbs even more of the garlic butter flavor, and the chicken gets more tender. Don’t be afraid to make it a day ahead on purpose.
Nutritional Information & Benefits
Here’s an approximate nutritional breakdown per serving (based on 4 servings, using chicken thighs):
| Nutrient | Amount |
|---|---|
| Calories | 520 |
| Protein | 35g |
| Fat | 22g |
| Saturated Fat | 9g |
| Carbohydrates | 45g |
| Fiber | 1g |
| Sugar | 2g |
| Sodium | 680mg |
This meal provides a good balance of protein and carbohydrates, making it a satisfying dinner that will keep you full. Chicken thighs are a great source of iron and B vitamins, which are important for energy. Garlic is known for its immune-boosting properties, and butter provides a source of fat-soluble vitamins like A and D (though it should be enjoyed in moderation).
If you’re watching your sodium, use low-sodium broth and go easy on the added salt. You can also swap the butter for a heart-healthy oil like avocado oil to reduce the saturated fat.
Conclusion
Look, I get it. Weeknight dinners are hard. You’re tired, you’re hungry, and the last thing you want to do is spend an hour in the kitchen followed by another 20 minutes scrubbing dishes. This quick one-pan garlic butter chicken and rice is my answer to all of that. It’s fast, it’s forgiving, and it tastes like you actually tried. It’s the recipe I turn to when I have nothing left in the tank, and it never lets me down.
I love this recipe because it reminds me of Carla’s nonchalant genius—the way she made something incredible without even trying. It’s proof that you don’t need fancy techniques or exotic ingredients to create a meal that brings people together. You just need a little butter, a lot of garlic, and the willingness to let a simple dish be enough. And honestly? It is more than enough.
Now I want to hear from you. Have you tried this recipe? Did you add your own twist? Did your family eat it in silence (the highest compliment)? Drop a comment below and let me know. Share this with a friend who needs a weeknight win. And if you’re feeling generous, tag me in your photos—I love seeing your creations. Happy cooking, friends. You’ve got this.
Frequently Asked Questions
Can I use chicken breasts instead of thighs?
Absolutely. Just be aware that chicken breasts cook faster and can dry out more easily. I recommend using thin-cut breasts or pounding them to an even thickness. Check the internal temperature after the rice has cooked, and if they’re done, remove them from the pan while the rice rests.
Why is my rice mushy or crunchy?
Mushy rice usually means too much liquid or it was stirred too much. Crunchy rice means not enough liquid or the lid wasn’t tight enough. For this recipe, stick to the 2:1 ratio of broth to rice, don’t lift the lid while it’s cooking, and let it rest for a full 5 minutes after turning off the heat.
Can I make this in an Instant Pot or slow cooker?
I haven’t tested this exact recipe in an Instant Pot, but you can adapt it. Sear the chicken using the sauté function, then add the butter, garlic, rice, and broth. Pressure cook on high for 5 minutes, then let the pressure release naturally for 10 minutes. For a slow cooker, sear the chicken first, then add everything and cook on low for 4-6 hours. The rice might get a bit softer in the slow cooker.
How do I make this dairy-free?
Simply swap the butter for a good quality dairy-free butter or a neutral oil like avocado or olive oil. The flavor will be slightly different, but it will still be delicious. I’ve used vegan butter from brands like Miyoko’s, and it worked perfectly.
Can I add other vegetables to this dish?
Yes! This is a great way to use up leftover veggies. Add frozen peas, corn, or green beans during the last 5 minutes of cooking. You can also sauté mushrooms, bell peppers, or zucchini along with the garlic. Just keep in mind that watery vegetables like zucchini might add extra liquid, so you may need to reduce the broth slightly.
Pin This Recipe!
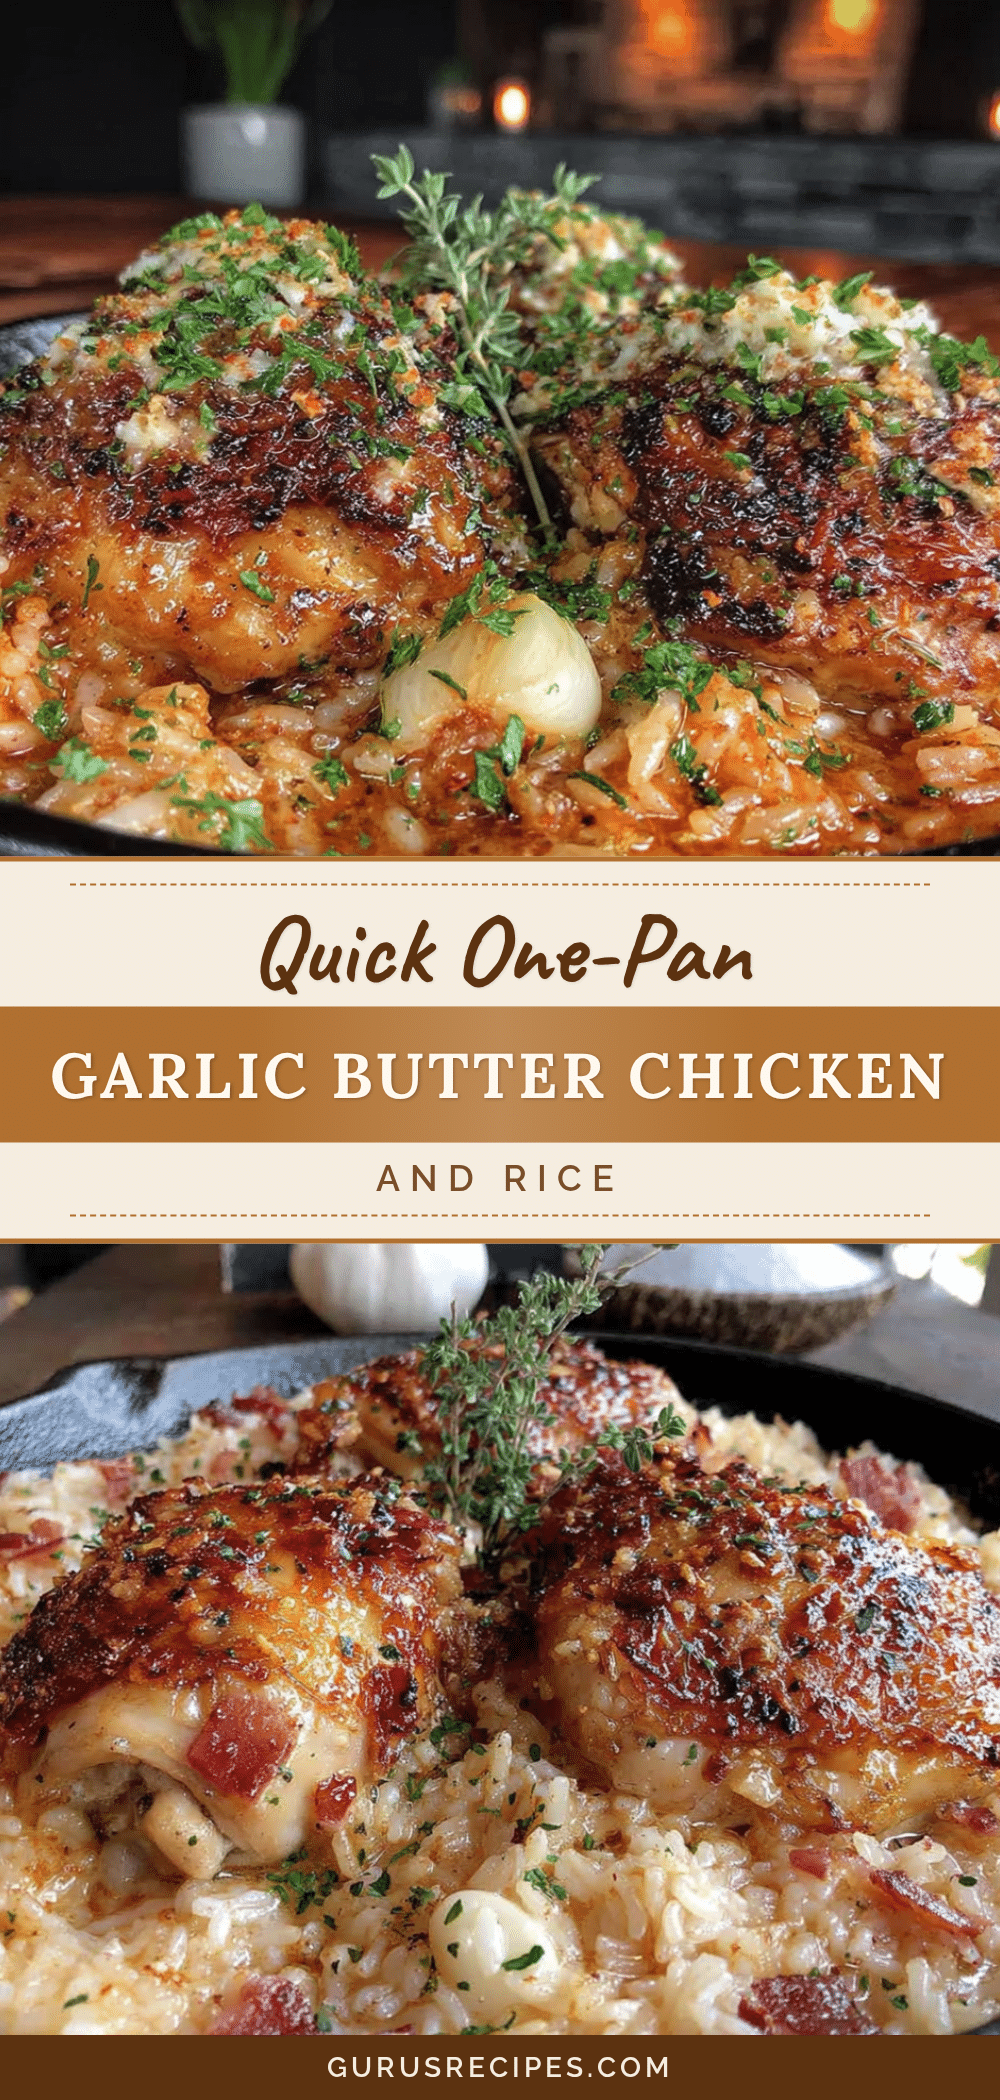

Quick One-Pan Garlic Butter Chicken and Rice
A quick and easy one-pan dinner featuring juicy chicken thighs and fluffy rice cooked in a rich garlic butter sauce. Perfect for busy weeknights, this comforting meal comes together in about 30 minutes with minimal cleanup.
- Total Time: 30 minutes
- Yield: 4 servings 1x
Ingredients
- 4 boneless, skinless chicken thighs (about 1.5 lbs)
- Salt and black pepper to taste
- 1 teaspoon paprika (optional)
- 2 tablespoons olive oil
- 3 tablespoons unsalted butter
- 6 cloves garlic, minced
- 1 cup long-grain white rice, rinsed
- 2 cups low-sodium chicken broth
- 1/2 teaspoon dried thyme
- 1/4 teaspoon red pepper flakes (optional)
- Salt and pepper to taste
- Fresh parsley, chopped (for garnish)
- Lemon wedges (for serving)
Instructions
- Pat the chicken thighs dry with paper towels. Season both sides generously with salt, pepper, and paprika (if using). Let them sit at room temperature while you prepare the pan.
- Heat olive oil in a large deep skillet over medium-high heat. Once shimmering, place the chicken thighs smooth side down. Cook undisturbed for 4-5 minutes until deep golden brown. Flip and cook for another 3-4 minutes. Transfer chicken to a plate and set aside.
- Reduce heat to medium. Add butter to the same pan. As it melts, scrape up browned bits from the bottom. Add minced garlic and cook for about 30 seconds, stirring constantly, until fragrant.
- Add the rinsed and drained rice to the pan. Stir in the garlic butter for about 1 minute until grains are coated and slightly translucent.
- Pour in chicken broth, dried thyme, and red pepper flakes (if using). Add a pinch of salt and pepper. Stir to combine, scraping up any remaining bits.
- Nestle the seared chicken thighs on top of the rice, pressing them down gently so they are partially submerged. Pour any accumulated juices from the plate into the pan.
- Bring the liquid to a gentle boil, then reduce heat to low. Cover the skillet with a tight-fitting lid. Simmer undisturbed for 15-18 minutes. Do not lift the lid during this time.
- Turn off the heat and let the pan sit, covered, for 5 minutes. After resting, remove the lid and fluff the rice gently with a fork. Check that the chicken’s internal temperature is at least 165°F (74°C). If not, cover and let sit for another 2-3 minutes.
- Sprinkle with fresh parsley and serve with lemon wedges on the side.
Notes
Rinse the rice before cooking to remove excess starch for fluffier rice. Do not lift the lid while the rice simmers. Let the rice rest for 5 minutes after cooking for best texture. For a dairy-free version, substitute butter with vegan butter or olive oil. For a lower-fat option, use chicken breasts and reduce butter to 2 tablespoons.
- Prep Time: 10 minutes
- Cook Time: 20 minutes
- Category: Main Course
- Cuisine: American
Nutrition
- Serving Size: 1 serving (about 1 c
- Calories: 520
- Sugar: 2
- Sodium: 680
- Fat: 22
- Saturated Fat: 9
- Carbohydrates: 45
- Fiber: 1
- Protein: 35
Keywords: one-pan chicken and rice, garlic butter chicken, easy weeknight dinner, quick chicken recipe, one skillet meal


