
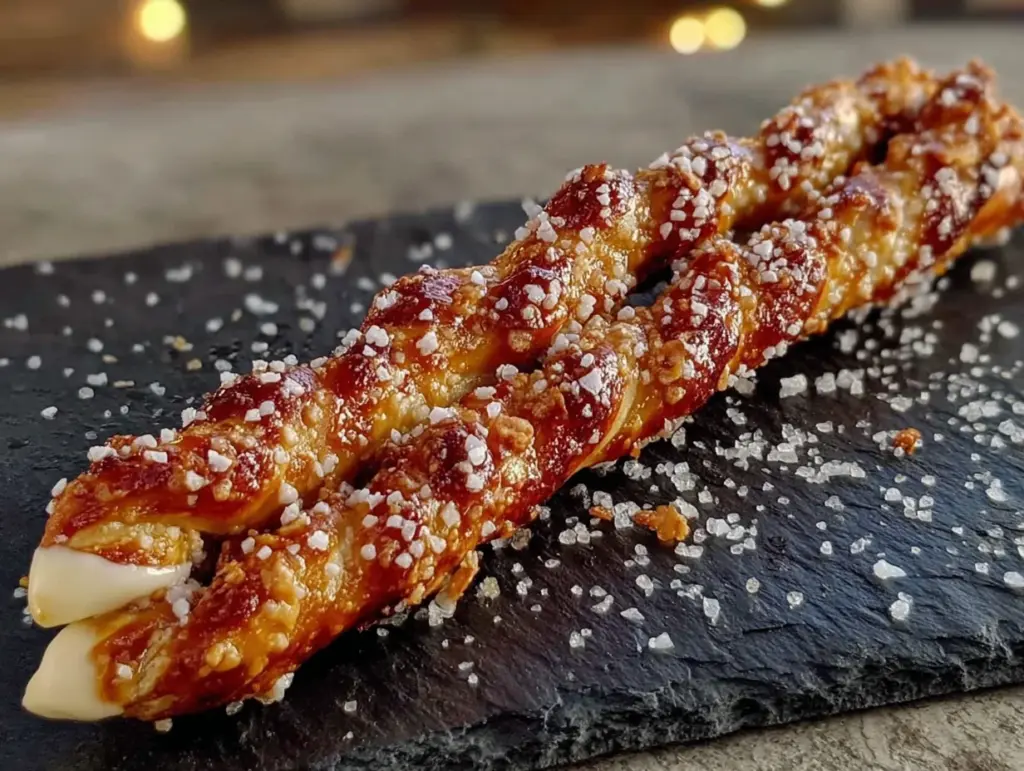
My niece looked me dead in the eye and said, “Auntie, those look like old lady fingers.” I had spent two hours dipping pretzel rods, carefully shaping almond fingernails, and piping little knuckle wrinkles onto each one. And she wasn’t wrong. That was the moment I knew this recipe had found its perfect audience. Kids don’t do polite. They do honest, and honest told me these were exactly the right amount of creepy for a Halloween party.
I had been scrolling through Pinterest looking for something that wasn’t another batch of frosted sugar cookies or a pumpkin-shaped Rice Krispie treat. You know how it is. Every October, the same recipes pop up, and while I love a good pumpkin bar, I wanted something that would make people stop mid-conversation and say, “Wait, what is that?” These witch finger pretzel rods do exactly that. They’re salty, sweet, and just unsettling enough to be fun without being actually gross.
The first batch I made looked more like arthritic thumbs than elegant witch fingers. The almond nails kept sliding off, and the white chocolate was too thick in spots. But after a few tries—and one very patient evening with a piping bag—I figured out the rhythm. Now they come together faster than you’d expect, and honestly, they’re the easiest thing I bring to any Halloween gathering. People pick them up, hesitate for a second, then take a bite and immediately reach for another. That pause is everything.
These aren’t just for kids either. Adults get a kick out of them at parties, and they pair surprisingly well with a hot cider or coffee. There’s something about the combination of salty pretzel, sweet white chocolate, and the slight crunch of an almond that just works. It feels like a treat, but it also feels like a little performance. And isn’t that what Halloween is really about?
Why You’ll Love This Recipe
I’ve tested this recipe through three different batches and two different brands of white chocolate chips, so you don’t have to guess. Here is why these spooky witch finger pretzel rods with white chocolate earn a permanent spot in your Halloween rotation:
- Quick & Easy: From start to finish, you are looking at about 30 minutes of active work. The rest is just waiting for the chocolate to set, which is the perfect time to clean up or start a batch of creamy no-churn strawberry ice cream for a full dessert spread.
- Simple Ingredients: You need pretzel rods, white chocolate chips or melting wafers, whole almonds, and a tiny bit of green food coloring. That is it. No weird specialty items you will never use again.
- Perfect for Halloween Parties: These are the kind of snack that gets photographed before it gets eaten. They start conversations and make people laugh. That is the whole point.
- Crowd-Pleaser: Salty and sweet is a universal language. Kids love the creepy factor, and adults appreciate that they are not overly sugary or complicated.
- Unbelievably Delicious: Look, I know they look like fingers, but the flavor is genuinely good. The white chocolate gets a nice snap when it sets, and the almond adds a nutty finish that balances the saltiness of the pretzel perfectly.
What makes this recipe different from the countless other Halloween treats out there is the attention to detail. I’m not just dipping pretzels and calling it a day. I’m showing you how to get those knuckle lines right, how to keep the almond fingernails from sliding off, and how to get that green tint just subtle enough to look witchy without looking radioactive.
This is the kind of recipe that makes you feel like a kitchen wizard without actually requiring any real magic. It is fun, it is fast, and it is guaranteed to get a reaction. What more could you want from a Halloween snack?
What Ingredients You Will Need
This recipe relies on a short list of ingredients, but each one plays a specific role. Here is what you need and why:
- Pretzel rods: These are the backbone of the recipe. Look for thick, sturdy pretzel rods that won’t snap easily when you dip them. I personally prefer the Snyder’s of Hanover brand because they are consistently straight and have a good salt distribution. Avoid thin or fragile pretzel sticks; they will break under the weight of the chocolate.
- White chocolate melting wafers: These are my go-to for this recipe because they melt smoothly and set with a nice, hard shell. Ghirardelli white chocolate melting wafers are my top pick. You can use white chocolate chips in a pinch, but you will need to add a teaspoon of coconut oil or vegetable shortening to thin them out for dipping. Chips tend to be thicker and can clump.
- Whole almonds: These become the fingernails. Look for almonds that are relatively uniform in size and shape. You want them to look like actual fingernails, so avoid broken or oddly shaped pieces. Blanched almonds work best because they have a smoother surface, but raw almonds with the skin on work fine too. Just pick the ones that look most nail-like.
- Green gel food coloring: A tiny dab goes a long way. I use Americolor brand gel coloring because it doesn’t water down the chocolate like liquid food coloring does. You are aiming for a pale, sickly green, not neon. Start with a toothpick amount and add more if needed.
- Pink or red gel food coloring: This is optional but adds a nice touch for the nail bed. A tiny dot at the base of each almond gives the illusion of a real fingernail. Again, gel is better than liquid.
That is the full list. No butter, no sugar, no eggs. Just four main ingredients plus coloring. It almost feels too simple, but trust me, the transformation is where the magic happens.
If you are making these for a party and want to double the batch, just buy two bags of pretzel rods and two bags of melting wafers. The almonds go further than you think. One standard bag of whole almonds will cover at least three batches, maybe more depending on how many fingers you make.
Equipment Needed
You do not need a lot of fancy tools for this recipe, but a few specific items will make your life much easier:
- Microwave-safe bowl: For melting the white chocolate. A glass measuring cup works great because the spout makes pouring easier.
- Piping bag or small zip-top bag: For piping the knuckle lines and nail details. A zip-top bag with a tiny corner snipped off works perfectly. No need to buy actual piping tips.
- Parchment paper or silicone baking mat: For setting the dipped pretzels. The chocolate will stick to wax paper, so stick with parchment or silicone.
- Baking sheet: To hold the parchment paper and pretzels while they set.
- Toothpicks: For applying the food coloring and for fixing any chocolate drips or smudges.
- Tweezers: This sounds extra, but tweezers are amazing for placing the almond fingernails precisely without getting chocolate all over your fingers. Trust me on this one.
- Small offset spatula or butter knife: For spreading the chocolate evenly if needed.
If you don’t have a piping bag, do not stress. A zip-top bag works just as well. The key is to cut a very tiny hole so you have control over the lines. You can always cut a bigger hole, but you can’t undo a cut that is too large.
Preparation Method
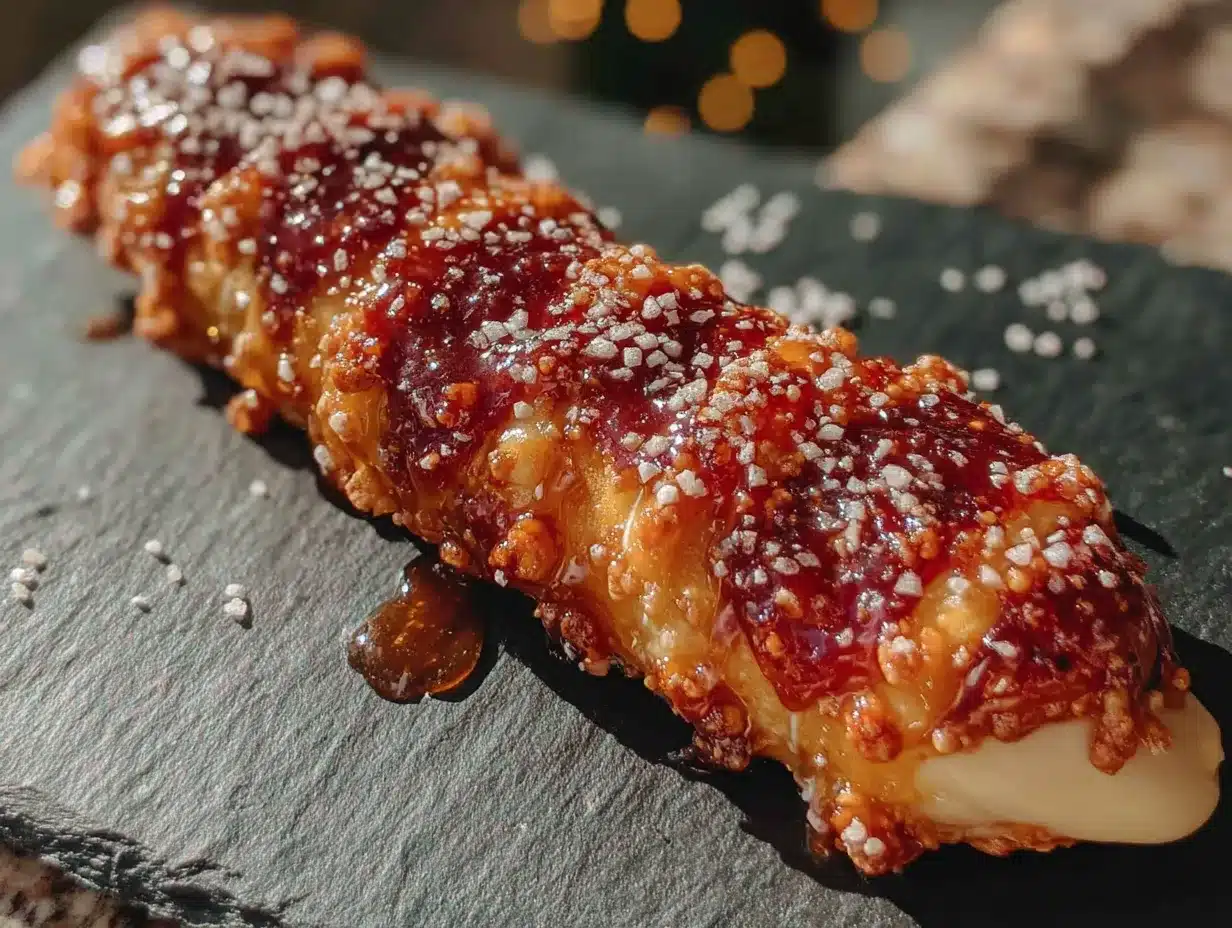
Here is the step-by-step process for making spooky witch finger pretzel rods with white chocolate. Take your time with the first few, and you will find a rhythm quickly.
- Prepare your workspace: Line a baking sheet with parchment paper or a silicone mat. Set out your pretzel rods, whole almonds, and food coloring. Have your piping bag or zip-top bag ready with a tiny corner snipped off.
- Melt the white chocolate: Place your white chocolate melting wafers in a microwave-safe bowl. Microwave in 30-second intervals, stirring well after each interval, until the chocolate is completely smooth and glossy. This usually takes about 1.5 to 2 minutes total. Do not overheat, or the chocolate will seize and become grainy.
- Add the green color: Dip a toothpick into the green gel food coloring and stir it into the melted white chocolate. Start with a tiny amount. You want a pale, subtle green. Stir until the color is evenly distributed. If you want it more intense, add another toothpick’s worth. Remember, these are witch fingers, not Shrek fingers.
- Dip the pretzel rods: Hold a pretzel rod by one end and dip the other end into the melted green white chocolate. Submerge about two-thirds of the pretzel, leaving the top third bare for holding. Lift it out and gently tap it against the side of the bowl to let excess chocolate drip off. Place it on the prepared baking sheet.
- Add the almond fingernail: While the chocolate is still wet, take a whole almond and press it gently onto the tip of the pretzel rod. The pointed end of the almond should face outward, like a fingernail. Press it just enough so it stays in place but doesn’t sink completely into the chocolate. Use tweezers for precision if you have them.
- Create the knuckle lines: Dip the tip of a toothpick into the melted white chocolate (without green coloring) and carefully draw two or three horizontal lines across the pretzel rod, just below the almond fingernail. These are your knuckle wrinkles. The lines should be subtle, not thick. You can also use a small piping bag with plain white chocolate for more control.
- Add the nail bed detail: Using a clean toothpick, dip it into the pink or red gel food coloring and place a tiny dot at the base of the almond fingernail. This gives the illusion of a real nail bed. Less is more here. You just want a hint of color.
- Let them set: Allow the pretzel rods to sit at room temperature until the chocolate is completely firm. This usually takes about 20 to 30 minutes. If you are in a hurry, you can place them in the refrigerator for 10 minutes, but do not leave them in too long, or the chocolate may develop condensation.
- Repeat: Continue with the remaining pretzel rods until all the chocolate is used. You should get about 12 to 15 witch fingers from one batch, depending on how much chocolate you use per pretzel.
- Final touches: Once the chocolate is set, you can add a few extra details if you want. A tiny smear of red food coloring at the tip of the almond looks like bloody nail polish, which is perfect for a more gruesome look. Or keep them clean for a more classic witchy vibe.
One thing I learned the hard way: do not overcrowd your baking sheet. Give each pretzel rod a little space so the chocolate doesn’t pool together. If you are making a large batch, use two baking sheets or work in batches.
Cooking Tips & Techniques
I made every mistake possible with this recipe so you don’t have to. Here are the most important things I learned:
The chocolate temperature matters more than you think. If your white chocolate is too hot, it will be thin and runny, and the almond fingernails will slide right off. If it is too cool, it will be thick and clumpy, and you will end up with lumpy fingers. The sweet spot is when the chocolate is warm enough to flow smoothly but not so hot that it feels hot to the touch. If you accidentally overheat it, stir in a handful of unmelted wafers to bring the temperature down.
Tap, don’t scrape. When you lift the dipped pretzel rod out of the chocolate, gently tap it against the side of the bowl instead of scraping it against the rim. Scraping removes too much chocolate and leaves the pretzel bare in spots. Tapping lets the excess drip off naturally while keeping a nice, even coating.
Work in small batches. Do not try to dip all the pretzels at once. Reheat the chocolate in the microwave for 10 seconds if it starts to thicken while you work. White chocolate sets quickly, so keep it warm but not hot.
The almond placement is everything. I ruined my first batch by pressing the almonds in too deep. They sank into the chocolate and looked like weird lumps instead of fingernails. Just a gentle press is enough. The chocolate will hold them in place as it sets.
Use a steady hand for the knuckle lines. If you are nervous about freehanding the lines, practice on a piece of parchment paper first. The lines should be thin and slightly curved, like natural wrinkles. Thick, straight lines look more like stripes than knuckles.
Refrigerate for speed, but watch for condensation. If you need these done fast, the fridge is your friend. But if you leave them in too long, the cold chocolate will attract moisture when you take them out, and they will look spotted. Ten minutes max in the fridge, then let them sit at room temperature for five minutes before serving.
Variations & Adaptations
This recipe is surprisingly flexible. Here are some ways to change it up:
Dark chocolate witch fingers: Swap the white chocolate for dark or milk chocolate. The green color won’t show up, so skip the food coloring and let the dark chocolate speak for itself. Add a sprinkle of sea salt or crushed pretzel bits on top for texture. These look less like witch fingers and more like gnarled, ancient tree branches, which is a whole different kind of creepy.
Bloody witch fingers: After the white chocolate sets, drizzle a little red candy melt or strawberry syrup over the tips to look like blood. This is a hit with older kids and adults who appreciate a little gore. Just be careful not to overdo it. A little blood goes a long way.
Gluten-free version: Use gluten-free pretzel rods. They are available at most grocery stores now, and they work exactly the same way. The rest of the ingredients are naturally gluten-free, so this is an easy swap.
Vegan version: Use dairy-free white chocolate chips and a vegan-friendly pretzel rod. Many white chocolate chips contain milk solids, so check the label. Enjoy Life brand makes a good dairy-free white chocolate alternative.
Spiced witch fingers: Add a pinch of cinnamon or pumpkin pie spice to the melted white chocolate before dipping. The warm spice pairs beautifully with the salty pretzel and gives the fingers a cozy fall flavor. This is my personal favorite variation for Thanksgiving or fall gatherings.
I tried a version last year where I added a drop of peppermint extract to the white chocolate, and it was surprisingly good. The mint gave the fingers a cool, almost medicinal vibe that fit the witchy theme perfectly. Just don’t overdo it—peppermint extract is strong.
Serving & Storage Suggestions
These witch finger pretzel rods are best served at room temperature. The white chocolate has a nice snap when it sets, and the pretzel stays crunchy. If you serve them straight from the fridge, the chocolate will be harder and less pleasant to bite into.
Arrange them on a platter with the almond fingernails facing outward, like a hand reaching out of the dish. You can also stand them upright in a jar or mug for a more dramatic presentation. A black or dark purple plate makes the green color pop beautifully.
For a full Halloween spread, pair these with a warm mug of apple cider or a bowl of cozy French onion soup with Gruyère crostini for a savory-sweet contrast. Or serve them alongside creamy Baileys Irish cream cheesecake for an adults-only dessert table that feels indulgent and seasonal.
Storage: Store the witch fingers in an airtight container at room temperature for up to one week. Do not refrigerate them unless absolutely necessary, as the condensation can ruin the finish. If you must refrigerate, let them come to room temperature before serving.
Freezing: You can freeze these for up to a month. Place them in a single layer in a freezer-safe container with parchment paper between layers. Thaw at room temperature for about 30 minutes before serving. The texture holds up surprisingly well.
The flavors actually improve slightly after a day or two. The salt from the pretzel mingles with the sweetness of the white chocolate, and the almond flavor deepens. Just keep them away from humidity, or the pretzel will get soft.
Nutritional Information & Benefits
Let’s be honest, these are a treat, not a health food. But here is the nutritional breakdown for one witch finger (based on 12 servings):
- Calories: Approximately 180-200 calories per pretzel rod
- Fat: 9-11 grams (mostly from the white chocolate and almond)
- Carbohydrates: 22-25 grams
- Sugar: 14-16 grams
- Protein: 3-4 grams
- Sodium: 250-300 milligrams
On the plus side, almonds are a good source of vitamin E, magnesium, and healthy monounsaturated fats. So there is at least one redeeming ingredient in there. White chocolate does contain calcium from the milk solids, but it is not exactly a nutritional powerhouse.
These are not suitable for anyone with nut allergies due to the almonds. They also contain dairy and gluten, so keep that in mind for your guests. If you need a nut-free version, skip the almond fingernail and use a slivered almond or a small piece of dried apricot instead.
From a wellness perspective, I see these as a once-a-year indulgence. Halloween is about fun, not counting calories. Enjoy them, share them, and don’t overthink it.
Conclusion
These spooky witch finger pretzel rods with white chocolate are exactly what a Halloween treat should be: fun, a little creepy, and genuinely delicious. They take less than an hour to make, use ingredients you can find anywhere, and they never fail to get a reaction. Whether you are bringing them to a party, making them with your kids, or just want something festive to snack on while you watch a scary movie, these fit the bill perfectly.
I love that this recipe lets me be creative without being complicated. I can make them as subtle or as gruesome as I want, and they always turn out looking impressive even though they are ridiculously easy. That is the sweet spot for me.
Try them out and see what kind of reaction you get. I bet someone will pause before taking that first bite, and that pause is the whole point. If you come up with a fun variation—maybe bloody nails or spiced chocolate—drop it in the comments. I am always looking for new ideas, and I would love to hear how yours turn out.
Happy Halloween, and happy snacking!
Frequently Asked Questions
Can I make these witch finger pretzel rods ahead of time?
Yes, absolutely. You can make them up to a week in advance and store them in an airtight container at room temperature. Just keep them away from heat and humidity, and they will stay fresh and crunchy.
Why did my white chocolate seize up?
White chocolate is sensitive to heat and moisture. If it seizes, it means a tiny amount of water got into the bowl, or you overheated it. To avoid this, make sure your bowl and utensils are completely dry, and always microwave in short intervals, stirring well each time.
Can I use almond bark instead of white chocolate chips?
Yes, almond bark works great for this recipe. It melts smoothly, sets hard, and is often cheaper than white chocolate chips. The flavor is slightly less rich, but it is a perfectly good substitute.
How do I keep the almond fingernails from falling off?
Make sure you press the almond into the chocolate while it is still wet and warm. If the chocolate has started to set, the almond won’t stick. Work quickly, and if the chocolate thickens, reheat it for 10 seconds in the microwave.
Can I use a different color for the witch fingers?
Absolutely. Purple, orange, or even black food coloring would work. Just keep in mind that the base color will be white chocolate, so pastels and light shades work best. For a darker color, you may need to use a lot of coloring, which can affect the texture slightly.
Pin This Recipe!


Spooky Witch Finger Pretzel Rods with White Chocolate
These spooky witch finger pretzel rods are a fun and easy Halloween treat. Salty pretzel rods are dipped in green-tinted white chocolate, topped with an almond fingernail, and decorated with knuckle lines for a delightfully creepy snack.
- Total Time: 30 minutes (plus 20-30 minutes setting time)
- Yield: 12-15 servings 1x
Ingredients
- 12–15 pretzel rods (thick, sturdy ones like Snyder’s of Hanover)
- 1 cup white chocolate melting wafers (e.g., Ghirardelli) or white chocolate chips + 1 tsp coconut oil
- 12–15 whole almonds (blanched preferred, uniform size)
- Green gel food coloring (a tiny dab)
- Pink or red gel food coloring (optional, for nail bed)
Instructions
- Line a baking sheet with parchment paper or a silicone mat. Set out pretzel rods, almonds, and food coloring. Prepare a piping bag or zip-top bag with a tiny corner snipped off.
- Place white chocolate melting wafers in a microwave-safe bowl. Microwave in 30-second intervals, stirring well after each, until completely smooth and glossy (about 1.5-2 minutes total). Do not overheat.
- Dip a toothpick into green gel food coloring and stir into the melted white chocolate. Start with a tiny amount; aim for a pale, subtle green. Add more if desired.
- Hold a pretzel rod by one end and dip the other end into the green white chocolate, submerging about two-thirds. Lift and gently tap against the bowl to remove excess chocolate. Place on prepared baking sheet.
- While chocolate is still wet, press a whole almond onto the tip of the pretzel rod, pointed end outward, like a fingernail. Press gently so it stays but doesn’t sink in. Use tweezers for precision.
- Dip a toothpick into plain (uncolored) melted white chocolate and draw 2-3 horizontal lines across the pretzel rod just below the almond for knuckle wrinkles. Alternatively, use a piping bag with plain white chocolate.
- Using a clean toothpick, dip into pink or red gel food coloring and place a tiny dot at the base of the almond fingernail for the nail bed.
- Let pretzel rods sit at room temperature until chocolate is completely firm (20-30 minutes). For speed, refrigerate for 10 minutes, but watch for condensation.
- Repeat with remaining pretzel rods. Once set, add optional details like a tiny smear of red food coloring at the almond tip for a bloody look.
- Serve at room temperature. Store in an airtight container at room temperature for up to 1 week.
Notes
Work quickly when adding almonds and knuckle lines, as the chocolate sets fast. If chocolate thickens, reheat in 10-second intervals. For a vegan version, use dairy-free white chocolate and vegan pretzel rods. For a gluten-free version, use gluten-free pretzel rods.
- Prep Time: 30 minutes
- Cook Time: 0 minutes
- Category: Dessert
- Cuisine: American
Nutrition
- Serving Size: 1 witch finger pretz
- Calories: 190
- Sugar: 15
- Sodium: 275
- Fat: 10
- Saturated Fat: 5
- Carbohydrates: 23
- Fiber: 1
- Protein: 3.5
Keywords: Halloween treats, witch fingers, pretzel rods, white chocolate, spooky snacks, easy Halloween recipe


