
The power went out halfway through my visit to my neighbor Priya’s house last fall. I’d stopped by to borrow a baking dish—mine had a mysterious crack I still can’t explain—and the smell hit me before I even made it past her entryway. Something warm, nutty, and sweet was happening in her kitchen, and she was just standing there scrolling through her phone like it was no big deal.
“Oh, that’s just the apple thing I threw together,” she said when I asked. Threw together. Like she hadn’t just created the most intoxicating aroma I’d ever inhaled while standing in someone’s socks. The apples were bubbling away in this gorgeous amber liquid, and there was this crumbly oat situation on top that looked like it belonged on a magazine cover. She shrugged and handed me a spoon, still half-distracted by whatever was on her screen.
Honestly, that first bite stopped me mid-sentence. The apples were tender but not mushy, the topping had this incredible crunch, and there was this deep, almost buttery-nutty flavor running through everything that I couldn’t quite place. “Brown butter,” she said when I asked, like it was obvious. Maybe it was obvious to her, but for me, it was a revelation. I stood there eating warm apple crisp from a cereal bowl while the power flickered back on, and I knew I wasn’t leaving without that recipe—or at least the gist of it.
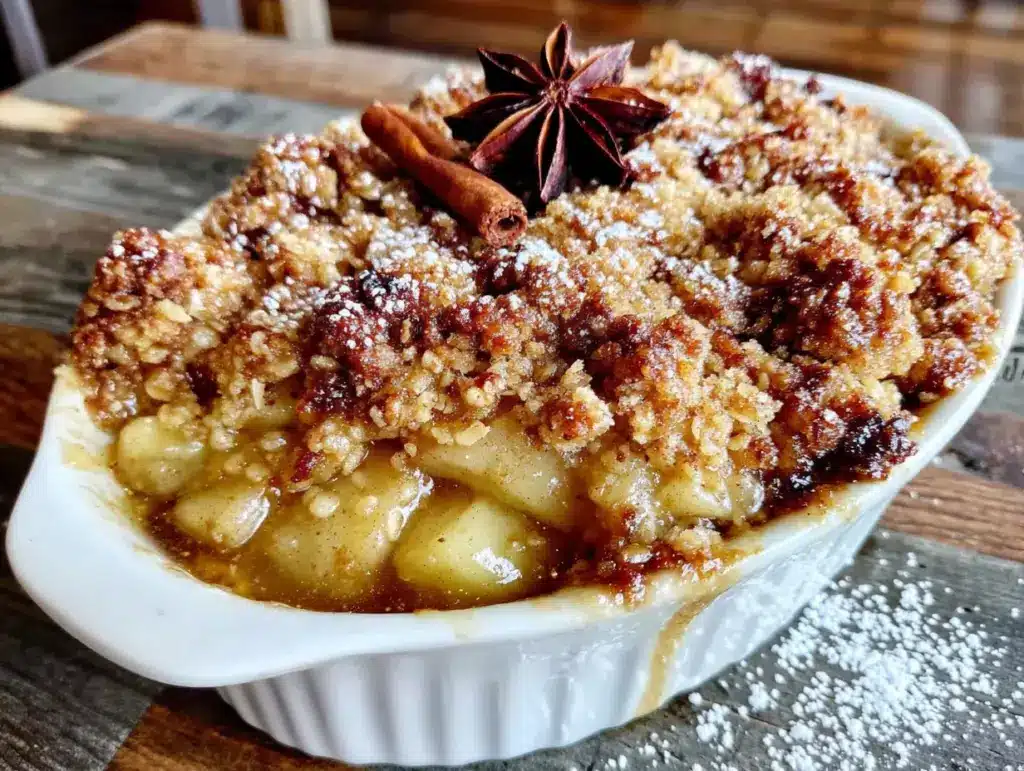
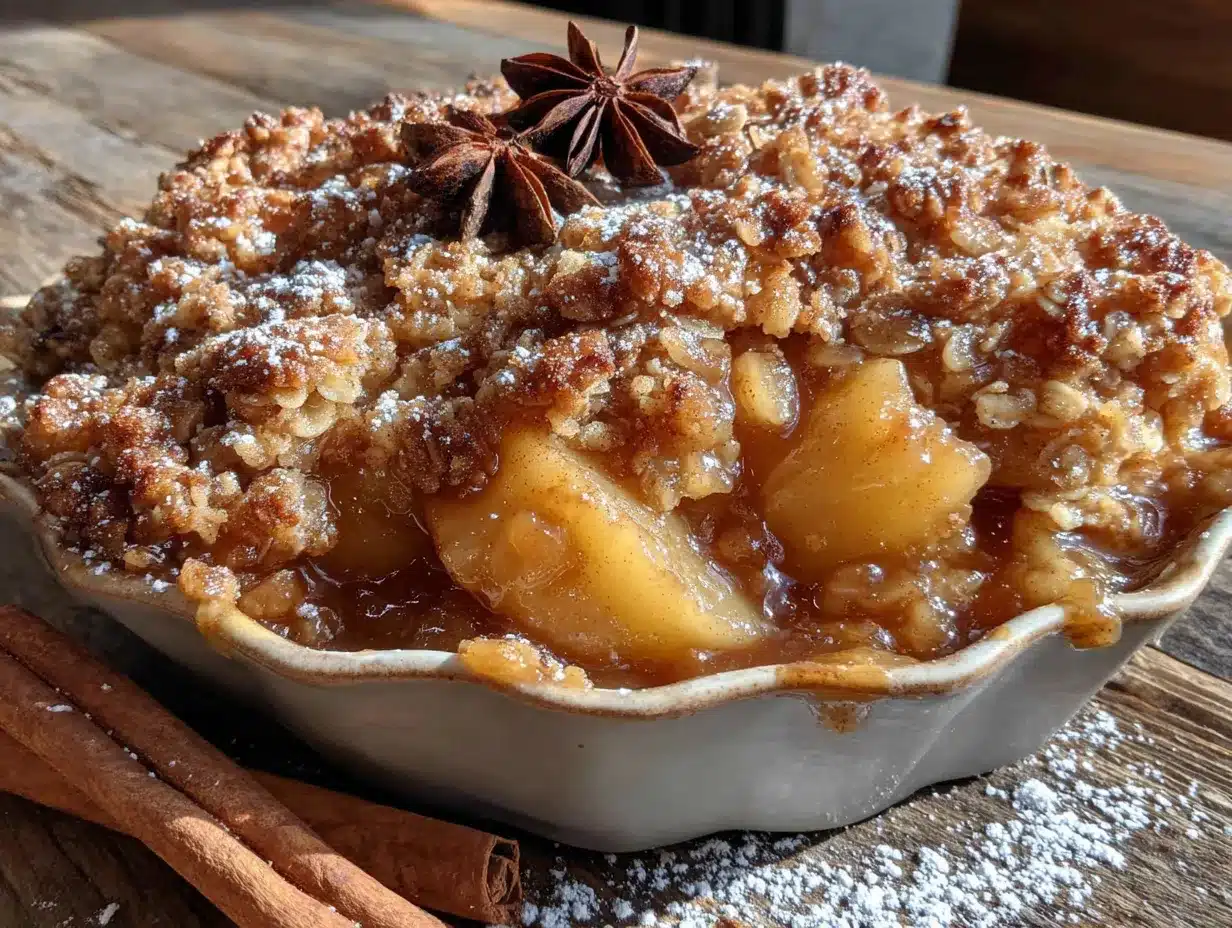
This Wholesome Brown Butter Apple Crisp with Oat Crumble is the result of about twelve attempts to recreate what Priya made look so effortless. Maybe you’ve been there—tasting something so simple yet so perfect that you can’t stop thinking about it. That’s this recipe. It’s the kind of dessert that feels fancy but comes together with ingredients you probably already have, and it’s wholesome enough that you don’t feel guilty having a second helping.
Why You’ll Love This Recipe
Let me tell you why this apple crisp has earned a permanent spot in my fall baking rotation. I’ve tested this recipe more times than I’d like to admit, tweaking the oat-to-apple ratio and the brown butter timing until everything clicked. What came out of those trials is something I’m genuinely proud to share.
- Quick & Easy: From start to table in about 50 minutes, with only 15 minutes of active prep. This is weeknight dessert territory, people.
- Simple Ingredients: Apples, oats, butter, flour, sugar, and a few pantry staples. No weird extracts or specialty flours required.
- Perfect for Fall Gatherings: Whether it’s Thanksgiving, a cozy dinner party, or just a random Tuesday that needs warming up, this crisp delivers.
- Crowd-Pleaser: I’ve served this to kids who claimed they didn’t like cooked fruit, and to adults who went back for thirds. It’s got universal appeal.
- Unbelievably Delicious: The brown butter is the secret weapon here. It adds this nutty, almost caramel-like depth that regular melted butter just can’t touch.
What makes this recipe different from the dozens of other apple crisps out there? It’s the technique of browning the butter before mixing it into the topping. That one extra step transforms the entire dish from “pretty good” to “I need this recipe immediately.” The oats toast slightly in the brown butter, creating a crumble that’s crunchy, buttery, and deeply flavorful without being heavy.
This isn’t just another apple crisp—it’s the one that makes you close your eyes after the first bite. It’s comfort food reimagined: healthier with whole oats and less refined sugar, but with the same soul-soothing satisfaction you want from a warm fruit dessert. Perfect for impressing guests without breaking a sweat, or turning a simple fall evening into something memorable.
What Ingredients You Will Need
This recipe uses simple, wholesome ingredients that work together to create something truly special. Most of these are pantry staples, which is exactly how I like my desserts to be—approachable and unfussy.
For the Apple Filling
- 6 medium apples, peeled, cored, and sliced (about 6 cups) — I prefer Honeycrisp or Granny Smith for their firm texture and balanced sweetness
- 3 tablespoons maple syrup (adds natural sweetness without refined sugar)
- 2 tablespoons lemon juice (keeps the apples from browning and brightens the flavor)
- 1 tablespoon cornstarch (helps thicken the juices into a luscious syrup)
- 1 teaspoon cinnamon (the classic apple companion)
- 1/4 teaspoon nutmeg (freshly grated if you have it—worth the extra effort)
- 1/4 teaspoon salt (balances sweetness and enhances flavor)
For the Oat Crumble Topping
- 1/2 cup unsalted butter (you’ll brown this—trust the process)
- 1 cup rolled oats (old-fashioned oats work best; avoid quick oats for better texture)
- 1/2 cup all-purpose flour (or whole wheat pastry flour for a heartier version)
- 1/3 cup packed brown sugar (light or dark—both work, dark gives deeper flavor)
- 1/4 cup chopped pecans or walnuts (optional, but adds wonderful crunch)
- 1/2 teaspoon cinnamon (for warmth)
- 1/4 teaspoon salt (don’t skip it—it makes the brown butter sing)
I use Bob’s Red Mill rolled oats for consistent texture, and I’ve found that Kerrygold butter browns particularly well due to its lower water content. For the apples, look for ones that feel heavy for their size and have no soft spots. If you’re using a mix of sweet and tart apples, even better—you’ll get more complex flavor.
For a gluten-free version, substitute the all-purpose flour with a good 1:1 gluten-free baking flour. I’ve tried this with oat flour too, and it works beautifully. If you’re dairy-free, use a high-quality vegan butter—just watch it carefully as it browns, since vegan butters can go from brown to burnt faster than regular butter.
Equipment Needed
You don’t need a fancy kitchen to make this crisp, but a few key tools make the process smoother. Here’s what I use:
- 9×9-inch baking dish (or similar 2-quart dish) — glass or ceramic works best for even baking
- Large skillet or saucepan for browning the butter (light-colored pan helps you see the color change)
- Mixing bowls — one large, one medium
- Sharp chef’s knife and cutting board for prepping apples
- Vegetable peeler (a Y-peeler makes quick work of apple skins)
- Measuring cups and spoons
- Rubber spatula for scraping every last bit of brown butter
- Cooling rack for letting the crisp set after baking
If you don’t have a 9×9 dish, an 8×8 works—just increase baking time by 5-10 minutes. A cast-iron skillet also works beautifully and looks gorgeous for serving. I’ve used my 10-inch Lodge skillet many times with great results. No need to buy anything special; just use what you have.
Preparation Method
Let’s walk through this step by step. I’ve included all the little details I wish someone had told me the first time I made this.
Step 1: Preheat and Prep
Preheat your oven to 350°F (175°C). Lightly grease your baking dish with butter or cooking spray. This prevents sticking and makes cleanup easier—trust me on this one.
Step 2: Make the Brown Butter
Place the 1/2 cup butter in a light-colored skillet or saucepan over medium heat. Let it melt completely, then swirl the pan occasionally. After about 3-4 minutes, you’ll notice the butter start to foam and turn golden. Watch closely—small brown specks will appear at the bottom, and the butter will smell nutty and amazing. This takes about 5-7 minutes total. Remove from heat immediately and pour into a heat-safe bowl to stop the cooking. Don’t walk away during this step; brown butter can go from perfect to burnt in seconds.
Step 3: Prepare the Apple Filling
In a large bowl, combine the sliced apples, maple syrup, lemon juice, cornstarch, cinnamon, nutmeg, and salt. Toss everything together until the apples are evenly coated. Let this sit while you make the topping—the apples will start releasing their juices, which is exactly what you want. The mixture should look glossy and smell incredible already.
Step 4: Make the Oat Crumble
In a medium bowl, combine the rolled oats, flour, brown sugar, chopped nuts (if using), cinnamon, and salt. Pour the warm brown butter over the dry ingredients and stir with a fork until everything is moistened and clumps form. The mixture should look like wet sand with some larger clusters—those clusters are what create those irresistible crunchy bits on top. If it seems too dry, add a tablespoon of melted butter. Too wet? Add a tablespoon more oats.
Step 5: Assemble the Crisp
Transfer the apple mixture to your prepared baking dish, spreading it into an even layer. Sprinkle the oat crumble evenly over the top, covering all the apples. Don’t press it down—you want those clumps to stay clumpy so they crisp up beautifully. Some apples will peek through, and that’s fine.
Step 6: Bake
Place the dish on a baking sheet to catch any bubbly overflow (learned this the hard way). Bake for 35-40 minutes, until the topping is golden brown and the filling is bubbling around the edges. The apples should be tender when pierced with a fork. If the topping browns too quickly, tent loosely with foil for the last 10 minutes.
Step 7: Cool and Serve
Let the crisp cool on a wire rack for at least 15 minutes before serving. This allows the filling to set up—if you dig in too soon, you’ll get apple soup. The texture should be tender apples held together by a slightly thickened, syrupy sauce, all topped with a crunchy, buttery crumble.
Cooking Tips & Techniques
I’ve made this apple crisp more times than I can count, and I’ve learned a few things the hard way. Here’s what I wish I’d known from the start.
Don’t skip the brown butter step. I know it adds an extra 5 minutes, but it’s the difference between a good crisp and an unforgettable one. The nutty, toasted flavor infuses every single oat cluster. I once tried making this with regular melted butter to save time, and my family noticed immediately. Never again.
Use a mix of apple varieties. Granny Smith gives you that tartness that balances sweetness, while Honeycrisp or Fuji add natural sugar and hold their shape well. All one variety can be one-dimensional. My favorite combination is 4 Granny Smith and 2 Honeycrisp.
Watch your butter like a hawk. My first attempt at browning butter ended with a smoking pan and a smoky kitchen. The butter goes from golden to burnt in about 30 seconds. Swirl the pan constantly once it starts foaming, and remove it from heat the second you see brown specks and smell that nutty aroma.
Let it rest. The hardest part of making this crisp is waiting those 15 minutes after it comes out of the oven. But if you serve it immediately, the filling will run everywhere. That resting time lets the cornstarch do its job and thicken the juices into a beautiful syrup.
Toast your oats first for extra crunch. If you have an extra 5 minutes, spread the oats on a baking sheet and toast them at 350°F for 5-7 minutes before mixing them into the crumble. This gives the topping an even crunchier texture that holds up beautifully, even the next day.
Variations & Adaptations
One of the things I love about this recipe is how adaptable it is. Here are some variations I’ve tried and loved.
Gluten-Free Version: Swap the all-purpose flour with a 1:1 gluten-free baking blend. I’ve used Bob’s Red Mill 1:1 with great results. Make sure your oats are certified gluten-free if needed. The texture stays remarkably similar.
Vegan Adaptation: Use vegan butter for the brown butter step. I’ve found that Miyoko’s or Country Crock Plant Butter work best for browning. Replace the maple syrup with an extra tablespoon of coconut sugar or agave. The topping won’t be quite as crunchy, but it’s still delicious.
Seasonal Fruit Swaps: In summer, try this with sliced peaches and a handful of blueberries. In winter, pears and cranberries make a gorgeous combination. Adjust the sugar based on the sweetness of your fruit—pears might need less, rhubarb will need more.
Spice It Up: Add 1/4 teaspoon cardamom or ginger to the apple mixture for a different flavor profile. A pinch of cloves works beautifully too. I sometimes add a tablespoon of bourbon or dark rum to the apples for grown-up depth.
Nut-Free Option: Skip the pecans or walnuts in the topping, or replace them with pumpkin seeds for crunch without the allergens. The crisp works perfectly fine without nuts—the oats provide plenty of texture.
Serving & Storage Suggestions
This crisp is best served warm, about 15-20 minutes after it comes out of the oven. The filling should be bubbly and thickened, the topping golden and crunchy. A scoop of vanilla ice cream is the classic pairing—the cold creaminess against the warm spiced apples is pure magic. A dollop of lightly sweetened whipped cream or a drizzle of heavy cream also works beautifully.
For a breakfast twist (no judgment here), serve leftover crisp with a spoonful of Greek yogurt. The tanginess cuts through the sweetness perfectly. It’s also wonderful with a cup of hot coffee or chai tea.
Storage: Cover the cooled crisp tightly with foil or plastic wrap and refrigerate for up to 4 days. The topping will soften over time, but the flavor actually gets better as the apples and spices meld together.
Reheating: The best way to revive leftover crisp is in a 350°F oven for 10-15 minutes. This helps re-crisp the topping. The microwave works in a pinch (about 45 seconds), but the topping will be soft. If you’re reheating just a single serving, an air fryer at 350°F for 3-4 minutes works surprisingly well.
Freezing: You can freeze the assembled but unbaked crisp for up to 3 months. Wrap the dish tightly in plastic wrap and foil. Bake from frozen, adding 15-20 minutes to the baking time. Baked crisp also freezes well—just thaw overnight in the fridge and reheat in the oven.
Nutritional Information & Benefits
This wholesome apple crisp is a dessert you can feel good about. Each serving (about 1/6 of the recipe) contains approximately:
- Calories: 320
- Fat: 14g
- Carbohydrates: 48g
- Fiber: 5g
- Sugar: 28g
- Protein: 4g
The apples provide a good dose of fiber and vitamin C, while the oats offer soluble fiber that supports heart health. Using maple syrup instead of refined sugar adds trace minerals and a lower glycemic impact. The brown butter, while indulgent, means you’re using real, minimally processed ingredients.
This recipe is naturally vegetarian and can be made gluten-free or vegan with simple swaps. It contains dairy (butter) and gluten (flour, oats) in its standard form, so adjust accordingly for allergies. The nuts are optional, making it easy to adapt for nut-free diets.
I love that this dessert satisfies a sweet craving while still feeling nourishing. It’s the kind of treat that doesn’t leave you feeling heavy or guilty—just satisfied and happy.
Conclusion
This Wholesome Brown Butter Apple Crisp with Oat Crumble is the dessert I turn to again and again, and I think you’ll understand why after that first bite. It’s simple enough for a Tuesday night but impressive enough for company. The brown butter adds a depth of flavor that makes everyone ask what your secret is, and the oat crumble delivers that perfect crunch we all crave.
What I love most about this recipe is how forgiving it is. You can swap the apples, adjust the spices, add nuts or leave them out—it always turns out beautifully. It’s the kind of recipe that builds confidence in the kitchen because it works every single time.
I’d love to hear how this turns out for you. Did you try any variations? Did your kitchen smell as amazing as mine does every time I make this? Drop a comment below and let me know—your feedback helps other home cooks decide what to make next. And if you loved it, please share this recipe with someone who needs a little fall comfort in their life.
Happy baking, friends. Go make some memories in your kitchen today.
Frequently Asked Questions
Can I use quick oats instead of rolled oats?
You can, but the texture will be different. Quick oats break down more during baking and won’t give you those nice, chunky crumble clusters. Rolled oats are worth seeking out for the best texture. If quick oats are all you have, reduce the baking time by about 5 minutes.
How do I know when the brown butter is ready?
Look for three signs: the butter will smell nutty and toasty, it will turn a golden-amber color, and you’ll see tiny brown specks forming at the bottom of the pan. The whole process takes about 5-7 minutes over medium heat. Swirl the pan constantly once it starts foaming, and remove it from heat immediately when you see those brown specks.
Can I make this ahead of time?
Absolutely. You can assemble the crisp (without baking) up to 24 hours in advance. Cover and refrigerate, then bake as directed, adding 5-10 minutes to the baking time since you’re starting from cold. Baked crisp also keeps well for 3-4 days in the fridge.
What’s the best apple for baking in this crisp?
I recommend a mix of firm, tart apples like Granny Smith and sweeter, softer apples like Honeycrisp or Fuji. The tart apples hold their shape and balance the sweetness, while the sweeter apples break down slightly and create that lovely sauce. Avoid Red Delicious or Gala, which can turn mushy.
Can I double this recipe?
Yes! Double all ingredients and bake in a 9×13-inch dish. Increase the baking time to 45-50 minutes, and check for doneness by piercing the apples with a fork. You may need to cover the topping with foil for the last 10-15 minutes if it’s browning too quickly.
Pin This Recipe!
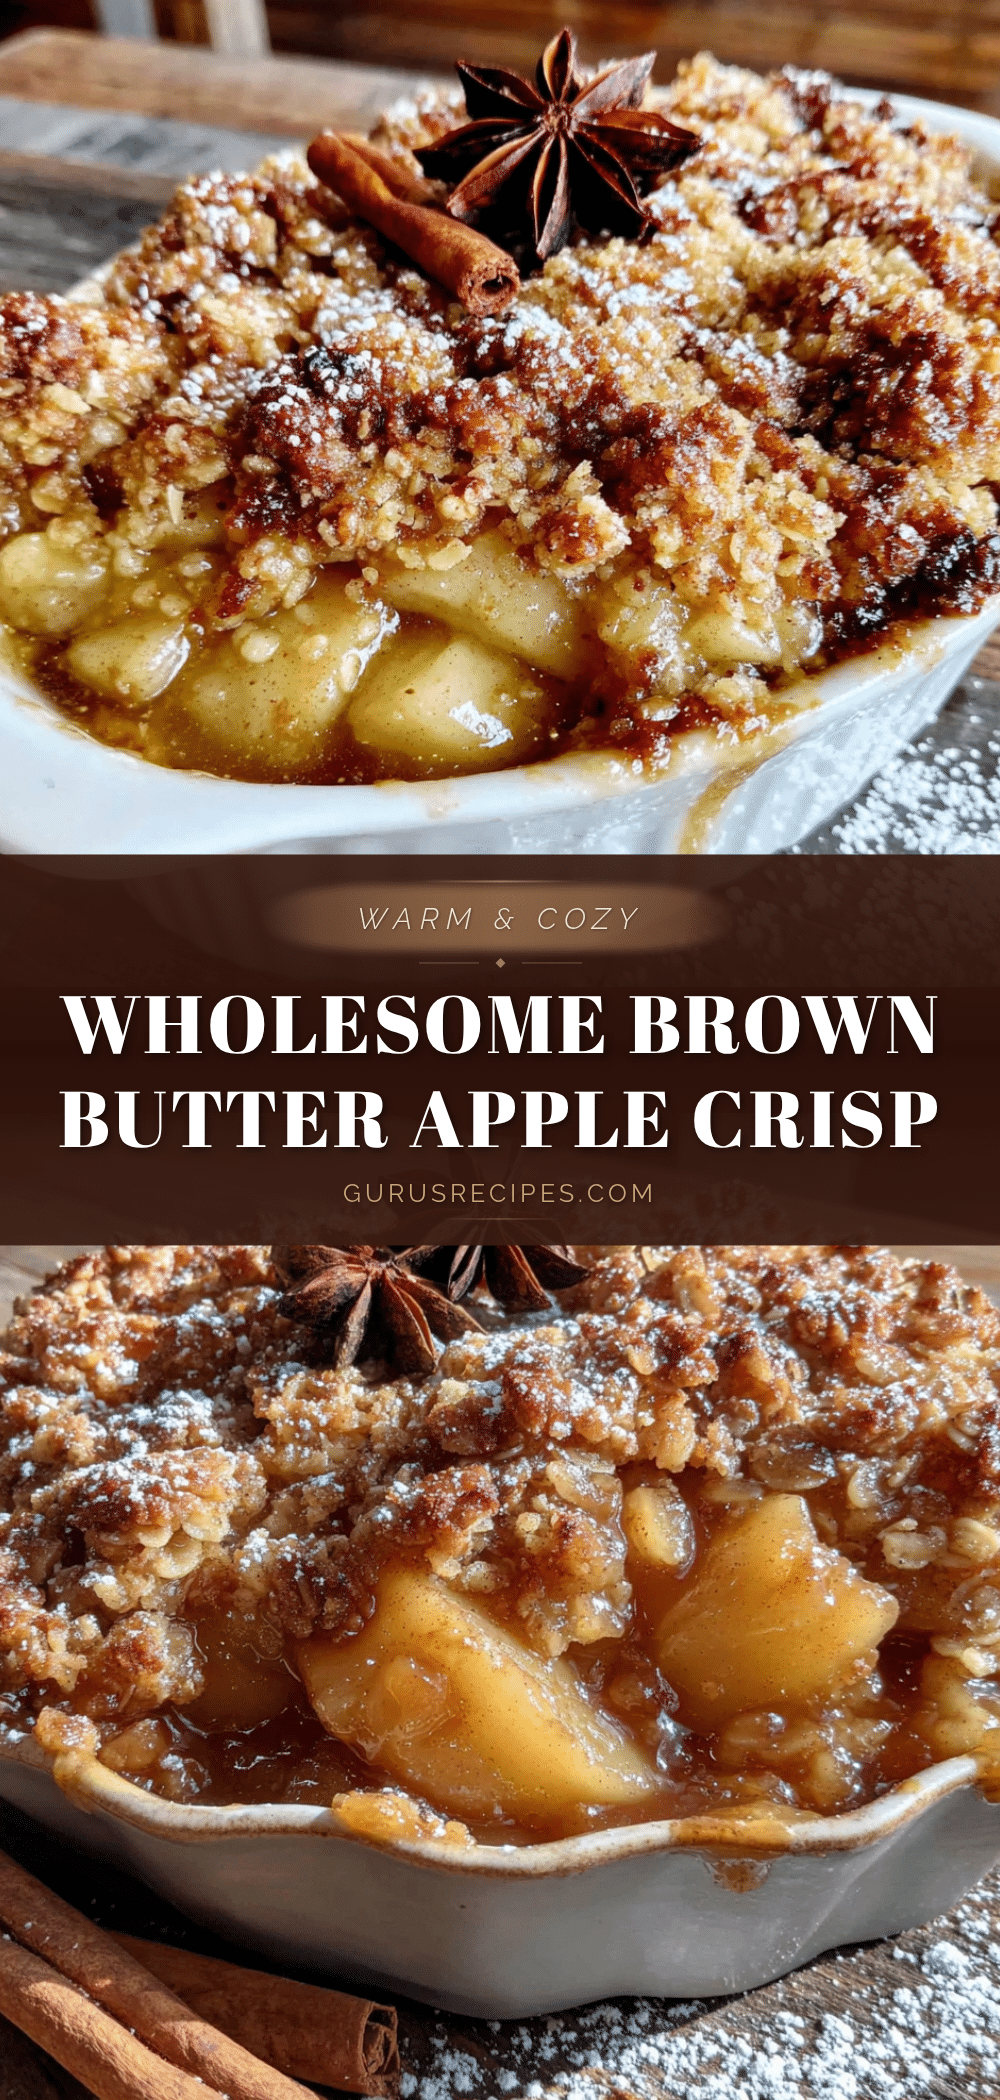

Wholesome Brown Butter Apple Crisp with Easy Oat Crumble
This Wholesome Brown Butter Apple Crisp features tender apples in a spiced syrup topped with a crunchy oat crumble. The secret is brown butter, which adds a nutty, caramel-like depth that transforms this simple dessert into something unforgettable.
- Total Time: 50 minutes
- Yield: 6 servings 1x
Ingredients
- 6 medium apples, peeled, cored, and sliced (about 6 cups)
- 3 tablespoons maple syrup
- 2 tablespoons lemon juice
- 1 tablespoon cornstarch
- 1 teaspoon cinnamon
- 1/4 teaspoon nutmeg
- 1/4 teaspoon salt
- 1/2 cup unsalted butter
- 1 cup rolled oats
- 1/2 cup all-purpose flour
- 1/3 cup packed brown sugar
- 1/4 cup chopped pecans or walnuts (optional)
- 1/2 teaspoon cinnamon
- 1/4 teaspoon salt
Instructions
- Preheat your oven to 350°F (175°C). Lightly grease your baking dish with butter or cooking spray.
- Place the 1/2 cup butter in a light-colored skillet or saucepan over medium heat. Let it melt completely, then swirl the pan occasionally. After about 3-4 minutes, the butter will start to foam and turn golden. Watch closely—small brown specks will appear at the bottom, and the butter will smell nutty. Remove from heat immediately and pour into a heat-safe bowl to stop the cooking.
- In a large bowl, combine the sliced apples, maple syrup, lemon juice, cornstarch, cinnamon, nutmeg, and salt. Toss everything together until the apples are evenly coated. Let this sit while you make the topping.
- In a medium bowl, combine the rolled oats, flour, brown sugar, chopped nuts (if using), cinnamon, and salt. Pour the warm brown butter over the dry ingredients and stir with a fork until everything is moistened and clumps form.
- Transfer the apple mixture to your prepared baking dish, spreading it into an even layer. Sprinkle the oat crumble evenly over the top, covering all the apples. Don’t press it down.
- Place the dish on a baking sheet to catch any bubbly overflow. Bake for 35-40 minutes, until the topping is golden brown and the filling is bubbling around the edges. The apples should be tender when pierced with a fork. If the topping browns too quickly, tent loosely with foil for the last 10 minutes.
- Let the crisp cool on a wire rack for at least 15 minutes before serving.
Notes
Don’t skip the brown butter step—it’s the key to the nutty flavor. Use a mix of apple varieties like Granny Smith and Honeycrisp for best results. Let the crisp rest for 15 minutes after baking to allow the filling to set. For a gluten-free version, substitute all-purpose flour with a 1:1 gluten-free baking blend. For a vegan adaptation, use vegan butter.
- Prep Time: 15 minutes
- Cook Time: 35 minutes
- Category: Dessert
- Cuisine: American
Nutrition
- Serving Size: 1/6 of recipe
- Calories: 320
- Sugar: 28
- Sodium: 200
- Fat: 14
- Saturated Fat: 8
- Carbohydrates: 48
- Fiber: 5
- Protein: 4
Keywords: apple crisp, brown butter, oat crumble, fall dessert, easy apple dessert, wholesome dessert


