
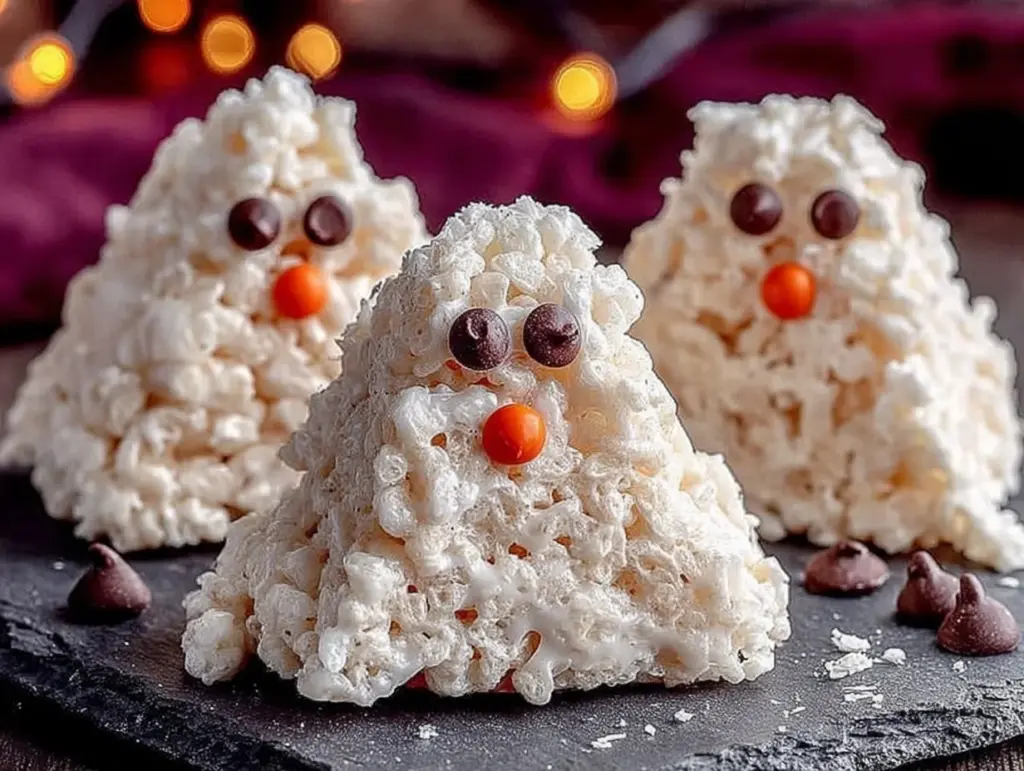
My phone buzzed with a photo of a ghost. Not a real one, obviously — a little white blob on a plate, held up by my sister-in-law’s four-year-old, grinning like he’d just conquered the world. The text underneath said, “Can you make these again for the school party?” I hadn’t even sent her the recipe yet. That was last October, and I’ve made them three times since. Honestly, I kind of love that a recipe this simple gets that kind of reaction.
These Easy Halloween Rice Krispie Ghost Treats started as a last-minute idea. I needed something for my nephew’s classroom that wasn’t loaded with artificial colors and wouldn’t fall apart in a lunchbox. The regular artisan bread I’d planned to bring felt too fancy for a room full of five-year-olds. So I grabbed a box of cereal, some marshmallows, and a few candy eyes I’d stashed away from a baking spree. Twenty minutes later, I had a tray of ghosts that looked back at me with googly-eyed charm.
What I didn’t expect was how much they’d stick. People ask for the recipe every time I bring them. They’re the kind of treat that makes you look like you put in way more effort than you actually did. And honestly? That’s my favorite kind of recipe. So here it is — the one that started with a pan, a prayer, and a four-year-old’s approval.
Why You’ll Love This Recipe
Let me tell you why these ghost treats have become my go-to for every Halloween gathering. I’ve tested them at parties, school events, and even a grown-up dinner where no one admitted they were eating “kids’ food.” Spoiler: they all went back for seconds.
- Quick & Easy: From start to finish, you’re looking at about 15 minutes of active work. The hardest part is waiting for the marshmallows to melt, and honestly, that’s not hard at all.
- Simple Ingredients: You need five things — cereal, marshmallows, butter, candy eyes, and white chocolate. That’s it. No specialty stores, no weird extracts, no hunting down obscure baking supplies.
- Perfect for Halloween: These are made for costume parties, classroom celebrations, or just a spooky movie night at home. They’re portable, kid-friendly, and don’t melt into a sad puddle like chocolate-based treats.
- Crowd-Pleaser: I’ve watched adults sneak these into their pockets. Kids love the shape. Parents love that they’re not loaded with artificial dyes. Everyone wins.
- Unbelievably Delicious: The combination of crispy cereal, gooey marshmallow, and creamy white chocolate is comfort food at its finest. It’s like a Rice Krispie treat got dressed up for Halloween and decided to stay.
What makes these different from every other Halloween treat out there? It’s the texture. Most spooky snacks are either hard candy or soft, sticky stuff. These have that perfect crunch from the cereal, a soft chew from the marshmallow, and a smooth coating of white chocolate that ties it all together. I’ve tried other versions that use food coloring or weird flavorings, but honestly, the simplicity is what makes them work. They taste like childhood, just with a ghostly makeover.
These Easy Halloween Rice Krispie Ghost Treats are the kind of recipe that makes you feel like a hero without breaking a sweat. You can make them ahead, they travel well, and they always get that reaction — the one where people’s eyes light up and they say, “Wait, you made these?” Yes. Yes, I did. And you can too.
What Ingredients You Will Need
You only need five ingredients to make these little ghosts, and chances are you already have most of them in your pantry. Here’s what you’ll need and why each one matters.
- Rice Krispies cereal (6 cups): The base of the whole operation. I’ve tried other puffed rice cereals, and honestly, the original brand gives the best texture. They stay crispy longer and hold their shape better when you’re molding the ghosts. If you’re in a pinch, store brands work fine — just check the freshness date. Stale cereal makes sad ghosts.
- Mini marshmallows (10 ounces, or about 6 cups): Mini marshmallows melt faster and more evenly than the big ones. I’ve made the mistake of using jumbo marshmallows before, and they take forever to break down. You’ll end up with a lumpy mixture that’s harder to shape. Jet-Puffed is my go-to brand, but any brand works as long as they’re fresh. Stale marshmallows get tough and won’t melt smoothly.
- Unsalted butter (3 tablespoons): Butter adds richness and helps the marshmallows melt into a silky, cohesive mixture. I use unsalted so I can control the salt level. If you only have salted butter, just skip any extra salt in the recipe. The butter also keeps the treats from sticking to your hands when you’re shaping them — more on that later.
- White chocolate melting wafers (1 cup): This is what gives the ghosts their signature white coating. I prefer Ghirardelli or Wilton brand melting wafers because they melt smoothly and set up with a nice shine. White chocolate chips work too, but they sometimes have stabilizers that make them seize up. If you’re using chips, add a teaspoon of coconut oil to help them melt smoothly. You can also use almond bark or candy melts — just look for “vanilla” flavor if you want that classic white chocolate taste.
- Candy eyes (about 30 pairs): The soul of the ghost. You can find these at any craft store or grocery store baking aisle. I like the ones that come in a mix of sizes — small eyes look cute and a little creepy at the same time. If you can’t find candy eyes, you can use black frosting in a piping bag to draw on eyes. It’s not as fast, but it works.
A quick note on substitutions: if you’re dairy-free, use vegan butter and dairy-free white chocolate. The texture will be slightly different — a little less rich — but the ghosts will still hold their shape. For a gluten-free option, Rice Krispies are naturally gluten-free, but check the label if you’re serving someone with celiac disease. Some generic brands use malt flavoring that contains gluten.
One more thing — don’t skip the butter. I tried making these with margarine once, thinking it would be healthier. The mixture was greasy and the ghosts didn’t hold their shape. Butter really does make a difference here.
Equipment Needed
You don’t need fancy equipment for these Easy Halloween Rice Krispie Ghost Treats, and that’s part of the appeal. Here’s what you’ll need to pull this off.
- Large pot (4-5 quart): You need enough room to stir the cereal into the marshmallow mixture without spilling everywhere. A non-stick pot is ideal — it makes cleanup so much easier. If you only have stainless steel, just spray it with cooking spray first.
- Rubber spatula or wooden spoon: A silicone spatula is my favorite because it scrapes the sides of the pot clean. Wooden spoils work too, but they tend to leave bits of marshmallow stuck to the wood. Either way, grease it lightly with butter or cooking spray so the mixture doesn’t stick.
- Baking sheet or large plate: You’ll need a surface to shape the ghosts on. A baking sheet lined with parchment paper or wax paper works perfectly. The ghosts won’t stick, and you can slide the whole sheet into the fridge to speed up setting.
- Small microwave-safe bowl: For melting the white chocolate. Glass bowls work best because they heat evenly. Avoid plastic — it can warp or melt if the chocolate gets too hot.
- Parchment paper or wax paper: Line your baking sheet with this. It’s non-negotiable. Trust me, you don’t want to scrape marshmallow off a bare pan.
- Optional but helpful: A small cookie scoop or melon baller can help you portion the mixture evenly. I use my hands because I like the imperfect shapes, but if you want uniform ghosts, a scoop is the way to go.
I’ve made these in a cheap pot from a discount store and they turned out just fine. You don’t need a professional kitchen setup. Just make sure everything is greased — your hands, your spatula, your pot — and you’ll be golden.
Preparation Method
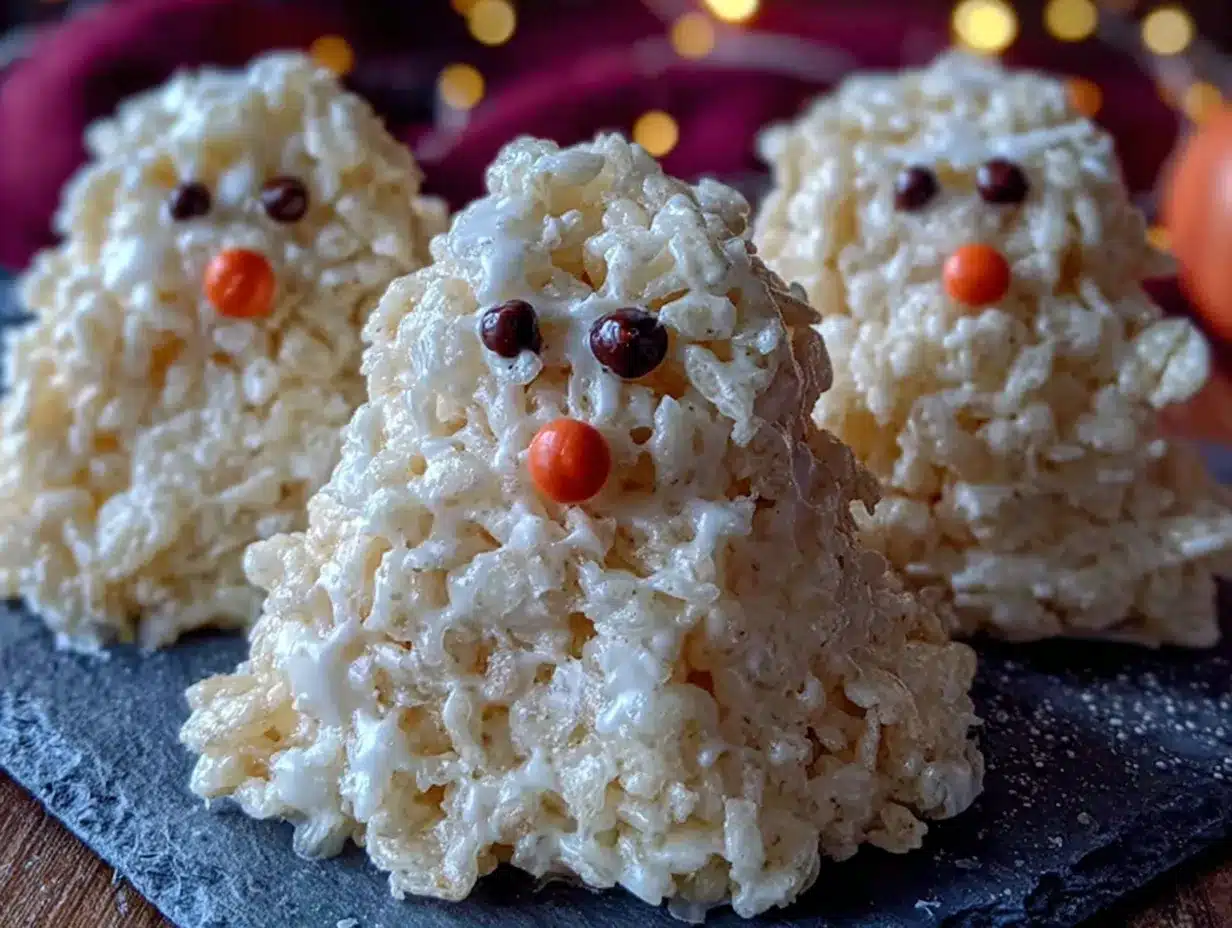
Making these Easy Halloween Rice Krispie Ghost Treats is surprisingly simple. I’ll walk you through it step by step, with all the little tricks I’ve learned from making them more times than I can count.
Step 1: Prep your workspace
Line a large baking sheet with parchment paper or wax paper. Make sure it’s big enough to hold about 15 ghosts. Lightly grease the paper with a thin layer of butter or cooking spray. This prevents sticking and makes cleanup a breeze. Set the sheet aside while you work.
Step 2: Melt the butter and marshmallows
Place a large pot over low heat. Add 3 tablespoons of unsalted butter and let it melt completely. Once the butter is melted, add the entire bag of mini marshmallows (10 ounces). Stir constantly with a greased rubber spatula. The marshmallows will start to puff up and then collapse into a smooth, gooey mass. This takes about 5-7 minutes. Don’t rush it — high heat will burn the marshmallows and give you a bitter, brown mess. I learned this the hard way when I tried to speed things up. Low and slow is the way to go.
Step 3: Add the cereal
Once the marshmallows are fully melted and smooth, remove the pot from the heat. Pour in 6 cups of Rice Krispies cereal. Fold the cereal into the marshmallow mixture using a gentle but firm motion. You want every piece of cereal coated, but you don’t want to crush the cereal into dust. It should look like a sticky, clumpy mess — that’s exactly right. Work quickly here, because the mixture starts to set as it cools.
Step 4: Shape the ghosts
Here’s where the magic happens. Lightly grease your hands with butter or cooking spray. Grab a handful of the mixture — about the size of a golf ball — and roll it into a ball. Then, gently pinch one end to form a teardrop shape. This is the ghost’s body. Flatten the bottom slightly so it stands up on its own. Place each ghost on the prepared baking sheet. Repeat until you’ve used all the mixture. You should get about 12-15 ghosts, depending on how big you make them.
Don’t stress about making them perfect. Ghosts are supposed to look a little wonky. Some of my best ones have lopsided heads or uneven bodies. It adds character. If the mixture starts to stick to your hands, just re-grease them with a little more butter.
Step 5: Let them set
Place the baking sheet in the refrigerator for about 15-20 minutes. This helps the ghosts firm up so they’re easier to dip in chocolate. If you’re in a hurry, you can skip this step, but the chocolate coating will be messier and might slide off. Patience pays off here.
Step 6: Melt the white chocolate
While the ghosts are chilling, melt the white chocolate. Place 1 cup of white chocolate melting wafers in a small microwave-safe bowl. Microwave in 30-second intervals, stirring after each one. White chocolate burns easily, so don’t walk away. It usually takes about 1-2 minutes total. Once it’s smooth and fully melted, let it cool for a minute. If the chocolate is too hot, it will melt the marshmallow coating on the ghosts.
Step 7: Dip the ghosts
Hold a chilled ghost by its base and dip the top half into the melted white chocolate. Let the excess drip off back into the bowl. Place the dipped ghost back on the parchment paper. Repeat with all the ghosts. Work quickly here — the chocolate sets fast, especially if the ghosts are cold.
Step 8: Add the eyes
While the white chocolate is still wet, press two candy eyes onto each ghost. I place them about halfway up the ghost’s “face” for that classic spooky look. If the chocolate starts to set before you add the eyes, just dab a tiny bit of melted chocolate on the back of each eye to glue it on. Let the ghosts sit at room temperature until the chocolate is fully set, about 15-20 minutes.
And that’s it. You’ve just made a batch of the cutest Halloween treats on the block. The whole process takes about 30 minutes from start to finish, including chilling time. Not bad for something that looks this impressive.
Cooking Tips & Techniques
I’ve made these Easy Halloween Rice Krispie Ghost Treats enough times to know where things can go wrong. Here are the tricks I’ve picked up along the way.
Keep everything greased. This is the number one rule. Grease your pot, your spatula, your hands, and your work surface. The marshmallow mixture is sticky, and it will stick to anything it touches. I keep a small bowl of butter next to my work station so I can re-grease my hands between ghosts. Cooking spray works too, but butter gives a richer flavor.
Don’t overheat the marshmallows. Low heat is your friend. If you crank up the heat to speed things up, the marshmallows will scorch and turn brown. You’ll end up with a bitter, unpleasant taste that ruins the whole batch. I’ve done this exactly once, and I still remember the disappointment. Keep it low, keep stirring, and be patient.
Work fast when shaping. The marshmallow mixture starts to set as soon as it cools. If you’re slow, you’ll end up with hard, crumbly ghosts that don’t hold together. I like to shape all the ghosts in one go, working as quickly as I can. If the mixture gets too stiff to shape, pop it in the microwave for 10-15 seconds to soften it up.
Chill before dipping. This step makes a huge difference. Cold ghosts hold their shape better when you dip them in chocolate. If you try to dip room-temperature ghosts, they might fall apart or the chocolate might slide right off. I usually chill mine for 20 minutes, but 15 works in a pinch.
Use a fork for dipping. If you’re struggling to dip the ghosts without getting chocolate all over your fingers, use a fork. Stick a fork into the bottom of the ghost (the flat part), dip it, and then slide it off onto the parchment paper. It’s a game-changer for messy dippers.
Let the chocolate cool slightly. Hot chocolate will melt the marshmallow coating and create a gooey mess. Let the melted chocolate sit for a minute or two before dipping. It should be warm but not hot to the touch.
Store them properly. These ghosts are best eaten within 2-3 days. Store them in an airtight container at room temperature. Don’t refrigerate them — the moisture in the fridge can make the cereal soggy. If you need to store them longer, freeze them in a single layer on a baking sheet, then transfer to a freezer bag. They’ll keep for up to a month.
Variations & Adaptations
One of the best things about this recipe is how easy it is to customize. Here are some variations I’ve tried and loved.
Chocolate ghosts: Swap the white chocolate for dark or milk chocolate. The ghosts will look like they’ve been dipped in mud, but they taste incredible. I’ve done this for a “zombie” themed party and everyone loved them. Just use the same melting method — microwave in 30-second bursts until smooth.
Gluten-free option: Rice Krispies are naturally gluten-free, but some generic brands use malt flavoring that contains gluten. If you’re serving someone with celiac disease, look for a certified gluten-free puffed rice cereal. The texture is the same, so the recipe works exactly as written.
Vegan version: Use vegan butter and dairy-free marshmallows. Dandies brand makes excellent vegan marshmallows that melt just like the real thing. For the coating, use dairy-free white chocolate or a simple glaze made from powdered sugar and plant-based milk. The texture will be slightly different — a little less rich — but the ghosts still hold their shape and taste great.
Spooky sprinkle ghosts: Before the white chocolate sets, sprinkle the ghosts with orange, black, or purple sprinkles. You can also use edible glitter for a shimmering effect. I did this for a Halloween party and the kids went wild. Just make sure the sprinkles are small enough that they don’t weigh down the chocolate.
Pumpkin spice ghosts: Add 1 teaspoon of pumpkin pie spice to the marshmallow mixture before adding the cereal. The warm spices complement the white chocolate beautifully. This is my personal favorite variation — it tastes like fall in every bite.
Mini ghosts: Use a small cookie scoop to make bite-sized ghosts. They’re perfect for snack bags or party favors. Just adjust the chilling and dipping times slightly — smaller ghosts set faster and need less chocolate.
I’ve also tried adding a pinch of cinnamon to the marshmallow mixture, and it was surprisingly good. Don’t be afraid to experiment. These ghosts are forgiving, and the worst that can happen is you end up with a tasty mistake.
Serving & Storage Suggestions
These Easy Halloween Rice Krispie Ghost Treats are best served at room temperature. The white chocolate coating should be firm but not hard, and the cereal should still have a satisfying crunch. If you’ve stored them in the fridge, let them sit out for 10-15 minutes before serving.
For presentation, I like to arrange them on a platter lined with black or orange tissue paper. The contrast makes the white ghosts pop. You can also stand them up in a cup or mason jar for a fun, spooky centerpiece. If you’re serving them at a party, add a few fake spider webs or plastic spiders around the platter for extra Halloween flair.
These ghosts pair well with other Halloween treats. I’ve served them alongside creamy loaded baked potato soup for a savory-sweet combo that always works. For a dessert table, they’re great with creamy Baileys Irish cream cheesecake for the adults. And if you’re feeling extra festive, a batch of cozy Guinness beef stew followed by these ghosts makes for a perfect Halloween dinner.
For storage, place the ghosts in an airtight container at room temperature. They’ll stay fresh for 2-3 days. If you stack them, put a layer of parchment paper between each layer to prevent sticking. Don’t refrigerate them — the moisture will make the cereal soft and the white chocolate might develop a white film (bloom). It’s still safe to eat, but it doesn’t look as nice.
To freeze, arrange the ghosts in a single layer on a baking sheet and freeze for 1-2 hours. Once they’re solid, transfer them to a freezer-safe bag or container. They’ll keep for up to a month. Thaw at room temperature for about 30 minutes before serving. The texture might be slightly softer, but they’ll still taste great.
One more tip: if you’re making these for a party, you can prepare the ghosts up to the dipping step a day ahead. Keep them in the fridge, then dip them in chocolate the day of the event. The chocolate will be fresher and shinier that way.
Nutritional Information & Benefits
Let’s be honest — these Easy Halloween Rice Krispie Ghost Treats aren’t health food. They’re a fun, indulgent treat meant for special occasions. But here’s a rough breakdown of what you’re looking at per ghost (based on 15 servings):
- Calories: approximately 180-200
- Total fat: 8-10 grams
- Saturated fat: 5-6 grams
- Carbohydrates: 28-32 grams
- Sugar: 18-22 grams
- Protein: 2-3 grams
- Sodium: 90-110 milligrams
These numbers are estimates and will vary based on the brands you use and the size of your ghosts. If you’re watching your sugar intake, you can use a sugar-free marshmallow alternative or skip the white chocolate coating entirely. The ghosts will still be cute and tasty, just not as sweet.
On the bright side, Rice Krispies are fortified with iron and B vitamins, so there’s a tiny nutritional silver lining. The butter adds a small amount of vitamin A, and the white chocolate contributes calcium. But let’s not pretend these are anything other than a fun Halloween treat. They’re meant to be enjoyed in moderation, with a side of spooky movies and good company.
If you have any dietary concerns, check the labels on your ingredients. Some white chocolate contains dairy, and some marshmallows contain gelatin (which is not vegetarian). Always read the labels if you’re serving someone with specific dietary needs.
Conclusion
These Easy Halloween Rice Krispie Ghost Treats have become a staple in my kitchen, and I think they’ll become one in yours too. They’re quick, simple, and ridiculously cute. The best part? They actually taste as good as they look. No artificial flavors, no weird textures — just the classic combination of crispy cereal, gooey marshmallow, and creamy white chocolate that everyone loves.
I love that this recipe is forgiving enough for beginners but impressive enough to fool people into thinking you spent hours on it. You can customize them a hundred different ways, and they always turn out great. Whether you’re making them for a classroom party, a Halloween gathering, or just a fun afternoon project with the kids, these ghosts deliver.
So go ahead — grab a box of cereal, a bag of marshmallows, and a handful of candy eyes. Make a mess, get sticky, and enjoy every bite. And when someone asks for the recipe? Send them my way. I’d love to hear how your ghosts turned out. Drop a comment below or tag me in your photos — I’m always looking for new variations to try.
Happy Halloween, and happy snacking!
Frequently Asked Questions
Can I make these ahead of time?
Yes, absolutely. You can make the ghosts up to 2 days ahead and store them in an airtight container at room temperature. For longer storage, freeze them for up to a month. Just thaw at room temperature before serving.
Why did my white chocolate seize up?
White chocolate is sensitive to heat and moisture. If it seizes (turns grainy or lumpy), it usually means water got into the bowl or the chocolate got too hot. To fix it, add a teaspoon of coconut oil or vegetable shortening and stir gently. If that doesn’t work, start over with fresh chocolate.
Can I use regular marshmallows instead of mini?
You can, but mini marshmallows melt faster and more evenly. If you only have jumbo marshmallows, cut them into smaller pieces before melting. They’ll take longer to break down, so be patient and keep stirring.
How do I keep the ghosts from falling apart?
Make sure you’re using enough marshmallow mixture to bind the cereal together. If the mixture feels too dry, add a few more marshmallows. Also, chilling the ghosts before dipping helps them hold their shape. And don’t skip the butter — it helps everything stick together.
Can I use a different cereal?
You can, but the texture will change. Cocoa Krispies or Fruity Pebbles work well for flavor variations. Just keep in mind that some cereals are more fragile and might break apart when you’re shaping the ghosts. Stick with puffed rice for the classic texture.
Pin This Recipe!
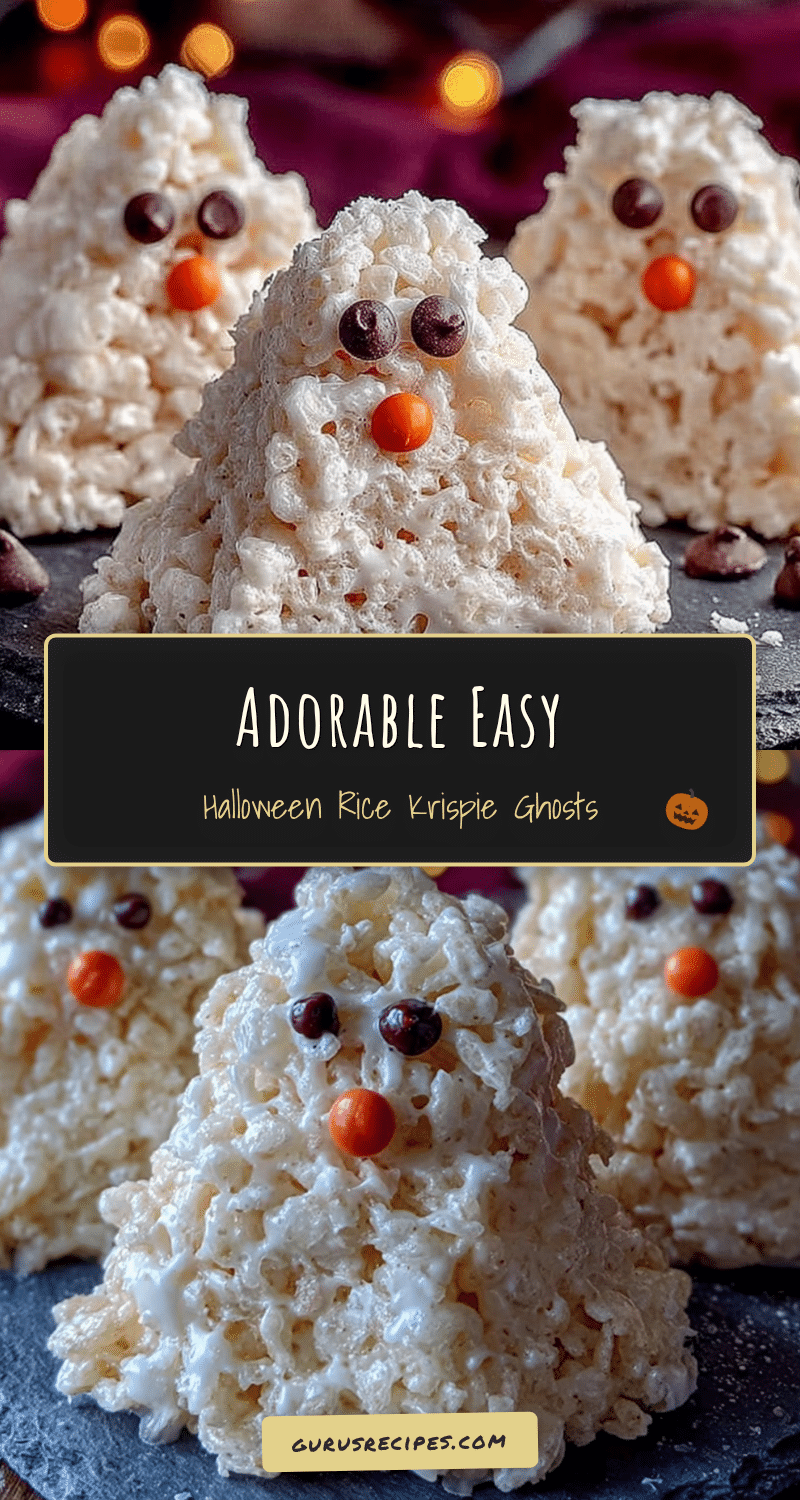

Easy Halloween Rice Krispie Ghost Treats (5 Ingredients)
These Easy Halloween Rice Krispie Ghost Treats are a quick, simple, and ridiculously cute no-bake treat made with just five ingredients. Perfect for Halloween parties, classroom celebrations, or spooky movie nights, they feature a crispy cereal and marshmallow base dipped in white chocolate with candy eyes.
- Total Time: 30 minutes
- Yield: 12-15 servings 1x
Ingredients
- 6 cups Rice Krispies cereal
- 10 ounces mini marshmallows (about 6 cups)
- 3 tablespoons unsalted butter
- 1 cup white chocolate melting wafers
- Candy eyes (about 30 pairs)
Instructions
- Line a large baking sheet with parchment paper or wax paper and lightly grease with butter or cooking spray.
- In a large pot over low heat, melt 3 tablespoons unsalted butter. Add 10 ounces mini marshmallows and stir constantly with a greased rubber spatula until completely melted and smooth, about 5-7 minutes.
- Remove pot from heat and pour in 6 cups Rice Krispies cereal. Fold gently until every piece of cereal is coated.
- Lightly grease your hands with butter or cooking spray. Grab a golf ball-sized handful of the mixture, roll into a ball, then pinch one end to form a teardrop shape. Flatten the bottom slightly so it stands up. Place on prepared baking sheet. Repeat with remaining mixture to make 12-15 ghosts.
- Refrigerate the ghosts for 15-20 minutes to firm up.
- In a small microwave-safe bowl, melt 1 cup white chocolate melting wafers in 30-second intervals, stirring after each, until smooth (about 1-2 minutes). Let cool for 1 minute.
- Hold each chilled ghost by its base and dip the top half into the melted white chocolate. Let excess drip off, then place back on parchment paper.
- While the white chocolate is still wet, press two candy eyes onto each ghost. Let sit at room temperature until chocolate is fully set, about 15-20 minutes.
Notes
Keep everything greased to prevent sticking. Work quickly when shaping ghosts as the mixture sets fast. Chill ghosts before dipping in chocolate for best results. Store in an airtight container at room temperature for 2-3 days, or freeze for up to a month. For dairy-free, use vegan butter and dairy-free white chocolate. For gluten-free, ensure cereal is certified gluten-free.
- Prep Time: 15 minutes
- Cook Time: 5 minutes
- Category: Dessert
- Cuisine: American
Nutrition
- Serving Size: 1 ghost
- Calories: 190
- Sugar: 20
- Sodium: 100
- Fat: 9
- Saturated Fat: 5.5
- Carbohydrates: 30
- Protein: 2.5
Keywords: Halloween treats, Rice Krispie treats, ghost treats, no-bake dessert, easy Halloween recipe, 5-ingredient recipe, kid-friendly Halloween


