
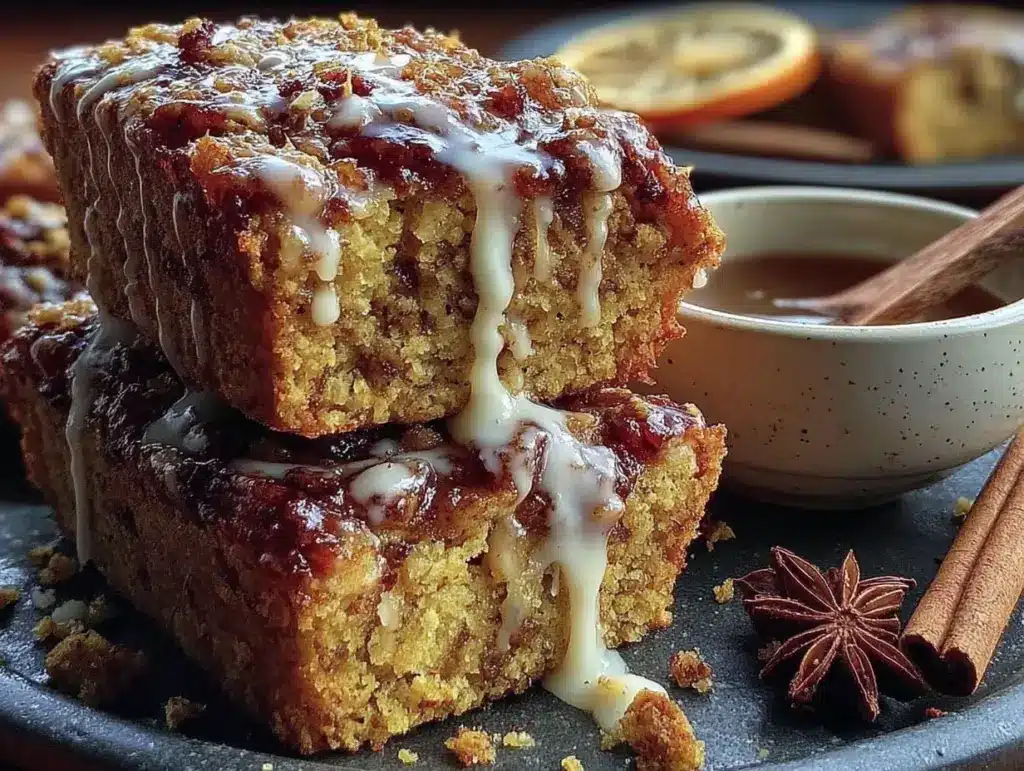
“These are better than the coffee shop ones,” my neighbor Linda said, handing me a paper napkin with a still-warm scone sitting in the middle of it. It was a random Tuesday morning, and I was outside trying to wrangle a hose that had somehow tied itself into a knot. The maple smell hit me before I even took a bite—and honestly, I haven’t looked at a store-bought pastry the same way since.
That moment sent me straight into the kitchen, determined to recreate that flaky, tender, maple-kissed magic from scratch. There’s something about a good pumpkin scone that feels like a warm hug on a crisp autumn morning, but finding one that’s actually flaky—not dry or cakey—is surprisingly hard. Most versions turn out dense, or they’re so loaded with sugar that you can’t taste the pumpkin at all.
After about six batches (and one memorable failure where my butter melted into a sad puddle), I landed on this recipe. These maple pumpkin scones have that perfect, shatteringly flaky texture on the outside, with a soft, almost creamy interior. And the cinnamon glaze? It’s not optional—it’s the whole point. Each bite is like fall decided to throw a party in your mouth, and everyone’s invited.
So if you’ve been hunting for a pumpkin scone recipe that actually delivers on texture and flavor, stick around. This one’s a keeper, and I promise it’s easier than you think.
Why You’ll Love These Maple Pumpkin Scones
I’ve tested this recipe more times than I care to admit, tweaking the butter temperature, the glaze ratio, even the brand of pumpkin puree. What I landed on is a scone that nails every single thing you want from a bakery-style pastry—without the drive or the price tag.
- Quick & Easy : From mixing bowl to cooling rack in under 35 minutes. No yeast, no rising time, no fuss.
- Simple Ingredients : You probably have most of this in your pantry right now. No weird specialty flours or hard-to-find extracts.
- Perfect for Fall Mornings : These scones are made for cozy weekends, Thanksgiving brunch, or that first chilly day when you just need something warm and spiced.
- Crowd-Pleaser : I’ve brought these to potlucks and family gatherings, and they disappear faster than anything else on the table. Kids and adults both go crazy for them.
- Unbelievably Flaky : The secret is in the technique—cold butter, minimal handling, and a little trick with layering that gives you those beautiful, craggy layers.
What makes these scones different from all the other pumpkin scone recipes out there is the balance. So many versions are either too sweet or too dry, but this one uses just enough maple syrup to complement the pumpkin without overwhelming it, and the cinnamon glaze adds that final punch of warmth. It’s comfort food that feels a little special—but not fussy.
Honestly, the first time I bit into one of these, I closed my eyes. That’s the kind of recipe this is. It’s the scone you’ll want to make on repeat, the one your friends will start asking for by name.
What Ingredients You Will Need
This recipe uses simple, everyday ingredients to create something that tastes anything but ordinary. The magic comes from how they work together—cold butter creating steam pockets, pumpkin adding moisture, and maple syrup bringing that deep, earthy sweetness.
- All-purpose flour (2 ½ cups / 300g) – Provides structure without making the scones tough. Spoon and level it for accuracy, don’t scoop directly from the bag.
- Granulated sugar (⅓ cup / 65g) – Just enough to sweeten without overpowering the pumpkin. I use regular white sugar here, but organic cane sugar works too.
- Baking powder (1 tablespoon) – Fresh baking powder is crucial. If yours has been sitting in the cabinet for a year, go buy a new can—it makes a real difference in rise.
- Pumpkin pie spice (2 teaspoons) – You can use store-bought or make your own with cinnamon, nutmeg, ginger, and cloves. I actually prefer the homemade blend for a fresher flavor.
- Ground cinnamon (1 teaspoon) – For extra warmth in the scone dough itself. I use Saigon cinnamon when I can find it—it’s stronger and a little sweeter.
- Salt (½ teaspoon) – Balances the sweetness and brings out the pumpkin flavor. Don’t skip it.
- Unsalted butter (½ cup / 113g, cold and cubed) – This is the most important ingredient for flakiness. Keep it in the fridge until the very last second, and cube it into small pieces.
- Pumpkin puree (½ cup / 120g) – Not pumpkin pie filling. Make sure you’re using 100% pure pumpkin puree. Libby’s is my go-to brand for consistent texture and moisture content.
- Heavy cream (⅓ cup / 80ml, plus more for brushing) – Adds richness and helps create tender layers. Whole milk works in a pinch, but heavy cream gives the best texture.
- Pure maple syrup (¼ cup / 60ml) – Real maple syrup only, please. The artificial stuff has a weird aftertaste that doesn’t work here. Grade A dark amber is my preference for its stronger maple flavor.
- Vanilla extract (1 teaspoon) – Enhances the warmth of the spices and rounds out the maple flavor.
For the Cinnamon Glaze:
- Powdered sugar (1 ½ cups / 180g) – Sift it if it’s lumpy. Nobody wants a clumpy glaze.
- Ground cinnamon (1 teaspoon) – The star of the glaze. Fresh cinnamon makes a noticeable difference here.
- Pure maple syrup (2 tablespoons) – Adds that extra maple kick to the glaze.
- Heavy cream or milk (2-3 tablespoons) – Adjust for consistency. You want it thick enough to coat the back of a spoon but thin enough to drizzle.
Equipment Needed
You don’t need a professional bakery setup to make these scones, but a few specific tools make the process much smoother. Here’s what I use every time:
- Large mixing bowl – For combining dry ingredients. Any big bowl works, but I prefer a wide one for easier mixing.
- Pastry cutter or two forks – For cutting the cold butter into the flour. A pastry cutter is faster, but forks work perfectly fine if that’s what you have.
- Box grater – This is my secret weapon. Freezing the butter and grating it into the flour gives you perfectly distributed pieces without overworking the dough. Game changer.
- Baking sheet – Line it with parchment paper for easy cleanup and even baking.
- Parchment paper – Non-negotiable for preventing sticking and promoting even browning.
- Bench scraper – Great for cutting the scone dough into triangles without squishing the layers. A sharp knife works too.
- Pastry brush – For brushing the tops with cream before baking. This gives them that golden, slightly glossy finish.
- Wire cooling rack – Essential for letting the glaze set properly without making the bottoms soggy.
- Whisk – For making the glaze smooth and lump-free.
I bought my pastry cutter for about eight bucks at a kitchen supply store, and it’s paid for itself a hundred times over. But honestly, if you have a box grater and a sharp knife, you’re good to go.
Preparation Method
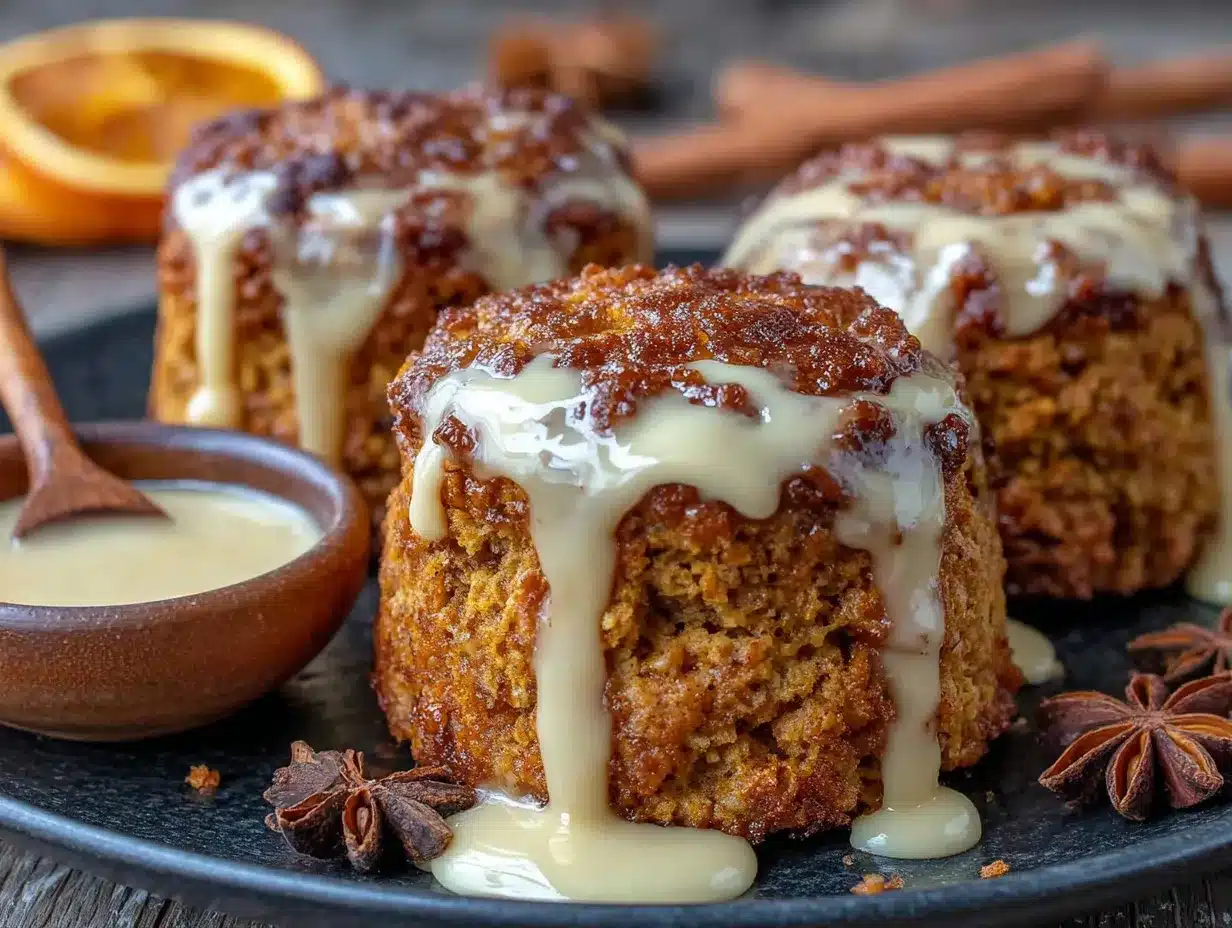
Making these scones is surprisingly straightforward, but there are a few key moments where attention to detail makes all the difference. Follow these steps, and you’ll have bakery-quality scones coming out of your own oven.
- Preheat your oven to 400°F (200°C) and line a baking sheet with parchment paper. Getting the oven hot before you start mixing is important—cold dough hitting a hot oven creates that initial burst of steam that builds flaky layers.
- In a large mixing bowl, whisk together the all-purpose flour, granulated sugar, baking powder, pumpkin pie spice, ground cinnamon, and salt. Make sure everything is evenly distributed so you don’t get a pocket of baking powder in one bite.
- Grate your cold butter using the large holes of a box grater. This is my favorite trick—it distributes the butter evenly without you having to work it in by hand. If the butter starts to soften, pop the grated pieces back in the fridge for 5 minutes. Toss the grated butter into the flour mixture and gently toss with a fork until each piece is coated. You’re looking for pea-sized butter pieces throughout the flour.
- In a separate small bowl, whisk together the pumpkin puree, heavy cream, maple syrup, and vanilla extract until smooth. The mixture should be a uniform orange color with no streaks of cream.
- Make a well in the center of the flour mixture and pour in the wet ingredients. Use a fork or your hands to mix until just combined—stop as soon as the dough comes together. Overmixing is the number one killer of flaky scones. A few dry spots are totally fine at this stage.
- Turn the dough out onto a lightly floured surface. Gently bring it together with your hands, patting it into a rough rectangle about ¾-inch thick. Here’s the layering trick: fold the dough in half, gently pat it back into a rectangle, and repeat once more. This creates those beautiful, flaky layers. Don’t knead—just fold and pat.
- Pat the dough into a 6-inch circle about ¾ to 1 inch thick. Use a sharp bench scraper or knife to cut the circle into 8 equal wedges, like a pizza. Transfer the wedges to your prepared baking sheet, spacing them about 2 inches apart. They won’t spread much, but they need a little breathing room.
- Brush the tops of the scones with a little extra heavy cream. This helps them brown beautifully and gives the tops a slight sheen. If you want an extra crunchy top, sprinkle a little coarse sugar over the cream.
- Bake for 14-18 minutes, or until the scones are golden brown on the edges and a toothpick inserted into the center comes out clean. My oven runs hot, so I check at 14 minutes and go from there. The bottoms should be lightly browned, not burnt.
- Let the scones cool on the baking sheet for 5 minutes, then transfer them to a wire cooling rack. Let them cool completely before glazing—if you glaze them while they’re warm, the glaze will melt into a puddle instead of setting nicely.
- While the scones cool, make the cinnamon glaze. In a small bowl, whisk together the powdered sugar, ground cinnamon, and maple syrup. Add heavy cream or milk one tablespoon at a time until you reach a thick but drizzle-able consistency. It should flow slowly off the whisk.
- Drizzle the glaze over the cooled scones using a spoon or a piping bag with the tip cut off. Let the glaze set for about 10 minutes before serving. If you’re impatient like me, you can eat them sooner—the glaze just won’t be as firm.
Cooking Tips & Techniques
After making these scones more times than I can count, I’ve picked up a few tricks that make the process smoother and the results more consistent. Here are the things I wish I’d known from the start:
- Keep everything cold. This is the golden rule of flaky scones. If your kitchen is warm, pop the shaped scones in the fridge for 15 minutes before baking. Cold butter creates steam as it melts in the oven, which creates those airy layers. Warm butter just melts into the dough and makes them dense.
- Don’t twist the cutter. If you’re using a round biscuit cutter instead of cutting wedges, press straight down without twisting. Twisting seals the edges and prevents the scones from rising properly. Same principle applies to cutting wedges—use a sharp, clean cut.
- Measure your flour correctly. Spoon it into your measuring cup and level it off with a knife. Scooping directly from the bag packs the flour down and gives you way too much, which leads to dry, crumbly scones. I learned this the hard way after a particularly sad batch.
- Bake from frozen for convenience. You can freeze the unbaked scone wedges on a baking sheet, then transfer them to a freezer bag. Bake them straight from frozen, adding 2-3 minutes to the baking time. Fresh scones any morning, with zero effort.
- Test your baking powder. If it’s been a while since you bought it, test it by dropping a teaspoon into hot water. If it bubbles vigorously, it’s good. If it barely fizzes, toss it and buy new. Old baking powder is the most common reason for flat, dense scones.
- Use a light hand. The less you handle the dough, the more tender the scones will be. Mix until just combined, pat gently, and don’t be tempted to reroll the scraps. I usually just press the scraps together for one slightly ugly but still delicious scone.
Variations & Adaptations
One of the best things about this recipe is how flexible it is. I’ve tried several variations over the years, and they all turned out fantastic in their own way. Here are some of my favorites:
- Gluten-Free Option : Substitute the all-purpose flour with a 1:1 gluten-free baking blend that contains xanthan gum. I’ve had great results with King Arthur’s Measure for Measure flour. The texture will be slightly more tender and less flaky, but still delicious. Add an extra tablespoon of cream to compensate for the drier gluten-free flour.
- Vegan Version : Use cold vegan butter (I recommend Miyoko’s or Earth Balance) and replace the heavy cream with full-fat coconut cream. The maple syrup is already vegan-friendly. The scones won’t be quite as flaky, but they’ll still be tender and flavorful. Brush the tops with a little coconut cream before baking.
- Extra Spicy : Add ¼ teaspoon of ground ginger and a pinch of ground cloves to the dry ingredients for a more complex spice profile. This version pairs beautifully with a chai latte or a hot cup of spiced apple cider.
- Maple Pecan Crunch : Fold ½ cup of toasted, chopped pecans into the dough along with the wet ingredients. The nuts add a wonderful crunch and toasty flavor that complements the maple syrup. Toast the pecans first for maximum flavor—about 5 minutes in a 350°F oven.
- Dark Chocolate Drizzle : Instead of the cinnamon glaze, melt ½ cup of dark chocolate chips with a teaspoon of coconut oil and drizzle over the cooled scones. The bitterness of the dark chocolate is a perfect counterpoint to the sweet maple and pumpkin.
- Savory-Sweet Twist : Reduce the sugar to 2 tablespoons and add ½ teaspoon of black pepper and a pinch of cayenne to the dry ingredients. The heat plays surprisingly well with the pumpkin and maple. This one’s not for everyone, but I love it with a sharp cheddar cheese spread.
I once made a batch with the maple pecan crunch variation for a fall brunch, and they were gone before the main course even came out. That’s when I knew this recipe was special.
Serving & Storage Suggestions
These scones are best enjoyed the day they’re made, but they still hold up beautifully for a day or two if stored properly. Here’s how to get the most out of them:
- Serving temperature : Serve at room temperature or slightly warm. If you’re reheating, pop them in a 300°F oven for 5-7 minutes—this revives the flaky texture better than a microwave, which can make them soggy.
- Presentation ideas : Arrange the scones on a wooden board or a cake stand, drizzle the glaze in a zigzag pattern, and garnish with a few fresh rosemary sprigs or cinnamon sticks for a rustic fall look. They’re gorgeous on a brunch table.
- Pairings : These scones are perfect with a hot cup of coffee, a chai latte, or a spiced apple cider. For a more indulgent treat, serve them with a dollop of clotted cream or a smear of salted butter. They also pair surprisingly well with a creamy Irish coffee tiramisu for an over-the-top dessert spread.
- Storage : Store glazed scones in an airtight container at room temperature for up to 2 days. If you stack them, place a piece of parchment paper between layers to prevent the glaze from sticking. For longer storage, keep them in the refrigerator for up to 5 days.
- Freezing : Freeze unglazed scones in a freezer-safe bag or container for up to 3 months. Thaw at room temperature, then reheat in the oven and glaze fresh. The glaze doesn’t freeze well, so always add it after thawing.
- Flavor development : Interestingly, the pumpkin and maple flavors actually deepen after a day in the fridge. Some people prefer day-old scones for this reason. The texture won’t be as flaky, but the flavor will be more pronounced.
If you’re planning a brunch or holiday gathering, you can make the scones a day ahead, store them unglazed, and add the glaze just before serving. It’s a huge time-saver and nobody will know they weren’t baked that morning.
Nutritional Information & Benefits
Let’s be real—these scones are a treat, not a health food. But they do have a few redeeming qualities worth mentioning. Here’s the estimated nutritional breakdown per scone (based on 8 servings):
- Calories : Approximately 320-350 per scone
- Fat : 14g (9g saturated)
- Carbohydrates : 48g (24g sugar)
- Protein : 4g
- Fiber : 2g
- Sodium : 280mg
Health highlights : Pumpkin is packed with vitamin A (in the form of beta-carotene), which supports eye health and immune function. It’s also a good source of fiber, which helps with digestion and keeps you feeling full. The cinnamon in the glaze has anti-inflammatory properties and may help regulate blood sugar levels—though obviously the sugar in the glaze balances that out a bit.
Dietary considerations : This recipe contains gluten and dairy. For a gluten-free version, see the variations section above. For a dairy-free version, use vegan butter and coconut cream as suggested. The recipe is egg-free and nut-free as written (unless you add the pecan variation).
Potential allergens : Wheat (gluten), dairy (butter, heavy cream). Always check your labels if you’re serving someone with allergies, especially with the pumpkin puree and maple syrup.
I like to think of these scones as a “sometimes food”—perfect for special occasions, cozy weekends, or when you just need a little fall comfort. Balance is everything, and one of these scones with a cup of coffee is a beautiful way to start a Saturday morning.
Conclusion
These maple pumpkin scones with cinnamon glaze are everything I want in a fall pastry—flaky, tender, warmly spiced, and just sweet enough without being cloying. They’ve become my go-to for brunches, holiday mornings, and those quiet afternoons when I need something homemade to make the house feel cozy.
What I love most about this recipe is how forgiving it is. Even the “ugly” scones taste amazing, and the process itself is genuinely enjoyable. There’s something meditative about cutting cold butter into flour, folding the dough gently, and watching those golden triangles emerge from the oven. It feels like a small act of creation that pays off in the most delicious way.
I’d love to hear how these turn out for you. Did you try any of the variations? Did you add your own twist? Drop a comment below and let me know—I read every single one, and your feedback helps me make these recipes even better. And if you’re looking for another cozy fall treat, you might enjoy this homemade strawberry galette with vanilla glaze for when you want something a little more rustic but equally satisfying.
Happy baking, friends. May your butter be cold and your scones be flaky.
Frequently Asked Questions
Can I use canned pumpkin pie filling instead of pumpkin puree?
No, I wouldn’t recommend it. Pumpkin pie filling is pre-sweetened and spiced, which will throw off the sugar and spice balance in this recipe. Stick with 100% pure pumpkin puree for the best results. Libby’s is my go-to brand, but store brands work fine too—just make sure the label says “pumpkin” not “pumpkin pie mix.”
Why did my scones turn out dry and crumbly?
This usually happens for one of three reasons: too much flour (measure it correctly by spooning and leveling), overmixing the dough (stop as soon as it comes together), or baking them too long (check at 14 minutes). Also, make sure your pumpkin puree isn’t too watery—if it looks thin, let it drain in a fine-mesh strainer for 10 minutes before using.
Can I make the dough ahead of time and bake later?
Absolutely. Shape the scone wedges, place them on a parchment-lined baking sheet, and refrigerate for up to 24 hours. You can also freeze them for up to 3 months. Bake straight from the fridge or freezer, adding 2-3 minutes to the baking time if frozen. This is a great option for holiday mornings when you want fresh scones without the early morning work.
How do I get my scones to rise higher?
Three things help: make sure your baking powder is fresh (test it if you’re unsure), keep the butter very cold, and don’t twist when cutting the scones. A sharp, clean cut allows the scones to rise evenly. Also, chilling the shaped scones for 15-20 minutes before baking gives them an extra lift. And if you want even taller scones, you can shape the dough into a rectangle instead of a circle and cut it into squares—they’ll rise more than wedges.
Can I skip the cinnamon glaze?
You can, but I wouldn’t. The glaze is what takes these scones from good to unforgettable. The cinnamon in the glaze complements the pumpkin pie spice in the scones perfectly, and the maple syrup adds another layer of sweetness. If you really want to skip it, try a simple maple drizzle instead: whisk together ½ cup powdered sugar with 2 tablespoons maple syrup and a splash of milk. It’s simpler but still delicious.
Pin This Recipe!
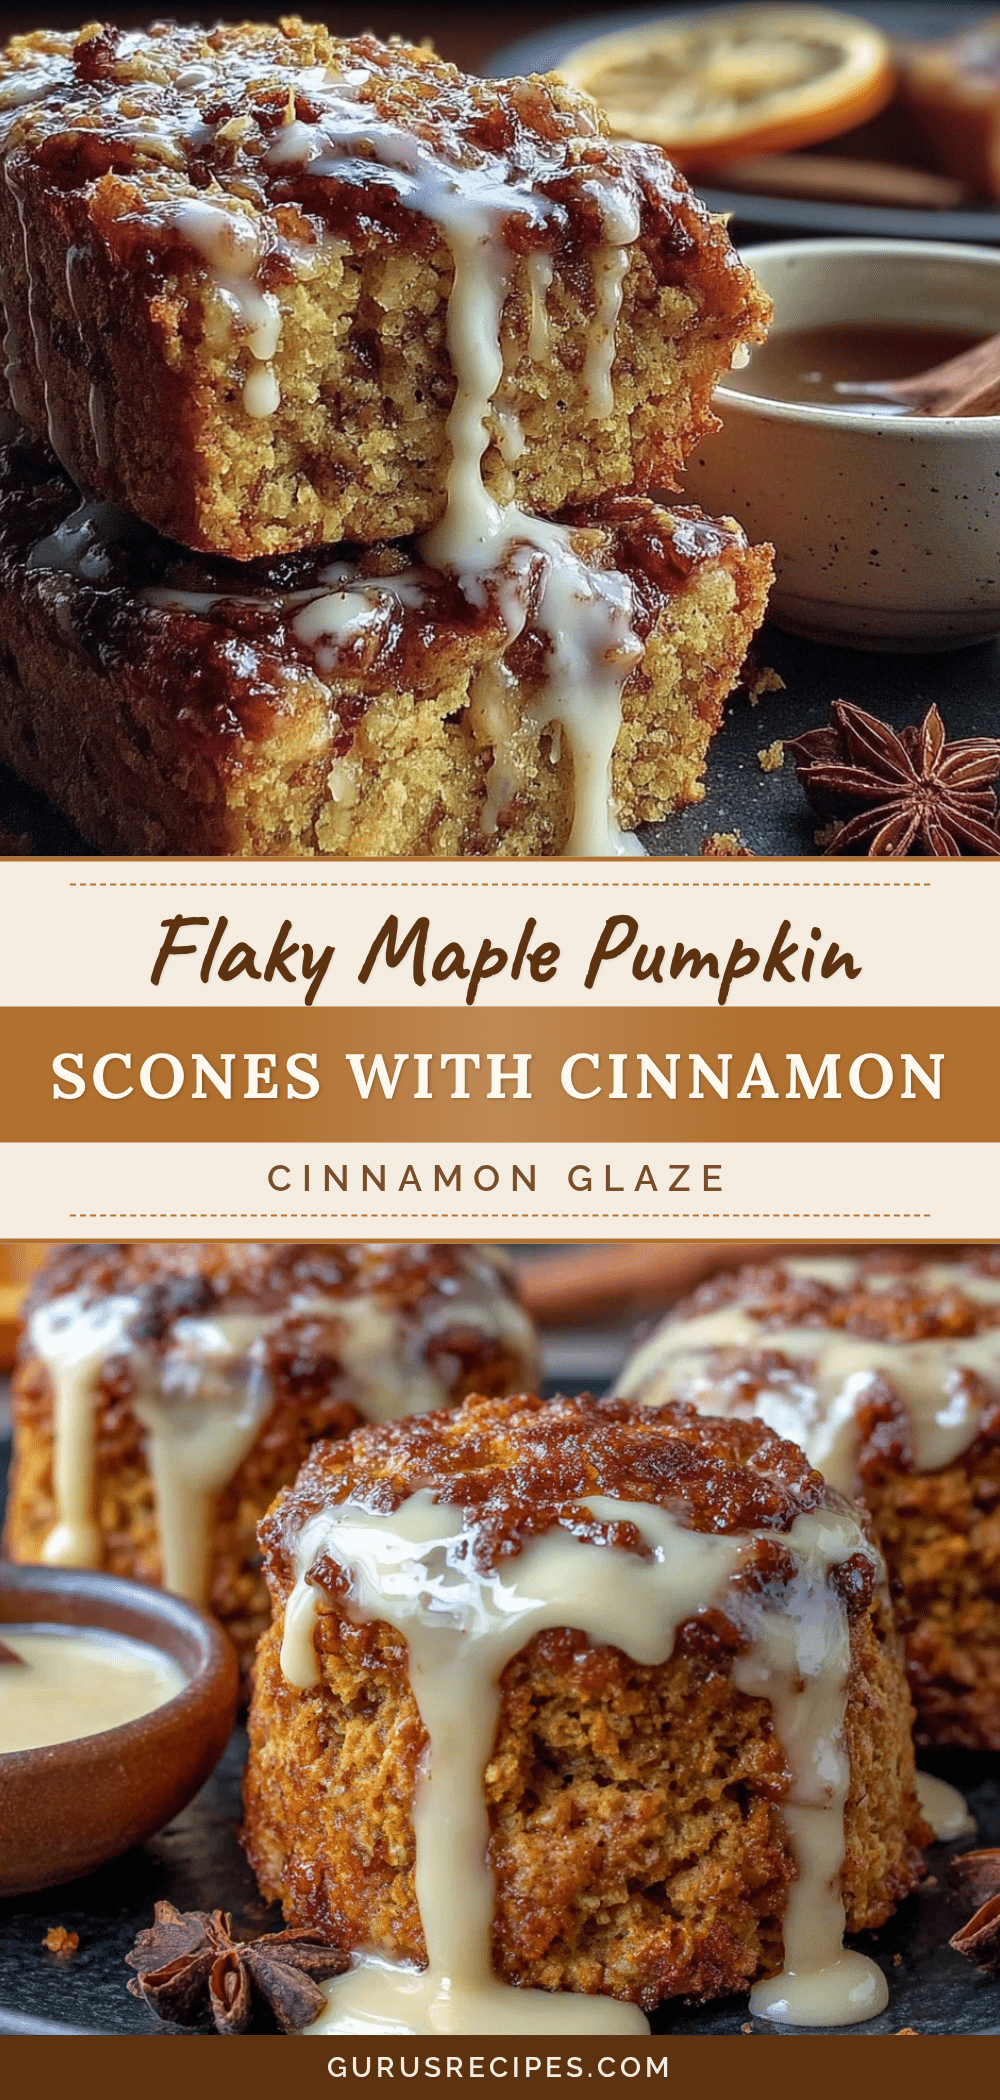

Best Easy Maple Pumpkin Scones with Cinnamon Glaze
These flaky, tender maple pumpkin scones are topped with a cinnamon glaze, making them the perfect fall treat. Quick and easy to make, they’re a crowd-pleaser for cozy mornings or holiday brunches.
- Total Time: 33 minutes
- Yield: 8 servings 1x
Ingredients
- 2 ½ cups (300g) all-purpose flour
- ⅓ cup (65g) granulated sugar
- 1 tablespoon baking powder
- 2 teaspoons pumpkin pie spice
- 1 teaspoon ground cinnamon
- ½ teaspoon salt
- ½ cup (113g) unsalted butter, cold and cubed
- ½ cup (120g) pumpkin puree (100% pure, not pie filling)
- ⅓ cup (80ml) heavy cream, plus more for brushing
- ¼ cup (60ml) pure maple syrup
- 1 teaspoon vanilla extract
- 1 ½ cups (180g) powdered sugar
- 1 teaspoon ground cinnamon (for glaze)
- 2 tablespoons pure maple syrup (for glaze)
- 2–3 tablespoons heavy cream or milk (for glaze)
Instructions
- Preheat your oven to 400°F (200°C) and line a baking sheet with parchment paper.
- In a large mixing bowl, whisk together the all-purpose flour, granulated sugar, baking powder, pumpkin pie spice, ground cinnamon, and salt.
- Grate the cold butter using the large holes of a box grater. Toss the grated butter into the flour mixture and gently toss with a fork until each piece is coated and pea-sized.
- In a separate small bowl, whisk together the pumpkin puree, heavy cream, maple syrup, and vanilla extract until smooth.
- Make a well in the center of the flour mixture and pour in the wet ingredients. Mix until just combined—stop as soon as the dough comes together. A few dry spots are fine.
- Turn the dough out onto a lightly floured surface. Gently bring it together, patting into a rough rectangle about ¾-inch thick. Fold the dough in half, gently pat back into a rectangle, and repeat once more for flaky layers.
- Pat the dough into a 6-inch circle about ¾ to 1 inch thick. Cut into 8 equal wedges. Transfer to the prepared baking sheet, spacing about 2 inches apart.
- Brush the tops of the scones with a little extra heavy cream.
- Bake for 14-18 minutes, until golden brown on the edges and a toothpick inserted into the center comes out clean.
- Let the scones cool on the baking sheet for 5 minutes, then transfer to a wire cooling rack. Cool completely before glazing.
- While the scones cool, make the cinnamon glaze: In a small bowl, whisk together the powdered sugar, ground cinnamon, and maple syrup. Add heavy cream or milk one tablespoon at a time until thick but drizzle-able.
- Drizzle the glaze over the cooled scones. Let set for about 10 minutes before serving.
Notes
Keep all ingredients cold for flaky scones. Do not overmix the dough. For best results, chill shaped scones for 15 minutes before baking. Scones can be frozen unbaked for up to 3 months.
- Prep Time: 15 minutes
- Cook Time: 18 minutes
- Category: Breakfast
- Cuisine: American
Nutrition
- Serving Size: 1 scone
- Calories: 335
- Sugar: 24
- Sodium: 280
- Fat: 14
- Saturated Fat: 9
- Carbohydrates: 48
- Fiber: 2
- Protein: 4
Keywords: maple pumpkin scones, pumpkin scones, cinnamon glaze, fall breakfast, easy scone recipe


