

The Sunday afternoon light was that watery October kind, the kind that makes everything look a little softer, a little more golden. I had three Honeycrisp apples sitting in a bowl on the counter, a bag of caramels I’d bought on a whim, and absolutely no plan. I wasn’t hosting anything. No party, no gathering, no occasion. It was just me, a quiet house, and the faint smell of cinnamon from a candle I’d lit an hour earlier. And honestly? That’s when the best recipes happen. When you’re not trying to impress anyone, not following a trend, just messing around in the kitchen because it feels good.
I started by melting the caramels slowly, the way my grandmother used to—low heat, a splash of cream, a pinch of sea salt. The apples got sliced into wedges, and I laid them out on a wooden board just to see how they looked. Then I opened the pantry and found a half-eaten bag of pretzels, some leftover chocolate chips, and a jar of peanuts. One thing led to another, and before I knew it, I had this whole spread. A caramel apple charcuterie board wasn’t something I’d ever planned to make. It just sort of happened. And that first bite—warm caramel, cold apple, salty crunch—made me wonder why I’d never done this before.
This isn’t a fussy dessert. It’s the kind of thing you put together when you want something sweet but don’t want to bake a whole pie or stand over a stove for an hour. It’s for those afternoons when you just want to snack, to pick, to share something pretty without the pressure. I’ve made this board three times since that first quiet Sunday, and each time it gets a little better. A little more intentional. A little more mine. And I think you’re going to love it too.
Why You’ll Love This Recipe
Let me tell you why this ultimate caramel apple charcuterie board has become my go-to fall dessert. It’s not complicated, and that’s exactly the point.
- Quick & Easy: From start to finish, this comes together in under 20 minutes. No baking, no complicated steps, just assembly and snacking.
- Simple Ingredients: You probably have most of these things in your kitchen right now. Apples, caramel, a few pantry staples—that’s it.
- Perfect for Any Occasion: Game day, Thanksgiving appetizer, girls’ night in, or just a Tuesday. This board fits everywhere.
- Crowd-Pleaser: I’ve served this to kids, adults, picky eaters, and dessert snobs. Every single person goes back for seconds.
- Unbelievably Delicious: The contrast between cold, crisp apple and warm, salted caramel is the kind of thing that makes you close your eyes on the first bite. No joke.
What makes this different from every other caramel apple recipe out there? It’s the board concept. Instead of one sad apple on a stick, you get a whole spread. A choose-your-own-adventure situation where everyone builds their perfect bite. You want a pretzel-crusted apple wedge drizzled with chocolate? Go for it. A plain apple slice dipped straight into the caramel bowl? That’s valid too. It’s interactive, it’s social, and it somehow feels both indulgent and effortless at the same time.
This is the kind of dessert that makes people happy. Not because it’s fancy, but because it’s fun. And honestly? We could all use a little more of that.
What Ingredients You Will Need
This recipe uses simple, honest ingredients that come together to create something genuinely special. You don’t need anything exotic or hard to find—just good-quality basics that let the flavors shine.
For the Apples
- 4 large apples – I recommend a mix of sweet and tart varieties. Honeycrisp, Granny Smith, Fuji, or Pink Lady all work beautifully. (For the best texture, choose apples that are firm and crisp, not mealy or soft.)
- 1 lemon – You’ll juice this to toss with the apple slices. It prevents browning and adds a bright note that balances all the sweetness.
For the Caramel
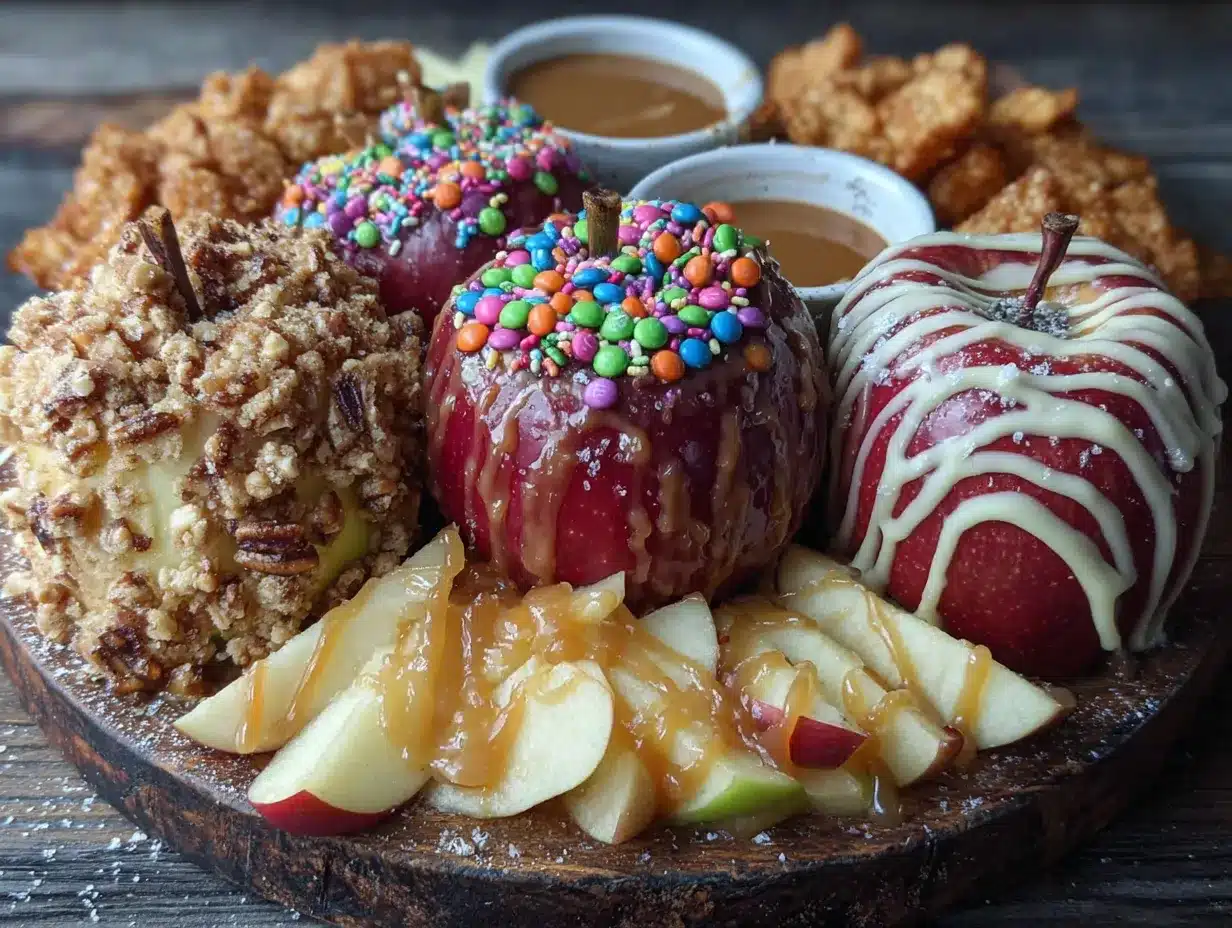
- 1 package (11 ounces) soft caramels – I prefer Werther’s or Kraft for consistent melting. Unwrap them first—this is the most tedious part of the whole recipe, honestly.
- 1/4 cup heavy cream – This thins the caramel to a dippable consistency. (Use full-fat for the richest result.)
- 1/2 teaspoon flaky sea salt – Maldon is my go-to. It cuts the sweetness and makes the caramel taste infinitely more sophisticated.
- 1 teaspoon vanilla extract – Pure, not imitation. It adds warmth and depth.
For the Candy Toppings (Pick 4-6 of Your Favorites)
- 1/2 cup crushed pretzels – For that salty-crunchy contrast. (Gluten-free pretzels work great here.)
- 1/2 cup chopped peanuts – Classic caramel apple topping. Toast them lightly in a dry pan for extra flavor.
- 1/3 cup mini chocolate chips – Semi-sweet or dark, your call. Milk chocolate gets lost in the caramel.
- 1/3 cup toffee bits – Store-bought or homemade. They add a buttery, crunchy element.
- 1/4 cup shredded coconut – Unsweetened, toasted if you have time. It adds a chewy texture and tropical hint.
- 1/3 cup crushed graham crackers – For a s’mores vibe. I sometimes add mini marshmallows alongside these.
- 1/4 cup rainbow sprinkles – Mostly for fun. Kids love this option, but honestly? Adults do too.
- 2 tablespoons white chocolate chips – Melted and drizzled on top for a pretty finish.
For Serving
- Wooden skewers or small forks – For dipping and building bites.
- Small bowls or ramekins – To hold the caramel and toppings separately.
A quick note on ingredient sourcing: I’ve found that the quality of your caramel really matters here. Cheap caramels can taste waxy or artificial. Spend the extra dollar on a brand you trust—it makes a noticeable difference in the final board.
Equipment Needed
You don’t need much for this recipe, which is part of its charm. Here’s what I use:
- A large wooden cutting board or serving platter – Any size works, but a 12×16 inch board gives you plenty of room for everything. I use a round acacia board I found at a thrift store for eight dollars.
- A small saucepan – For melting the caramel. A heavy-bottomed one prevents scorching.
- A sharp knife – You want clean cuts through the apples, not jagged ones. A chef’s knife or a good paring knife both work.
- A cutting board for prep – Keep your fancy serving board clean until assembly.
- Small bowls or ramekins – I use 4-ounce ramekins for the caramel and 2-ounce ones for the toppings. Mismatched ones look charming.
- Wooden skewers or cocktail forks – Skewers are more rustic; forks are easier for kids. Either works.
- A citrus juicer – Not essential, but it makes juicing the lemon much faster. A fork works in a pinch.
If you don’t have a wooden board, a large white platter or even a baking sheet lined with parchment paper works perfectly. The goal is visual appeal, not perfection. I once used a clean pizza pan and it looked surprisingly great.
Preparation Method
Let me walk you through this step by step. It’s simple, but a few small details make the difference between a good board and a great one.
Step 1: Prepare the Apples
Wash and dry your apples thoroughly. Any wax or residue on the skin will make the caramel slide right off. Core each apple, then slice into wedges about 1/2 inch thick. I get about 8-10 wedges per apple, depending on size. As you slice, toss the wedges in a bowl with the juice of one lemon. This prevents browning and adds a subtle tartness that balances the sweet caramel. Let them sit for about 5 minutes, then drain off any excess liquid. Pat them dry gently with a paper towel—wet apples and caramel don’t mix well.
Step 2: Make the Caramel
Unwrap all the caramels and place them in a small saucepan. Add the heavy cream and set the heat to low. Stir constantly with a silicone spatula or wooden spoon. This takes about 5-7 minutes, and you cannot walk away. Caramel burns fast if you ignore it. Once the caramels are completely melted and the mixture is smooth, remove from heat. Stir in the vanilla extract and flaky sea salt. Let it cool for 2-3 minutes—it should be warm but not scorching. Pour into a small serving bowl or ramekin.
Step 3: Prepare the Toppings
While the caramel cools slightly, get your toppings ready. Crush the pretzels in a zip-top bag with a rolling pin (or just use your hands—it’s oddly satisfying). Chop the peanuts if they’re not already chopped. Place each topping in its own small bowl. If you’re using white chocolate for drizzling, melt it in the microwave in 20-second bursts, stirring between each, until smooth. Transfer to a small piping bag or a zip-top bag with a tiny corner snipped off.
Step 4: Assemble the Board
This is the fun part. Place your serving board on a flat surface. Put the bowl of caramel somewhere central—it’s the star of the show. Arrange the apple wedges in a fan pattern or scattered clusters around the caramel. Group the topping bowls around the board, spacing them out so nothing feels crowded. If you’re using white chocolate drizzle, zigzag it lightly over the apple wedges now. Tuck in a few skewers or forks here and there so guests can grab them easily.
Step 5: Serve Immediately
This board is best eaten within 30 minutes of assembly. The apples stay crisp, the caramel stays warm, and everything looks its prettiest. Set it out and watch people gravitate toward it. There’s something about a board full of color and texture that draws everyone in.
Pro tip from my third attempt: If you’re making this for a party, prep everything except the apple slicing ahead of time. Slice the apples right before guests arrive. They’ll stay fresh and crisp, and you’ll avoid that sad, brown-edged look.
Cooking Tips & Techniques
I’ve made this board enough times to learn a few things the hard way. Here’s what I wish someone had told me:
Don’t skip the lemon juice. I know it seems like an extra step, but untreated apple slices start browning within minutes. The lemon juice buys you a solid hour of beautiful, fresh-looking apples. Plus, that tiny tang makes the caramel taste even sweeter in contrast.
Low and slow for the caramel. I ruined my first batch by cranking the heat to hurry things along. The bottom scorched before the middle was even melted. Keep the heat on low, stir constantly, and be patient. Your reward is silky, smooth caramel that coats the apple wedges perfectly.
Test your caramel consistency. Dip one apple wedge into the warm caramel. If it runs off like water, let it cool another minute. If it’s too thick to coat, add another tablespoon of cream. The perfect consistency is somewhere between honey and pancake syrup—coating but not gloppy.
Balance your toppings. A good board has a mix of textures: crunchy (pretzels, peanuts), chewy (coconut, toffee), and creamy (chocolate). Don’t put out six crunchy toppings and call it done. Variety is what makes this interesting.
Keep extra caramel warm. If you’re serving this over an hour or so, the caramel in the bowl will start to set. Set the bowl over a small candle warmer or place it in a shallow dish of hot water to keep it dippable. I learned this trick from a friend who hosts fondue parties, and it works like a charm.
Variations & Adaptations
This caramel apple charcuterie board is endlessly adaptable. Here are some of my favorite twists:
Seasonal Variations
Fall Harvest Board: Add sliced pears, fresh figs, and a drizzle of honey alongside the apples. Swap the chocolate chips for chopped pecans and dried cranberries. It feels cozy and autumnal without trying too hard.
Winter Holiday Board: Use red and green apple varieties. Add crushed candy canes, white chocolate chips, and a sprinkle of edible glitter. It’s festive without being over the top.
Dietary Adaptations
Dairy-Free: Use dairy-free caramels (they exist! I like the ones from Trader Joe’s) and coconut cream instead of heavy cream. The texture is slightly different but still delicious.
Gluten-Free: Skip the pretzels and graham crackers. Use crushed gluten-free cookies or toasted nuts instead. Most other toppings are naturally gluten-free.
Nut-Free: Omit the peanuts and use seeds (pumpkin or sunflower) for crunch. Make sure your chocolate chips are certified nut-free if that’s a concern.
Flavor Twists
Salted Caramel Version: Double the flaky sea salt in the caramel and add a sprinkle on top of each apple wedge before serving. It’s simple but elevates everything.
Spiced Apple Board: Toss the apple wedges with a mixture of cinnamon, nutmeg, and a tiny pinch of cardamom before arranging them. It adds warmth that pairs beautifully with the caramel.
Chocolate Lover’s Board: Add a bowl of melted dark chocolate alongside the caramel. Guests can double-dip—caramel first, then chocolate. It’s decadent and completely worth the extra dishes.
I once made a version with caramel apples and a side of creamy no-churn strawberry ice cream for dipping the warm apple wedges into. It was ridiculous and amazing and I have no regrets.
Serving & Storage Suggestions
This board is best enjoyed fresh, but here’s how to handle leftovers and presentation.
Serving Temperature: Serve the caramel warm and the apples at room temperature. Cold apples straight from the fridge can feel hard and less flavorful. Let them sit out for 15 minutes before slicing if they’ve been refrigerated.
Presentation Tips: Arrange everything in clusters rather than straight lines. It looks more organic and inviting. I like to put the tallest element (usually the caramel bowl) slightly off-center and build outward from there. Leave a little negative space—it makes the board feel intentional, not crowded.
What to Serve Alongside: This board pairs beautifully with a cup of hot cider or coffee. For a bigger spread, add a batch of crispy no-knead rosemary sea salt bread for a savory counterpoint, or a side of creamy loaded baked potato soup for a full fall meal.
Storage: Leftover apple wedges can be stored in an airtight container in the fridge for up to 2 days. They’ll brown slightly but still taste fine. The caramel keeps in the fridge for up to a week—just reheat gently with a splash of cream. Toppings should be stored separately in sealed containers at room temperature.
Reheating: Warm leftover caramel in a small saucepan over low heat, stirring constantly. Or microwave in 15-second bursts, stirring between each. Don’t rush it—caramel that heats unevenly can develop grainy spots.
Flavor Development: Here’s a little secret: the caramel actually tastes better the next day. The flavors meld and deepen overnight. Make it a day ahead if you’re planning a party, then just reheat and assemble when guests arrive.
Nutritional Information & Benefits
Let’s be real—this is a treat, not a health food. But that doesn’t mean it’s devoid of redeeming qualities.
Estimated Nutritional Values (per serving, based on 8 servings):
- Calories: 285
- Total Fat: 12g
- Saturated Fat: 6g
- Carbohydrates: 42g
- Fiber: 4g
- Sugar: 30g
- Protein: 3g
- Sodium: 210mg
Health Highlights: Apples are a solid source of fiber and vitamin C. The fiber in the skin helps slow sugar absorption, which is something. The nuts add healthy fats and a bit of protein. And dark chocolate (if you use it) contains antioxidants. So there’s that.
Dietary Considerations: This recipe can easily be made gluten-free, dairy-free, or nut-free with the substitutions mentioned above. It’s naturally vegetarian. If you’re watching your sugar intake, consider using a sugar-free caramel alternative and loading up on nuts and seeds for crunch instead of candy toppings.
Potential Allergens: This recipe contains dairy (caramel, cream, chocolate) and may contain gluten (pretzels, graham crackers) and nuts (peanuts, coconut). Always check labels if serving guests with allergies.
I personally love that this dessert feels indulgent without being overly heavy. A few wedges and you feel satisfied, not stuffed. It’s the kind of treat that fits into a balanced lifestyle—enjoyed mindfully, shared with people you love, and remembered long after the last bite.
Conclusion
This ultimate caramel apple charcuterie board has become my fall signature, and I think it’s about to become yours too. It’s simple enough for a random Tuesday, pretty enough for a holiday party, and flexible enough to adapt to whatever you have in your pantry. The combination of crisp apples, warm salted caramel, and crunchy toppings is the kind of thing that feels both nostalgic and new at the same time.
What I love most about this recipe is how forgiving it is. You don’t need perfect knife skills or expensive equipment. You don’t need to follow the ingredient list exactly. Swap in what you have. Use what you love. Make it yours. That’s the whole point of a charcuterie board—it’s a framework, not a rulebook.
I’d love to hear how yours turns out. Did you add something unexpected? Did your kids go crazy for the sprinkles? Did you discover a topping combination that blew your mind? Drop a comment below and tell me about it. Share a photo if you’re feeling proud. And if you’re looking for more easy dessert inspiration, check out this homemade fresh strawberry galette with vanilla glaze—it’s another one of those recipes that looks impressive but secretly takes almost no effort.
Now go make that board. Your apples are waiting.
Frequently Asked Questions
Can I make this caramel apple charcuterie board ahead of time?
You can prep the caramel and arrange the toppings up to a day in advance. Slice the apples just before serving to keep them fresh and crisp. If you need to slice them earlier, toss them in lemon juice and store in an airtight container in the fridge for up to 4 hours.
What are the best apples for a caramel board?
A mix of sweet and tart works best. Honeycrisp, Granny Smith, Fuji, and Pink Lady are all excellent choices. Avoid soft or mealy varieties like Red Delicious—they won’t hold up to dipping and their texture is less satisfying.
How do I keep the caramel from hardening too quickly?
Serve the caramel warm and keep it in a small bowl set over a candle warmer or in a shallow dish of hot water. You can also add an extra tablespoon of cream to the recipe to keep it slightly looser at room temperature.
Can I use store-bought caramel sauce instead of making my own?
Absolutely. A good-quality jarred caramel sauce works in a pinch. Just warm it gently before serving. Homemade is better, but store-bought is perfectly fine when you’re short on time.
How many people does this board serve?
This recipe serves 6-8 people as a dessert or snack. If you’re serving it as part of a larger spread, it stretches to 10-12. Appetites vary, but people tend to eat more than you expect—it’s just that good.
Pin This Recipe!
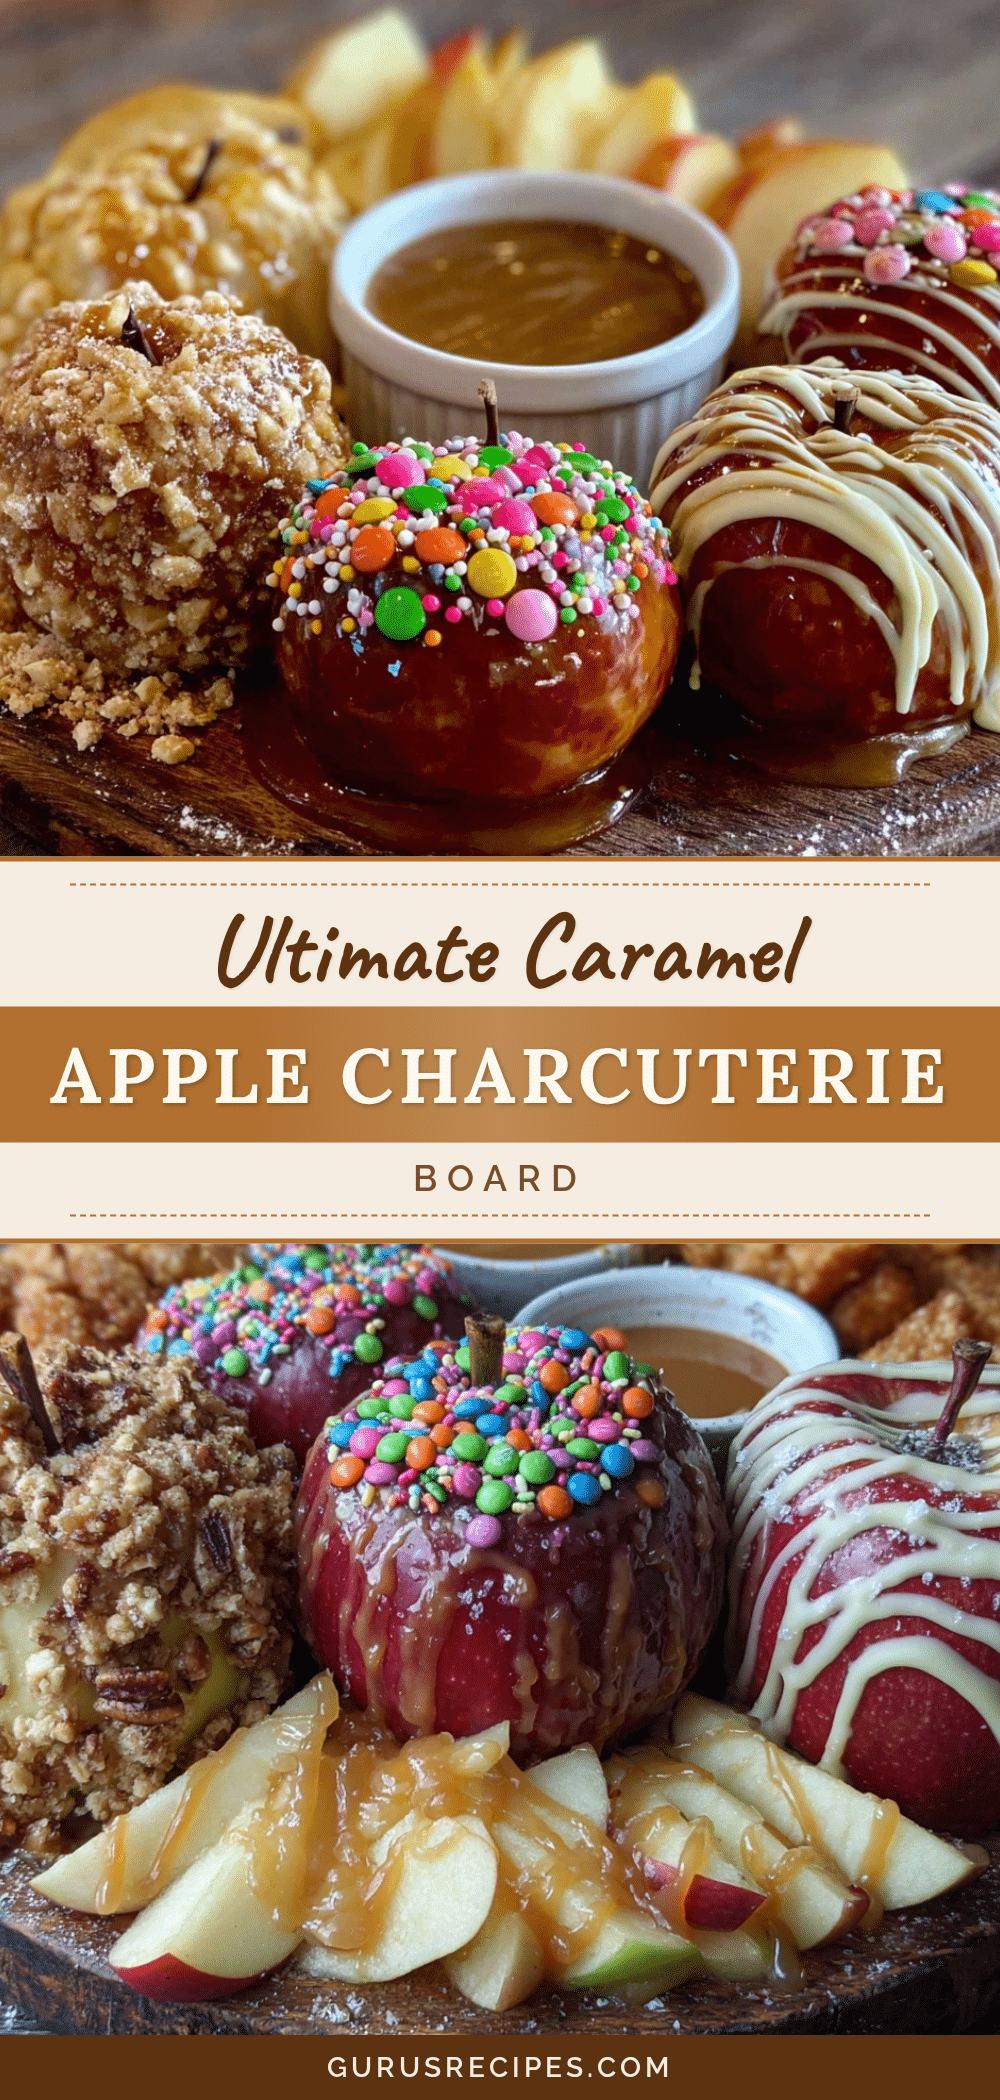

Ultimate Caramel Apple Charcuterie Board – Best Easy Fall Dessert
A quick and easy fall dessert featuring crisp apple wedges, warm salted caramel, and a variety of crunchy toppings arranged on a board for interactive snacking.
- Total Time: 20 minutes
- Yield: 8 servings 1x
Ingredients
- 4 large apples (Honeycrisp, Granny Smith, Fuji, or Pink Lady)
- 1 lemon (juiced)
- 1 package (11 ounces) soft caramels (e.g., Werther’s or Kraft)
- 1/4 cup heavy cream
- 1/2 teaspoon flaky sea salt (e.g., Maldon)
- 1 teaspoon vanilla extract
- 1/2 cup crushed pretzels
- 1/2 cup chopped peanuts
- 1/3 cup mini chocolate chips (semi-sweet or dark)
- 1/3 cup toffee bits
- 1/4 cup shredded coconut (unsweetened, toasted if desired)
- 1/3 cup crushed graham crackers
- 1/4 cup rainbow sprinkles
- 2 tablespoons white chocolate chips (melted for drizzling)
- Wooden skewers or small forks (for serving)
- Small bowls or ramekins (for serving)
Instructions
- Wash and dry apples. Core and slice into 1/2-inch wedges. Toss with lemon juice to prevent browning. Let sit 5 minutes, then drain and pat dry.
- Unwrap caramels and place in a small saucepan with heavy cream. Cook over low heat, stirring constantly, until completely melted and smooth (5-7 minutes). Remove from heat and stir in vanilla and sea salt. Let cool 2-3 minutes, then pour into a serving bowl.
- Prepare toppings: crush pretzels, chop peanuts, and place each topping in its own small bowl. If using white chocolate, melt in microwave in 20-second bursts and transfer to a piping bag.
- Assemble board: place caramel bowl centrally on a large wooden board or platter. Arrange apple wedges in a fan pattern around it. Group topping bowls around the board. Drizzle white chocolate over apples if using. Tuck in skewers or forks.
- Serve immediately within 30 minutes for best texture.
Notes
Prep caramel and toppings ahead; slice apples just before serving. Keep caramel warm over a candle warmer or in a dish of hot water. For dairy-free, use dairy-free caramels and coconut cream. For gluten-free, omit pretzels and graham crackers. For nut-free, use seeds instead of peanuts.
- Prep Time: 15 minutes
- Cook Time: 5 minutes
- Category: Dessert
- Cuisine: American
Nutrition
- Serving Size: 1 serving (approxima
- Calories: 285
- Sugar: 30
- Sodium: 210
- Fat: 12
- Saturated Fat: 6
- Carbohydrates: 42
- Fiber: 4
- Protein: 3
Keywords: caramel apple, charcuterie board, fall dessert, easy dessert, apple board, salted caramel, party snack


