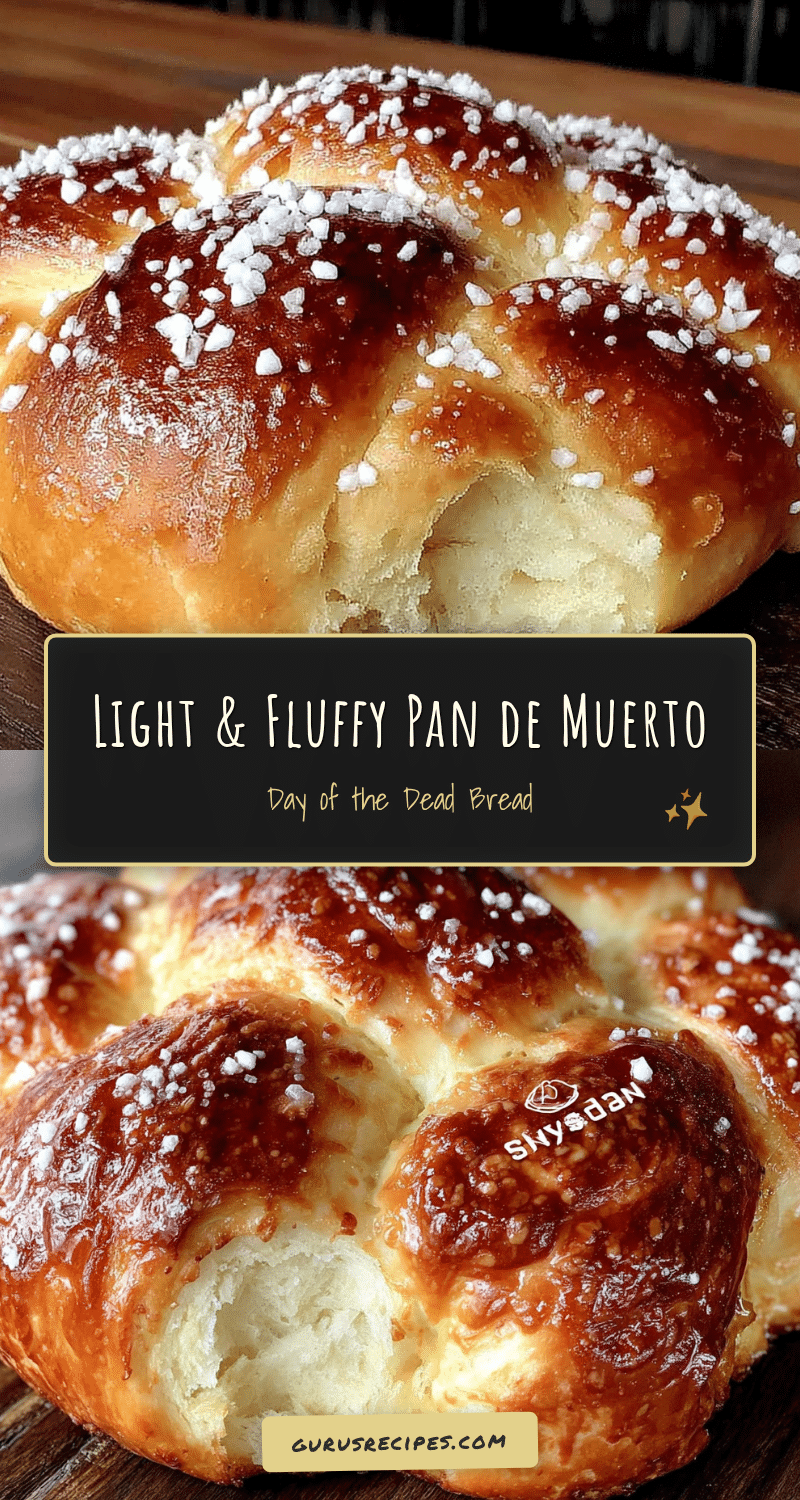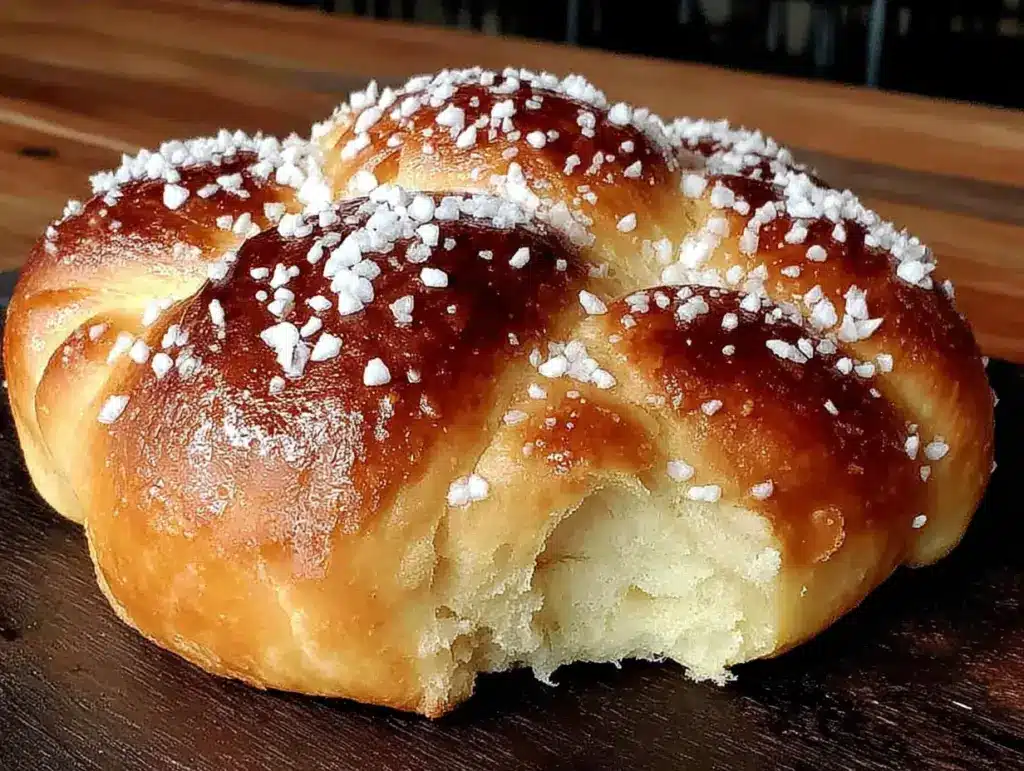
I wasn’t expecting a bread recipe to come from my accountant. But there I was, sitting in his cramped office during tax season, watching him sort through receipts while he casually mentioned he’d just finished baking. “Pan de Muerto,” he said, not looking up from his calculator. “My grandmother’s recipe. It’s the only thing I make all year.” I honestly thought he was joking—this was a man who once told me spreadsheets were “poetry.” But the way he described the dough, the orange blossom water, the way the bread felt like a cloud, made me stop asking about deductions and start asking about proofing times. He scribbled the notes on the back of an envelope, and I left with something far more valuable than a tax refund.
That first attempt was a mess, let me tell you. I over-floured the dough, forgot the anise seed, and my “bones” looked more like sad little worms. But the flavor—that soft, slightly sweet, citrus-kissed crumb—was undeniable. I’ve been tweaking it ever since, trying to get it as light and airy as his grandmother’s, but with a structure sturdy enough to hold those iconic bone shapes. Maybe you’ve been there, trying to honor a tradition without a family recipe to guide you. This version is my love letter to that accountant’s grandmother, and to anyone who wants to bake a beautiful, meaningful loaf that tastes as good as it looks.
The goal here was simple: keep the soul of the traditional bread but make it foolproof for home bakers. No dry crumb, no dense middle, just a pillowy, fragrant loaf that fills your kitchen with the smell of orange and warm vanilla. It’s the kind of bread you make not just for a holiday, but because the process itself feels sacred. And honestly, it’s the only time I’m grateful for tax season.
Why You’ll Love This Recipe
This isn’t just another bread recipe. After about a dozen test batches and a few flour explosions in my kitchen, I can tell you this version is the one. It’s been tested by my picky neighbor, my gluten-loving cousin, and even a local baker who gave me a nod of approval. Here’s why it works:
- Quick & Easy-ish: It’s a yeast bread, so it needs time, but the active work is only about 20 minutes. Perfect for a weekend afternoon project.
- Simple Ingredients: No weird additives. Flour, butter, eggs, sugar, orange zest, and a splash of orange blossom water. You probably have most of it already.
- Perfect for Día de Muertos: Obviously. But honestly, it’s also great for any fall gathering or brunch where you want to impress without stress.
- Crowd-Pleaser: The subtle sweetness and tender crumb make it a hit with both kids and adults. I’ve seen it disappear faster than the tamales.
- Unbelievably Light: The texture is what sets this apart. It’s not heavy like some sweet breads. It’s fluffy, almost like a brioche, but with a distinct fragrance that’s pure Mexico.
What makes this recipe different is the technique. I use a combination of bread flour and all-purpose flour for structure, plus a tangzhong-style starter (a paste of flour and water) that keeps the bread impossibly soft for days. It’s a little trick I picked up from a Japanese baker, and it works wonders here. This isn’t just another version of Pan de Muerto—it’s the one that makes you close your eyes after the first bite. It’s comfort food reimagined: lighter, more fragrant, but with the same soul-soothing satisfaction that connects you to tradition.
What Ingredients You Will Need
This recipe uses simple, wholesome ingredients to deliver that signature light texture and floral aroma. Most are pantry staples, but a few are worth seeking out for authenticity.
- Bread flour (3 cups / 360g) – Provides the protein needed for a strong, chewy crumb. I prefer King Arthur for consistent results.
- All-purpose flour (1 cup / 120g) – Balances the bread flour for a softer texture. Gold Medal works great.
- Whole milk (1/2 cup / 120ml), warm – Adds richness. You can use 2%, but whole milk gives a better crumb.
- Water (1/4 cup / 60ml), warm – Helps activate the yeast without making the dough too heavy.
- Active dry yeast (2 1/4 teaspoons / 7g) – One standard packet. Make sure it’s not expired.
- Granulated sugar (1/2 cup / 100g) – Feeds the yeast and sweetens the bread just enough.
- Unsalted butter (6 tablespoons / 85g), softened – Adds fat for tenderness. I prefer Plugrà for its flavor.
- Large eggs (3, room temperature) – One for the dough, two for the egg wash and glaze. Room temp is crucial for even mixing.
- Orange zest (from 2 oranges) – Use a microplane for the best texture. Avoid the white pith.
- Orange blossom water (2 teaspoons) – This is the secret. It gives that floral, perfumed note. Look for it in the international aisle or a Latin market.
- Vanilla extract (1 teaspoon) – Pure, not imitation.
- Salt (1 teaspoon) – Fine sea salt, not coarse.
- Anise seed (1/2 teaspoon, optional) – Traditional in some regions. Adds a subtle licorice note. I love it, but you can skip it.
- For the glaze and decoration:
- Melted butter (2 tablespoons) – For brushing the baked bread.
- Granulated sugar (1/4 cup / 50g) – For coating the bread while warm.
- Orange zest (from 1 orange) – Mixed with the sugar for a fragrant finish.
Substitution Guidance: If you can’t find orange blossom water, use 1 teaspoon of orange extract mixed with 1 teaspoon of water. For a dairy-free version, use plant-based butter and oat milk, but the texture will be slightly less tender. And if you’re out of bread flour, just use all-purpose, but the bread won’t be as airy.
Equipment Needed
You don’t need a fancy bakery setup, but a few tools make the process smoother.
- Stand mixer with dough hook – Optional, but a lifesaver for kneading. I’ve done it by hand, and it takes about 15 minutes of work. A mixer cuts that in half.
- Large mixing bowl – Glass or stainless steel works best.
- Baking sheet – A heavy-duty half-sheet pan prevents burning on the bottom.
- Parchment paper – Non-negotiable for easy cleanup and preventing sticking.
- Microplane or zester – For the orange zest. A box grater works, but the texture is rougher.
- Pastry brush – For the butter glaze.
- Plastic wrap or a clean kitchen towel – For covering the dough while it rises.
- Digital kitchen scale – I highly recommend this. Measuring flour by weight is way more accurate and ensures a light crumb.
If you don’t have a stand mixer, you can knead by hand. It’s a good arm workout! Just make sure to use a bench scraper to keep the dough from sticking to the counter. I’ve used a cheap plastic one for years, and it’s fine.
Preparation Method
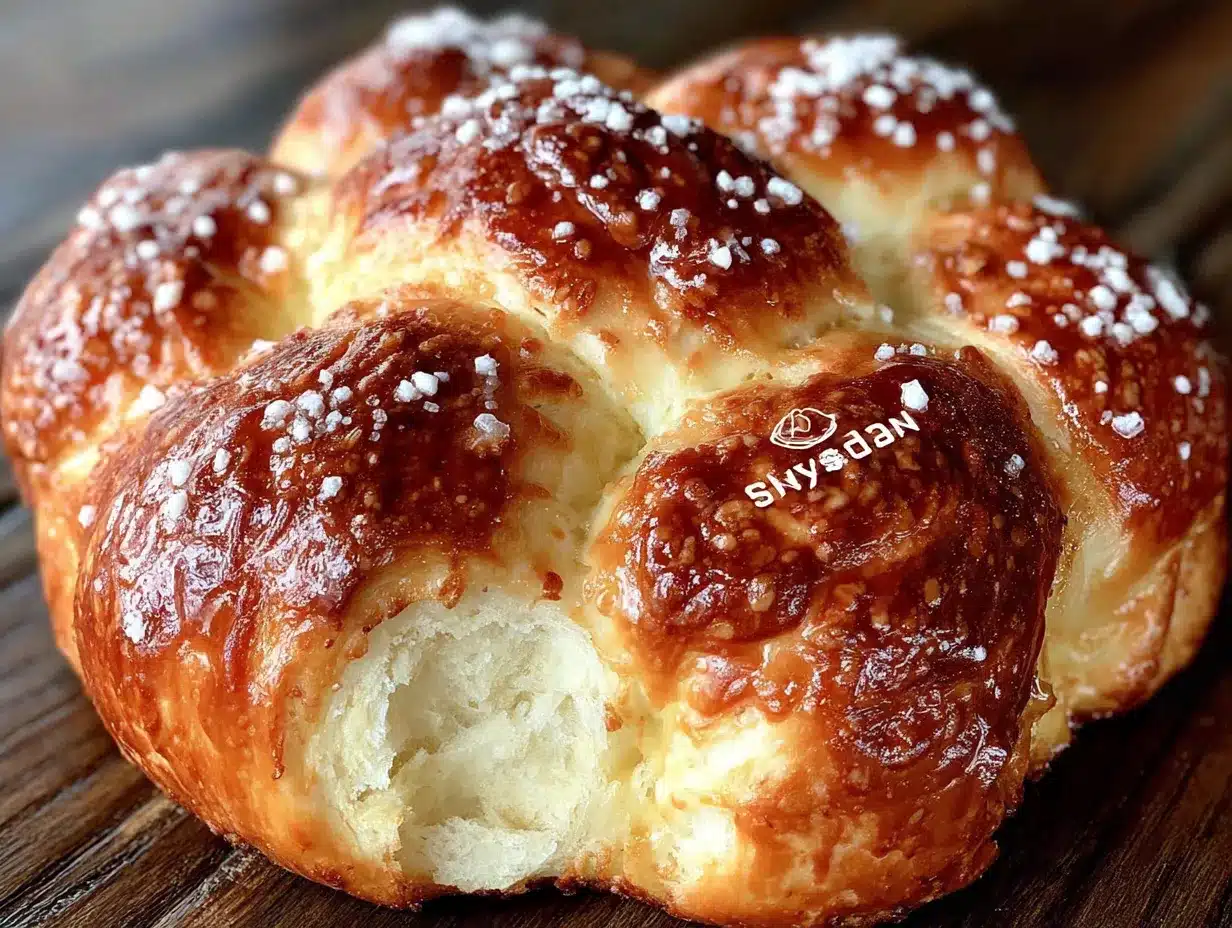
- Make the tangzhong starter. In a small saucepan, whisk together 2 tablespoons of bread flour and 1/4 cup (60ml) of water. Cook over medium heat, stirring constantly, until it forms a thick paste, about 2 minutes. It should look like a smooth pudding. Remove from heat and let it cool to room temperature. This is the secret to the fluffy texture.
- Activate the yeast. In a small bowl, combine the warm milk (around 110°F/43°C), warm water, and 1 tablespoon of sugar. Sprinkle the yeast on top. Let it sit for 5–10 minutes until it’s frothy and smells yeasty. If it doesn’t foam, your yeast is dead—start over.
- Mix the dry ingredients. In the bowl of your stand mixer, whisk together the remaining bread flour, all-purpose flour, remaining sugar, salt, and anise seed (if using).
- Combine the wet ingredients. Add the tangzhong starter, yeast mixture, 1 egg, orange zest, orange blossom water, and vanilla extract to the dry ingredients. Mix on low speed with the dough hook until a shaggy dough forms, about 2 minutes.
- Add the butter. With the mixer running on low, add the softened butter a tablespoon at a time. It will look messy at first—don’t panic. Keep mixing until the butter is fully incorporated and the dough is smooth and elastic, about 8–10 minutes. It should pull away from the sides of the bowl but still feel slightly tacky.
- First rise. Transfer the dough to a lightly greased bowl. Cover with plastic wrap and a kitchen towel. Let it rise in a warm, draft-free place until doubled in size, about 1.5 to 2 hours. I put mine in the oven with the light on. It should feel puffy and spring back when poked.
- Shape the dough. Punch down the dough to release the air. Turn it out onto a lightly floured surface. Divide it into two pieces: one large piece (about 2/3 of the dough) for the main loaf, and one smaller piece (1/3) for the decorations.
- Form the base. Shape the large piece into a round ball. Place it on a parchment-lined baking sheet. Gently flatten it slightly to form a dome about 6 inches wide.
- Make the bones and skull. Divide the small piece into 6 equal parts. Roll 4 of them into long ropes (about 6 inches each) for the “bones.” Fold each rope in half and twist the ends to form the classic bone shape. Place two bones on top of the loaf, crossing them in the center. Use the remaining two ropes to form a round “skull” or a small ball on top of the cross. Use the last two pieces to form small teardrops for “tears” on the sides.
- Second rise. Cover the shaped loaf loosely with plastic wrap. Let it rise again until puffy, about 45 minutes to 1 hour. It should look noticeably larger but not doubled.
- Preheat and bake. About 20 minutes before the second rise is done, preheat your oven to 350°F (175°C). In a small bowl, beat the remaining egg with 1 tablespoon of water to make an egg wash. Gently brush the entire loaf (bones and all) with the egg wash. Be careful not to deflate it.
- Bake. Bake for 25–30 minutes, rotating the pan halfway through. The bread is done when it’s deep golden brown and sounds hollow when tapped on the bottom. If the bones start to brown too fast, tent them loosely with foil.
- Glaze and finish. While the bread is still warm, brush it generously with melted butter. Mix the 1/4 cup of sugar with the zest of one orange. Sprinkle this fragrant sugar all over the warm bread. Let it cool completely on a wire rack before serving.
Pro Tip: If the dough feels too sticky during kneading, resist the urge to add more flour. It will come together. A sticky dough makes a fluffy bread. If it’s truly unworkable, add just a tablespoon of flour at a time.
Cooking Tips & Techniques
I’ve made this bread at least ten times, and I’ve learned a few things the hard way. Here’s what I wish I knew from the start.
Don’t skip the tangzhong. I know it’s an extra step, but it’s the difference between a bread that’s dry the next day and one that stays soft for three days. It pre-gelatinizes the starch, so the bread holds onto moisture. Trust me on this.
Temperature matters. Cold eggs will shock your dough and make it dense. Leave them on the counter for an hour before you start. The same goes for the butter—it needs to be soft, not melted. If you forget, put the eggs in a bowl of warm water for 5 minutes.
The bone shapes can be tricky. My first attempt looked like deformed snakes. The trick is to roll the ropes evenly and not too thin. They puff up in the oven, so aim for about 1/2 inch thick. And when you twist them, do it gently—they’re fragile.
Watch the oven. Every oven runs a little different. My friend’s oven bakes this bread in 22 minutes, mine takes 28. Start checking at 20 minutes. If the top is browning too fast, tent it with foil. A dark baking sheet can also cause the bottom to burn, so use a light-colored one if you can.
Multitasking is key. While the dough is doing its first rise, zest your oranges, measure your sugar, and get your butter softening. It makes the shaping step so much less stressful. I’ve learned that the hard way, standing there with floury hands trying to find the orange.
One mistake I made: I once forgot the salt. The bread rose beautifully but tasted flat and bland. Salt isn’t just for flavor—it controls yeast activity and strengthens the gluten. Don’t skip it.
Variations & Adaptations
This recipe is a great base for experimentation. Here are a few ways I’ve adapted it over the years.
Chocolate Pan de Muerto: Replace 1/4 cup of the all-purpose flour with unsweetened cocoa powder. Add 1/2 cup of dark chocolate chips to the dough after the butter is incorporated. It’s rich and festive, and the kids love it.
Vegan Version: Use plant-based butter (I like Miyoko’s) and flax eggs (2 tablespoons ground flaxseed mixed with 6 tablespoons water, let sit for 5 minutes). Use oat milk instead of whole milk. The texture will be a bit more dense, but the flavor is still great. I’ve made this for a friend with egg allergies, and it was a hit.
Spiced Variation: Add 1 teaspoon of ground cinnamon and 1/2 teaspoon of ground nutmeg to the dry ingredients. It gives the bread a warm, cozy flavor that’s perfect for fall. I actually prefer this version for a non-holiday treat.
Gluten-Free Adaptation: I haven’t perfected this yet, but I’ve had good luck using a 1:1 gluten-free baking flour blend (like Bob’s Red Mill). Add 1 teaspoon of xanthan gum if your blend doesn’t include it. The dough will be stickier, so you might need to shape it with wet hands. The texture won’t be as airy, but it’s still delicious.
Savory Twist: Skip the sugar, orange blossom water, and anise. Add 1 teaspoon of dried rosemary, 1/2 teaspoon of black pepper, and 1/2 cup of grated Parmesan cheese to the dough. Shape it the same way and brush with olive oil instead of butter after baking. It’s amazing with soup.
Serving & Storage Suggestions
Pan de Muerto is best served the day it’s made, still slightly warm from the oven. The butter and sugar glaze creates a delicate crust that’s just magical. I like to serve it with a cup of Mexican hot chocolate or a strong café de olla. The spiced coffee complements the orange notes perfectly.
If you’re serving it for a Día de Muertos altar, let it cool completely before placing it out. The bread will keep at room temperature for up to 3 days if stored in an airtight container. The tangzhong really helps it stay soft. I’ve found that wrapping it in a clean kitchen towel and then putting it in a plastic bag works best—it prevents the crust from getting too hard.
To reheat: Pop a slice in the toaster oven at 300°F (150°C) for 5 minutes. Or microwave it for 10 seconds. It won’t be quite as good as fresh, but it’s still lovely. Do not refrigerate this bread—it will dry out faster.
Freezing: You can freeze the baked, unglazed loaf for up to 2 months. Wrap it tightly in plastic wrap and then foil. When you’re ready to serve, thaw it at room temperature, then warm it in the oven and glaze it fresh. I’ve done this for a party, and nobody knew it wasn’t made that day.
The flavors actually develop a bit overnight. The orange blossom water becomes more subtle, and the anise (if you used it) mellows out. It’s a great bread to make a day ahead for a gathering.
Nutritional Information & Benefits
This is a treat, so let’s be real—it’s not health food. But it’s made with real ingredients, and that counts for something. Here’s a rough estimate per slice (1/12 of the loaf):
- Calories: 280
- Fat: 12g
- Saturated Fat: 7g
- Carbohydrates: 38g
- Sugar: 14g
- Protein: 6g
- Fiber: 1g
The orange zest provides a small amount of vitamin C and antioxidants. The anise seed (if used) has been traditionally used to aid digestion. The butter and eggs add protein and fat, which help keep you full. It’s not a health food, but it’s a wholesome indulgence made from scratch.
If you’re watching your sugar intake, you can reduce the sugar in the dough to 1/3 cup, but the bread will be less tender. The glaze sugar is optional, but it’s traditional and adds that delightful crunch. For a lower-fat version, you can use 4 tablespoons of butter instead of 6, but the texture will be a bit drier.
This bread is not gluten-free, dairy-free, or vegan in its standard form, but see the variations section for adaptations. It does contain eggs, milk, and wheat. If you have allergies, please adjust accordingly.
Conclusion
This Light & Fluffy Pan de Muerto is more than just a recipe—it’s a way to connect with a beautiful tradition without needing a grandmother’s handwritten notes. It’s the bread that made my accountant smile (yes, really), and it’s the bread that fills my kitchen with the scent of orange and vanilla every November. I hope it becomes a tradition in your home, too.
Don’t be afraid to make it your own. Add more orange zest, skip the anise, shape the bones differently—the spirit of the bread is in the sharing, not the perfection. I’d love to hear how it turns out for you. Did you try a variation? Did your bones look better than mine? Drop a comment below and let me know. And if you’re looking for another festive bake, you might enjoy my easy soft conchas recipe for a classic Mexican sweet bread experience.
Happy baking, and may your Día de Muertos be filled with light, love, and really good bread.
Frequently Asked Questions
Can I make this bread without a stand mixer?
Absolutely. You can knead the dough by hand on a lightly floured surface. It will take about 12–15 minutes of steady work. The dough is sticky, so use a bench scraper to help you gather it. It’s a great arm workout, and honestly, there’s something meditative about it.
Why is my dough so sticky?
That’s normal for this recipe. The high hydration and butter make it sticky. Resist the urge to add a lot of extra flour. If it’s unworkable, add just a tablespoon at a time. A sticky dough yields a fluffy bread. If it’s too wet to shape, let it rest for 10 minutes—the gluten will relax, and it will be easier to handle.
Can I use instant yeast instead of active dry?
Yes. Use the same amount (2 1/4 teaspoons). You don’t need to activate it in the milk and water. Just mix it directly with the dry ingredients. But make sure your liquids are warm (around 110°F/43°C) to help the dough rise properly.
How do I store leftovers?
Store the bread in an airtight container at room temperature for up to 3 days. Do not refrigerate it—it will dry out. You can also freeze the unglazed loaf for up to 2 months. Wrap it tightly in plastic wrap and foil. Thaw at room temperature, then reheat and glaze before serving.
Can I make the dough ahead of time?
Yes. After the first rise, punch down the dough, wrap it tightly in plastic wrap, and refrigerate it overnight. The next day, let it sit at room temperature for 30 minutes, then shape and proceed with the second rise. The cold fermentation actually develops more flavor. I’ve done this many times for busy holiday mornings.
Pin This Recipe!