
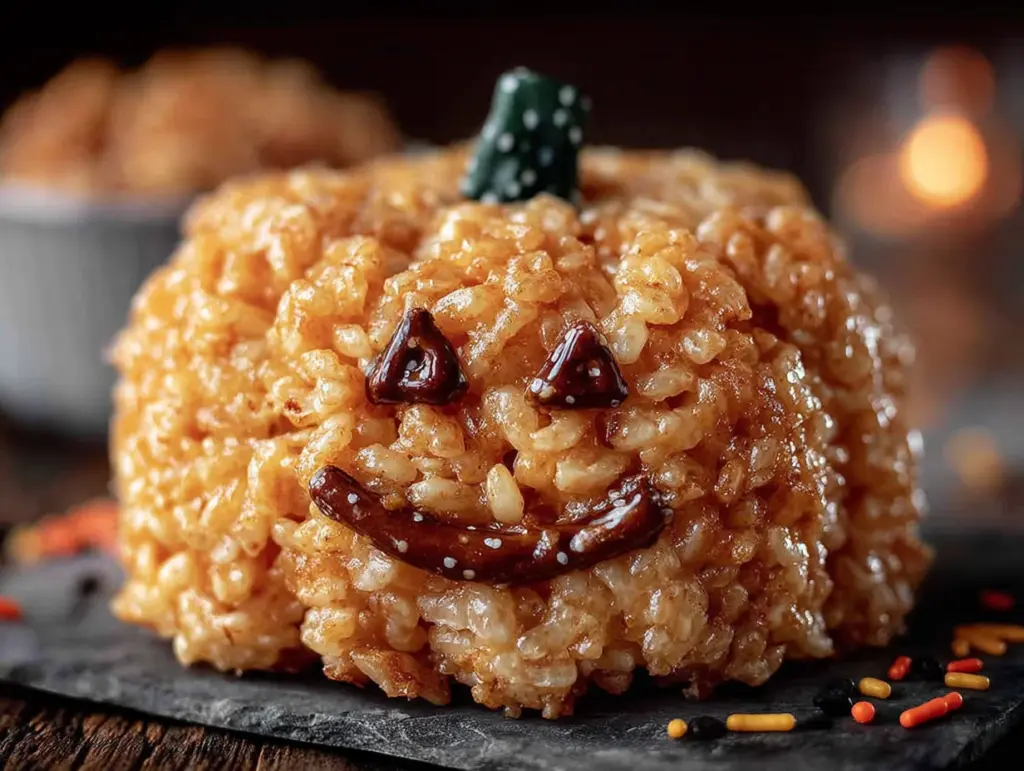
The annual block party potluck was in four hours and I’d completely forgotten. Everyone else would be bringing elaborate dishes—slow-cooked ribs, homemade pies, layered dips that looked like works of art. I had a half-empty bag of marshmallows, a box of crispy rice cereal, and a vague sense of panic setting in. My neighbor Karen had already texted the group chat asking if anyone needed her famous seven-layer dip recipe. I needed a miracle, not a recipe.
I stood in my kitchen, staring at the pantry like it held secrets. And then I spotted the candy corn I’d bought weeks ago for absolutely no reason. A memory hit me—those little pumpkin-shaped treats my aunt used to make when I was a kid. She’d call them “emergency desserts” because they came together when she’d forgotten to buy a proper cake. I grabbed the orange food coloring, melted the marshmallows, and prayed this wouldn’t be a disaster.
Let me tell you, I was not feeling confident. The marshmallow mixture was sticky, my hands were covered in butter, and I kept sneezing from the powdered sugar. But I shaped those little pumpkins, pressed candy corn stems into each one, and lined them up on a platter. I walked into that potluck feeling like I’d brought a paper plate to a fine china convention.
You know that feeling when you’re bracing for polite smiles? Instead, people went nuts. Kids grabbed three at a time. Adults kept asking for the recipe. Karen’s seven-layer dip sat untouched while my little orange pumpkins disappeared. Honestly, I stood there holding a napkin, covered in marshmallow fluff, thinking—sometimes the best things come from a moment of panic and a pantry that looks emptier than it really is. That’s why these Cozy No-Bake Jack-O-Lantern Treats are still my go-to, even when I plan ahead.
Why You’ll Love This Recipe
I’ve made these little pumpkins more times than I can count, and every single time, someone asks for the recipe. There’s something about them that feels like a secret weapon in your back pocket. Here’s why you’ll fall for them too:
- Quick & Easy: From start to finish, you’re looking at about 15 minutes. No oven, no complicated steps, no waiting around. Perfect for those “I need a treat right now” moments.
- Simple Ingredients: You probably have most of these in your pantry already. Marshmallows, butter, crispy rice cereal, and a few decorating extras. No fancy grocery store runs needed.
- Perfect for Fall Gatherings: Halloween parties, pumpkin carving nights, classroom treats, or just a cozy evening at home. These fit right in without any fuss.
- Crowd-Pleaser: I’ve watched kids and adults alike grab these before anything else on the dessert table. They’re cute, they’re fun, and they taste like childhood.
- Unbelievably Delicious: The combination of buttery marshmallow, crunchy cereal, and sweet candy corn is pure comfort. It’s the kind of treat that makes you close your eyes after the first bite.
What makes this recipe different from the rest? It’s the texture. Most no-bake treats turn out either too hard or too sticky. I’ve tested this version until the ratio is just right—soft enough to bite into, firm enough to hold its shape. And that little trick of buttering your hands? Game changer. Trust me, I learned that one the hard way after my first batch looked like a marshmallow monster attacked my kitchen.
This isn’t just another Halloween dessert. It’s the one that makes you feel like a kitchen hero with zero effort. It’s comfort food reimagined—faster, simpler, but with the same soul-soothing satisfaction. Perfect for impressing guests without stress, or turning a simple evening into something memorable.
What Ingredients You Will Need
This recipe uses simple, wholesome ingredients to deliver maximum fun and flavor. Most of these are pantry staples, especially during the fall season. Here’s what you’ll need to gather:
For the Pumpkin Treats
- 3 tablespoons unsalted butter, plus extra for greasing (adds richness and helps prevent sticking)
- 4 cups mini marshmallows (I recommend Jet-Puffed for the fluffiest melt)
- 4 cups crispy rice cereal (like Rice Krispies—brand matters for texture)
- Orange food coloring gel (gel works better than liquid; it won’t make the mixture too wet)
- 1 teaspoon vanilla extract (pure, not imitation, for the best flavor)
- Pinch of salt (balances the sweetness—don’t skip it)
For Decorating
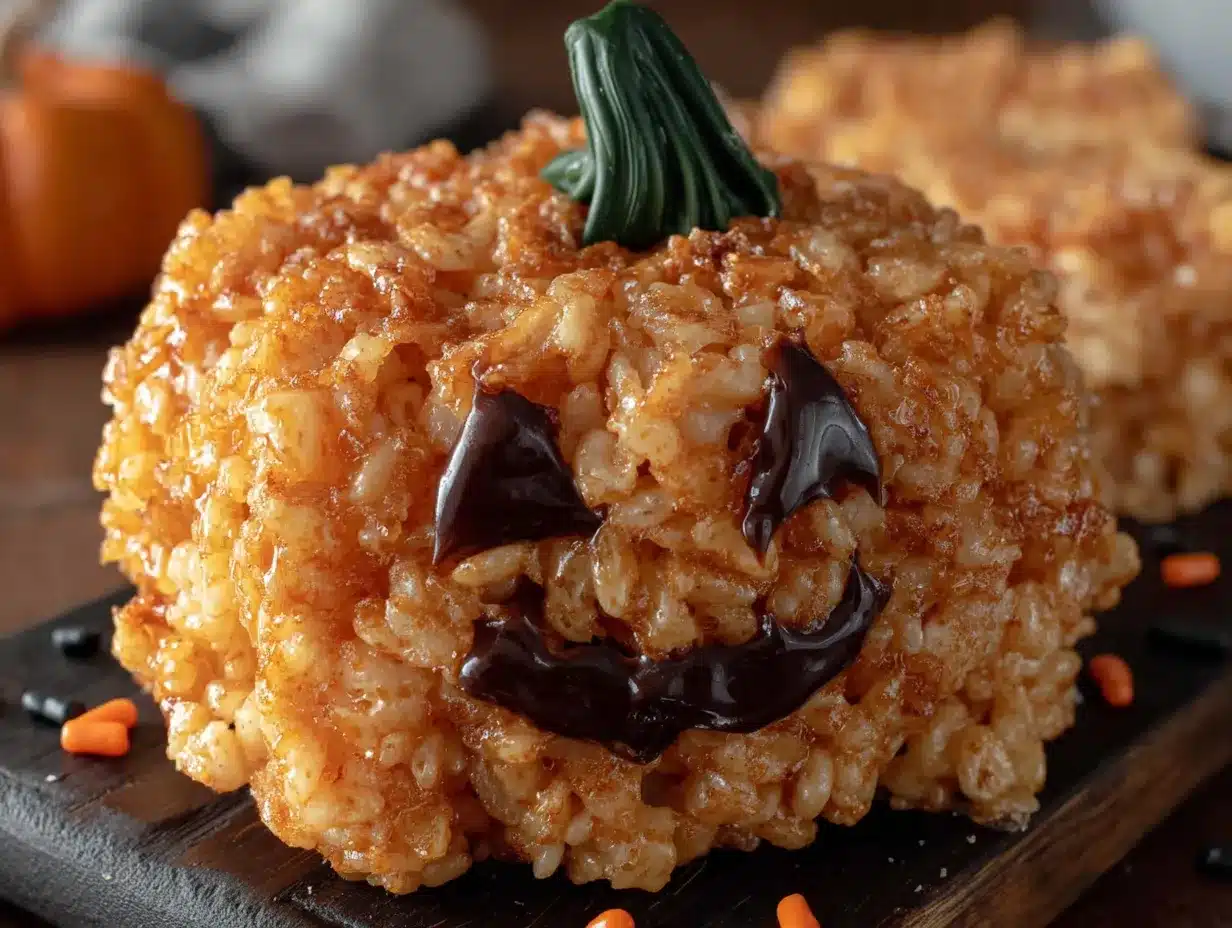
- Candy corn (for the stems—about 24 pieces)
- Green candy melts or green icing (for the little leaves on top)
- Black decorating gel or melted chocolate (for drawing Jack-O-Lantern faces)
- Powdered sugar (for dusting your hands while shaping)
Ingredient tips from my kitchen: Look for orange food coloring gel specifically. I’ve used liquid food coloring before and ended up with a mixture that was too wet to hold its shape. The gel gives you that vibrant pumpkin orange without adding extra moisture. For the candy corn, get the classic kind—not the pumpkin-shaped ones, because you want that pointed end to look like a stem.
If you’re making these with kids, swap the black decorating gel for melted dark chocolate chips. It’s a little less messy and tastes even better. For a dairy-free version, use vegan butter and marshmallows that are gelatin-free (Dandies brand works great).
One more thing—don’t skip the salt. I know it seems weird in a sweet treat, but it makes the marshmallow flavor pop. I forgot it once and the treats tasted flat. Never again.
Equipment Needed
You don’t need a fancy kitchen for these treats. Here’s what you’ll want on hand:
- Large microwave-safe bowl (or a saucepan if you’re doing stovetop)
- Rubber spatula (for stirring—the silicone ones work best)
- 9×13-inch baking dish (for setting the treats, or a silicone mold if you want perfect pumpkin shapes)
- Parchment paper or wax paper (lining the dish saves your sanity)
- Small cookie scoop or tablespoon (for portioning evenly)
- Sharp knife (for cutting into shapes if not using molds)
- Piping bag or small zip-top bag (for the decorating gel)
If you don’t have a silicone pumpkin mold, no worries. I used a regular baking dish for years and just cut the treats into squares, then shaped them into pumpkins by hand. It’s actually more rustic and charming that way. My first batch was shaped using a greased measuring cup—whatever works!
A quick note on the bowl: make sure it’s big enough. The marshmallow mixture expands when you add the cereal, and overflow is a sticky disaster. I speak from experience. My microwave still has a faint marshmallow residue from that one time.
Preparation Method
Let’s make these little pumpkins! I’ll walk you through every step so you don’t end up with a sticky mess like I did the first time.
- Grease your dish and tools. Line a 9×13-inch baking dish with parchment paper and grease it lightly with butter. Also butter your spatula—trust me on this. Set aside.
- Melt the butter and marshmallows. In a large microwave-safe bowl, combine the 3 tablespoons butter and 4 cups mini marshmallows. Microwave in 30-second intervals, stirring after each, until completely smooth. This usually takes about 1.5 to 2 minutes total. Be careful not to overheat—marshmallows can burn and turn rubbery.
- Add color and flavor. Stir in the orange food coloring gel a little at a time until you reach a deep pumpkin orange. I usually use about 10-12 drops of gel. Add the vanilla extract and pinch of salt, stirring until everything is combined. The mixture should be glossy and smooth.
- Mix in the cereal. Pour in the 4 cups of crispy rice cereal and fold gently with your buttered spatula. Work quickly but carefully—you want the cereal coated evenly without crushing it. The mixture will be very sticky at this point.
- Transfer to the dish. Scrape the mixture into your prepared baking dish. Press it down evenly using the buttered spatula or a piece of greased parchment paper. Don’t press too hard or the treats will be dense. You want them light and airy.
- Let them set. Allow the mixture to cool at room temperature for about 10-15 minutes. It should be firm enough to handle but still slightly warm. If it gets too hard, you can microwave it for 10 seconds to soften.
- Shape the pumpkins. Dust your hands with powdered sugar. Take about 2 tablespoons of the mixture and roll it into a ball, then gently flatten the top and bottom to create a pumpkin shape. It doesn’t have to be perfect—the charm is in the imperfection. Repeat with the remaining mixture. You should get about 20-24 treats.
- Add the stems. Press a piece of candy corn into the center of each pumpkin, pointed end up. It should look like a little stem sticking out.
- Make the leaves. Melt a few green candy melts according to package directions, or use green icing. Pipe a small leaf shape next to each stem. Let them set for a few minutes.
- Draw the faces. Use black decorating gel or melted chocolate to draw Jack-O-Lantern faces on each treat. Classic triangle eyes and a jagged smile work best. Get creative—some can be happy, some spooky, some silly.
- Final set. Let the treats sit for about 10 minutes so the faces harden. Then they’re ready to serve!
Pro tip from my sticky kitchen: If the mixture starts getting too hard while you’re shaping, pop it in the microwave for 10-15 seconds. It’ll soften right up. And keep that powdered sugar handy—it’s your best friend for sticky fingers.
Cooking Tips & Techniques
I’ve made these treats more times than I can count, and I’ve learned a few things the hard way. Here’s what I wish someone had told me:
Don’t overheat the marshmallows. This is the number one mistake. If you microwave them too long, they turn into a hard, rubbery mess that won’t mix properly. Stick to 30-second intervals and stir in between. When they’re mostly melted with a few lumps, stop—the residual heat will finish the job.
Butter everything. Your hands, your spatula, your dish, your counter. Marshmallow mixture sticks to everything like glue. I once spent 20 minutes scrubbing a bowl because I got lazy. Now I butter everything in sight. It’s worth the extra step.
Work quickly but gently. The mixture sets fast, so have everything ready before you start melting. But don’t rush the folding—crushed cereal makes for sad, dense treats. You want those crispy bits intact for the perfect crunch.
Powdered sugar is magic. When shaping the pumpkins, keep a bowl of powdered sugar nearby and re-dust your hands frequently. It prevents sticking without adding greasiness. Cornstarch works too, but powdered sugar adds a tiny bit of sweetness.
Don’t skip the salt. I know it seems weird, but a pinch of salt transforms these from “sweet” to “perfectly sweet.” It balances the marshmallow and makes the vanilla flavor pop. I forgot it once and the treats were noticeably flat.
Let them cool completely before decorating. If you try to draw faces while the treats are still warm, the gel will melt and run. I learned this when my first batch of Jack-O-Lanterns looked like they were crying. Wait until they’re completely cool—about 15 minutes at room temperature.
Variations & Adaptations
One of the best things about this recipe is how flexible it is. Here are some variations I’ve tried and loved:
Chocolate Pumpkin Treats: Swap 1 cup of the crispy rice cereal for 1 cup of Cocoa Pebbles or crushed chocolate cookies. The chocolate-orange combo is incredible. I made these for a friend’s Halloween party and they disappeared first.
Peanut Butter Pumpkins: Add 2 tablespoons of creamy peanut butter to the marshmallow mixture before adding the cereal. It gives the treats a subtle nutty flavor that pairs beautifully with the candy corn. Just make sure to stir until completely combined.
Vegan Version: Use vegan butter and Dandies marshmallows (they’re gelatin-free). Everything else is already plant-based. The texture is slightly different—a bit softer—but just as delicious. My vegan friend couldn’t tell the difference.
Gluten-Free Option: This recipe is naturally gluten-free if you use certified gluten-free crispy rice cereal. Most major brands are, but double-check the label. Rice Chex works great too.
Spiced Pumpkin Treats: Add 1 teaspoon of pumpkin pie spice to the marshmallow mixture. It gives the treats a warm, cozy flavor that screams fall. I did this on a whim one rainy October afternoon and it was a game changer.
Mini Pumpkins: Use a smaller scoop to make bite-sized treats. They’re perfect for classroom parties or snack bags. Just reduce the shaping time and use tiny candy corn pieces for the stems.
My personal favorite variation? The spiced version with a drizzle of melted white chocolate on top. It feels fancy without any extra effort. Perfect for when you want to impress but don’t want to actually work hard.
Serving & Storage Suggestions
These treats are best served at room temperature, right after they’ve set. The texture is perfect—soft with a slight crunch, and the candy corn adds a chewy contrast. Arrange them on a platter lined with orange or black napkins for a festive look.
For a Halloween party spread, pair them with apple cider, pumpkin punch, or hot chocolate. They also go great with a cheese board (trust me, the sweet-salty combo works). If you’re feeling extra, set up a decorating station and let guests draw their own faces.
Storage: Keep the treats in an airtight container at room temperature for up to 5 days. Layer them with parchment paper to prevent sticking. Do not refrigerate—they’ll get hard and lose their soft texture.
Freezing: You can freeze these for up to 2 months. Place them in a single layer on a baking sheet, freeze until solid, then transfer to a freezer-safe bag. Thaw at room temperature for about 30 minutes before serving. The faces might smudge slightly, so consider adding them after thawing.
Make ahead tip: Prepare the treats without the faces, store them in an airtight container, and decorate them the day you serve. This keeps the faces looking sharp and prevents the gel from bleeding.
One thing I love about these treats is that the flavors actually get better after a day or two. The marshmallow softens slightly and the candy corn melds into the treat. They never last that long in my house, but when they do, they’re even better on day two.
Nutritional Information & Benefits
Let’s be real—these are a treat, not a health food. But here’s the breakdown if you’re curious:
Per treat (based on 24 servings):
- Calories: 120
- Total Fat: 3g
- Saturated Fat: 2g
- Carbohydrates: 23g
- Sugar: 14g
- Protein: 1g
- Sodium: 55mg
While these aren’t exactly a superfood, they do have a few redeeming qualities. The crispy rice cereal provides a small amount of iron and B vitamins. And honestly, there’s something to be said for the mental health benefits of a fun, nostalgic treat. Sometimes you just need a little joy in the form of a marshmallow pumpkin.
Dietary considerations: This recipe is naturally nut-free (if you skip the peanut butter variation) and can be made gluten-free and vegan with simple swaps. Always check labels if you’re serving someone with allergies.
My personal take? Life is about balance. These treats are perfect for special occasions, holidays, or those days when you just need a little comfort. One or two won’t derail anything, and the smiles they bring are worth every calorie.
Conclusion
These Cozy No-Bake Jack-O-Lantern Treats are proof that you don’t need fancy ingredients or hours in the kitchen to create something magical. They’re simple, fun, and absolutely delicious—everything a fall treat should be. Whether you’re making them for a Halloween party, a cozy night in, or just because you need a little pumpkin-shaped happiness, they never disappoint.
I love that this recipe has become my go-to for last-minute gatherings. It’s saved me more times than I can count, and it always brings a smile to people’s faces. There’s something special about a treat that looks like you spent hours on it but actually came together in 15 minutes. That’s the kind of kitchen magic I can get behind.
Now I want to hear from you! Have you tried these treats? Did you add your own twist? Drop a comment below and let me know how they turned out. Share a photo if you’re feeling proud—I’d love to see your Jack-O-Lantern faces. And if you’re looking for more cozy fall recipes, be sure to check out our cozy fall desserts collection. Happy Halloween, and happy snacking!
Frequently Asked Questions
Can I use a different cereal instead of crispy rice cereal?
Absolutely! Corn flakes, Rice Chex, or even crushed graham crackers work well. Just keep in mind that different cereals will change the texture. Corn flakes give a crunchier result, while graham crackers make them softer and more like a marshmallow bar.
How do I keep the treats from sticking to my hands?
Dust your hands generously with powdered sugar or lightly coat them with butter. I prefer powdered sugar because it doesn’t add greasiness. Reapply as needed—especially if you’re making a big batch.
Can I make these ahead of time for a party?
Yes! Make the treats up to 2 days ahead and store them in an airtight container at room temperature. Add the Jack-O-Lantern faces the day of your party to keep them looking fresh. The faces can smudge if they sit too long.
My marshmallow mixture turned out too hard. What went wrong?
This usually happens when the marshmallows are overheated. Always microwave in 30-second intervals and stop when they’re mostly melted. If your mixture is already too hard, try adding a tablespoon of butter and reheating gently. That should soften it up.
Can I use a silicone mold instead of shaping by hand?
Definitely! Silicone pumpkin molds make perfectly shaped treats every time. Just grease the mold lightly with butter or cooking spray, press the mixture in firmly, and let it set. Pop them out gently and add the stems and faces. It’s a great shortcut if you’re making a large batch.
Pin This Recipe!
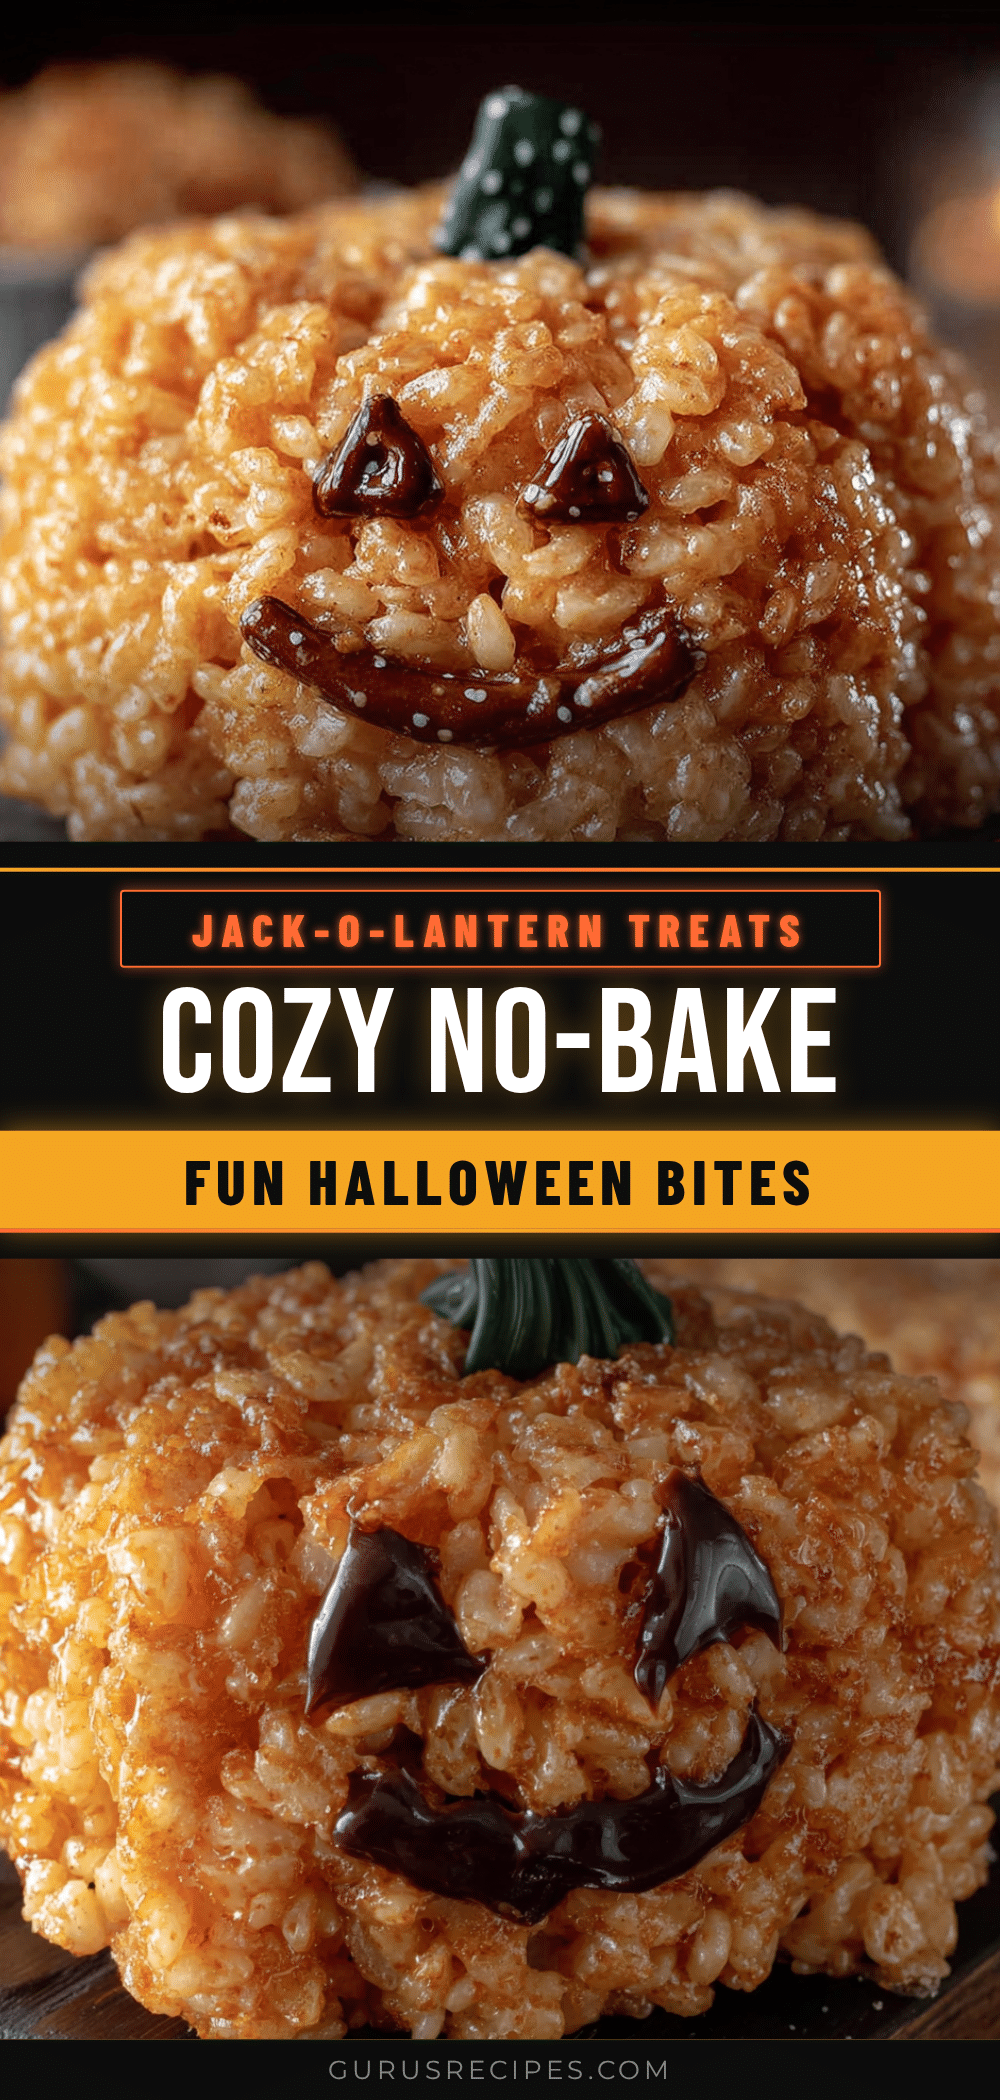

Cozy No-Bake Jack-O-Lantern Treats: Easy 15-Minute Recipe
These no-bake pumpkin treats are made with marshmallows, crispy rice cereal, and candy corn, shaped into adorable Jack-O-Lanterns in just 15 minutes. Perfect for Halloween parties, fall gatherings, or a quick, fun dessert that everyone loves.
- Total Time: 17 minutes
- Yield: 24 servings 1x
Ingredients
- 3 tablespoons unsalted butter, plus extra for greasing
- 4 cups mini marshmallows
- 4 cups crispy rice cereal
- Orange food coloring gel
- 1 teaspoon vanilla extract
- Pinch of salt
- Candy corn (about 24 pieces)
- Green candy melts or green icing
- Black decorating gel or melted chocolate
- Powdered sugar (for dusting hands)
Instructions
- Grease a 9×13-inch baking dish with butter and line with parchment paper. Also butter your spatula.
- In a large microwave-safe bowl, combine 3 tablespoons butter and 4 cups mini marshmallows. Microwave in 30-second intervals, stirring after each, until completely smooth (about 1.5 to 2 minutes).
- Stir in orange food coloring gel a little at a time until deep pumpkin orange. Add vanilla extract and pinch of salt, stirring until glossy and smooth.
- Pour in 4 cups crispy rice cereal and fold gently with buttered spatula until evenly coated.
- Transfer mixture to prepared baking dish and press evenly with buttered spatula or greased parchment paper. Do not press too hard.
- Let cool at room temperature for 10-15 minutes until firm but still slightly warm.
- Dust hands with powdered sugar. Take about 2 tablespoons of mixture, roll into a ball, then flatten top and bottom to create a pumpkin shape. Repeat to make 20-24 treats.
- Press a piece of candy corn into the center of each pumpkin, pointed end up, for the stem.
- Melt green candy melts or use green icing to pipe a small leaf shape next to each stem. Let set for a few minutes.
- Use black decorating gel or melted chocolate to draw Jack-O-Lantern faces on each treat.
- Let treats sit for about 10 minutes so faces harden. Serve at room temperature.
Notes
Butter everything to prevent sticking. Work quickly as mixture sets fast. If mixture gets too hard while shaping, microwave for 10-15 seconds to soften. Keep powdered sugar handy for sticky fingers. Let treats cool completely before decorating to prevent gel from melting.
- Prep Time: 15 minutes
- Cook Time: 2 minutes
- Category: Dessert
- Cuisine: American
Nutrition
- Serving Size: 1 treat
- Calories: 120
- Sugar: 14
- Sodium: 55
- Fat: 3
- Saturated Fat: 2
- Carbohydrates: 23
- Protein: 1
Keywords: no-bake, Halloween, pumpkin treats, marshmallow treats, crispy rice cereal, candy corn, Jack-O-Lantern, fall dessert, easy dessert, kid-friendly


