
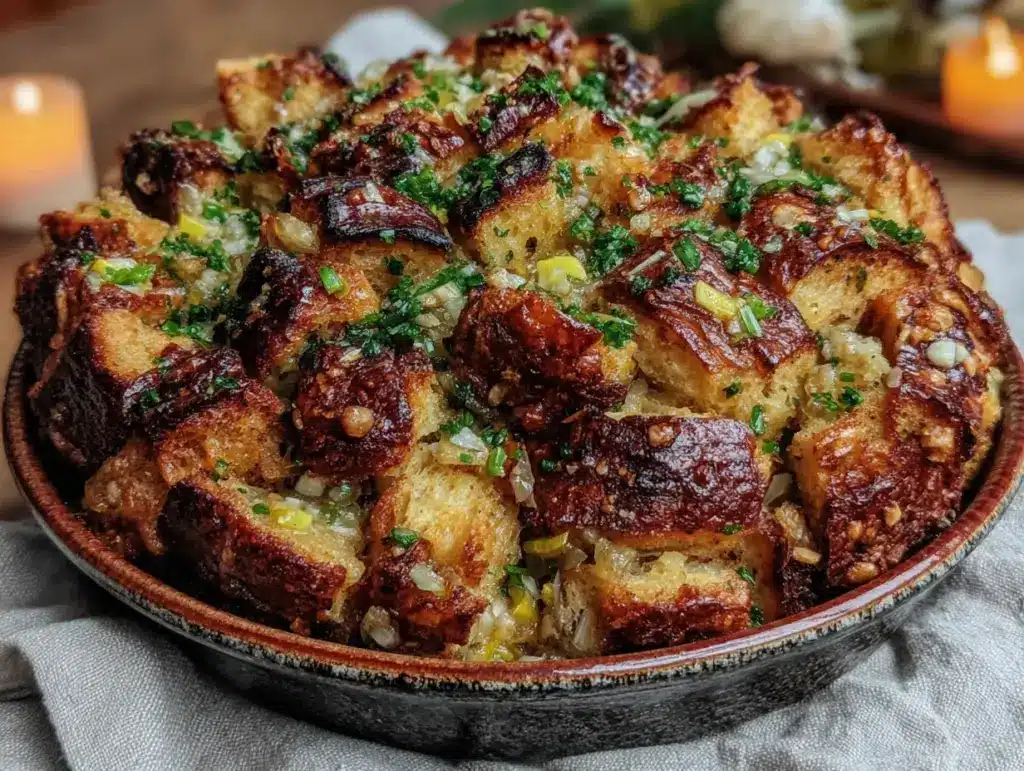
This was supposed to be the year I finally made my grandmother’s classic sage stuffing—the one that had been the centerpiece of every Thanksgiving table for as long as anyone could remember. I had the recipe memorized, the day planned out, and a bag of day-old sourdough waiting on the counter. But somewhere between the grocery store chaos and my nephew deciding to “help” by rearranging the pantry, I grabbed a bag of gluten-free bread instead of the regular stuff. I didn’t even notice until I was standing over the mixing bowl, butter dripping down my wrists, wondering why the bread felt weirdly dense in my hands. Honestly, my first instinct was to toss it and start over. But the stores were already closed, the turkey was brining in the fridge, and I had twelve people showing up in less than six hours. So I did what any reasonable person would do—I panicked for a solid three minutes, then decided to just go with it. I threw in extra herbs, doubled the broth, and crossed my fingers. What came out of that oven was nothing like the plan—and better. The edges were impossibly crisp, the center stayed tender and almost custardy, and the whole kitchen smelled like someone had bottled autumn itself. My aunt, who never compliments anything that isn’t her own cooking, asked for the recipe twice. I had to admit it was a complete accident. But honestly? That’s the kind of magic that only happens when you stop trying so hard.
Maybe you’ve been there—standing in your kitchen, realizing something went wrong, and feeling that familiar knot of dread tighten in your chest. I mean, let’s face it, Thanksgiving is basically a pressure cooker of expectations. Every dish has to be perfect, every timeline has to be exact, and heaven forbid you mess up the stuffing. But here’s the thing I learned that chaotic November afternoon: sometimes the best recipes come from the moments when everything goes sideways. This gluten-free Thanksgiving stuffing with fresh herbs isn’t just a backup plan for anyone avoiding wheat. It’s the kind of dish that earns a permanent spot on the holiday table, whether anyone at that table needs to eat gluten-free or not. The secret is in how you treat the bread, how you layer the aromatics, and how you let the broth work its magic without drowning everything. It took me three more rounds of testing to get it exactly right—because one happy accident doesn’t always repeat itself. But now? This is the only stuffing I make. And honestly, I haven’t touched regular bread since.
The first time I served this to a crowd that wasn’t expecting gluten-free anything, I watched people go back for seconds before they even finished their turkey. That’s when I knew this recipe had staying power. It’s not about what it’s missing—it’s about what it brings to the table. Rich, herbaceous, perfectly textured, and completely unforgettable. Let me show you how to pull it off without the panic attack.
Why You’ll Love This Recipe
Let me be straight with you—I’ve tested more stuffing recipes than I care to count. Some turned out like soggy bread pudding. Others came out dry enough to double as packing material. This one? It hits that sweet spot every single time. Here’s why this gluten-free Thanksgiving stuffing deserves a spot on your holiday menu:
- No One Will Know It’s Gluten-Free — I’ve served this to gluten-eaters who swore it was traditional stuffing. The texture is that good. Crispy edges, soft center, zero of that gritty or crumbly texture that plagues so many gluten-free recipes.
- Perfect for Hosting a Crowd — This recipe scales beautifully. Whether you’re feeding six or sixteen, the ratios hold up. Plus, you can prep it the day before and bake it off while the turkey rests—which is basically hosting gold.
- Fresh Herbs Make All the Difference — Dried herbs are fine in a pinch, but fresh sage, rosemary, and thyme transform this from a side dish into the thing people talk about on the drive home. The aroma alone will have guests hovering around the kitchen.
- Simple Ingredients, No Fancy Shopping — You’ll find everything at a regular grocery store. No specialty flours, no obscure health food items. Just good, honest ingredients that come together beautifully.
- Make-Ahead Friendly — Thanksgiving morning is chaotic enough without scrambling to assemble stuffing. Assemble it the night before, refrigerate, and pop it in the oven an hour before dinner. Your future self will thank you.
This isn’t just another gluten-free stuffing recipe you’ll find floating around the internet. What sets this apart is the technique—toasting the bread cubes until they’re bone-dry before they ever see liquid. Most recipes skip this step, and that’s exactly why they end up mushy. The toasting creates structure, gives the bread something to hold onto, and ensures every cube absorbs just enough broth without falling apart. Plus, I’ve dialed in the perfect herb-to-bread ratio after about seven test batches. Trust me, it’s science—delicious, buttery, Thanksgiving-saving science.
This is the kind of dish that makes you close your eyes after the first bite. It’s comfort food reimagined—familiar enough to feel like home, but somehow better than you remembered. Perfect for impressing guests without stress, or turning a simple holiday meal into something truly memorable.
What Ingredients You Will Need
This recipe uses simple, wholesome ingredients to deliver bold flavor and satisfying texture without the fuss. Most of these are pantry staples or easy to find at any grocery store. Here’s what you’ll need and why each one matters:
For the Bread Base
- 1 large loaf (about 16-18 ounces) day-old gluten-free bread — Look for a sturdy loaf, not something soft and airy. I prefer Schär’s artisan style or Canyon Bakehouse for the best texture. You want bread that can hold its shape when cubed and toasted.
- 4 tablespoons unsalted butter (plus more for greasing) — Butter adds richness and helps the edges get beautifully golden. Use dairy-free butter if needed—Miyoko’s works great here.
- 2 tablespoons olive oil — A little olive oil helps the bread toast evenly and keeps the stuffing from drying out.
For the Aromatics
- 2 medium yellow onions, diced (about 2 cups) — Yellow onions have the right balance of sweetness and bite. Don’t rush this step—properly softened onions are the backbone of good stuffing.
- 3 celery ribs, diced (about 1½ cups) — Celery adds that classic stuffing crunch and a subtle peppery flavor. I leave the leaves on for extra flavor.
- 4 cloves garlic, minced — Fresh garlic, not the jarred stuff. It makes a difference.
For the Fresh Herbs
- 3 tablespoons fresh sage, finely chopped — Sage is non-negotiable here. It’s the soul of Thanksgiving stuffing. Rub the leaves between your fingers before chopping to release the oils.
- 2 tablespoons fresh rosemary, finely chopped — Rosemary adds that woodsy, pine-like aroma that fills the whole house. Go easy—it’s potent.
- 2 tablespoons fresh thyme leaves — Thyme is subtle but essential. Run your fingers down the stems to strip the leaves quickly.
- ¼ cup fresh parsley, chopped — Parsley brightens everything up and adds a fresh finish.
For the Liquid
- 2½ cups low-sodium chicken or vegetable broth — Low-sodium is key here. You want to control the salt level yourself. I use Swanson’s low-sodium chicken broth or Imagine’s vegetable broth for a vegetarian version.
- 2 large eggs, lightly beaten — Eggs are the binder that holds everything together. Without them, gluten-free stuffing can fall apart. Use a flax egg (1 tablespoon ground flax + 3 tablespoons water per egg) for a vegan option.
Seasonings
- 1 teaspoon salt — I use fine sea salt. Adjust based on your broth’s saltiness.
- ½ teaspoon black pepper — Freshly ground if you have it.
- ½ teaspoon poultry seasoning (optional) — Adds that classic Thanksgiving flavor. Bell’s seasoning is my go-to.
Optional Add-Ins
- ½ cup dried cranberries — For a pop of sweetness that cuts through the savory herbs.
- ½ cup toasted pecans or walnuts — Adds crunch and richness. Toast them in a dry pan for 3-4 minutes until fragrant.
- 1 cup cooked sausage or mushrooms — For a heartier stuffing. Cook and crumble the sausage first, or sauté mushrooms until golden.
Substitution Guidance: If you need this dairy-free, use vegan butter and unsweetened oat milk in place of regular butter. For a lower-sodium version, use no-salt-added broth and skip the added salt—the herbs provide plenty of flavor. And if you can’t find fresh herbs, use one-third the amount of dried herbs. Just know the flavor won’t be quite as vibrant.
Equipment Needed
You don’t need a professional kitchen to pull this off. Here’s what you’ll actually use:
- Large baking sheet — For toasting the bread cubes. A rimmed sheet works best to prevent cubes from rolling off. I use my half-sheet pan for this.
- Large skillet or sauté pan — For cooking the aromatics. A 12-inch skillet gives you enough room to soften the onions and celery without overcrowding.
- 9×13-inch baking dish — The standard size for this amount of stuffing. Glass or ceramic works best for even heating. A metal pan can work, but watch the edges—they brown faster.
- Large mixing bowl — For combining everything. You want enough room to toss without spilling.
- Chef’s knife and cutting board — For all that chopping. A sharp knife makes herb prep so much easier.
- Wooden spoon or spatula — For stirring the aromatics and mixing the stuffing.
- Measuring cups and spoons — Accurate measurements matter here, especially for the broth-to-bread ratio.
Budget-Friendly Alternatives: No baking sheet? Use a jelly roll pan or even a cast-iron skillet to toast the bread in batches. No 9×13 dish? A 10-inch cast-iron skillet works beautifully—just reduce the oven time by about 5 minutes since cast iron holds heat so well. And honestly, I’ve made this with a flimsy metal roasting pan before, and it still turned out great. Don’t let fancy equipment stop you.
Preparation Method
Let’s get into the actual cooking. I’ve broken this down into clear steps with all the little details that make the difference between good stuffing and unforgettable stuffing.
Step 1: Prep the Bread (Do This First!)
Preheat your oven to 350°F (175°C). Cut the gluten-free bread into ¾-inch cubes—don’t make them too small or they’ll turn to mush. You want pieces that have some heft to them. Spread the cubes in a single layer on your baking sheet. Bake for 12-15 minutes, stirring halfway through, until the cubes are dry, lightly golden, and sound hollow when you tap them. This is the most important step in the whole recipe. Do not skip it. Wet bread that hasn’t been toasted will absorb broth unevenly and turn into a sad, gluey mess. Let the cubes cool completely on the sheet while you move on to the next step.
Step 2: Cook the Aromatics
Melt the 4 tablespoons of butter with the 2 tablespoons of olive oil in your large skillet over medium heat. Add the diced onions and celery. Cook, stirring occasionally, for 8-10 minutes until the onions are translucent and the celery has softened but still has a little bite. You’re not trying to brown them heavily—just coax out their sweetness. Add the minced garlic and cook for another minute until fragrant. Remove from heat and let it cool slightly. (I’ve burned my fingers rushing this step. Let it cool.)
Step 3: Mix the Herb and Broth Base
In your large mixing bowl, whisk together the beaten eggs, chicken broth, chopped sage, rosemary, thyme, parsley, salt, pepper, and poultry seasoning if using. Whisk until everything is well combined. The mixture should look like a very thin, herb-flecked gravy. Taste it—yes, raw egg and all—to check the seasoning. It should taste slightly too salty and herb-forward because the bread will absorb and mellow everything out.
Step 4: Combine Everything
Add the toasted bread cubes and the cooked onion-celery mixture to the bowl with the broth mixture. Using a large spatula or your hands (clean hands work best here), gently fold everything together until every bread cube is evenly coated. Don’t stir too aggressively—you want the cubes to stay intact. Let the mixture sit for 10 minutes. This resting time lets the bread absorb the liquid. After 10 minutes, give it another gentle stir. The mixture should look moist but not soupy. If it looks dry, add another ¼ cup of broth. If it looks too wet, don’t panic—it will firm up as it bakes.
Step 5: Assemble and Bake
Preheat your oven to 375°F (190°C). Grease your 9×13-inch baking dish with butter or nonstick spray. Transfer the stuffing mixture to the dish and spread it into an even layer. Don’t press it down—you want some air pockets for texture. Cover the dish tightly with foil and bake for 30 minutes. After 30 minutes, remove the foil and bake for another 15-20 minutes until the top is golden brown and crispy. The internal temperature should reach 165°F (74°C) if you want to be precise. Let it rest for 5-10 minutes before serving. This resting time is crucial—it lets the structure set so the stuffing holds its shape when you scoop it out.
Step 6: The Golden Touch (Optional but Worth It)
If you want extra crispy edges, after removing the foil, switch the oven to broil for the last 2-3 minutes. Watch it like a hawk—broilers work fast, and you want golden, not burnt. I learned this the hard way when I walked away to answer the door and came back to smoking stuffing. Not my finest moment.
Cooking Tips & Techniques
After more test batches than I care to count, here’s what I’ve learned about making this stuffing foolproof:
Toast the bread thoroughly. This is the single biggest mistake I see people make. Gluten-free bread is naturally more delicate and absorbent than wheat bread. If you don’t toast it until it’s bone-dry, it will turn into paste the moment it hits the broth. I’m talking 12-15 minutes at 350°F, maybe longer if your bread is particularly soft. When you think it’s done, give it another 2 minutes. Seriously.
Don’t skip the resting step. That 10-minute rest after mixing is not optional. It gives the bread time to fully absorb the liquid so you can see if you need more broth. If you skip this, you might end up with dry stuffing because you didn’t realize the bread needed more moisture. I’ve done this. It’s sad.
Use fresh herbs, not dried. I know, I know—dried herbs are easier. But fresh herbs are what make this stuffing taste like Thanksgiving instead of just… stuffing. The difference is night and day. Fresh sage has this peppery, almost citrusy note that dried sage just doesn’t have. And fresh rosemary? It’s like the whole forest showed up in your kitchen. If you absolutely must use dried, use one-third of the amount called for fresh.
Watch your liquid ratio. Different gluten-free breads absorb liquid differently. Some are like sponges, others are more resistant. Start with 2½ cups of broth, then add more if needed after the 10-minute rest. The mixture should look moist and glossy, not swimming in liquid. If you see puddles of broth at the bottom of the bowl, you’ve added too much. Add a few more toasted bread cubes to balance it out.
Make it ahead the right way. If you’re prepping this the day before, assemble the stuffing completely but stop before baking. Cover and refrigerate. The next day, let it sit at room temperature for 30 minutes while the oven preheats, then bake as directed. You may need to add 5-10 minutes to the covered baking time since it’s starting from cold.
Double the recipe for a crowd. This recipe fits perfectly in a 9×13 dish and serves about 8-10 people as a side. If you’re feeding a larger group, double everything and bake in two dishes. Don’t try to cram it all into one pan—the stuffing won’t cook evenly and you’ll end up with burnt edges and a raw center.
Variations & Adaptations
One of the best things about this stuffing is how flexible it is. Here are some ways to make it your own:
Sausage and Mushroom Stuffing
Brown 1 pound of Italian sausage (casings removed) in the skillet before cooking the aromatics. Remove the sausage and set aside. Sauté 8 ounces of sliced cremini mushrooms in the rendered fat until golden, then proceed with the onions and celery. Add the cooked sausage back in when you mix everything together. This version is hearty enough to be a main dish, honestly.
Vegan Thanksgiving Stuffing
Use vegetable broth, vegan butter (I like Miyoko’s), and replace the eggs with flax eggs (2 tablespoons ground flax mixed with 6 tablespoons water, let sit for 5 minutes). Add an extra ¼ cup of broth since flax eggs don’t bind quite as firmly as regular eggs. The texture will be slightly more crumbly, but the flavor is still incredible.
Cornbread Stuffing Twist
Replace half the gluten-free bread with crumbled gluten-free cornbread. Bake a batch of your favorite gluten-free cornbread the day before, let it dry out overnight, and crumble it into the mix. This adds a subtle sweetness and a different texture that pairs beautifully with the herbs. My Southern friend taught me this trick, and I haven’t looked back.
Low-Carb/ Keto Version
Replace the bread with cauliflower florets that have been roasted until very dry and slightly browned. You’ll need about 6 cups of cauliflower. The texture won’t be identical to traditional stuffing, but it’s surprisingly good—especially if you double the herbs and add extra butter. This works best for anyone watching their carbs but still wanting that Thanksgiving flavor.
Spicy Southwest Stuffing
Add 1 diced jalapeño (seeds removed unless you want heat) to the aromatics, swap the sage for cilantro, and add ½ cup of roasted corn and ½ cup of black beans. This version is perfect if you’re serving a crowd with varied tastes. It’s unexpected, but honestly, it works.
Serving & Storage Suggestions
This stuffing is incredibly versatile when it comes to serving. Here’s how I recommend handling it:
Serving Temperature: Serve this stuffing hot, straight from the oven. The contrast between the crispy top and the tender interior is part of the magic. If you’re serving buffet-style, keep it warm in a slow cooker set to “warm” for up to 2 hours. Just don’t leave it in there too long or the crispy edges will soften.
What to Serve Alongside: This stuffing is a natural partner for roast turkey, obviously. But it also shines alongside roasted chicken, pork chops, or even a simple roast chicken. For a vegetarian Thanksgiving, pair it with a lentil loaf or stuffed acorn squash. I’ve also served it alongside a simple green salad with vinaigrette, and the contrast was lovely.
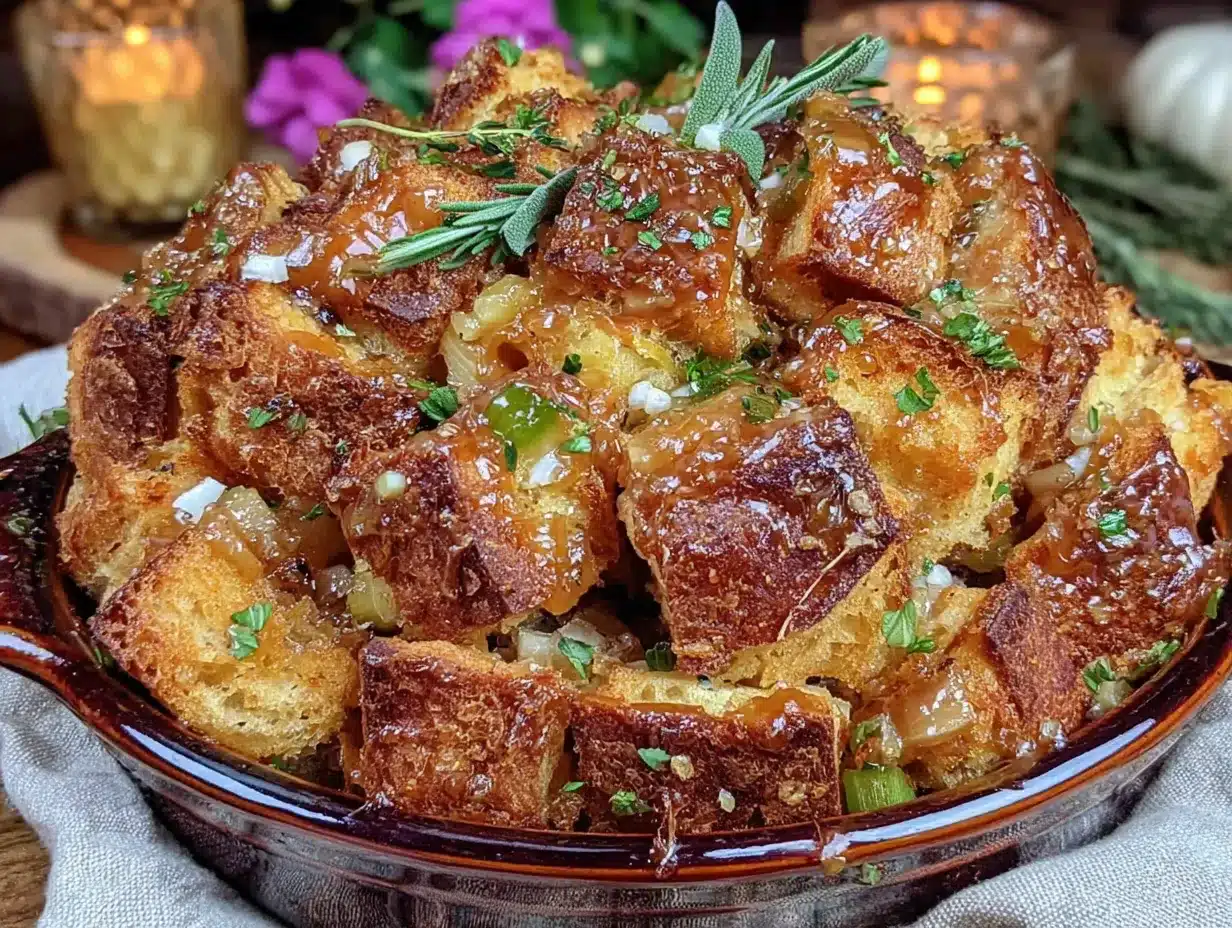
Presentation Tips for Hosting: Transfer the stuffing to a warmed serving dish and garnish with a few fresh sage leaves and a sprinkle of fresh parsley. It sounds simple, but it makes the dish look intentional and beautiful. If you’re feeling fancy, serve it in individual ramekins for a more elegant presentation—just reduce the baking time by about 5 minutes.
Storage Instructions: Leftover stuffing keeps well in the refrigerator for up to 4 days. Store it in an airtight container. The flavors actually meld and deepen overnight, so leftovers might taste even better the next day. I’ve been known to eat cold stuffing straight from the fridge at midnight. No regrets.
Freezing: This stuffing freezes beautifully. Let it cool completely, then transfer to a freezer-safe container or zip-top bag. Freeze for up to 3 months. To reheat, thaw overnight in the refrigerator, then reheat in a 350°F oven covered with foil for 20-25 minutes, removing the foil for the last 5 minutes to crisp up the top.
Reheating Methods: The oven is your best bet for reheating. Microwave reheating will make the stuffing soggy. If you’re in a rush, reheat individual portions in a toaster oven at 350°F for 10-12 minutes. Add a splash of broth if it seems dry before reheating.
Flavor Development: Here’s a secret—this stuffing actually gets better after a day or two in the fridge. The herbs continue to infuse the bread, and the texture firms up beautifully. So don’t stress if you have leftovers. They’re a feature, not a bug.
Nutritional Information & Benefits
While I’m not a nutritionist, here’s an approximate breakdown per serving (based on 10 servings):
| Nutrient | Amount Per Serving |
|---|---|
| Calories | 245 |
| Total Fat | 12g |
| Saturated Fat | 5g |
| Cholesterol | 55mg |
| Sodium | 520mg |
| Total Carbohydrates | 28g |
| Dietary Fiber | 3g |
| Sugars | 4g |
| Protein | 6g |
Health Benefits: This stuffing isn’t just delicious—it also packs some nutritional perks. Fresh herbs like sage and rosemary are rich in antioxidants and anti-inflammatory compounds. Celery provides vitamin K and fiber. And using gluten-free bread means this recipe is accessible to anyone with celiac disease or gluten sensitivity. Plus, by controlling the sodium level with low-sodium broth, you can keep the salt in check without sacrificing flavor.
Dietary Considerations: This recipe is naturally gluten-free. For a dairy-free version, use vegan butter and skip the butter for greasing the dish. For a lower-calorie option, reduce the butter to 2 tablespoons and use olive oil for the rest. The texture will be slightly less rich, but still very good. For a vegan version, follow the modifications listed in the variations section.
Potential Allergens: This recipe contains gluten (from the bread, though it’s gluten-free bread, the base ingredient varies—check your bread label), dairy (butter), and eggs. Always check your specific ingredients for cross-contamination risks if cooking for someone with severe allergies.
Conclusion
Look, I know Thanksgiving can feel like a high-stakes cooking marathon. There’s pressure to get everything right, to please everyone at the table, and to keep your cool when the turkey takes longer than expected or the pie crust crumbles. But here’s what I’ve learned from that accidental stuffing that changed everything: sometimes the best dishes come from the moments when you let go of perfection and just cook with what you have.
This gluten-free Thanksgiving stuffing with fresh herbs isn’t just a recipe—it’s permission to stop stressing. It’s proof that gluten-free doesn’t mean flavor-free, that accidents can turn into traditions, and that the best memories are often made in the messy, imperfect moments of the kitchen. I’ve made this for Thanksgivings where everything went smoothly, and for Thanksgivings where the dog ate the dessert and the gravy split. It’s never let me down.
So go ahead—make this your own. Add sausage if that’s your thing. Throw in cranberries for sweetness. Double the herbs if you’re feeling bold. And when someone at your table asks for the recipe (they will), smile and tell them it started with a mistake. That’s the kind of story that makes food taste even better.
I’d love to hear how this turns out for you! Drop a comment below and let me know what variations you tried, or tag me in your Thanksgiving photos. Happy cooking, friends. You’ve got this.
Frequently Asked Questions
Can I make this stuffing ahead of time?
Absolutely! Assemble the stuffing completely but stop before baking. Cover and refrigerate for up to 24 hours. When you’re ready to bake, let it sit at room temperature for 30 minutes, then bake as directed, adding about 5-10 minutes to the covered baking time since it’s starting cold.
What’s the best gluten-free bread for this recipe?
I recommend a sturdy artisan-style gluten-free bread, like Schär’s Artisan Baker White Bread or Canyon Bakehouse’s Mountain White. Avoid soft, sandwich-style breads that are too airy—they’ll turn to mush. Day-old bread works best, but if yours is fresh, just toast it a little longer to dry it out.
Can I use dried herbs instead of fresh?
You can, but the flavor won’t be as vibrant. If using dried herbs, use one-third of the amount called for fresh. So instead of 3 tablespoons fresh sage, use 1 tablespoon dried. And add them to the broth mixture rather than sprinkling them on top, so they have time to rehydrate.
How do I prevent the stuffing from being too dry or too soggy?
The key is the 10-minute rest after mixing. Let the bread absorb the liquid, then check the consistency. It should look moist but not soupy. If it’s dry, add more broth a tablespoon at a time. If it’s too wet, add a few more toasted bread cubes. Also, don’t skip the foil-covered baking time—it traps steam and ensures even cooking.
Can I cook this stuffing inside the turkey?
I don’t recommend it for food safety reasons. The stuffing needs to reach 165°F internally, and cooking it inside the turkey often means the bird is overcooked by the time the stuffing is safe. Plus, gluten-free bread is more delicate and can turn mushy from the turkey juices. Stick to baking it separately—it’s safer and gives you better texture.
Pin This Recipe!
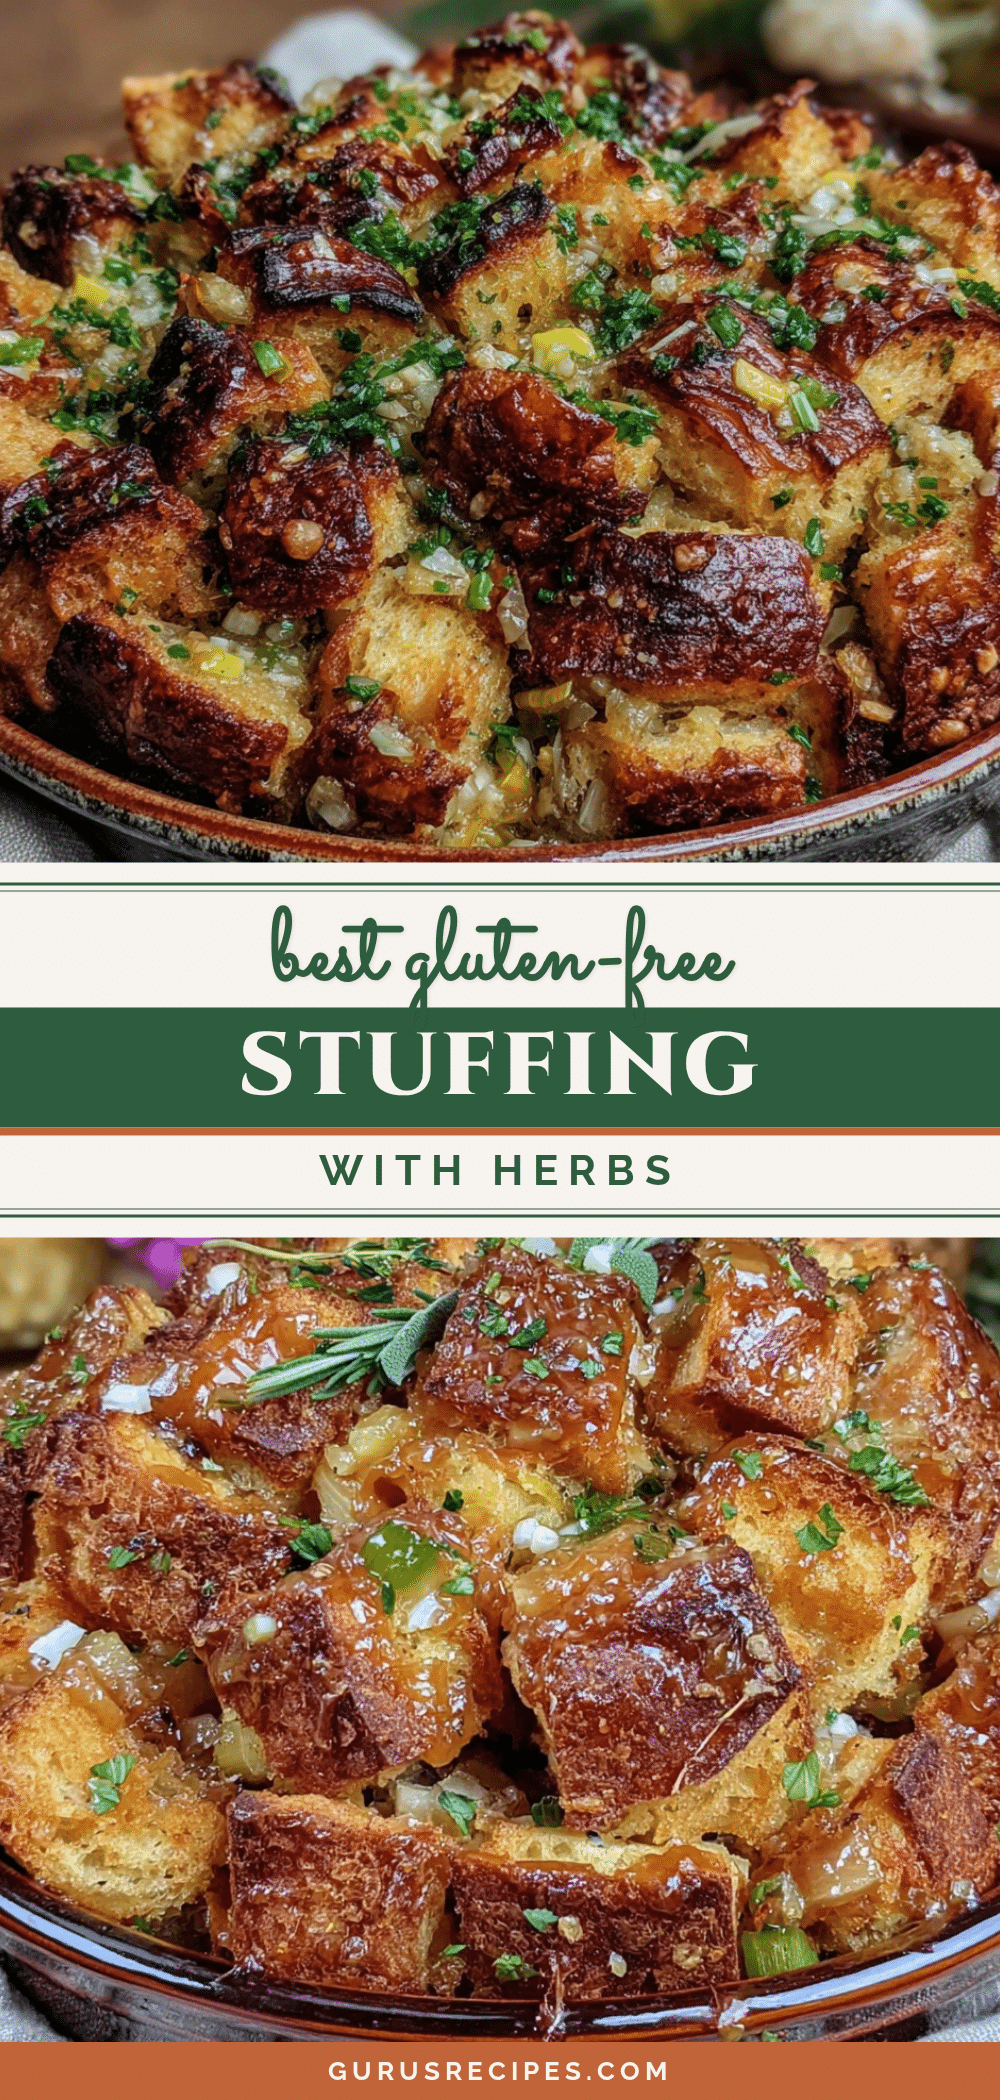

Best Gluten-Free Thanksgiving Stuffing with Fresh Herbs
This gluten-free Thanksgiving stuffing with fresh herbs is a happy accident turned tradition. Crispy edges, tender center, and packed with herbaceous flavor, it’s so good no one will know it’s gluten-free.
- Total Time: 1 hour 10 minutes
- Yield: 10 servings 1x
Ingredients
- 1 large loaf (16–18 ounces) day-old gluten-free bread, cut into ¾-inch cubes
- 4 tablespoons unsalted butter (plus more for greasing)
- 2 tablespoons olive oil
- 2 medium yellow onions, diced (about 2 cups)
- 3 celery ribs, diced (about 1½ cups)
- 4 cloves garlic, minced
- 3 tablespoons fresh sage, finely chopped
- 2 tablespoons fresh rosemary, finely chopped
- 2 tablespoons fresh thyme leaves
- ¼ cup fresh parsley, chopped
- 2½ cups low-sodium chicken or vegetable broth
- 2 large eggs, lightly beaten
- 1 teaspoon salt
- ½ teaspoon black pepper
- ½ teaspoon poultry seasoning (optional)
- ½ cup dried cranberries (optional)
- ½ cup toasted pecans or walnuts (optional)
- 1 cup cooked sausage or mushrooms (optional)
Instructions
- Preheat oven to 350°F (175°C). Cut gluten-free bread into ¾-inch cubes. Spread in a single layer on a baking sheet. Bake for 12-15 minutes, stirring halfway, until dry, lightly golden, and hollow-sounding. Let cool completely.
- Melt 4 tablespoons butter with 2 tablespoons olive oil in a large skillet over medium heat. Add onions and celery; cook 8-10 minutes until translucent and softened. Add garlic; cook 1 minute more. Remove from heat and let cool slightly.
- In a large mixing bowl, whisk together beaten eggs, broth, sage, rosemary, thyme, parsley, salt, pepper, and poultry seasoning (if using). Taste and adjust seasoning.
- Add toasted bread cubes and cooked onion-celery mixture to the bowl. Gently fold until every cube is evenly coated. Let rest for 10 minutes. Stir gently again; mixture should be moist but not soupy. Add more broth if needed.
- Preheat oven to 375°F (190°C). Grease a 9×13-inch baking dish. Transfer stuffing mixture to dish and spread evenly. Cover tightly with foil and bake for 30 minutes. Remove foil and bake 15-20 minutes more until top is golden and crispy. Internal temperature should reach 165°F (74°C). Let rest 5-10 minutes before serving.
- Optional: For extra crispy edges, broil for 2-3 minutes after removing foil, watching closely.
Notes
Toast the bread thoroughly to prevent mushiness. Let the mixture rest 10 minutes after combining to allow absorption. Use fresh herbs for best flavor. For make-ahead, assemble and refrigerate unbaked; add 5-10 minutes to covered baking time. For extra crispy edges, broil the last 2-3 minutes.
- Prep Time: 20 minutes
- Cook Time: 50 minutes
- Category: Side Dish
- Cuisine: American
Nutrition
- Serving Size: 1 serving (about 1 c
- Calories: 245
- Sugar: 4
- Sodium: 520
- Fat: 12
- Saturated Fat: 5
- Carbohydrates: 28
- Fiber: 3
- Protein: 6
Keywords: gluten-free stuffing, Thanksgiving stuffing, fresh herb stuffing, gluten-free Thanksgiving, holiday side dish


