
“You’ve got to try this wrap,” my coworker said, sliding a foil-wrapped bundle across the table during a chaotic lunch break. I was skeptical—after all, Caesar salads and wraps are nothing new, right? But the way the chicken crackled with just the right crunch, paired with a zingy dressing that wasn’t drowning everything in mayo, caught me off guard. Honest to goodness, it felt like a secret weapon for busy days when you want something quick but not boring.
That lunch was a bit of a lifesaver on a day packed with back-to-back meetings, and I found myself craving that crispy chicken Caesar wrap with zesty homemade dressing again and again the following week. What really hooked me was how the dressing balanced that familiar Caesar flavor with a little extra kick—no bottled sauces or shortcuts here. Plus, wrapping everything up made it perfect for grabbing on the go, which is a total win when you’re juggling work and life.
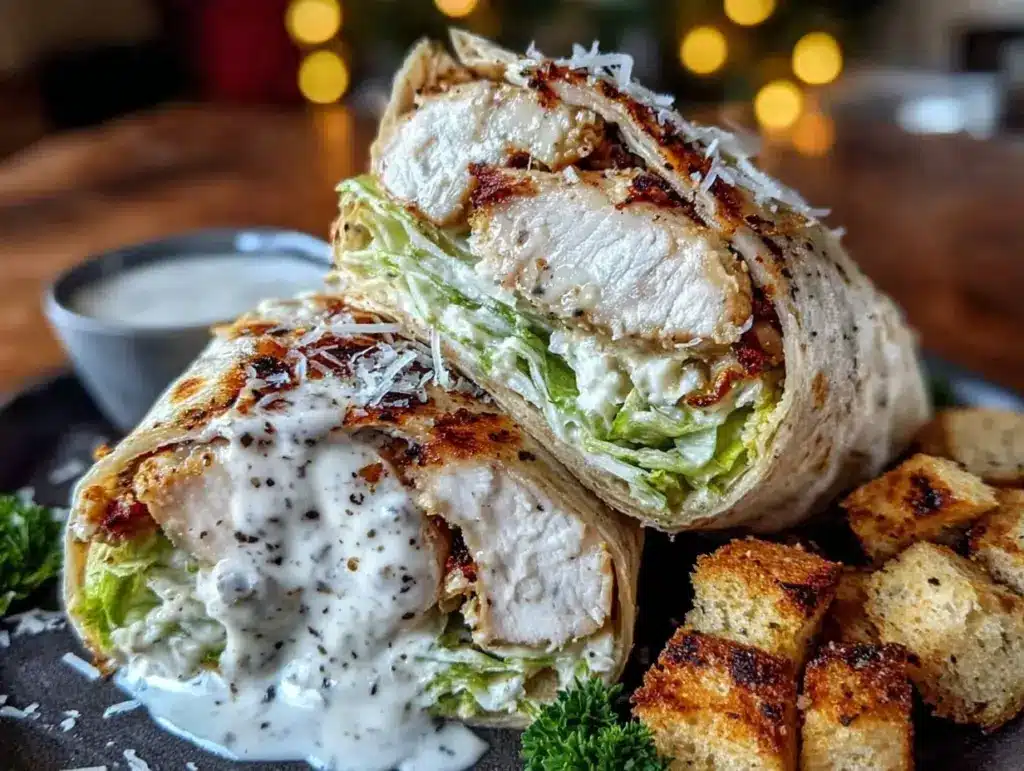
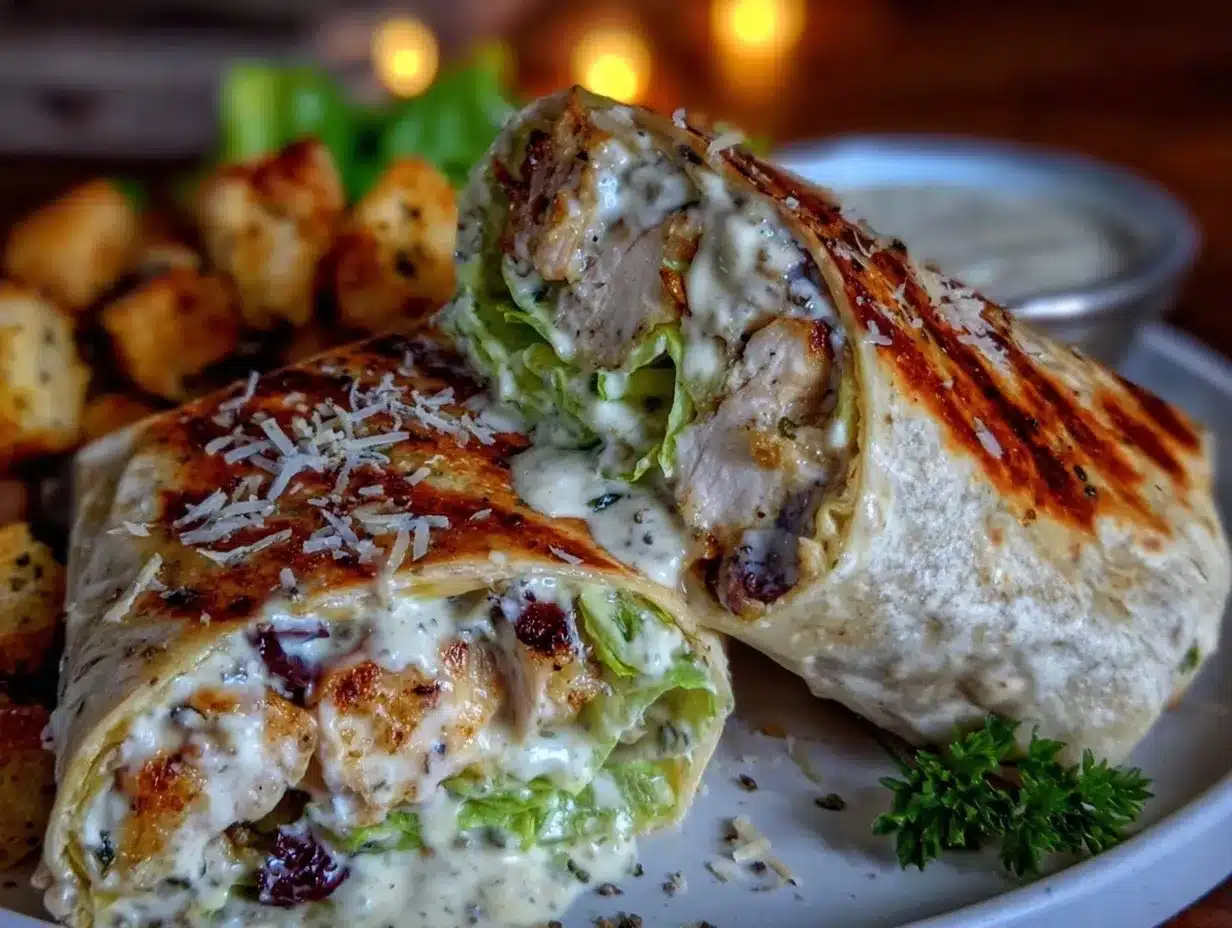
At the heart of this recipe is that crispy chicken, which I’ve tweaked to stay juicy inside but with a golden, satisfyingly crunchy exterior. The homemade dressing, bursting with fresh lemon, garlic, and a hint of tangy Worcestershire, pulls everything together in a way store-bought just doesn’t match. It’s honestly one of those meals that feels both fresh and indulgent at the same time, and it’s become my go-to for when I want lunch to feel like a treat without the fuss.
What sticks with me about this recipe is how it turns a simple idea—chicken Caesar—into something handheld and zesty, perfect for lunchboxes, casual dinners, or even impromptu picnics. You know, that quiet realization that sometimes the best meals come from a moment of shared food and unexpected flavor. That’s why this wrap keeps showing up on my menu, no matter how busy life gets.
Why You’ll Love This Recipe
Having made this crispy chicken Caesar wrap with zesty homemade dressing multiple times over the past few months, I can vouch for its blend of convenience and flavor. This isn’t just another sandwich—it’s a thoughtfully crafted meal that hits all the right notes.
- Quick & Easy: Ready in about 30 minutes, making it perfect for rushed mornings or last-minute lunches.
- Simple Ingredients: Uses common pantry staples and fresh produce, so no extra grocery runs needed.
- Perfect for Any Occasion: Whether you’re packing lunch for work, hosting a casual get-together, or need a satisfying dinner, this wrap fits the bill.
- Crowd-Pleaser: Kids and adults alike rave about the crispy chicken paired with that tangy, zesty dressing.
- Unbelievably Delicious: The crisp chicken skin, creamy yet punchy dressing, and fresh romaine crunch make every bite satisfying.
What sets this recipe apart is the homemade dressing. Instead of relying on store-bought Caesar sauce, which can be heavy or overly garlicky, this version offers a bright, balanced zing thanks to fresh lemon juice and a touch of Worcestershire. The chicken’s breading is light and crispy, not soggy, which keeps the wrap feeling fresh even after a few hours. I also swear by using a soft yet sturdy tortilla that holds everything without tearing—a detail that makes all the difference.
Honestly, this wrap becomes more than just a meal; it’s a quick pick-me-up that brings a little joy to the daily grind. If you’ve ever wished your lunch could be both comforting and exciting, this recipe practically nails that feeling.
What Ingredients You Will Need
This crispy chicken Caesar wrap recipe uses straightforward, wholesome ingredients that work together to deliver bold flavors without fuss. Most of these are pantry staples or fresh produce you likely already have on hand.
- For the Crispy Chicken:
- 2 boneless, skinless chicken breasts (about 1 lb / 450 g), pounded to even thickness
- 1 cup (120 g) all-purpose flour
- 2 large eggs, beaten
- 1 cup (90 g) panko breadcrumbs (for extra crunch, I like Kikkoman brand)
- 1 teaspoon garlic powder
- 1 teaspoon paprika
- Salt and freshly ground black pepper, to taste
- Olive oil or vegetable oil, for frying
- For the Zesty Homemade Caesar Dressing:
- 1/4 cup (60 ml) mayonnaise (use light mayo if preferred)
- 2 tablespoons freshly squeezed lemon juice
- 1 teaspoon Dijon mustard
- 1 small garlic clove, finely minced
- 1 teaspoon Worcestershire sauce
- 1 tablespoon grated Parmesan cheese (look for freshly grated for best flavor)
- Salt and pepper, to taste
- For Assembly:
- 4 large flour tortillas (10-inch / 25 cm diameter), warmed
- 2 cups fresh romaine lettuce, chopped
- 1/2 cup grated Parmesan cheese
- Optional: sliced ripe tomatoes or avocado for extra freshness
Feel free to swap the flour tortillas for whole wheat or gluten-free wraps if that suits your needs better. For a lighter version, Greek yogurt can replace mayo in the dressing, giving it a tangy twist. If you want to keep things dairy-free, omit the Parmesan in the dressing or try a nutritional yeast substitute.
Equipment Needed
- Large skillet or frying pan – I prefer a heavy-bottomed nonstick pan to get that even crisp on the chicken
- Mixing bowls – for dredging the chicken and mixing the dressing
- Whisk or fork – to beat eggs and mix dressing ingredients
- Meat mallet or rolling pin – for pounding chicken breasts evenly
- Paper towels – to drain excess oil from fried chicken
- Sharp knife and cutting board – for chopping lettuce and slicing optional veggies
If you don’t have panko breadcrumbs, crushed cornflakes or regular breadcrumbs can work in a pinch, though the texture will be slightly different. For frying, a cast iron skillet can help maintain consistent heat but requires good seasoning to prevent sticking. I’ve also had success with an electric griddle set to medium heat for frying multiple pieces at once.
Preparation Method
- Prepare the Chicken: Place the chicken breasts between two sheets of plastic wrap and gently pound them to about 1/2 inch (1.3 cm) thickness. This step helps the chicken cook evenly and stay juicy. Pat dry with paper towels.
- Set Up Dredging Stations: In a shallow bowl, combine the flour, garlic powder, paprika, salt, and pepper. In a second bowl, beat the eggs. In a third, place the panko breadcrumbs.
- Coat the Chicken: Dredge each chicken breast first in the seasoned flour, shaking off excess, then dip into the beaten eggs, and finally coat thoroughly with panko breadcrumbs. Press gently to help the crumbs stick.
- Fry the Chicken: Heat about 1/4 inch (6 mm) of oil in a skillet over medium heat. Once shimmering hot, carefully add the chicken breasts. Fry for about 4-5 minutes per side until golden brown and cooked through (internal temperature should reach 165°F / 74°C). Avoid overcrowding the pan to keep the oil temperature steady.
- Drain and Rest: Transfer the fried chicken to a plate lined with paper towels to drain excess oil. Let rest for 5 minutes before slicing into strips to keep juices locked in.
- Make the Dressing: Whisk together mayonnaise, lemon juice, Dijon mustard, minced garlic, Worcestershire sauce, Parmesan cheese, salt, and pepper in a small bowl. Taste and adjust seasoning as needed. The dressing should be creamy with a nice tang and a hint of umami.
- Warm the Tortillas: Quickly warm the tortillas in a dry skillet or microwave until soft and pliable, about 15-20 seconds each. This helps prevent tearing when wrapping.
- Assemble the Wraps: Lay a tortilla flat, spread a couple of tablespoons of dressing down the center, then layer with chopped romaine, sliced chicken strips, a sprinkle of Parmesan, and optional tomatoes or avocado. Drizzle a little more dressing on top if you like.
- Wrap it Up: Fold in the sides, then roll tightly from one edge to enclose all the fillings. Slice in half if desired.
If you find the chicken coating soggy after assembling, try spreading the dressing sparingly or adding it just before eating. Also, resting the chicken helps prevent the wrap from getting too wet. The crispness and fresh crunch of romaine really pull the whole thing together.
Cooking Tips & Techniques
One trick I learned is pounding the chicken evenly to avoid dry edges and undercooked centers. It really makes a difference in texture. Also, using panko breadcrumbs instead of regular ones is a game changer for that crispy exterior without heaviness.
When frying, don’t rush the process. Medium heat ensures the chicken cooks through while developing a golden crust. Too hot, and the coating will burn before the inside cooks; too low, and it absorbs too much oil.
For the dressing, freshly squeezing lemon juice instead of bottled brightens the flavor, and a tiny splash of Worcestershire adds depth without overpowering. If you’re short on time, whisk the dressing while the chicken fries to multitask efficiently.
Another tip: warm the tortillas just before assembling to prevent cracking or tearing when rolling. If your wrap feels a bit loose, wrapping it tightly in parchment or foil for a few minutes helps everything meld together nicely.
Variations & Adaptations
- Grilled Chicken Version: Skip frying and grill the pounded chicken breasts seasoned with the same spices. This reduces oil and adds a smoky char to the wrap.
- Low-Carb Option: Use large lettuce leaves (like Romaine or Butter lettuce) to wrap instead of tortillas for a fresh, crunchy alternative.
- Spicy Twist: Add a pinch of cayenne or hot sauce to the dressing or coat the chicken with a spicy breadcrumb mix for a little heat kick.
- Dairy-Free Dressing: Replace mayo with avocado or a vegan mayo, and skip Parmesan or use a vegan cheese alternative.
- Extra Veggies: Toss in thinly sliced cucumbers, shredded carrots, or roasted red peppers for added texture and nutrients—I’ve done this when prepping for a quick lunch.
One of my favorite tweaks is swapping in a garlic herb wrap instead of plain tortillas—like the ones in the crispy garlic parmesan focaccia bread recipe—which adds an extra layer of flavor and crunch.
Serving & Storage Suggestions
This crispy chicken Caesar wrap is best enjoyed fresh—warm, crispy chicken wrapped snugly with cool lettuce and zesty dressing. Serve it with a side of kettle-cooked chips or a light soup for a satisfying meal.
If you’re packing it for lunch, wrap tightly in foil or parchment paper to keep everything together. The wrap can be refrigerated for up to 24 hours, but the chicken crust will soften over time, so warming it gently in a skillet before eating helps regain some crispness.
To reheat, unwrap and warm the chicken separately in a skillet over medium heat for a few minutes, then reassemble the wrap fresh with lettuce and dressing. Avoid microwaving the whole wrap, or it can get soggy.
Flavors in the dressing mellow slightly over time, making it less tangy but still delicious. Adding fresh greens just before serving keeps the texture lively.
Nutritional Information & Benefits
Each wrap provides a balanced mix of protein from the chicken, fresh fiber from the romaine, and healthy fats from the dressing (especially if olive oil-based mayo is used). The homemade dressing keeps things lighter than many creamy store-bought Caesar dressings.
Estimated per serving (1 wrap):
| Calories | 450-500 kcal |
|---|---|
| Protein | 35 g |
| Carbohydrates | 30 g |
| Fat | 20 g |
| Fiber | 3-4 g |
This recipe is gluten-friendly if you use gluten-free flour and wraps, and dairy-free if you adjust the dressing. It avoids processed additives and is a solid choice for a wholesome, satisfying meal.
Conclusion
The crispy chicken Caesar wrap with zesty homemade dressing is one of those recipes that sticks with you—not because it’s fancy, but because it hits the right balance of crunch, creaminess, and fresh brightness. You can easily make it your own with simple swaps or extra add-ins, making it a versatile option for lunch or dinner.
For me, it’s become a quick reset meal on hectic days, a shareable crowd-pleaser, and a little comfort rolled into a neat package. I hope it finds a spot in your rotation too—whether you’re feeding hungry kids, packing lunch for work, or just craving something crispy and flavorful.
Feel free to share how you make your version or any twists you try. There’s something oddly satisfying about swapping food stories and recipes, don’t you think? And if you’re in the mood for a sweet finish after your wrap, you might enjoy the creamy delights in the creamy no-churn strawberry ice cream recipe or the fresh strawberry galette with vanilla glaze.
FAQs
Can I bake the chicken instead of frying it?
Yes! Bake the breaded chicken breasts at 400°F (200°C) for about 20-25 minutes, flipping halfway through, until golden and cooked through. It’s a lighter option, though the crust won’t be as crispy as frying.
What if I don’t have panko breadcrumbs?
Regular breadcrumbs work, but panko gives a lighter, crunchier texture. You can also crush cornflakes or use crushed crackers as a substitute.
How long can I store the leftover dressing?
Store the dressing in an airtight container in the fridge for up to 3 days. Give it a good stir before using.
Can I prepare the components in advance?
Absolutely. You can bread and cook the chicken ahead, keep it refrigerated, and assemble the wraps just before eating to maintain crispness.
What type of tortillas work best?
Soft flour tortillas (about 10-inch size) work best for flexibility and strength. Whole wheat or gluten-free wraps are great alternatives depending on your preference.
Pin This Recipe!
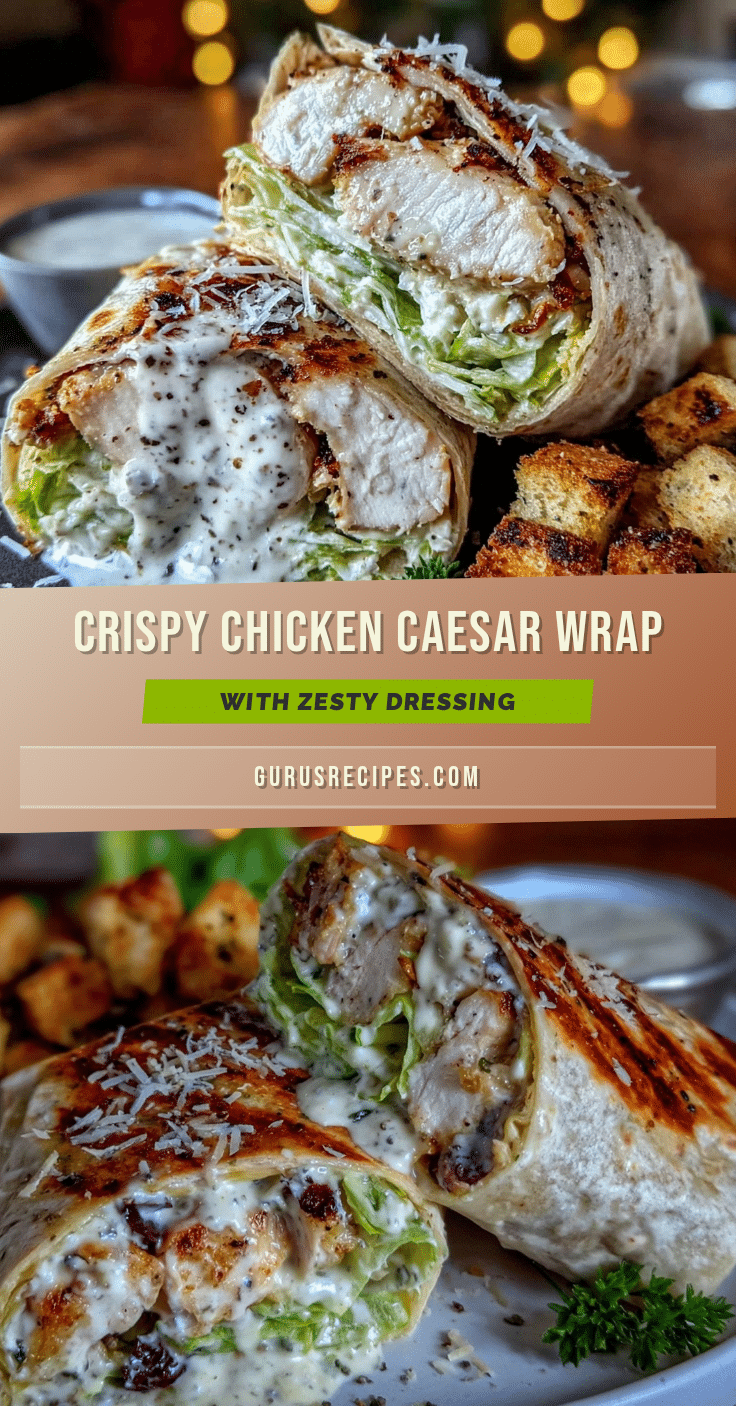

Crispy Chicken Caesar Wrap Recipe with Easy Zesty Homemade Dressing
A handheld wrap featuring juicy, crispy chicken breasts paired with a bright, zesty homemade Caesar dressing, fresh romaine, and Parmesan cheese. Perfect for quick lunches or casual dinners.
- Total Time: 30 minutes
- Yield: 4 servings 1x
Ingredients
- 2 boneless, skinless chicken breasts (about 1 lb / 450 g), pounded to even thickness
- 1 cup (120 g) all-purpose flour
- 2 large eggs, beaten
- 1 cup (90 g) panko breadcrumbs
- 1 teaspoon garlic powder
- 1 teaspoon paprika
- Salt and freshly ground black pepper, to taste
- Olive oil or vegetable oil, for frying
- 1/4 cup (60 ml) mayonnaise (use light mayo if preferred)
- 2 tablespoons freshly squeezed lemon juice
- 1 teaspoon Dijon mustard
- 1 small garlic clove, finely minced
- 1 teaspoon Worcestershire sauce
- 1 tablespoon grated Parmesan cheese
- Salt and pepper, to taste
- 4 large flour tortillas (10-inch / 25 cm diameter), warmed
- 2 cups fresh romaine lettuce, chopped
- 1/2 cup grated Parmesan cheese
- Optional: sliced ripe tomatoes or avocado for extra freshness
Instructions
- Place the chicken breasts between two sheets of plastic wrap and gently pound them to about 1/2 inch (1.3 cm) thickness. Pat dry with paper towels.
- In a shallow bowl, combine the flour, garlic powder, paprika, salt, and pepper. In a second bowl, beat the eggs. In a third, place the panko breadcrumbs.
- Dredge each chicken breast first in the seasoned flour, shaking off excess, then dip into the beaten eggs, and finally coat thoroughly with panko breadcrumbs. Press gently to help the crumbs stick.
- Heat about 1/4 inch (6 mm) of oil in a skillet over medium heat. Once shimmering hot, carefully add the chicken breasts. Fry for about 4-5 minutes per side until golden brown and cooked through (internal temperature should reach 165°F / 74°C). Avoid overcrowding the pan.
- Transfer the fried chicken to a plate lined with paper towels to drain excess oil. Let rest for 5 minutes before slicing into strips.
- Whisk together mayonnaise, lemon juice, Dijon mustard, minced garlic, Worcestershire sauce, Parmesan cheese, salt, and pepper in a small bowl. Taste and adjust seasoning as needed.
- Quickly warm the tortillas in a dry skillet or microwave until soft and pliable, about 15-20 seconds each.
- Lay a tortilla flat, spread a couple of tablespoons of dressing down the center, then layer with chopped romaine, sliced chicken strips, a sprinkle of Parmesan, and optional tomatoes or avocado. Drizzle a little more dressing on top if desired.
- Fold in the sides, then roll tightly from one edge to enclose all the fillings. Slice in half if desired.
Notes
To keep the chicken coating crispy, add dressing sparingly or just before eating. Resting the chicken after frying helps retain juiciness and prevents sogginess. Warm tortillas before assembling to avoid tearing. For a lighter or dairy-free version, substitute mayo with Greek yogurt or vegan mayo and omit Parmesan or use a vegan alternative. Baking the chicken at 400°F for 20-25 minutes is a healthier alternative to frying but results in less crispiness.
- Prep Time: 15 minutes
- Cook Time: 15 minutes
- Category: Main Course
- Cuisine: American
Nutrition
- Serving Size: 1 wrap
- Calories: 450500
- Fat: 20
- Carbohydrates: 30
- Fiber: 34
- Protein: 35
Keywords: crispy chicken wrap, Caesar wrap, homemade Caesar dressing, quick lunch, easy dinner, chicken recipe, zesty dressing, panko chicken


