
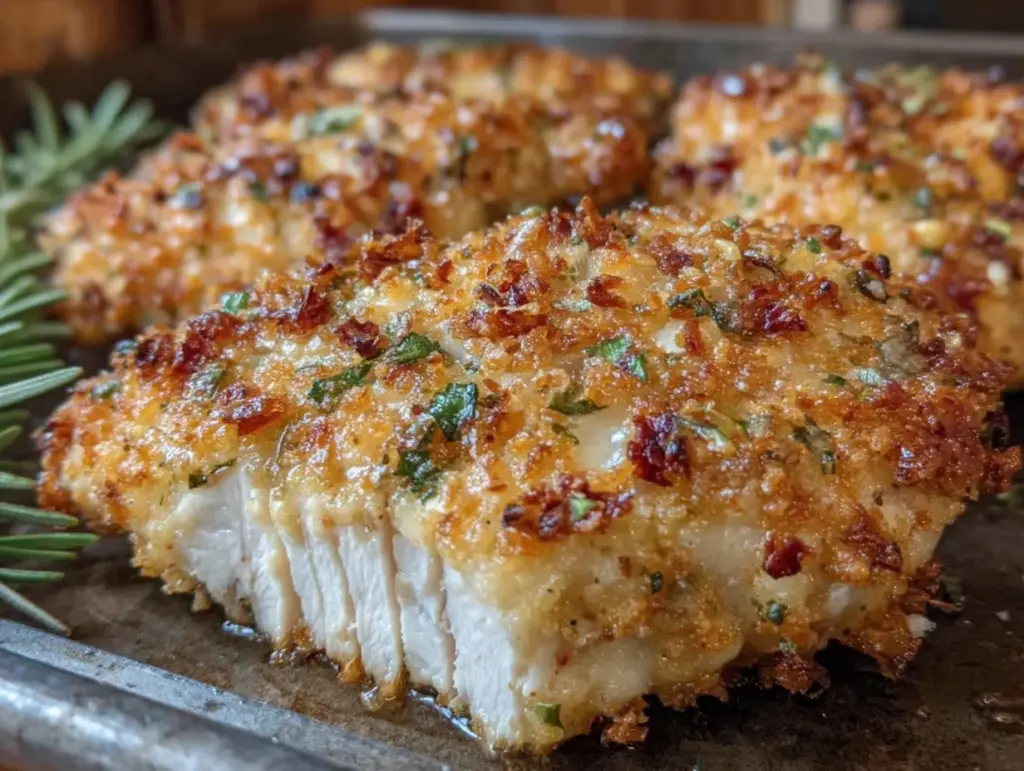
My husband took one bite of this crispy baked chicken breast with panko Parmesan crust and just stopped talking. That’s not something he does often—he’s a talker, through and through. He just chewed slowly, looked at the chicken, then back at me, and said, “This is the one. Don’t change a thing.” And honestly? I wasn’t planning to. I’d spent the better part of two weeks testing batches of baked chicken, trying to nail that golden, shatter-crisp crust you usually only get from a deep fryer. I wanted something that felt special but didn’t leave me scrubbing oil splatters off the stovetop at 7 PM on a Tuesday.
This recipe came together in a moment of pure kitchen frustration, actually. I had a few chicken breasts thawed, a half-empty box of panko breadcrumbs, and a block of Parmesan that needed using up. I was tired of dry, sad baked chicken—you know the kind I mean, the one that makes you reach for extra sauce just to get through dinner. So I tried something different. I toasted the panko first, mixed in freshly grated Parmesan (not the powdered stuff, please), and used a simple trick with the coating that gave it that extra crunch without any oil bath. The first batch disappeared before I could even plate it properly.
What I love most about this recipe is how honest it feels. It’s not pretending to be fried chicken, and it doesn’t need to be. The crust gets genuinely crispy—like, audible crunch crispy—while the chicken stays juicy and tender inside. It’s the kind of dinner that makes you feel like you’ve got your act together, even if the rest of your day was chaos. And let’s be real, most days are chaos.
Why You’ll Love This Recipe
I’ve tested this crispy panko Parmesan chicken more times than I care to admit, and each batch taught me something new. The version I’m sharing today is the one I keep coming back to, and I think you’ll feel the same way after your first bite.
- Quick & Easy: From start to finish, this comes together in about 30 minutes. Perfect for those nights when you need dinner on the table fast but still want something that feels like a real meal.
- Simple Ingredients: You probably already have most of these in your kitchen. No weird specialty items, no trips to three different stores. Just pantry staples that work beautifully together.
- Crowd-Pleaser: My kids devour this without complaint—and they’re the toughest critics I know. It’s also the first thing to disappear at potlucks and family gatherings.
- Healthier Than Fried: You get all that satisfying crunch without the heavy oil and grease. It’s baked, not fried, but nobody will miss the deep fryer.
- Unbelievably Delicious: The toasted panko and Parmesan create this golden crust that’s nutty, salty, and impossibly crispy. The inside stays tender and juicy every single time.
What sets this recipe apart is the toasting step. Most baked chicken recipes skip this, and their crust ends up soft and sad. Taking five extra minutes to toast the panko makes all the difference—it’s the difference between good chicken and “can’t stop eating it” chicken. I learned this trick from a chef friend who insisted it was the only way, and she was right.
What Ingredients You Will Need
This recipe keeps things simple, using everyday ingredients that work together to create something genuinely special. Each component plays a specific role in building that perfect crust and keeping the meat moist.
- Chicken Breasts (4 pieces, about 6 ounces each): Look for boneless, skinless breasts that are similar in size so they cook evenly. If yours are especially thick, butterfly them or pound them to about ¾-inch thickness. I prefer organic when possible, but conventional works great too.
- Panko Breadcrumbs (1 ½ cups): These are larger and flakier than regular breadcrumbs, which gives you that superior crunch. I’ve tried making my own, but honestly, store-bought panko is consistent and reliable. Kikkoman is my go-to brand.
- Parmesan Cheese (½ cup, freshly grated): Please, please buy a block and grate it yourself. The pre-shredded stuff has anti-caking agents that prevent it from melting properly and sticking to the chicken. The flavor difference is night and day.
- All-Purpose Flour (¼ cup): This creates the first layer of coating and helps the egg wash stick. You can substitute with almond flour for a gluten-free version, though the texture will be slightly different.
- Eggs (2 large): They act as the glue between the flour and the panko mixture. Make sure they’re at room temperature for the smoothest coating.
- Olive Oil (2 tablespoons): A light drizzle over the coated chicken helps the crust brown beautifully in the oven. You can use avocado oil if you prefer a neutral flavor.
- Garlic Powder (1 teaspoon): Adds savory depth without overwhelming the dish. Fresh garlic would burn at this temperature, so stick with the powder.
- Dried Italian Seasoning (1 teaspoon): A blend of oregano, basil, and rosemary works perfectly. You can also use just dried oregano if that’s what you have.
- Salt and Black Pepper (to taste): Don’t skimp on seasoning the chicken itself—it makes a huge difference in the final flavor.
- Fresh Parsley (for garnish, optional): Adds a pop of color and freshness. Totally optional but pretty.
Equipment Needed
You don’t need a fancy kitchen to make this work. Here’s what I use every time:
- Baking Sheet: A rimmed baking sheet is ideal. I use a half-sheet pan (18×13 inches) because it gives the chicken plenty of space. Line it with parchment paper or aluminum foil for easy cleanup.
- Wire Rack: This is my secret weapon. Placing the chicken on a wire rack set inside the baking sheet allows hot air to circulate underneath, keeping the bottom crust crispy instead of soggy. A cooling rack works perfectly for this.
- Three Shallow Bowls: You’ll need one for flour, one for eggs, and one for the panko mixture. I use wide, shallow pasta bowls because they make dipping easy without making a mess.
- Meat Mallet or Rolling Pin: For pounding the chicken to an even thickness. If you don’t have a mallet, a heavy skillet works in a pinch—just wrap the chicken in plastic wrap first.
- Instant-Read Thermometer: This takes the guesswork out of cooking. Chicken is safe at 165°F, but I pull it at 160°F and let carryover cooking finish the job. It stays juicier that way.
- Large Skillet: For toasting the panko. A non-stick skillet works best, but any skillet will do. Just watch the crumbs carefully—they burn fast.
Preparation Method
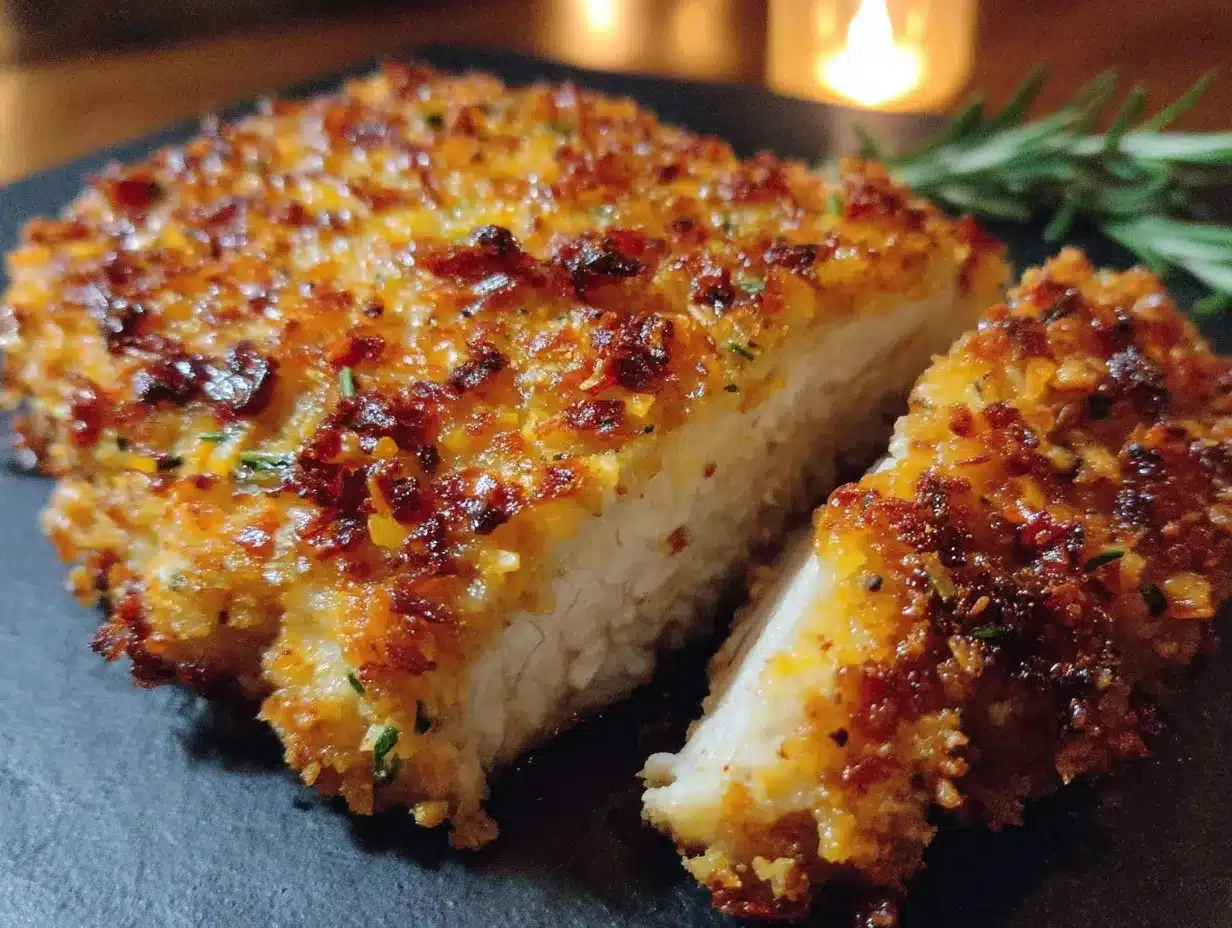
Let me walk you through this step by step. I’ve included all the little details I wish someone had told me the first time I made this.
- Preheat your oven to 400°F (200°C). Position the rack in the middle of the oven. While it’s heating, line a baking sheet with foil or parchment and place a wire rack on top. Lightly spray the rack with cooking spray to prevent sticking.
- Toast the panko breadcrumbs. Heat a large skillet over medium heat. Add the panko and stir constantly for 3-4 minutes until they turn golden brown. Don’t walk away—they go from perfect to burnt in seconds. Transfer the toasted panko to a shallow bowl and let them cool completely. This step is non-negotiable if you want that crispy texture.
- Prepare the chicken. Place each chicken breast between two sheets of plastic wrap or parchment paper. Use a meat mallet or rolling pin to pound them to an even ¾-inch thickness. Season both sides generously with salt, pepper, and garlic powder. Let them rest for 5 minutes while you set up your coating station.
- Set up your coating station. Get three shallow bowls ready. In the first, add the flour. In the second, beat the eggs with a splash of water until smooth. In the third, combine the cooled toasted panko with the freshly grated Parmesan and dried Italian seasoning. Stir everything together with a fork.
- Coat the chicken. Working with one piece at a time, dredge the chicken in the flour, shaking off any excess. Then dip it into the egg wash, letting the excess drip off. Finally, press it firmly into the panko-Parmesan mixture, making sure both sides are fully coated. I use my fingers to press the crumbs into the chicken—it helps them stick better.
- Place on the wire rack. Transfer the coated chicken to the prepared wire rack. Drizzle or spray the tops lightly with olive oil. This helps the crust brown and crisp up in the oven.
- Bake for 18-22 minutes. The exact time depends on the thickness of your chicken. Flip the chicken halfway through (at about 10-12 minutes) for even browning. The crust should be deep golden brown and feel firm to the touch.
- Check for doneness. Insert an instant-read thermometer into the thickest part of the breast. You’re looking for 160°F (71°C)—it will rise to 165°F during resting. If you don’t have a thermometer, cut into the thickest part; the juices should run clear with no pink remaining.
- Rest before serving. Let the chicken rest on the wire rack for 5 minutes. This is crucial—it lets the juices redistribute so the meat stays tender. If you cut into it immediately, all those good juices will end up on your cutting board instead of in your mouth.
Cooking Tips & Techniques
After making this recipe more times than I can count, I’ve picked up a few tricks that make a real difference. Here’s what I wish I’d known from the start.
Don’t skip the toasting step. I know it seems like an extra hassle, but untoasted panko absorbs moisture from the egg wash and turns soft in the oven. Toasting them first creates a barrier that stays crunchy. I learned this the hard way after serving soggy chicken to guests. Never again.
Pat the chicken dry before seasoning. Moisture is the enemy of crispy crusts. Use paper towels to pat the chicken breasts completely dry before you start. This helps the flour stick better and prevents steaming during baking.
Let the coating rest before baking. After coating the chicken, let it sit on the wire rack for 5-10 minutes before it goes into the oven. This gives the coating time to adhere properly and reduces the chance of it sliding off during baking. I know it’s tempting to rush, but this little pause pays off.
Use a wire rack, not a baking sheet. If you place the chicken directly on the baking sheet, the bottom will steam and turn soggy. The wire rack lets hot air circulate all around, giving you an all-over crispy crust. It’s one of those small changes that makes a huge difference.
Watch the oven temperature. Every oven runs a little differently. If yours runs hot, check the chicken at 15 minutes. If it runs cool, you might need 25 minutes. The thermometer is your best friend here—don’t rely solely on time.
One of my biggest failures happened when I tried to double the recipe and overcrowded the baking sheet. The chicken steamed instead of baked, and the crust never got crispy. Give each piece enough space—at least an inch between them—so the hot air can circulate properly.
Variations & Adaptations
This recipe is wonderfully flexible, and I’ve tried quite a few variations over the years. Here are some of my favorites.
Spicy Cajun Version: Add 1 teaspoon of Cajun seasoning to the panko mixture and a pinch of cayenne pepper to the flour. It gives the chicken a nice kick without being overwhelming. I serve this with a cooling ranch dip, and it’s always a hit.
Gluten-Free Adaptation: Swap the all-purpose flour for almond flour or a gluten-free all-purpose blend. Use gluten-free panko (most major brands make one now). The texture will be slightly different—a bit more delicate—but still deliciously crispy. I’ve tested this with several gluten-free friends, and they couldn’t tell the difference.
Lemon Herb Variation: Add the zest of one lemon and 2 tablespoons of fresh chopped herbs (parsley, thyme, or rosemary work beautifully) to the panko mixture. Squeeze fresh lemon juice over the finished chicken for a bright, fresh flavor. This is my go-to summer version.
Air Fryer Method: If you have an air fryer, this recipe works beautifully. Preheat to 375°F (190°C), place the coated chicken in a single layer in the basket (you may need to work in batches), and cook for 12-15 minutes, flipping halfway through. The crust gets even crispier in the air fryer, honestly.
Cheese Variations: Try substituting the Parmesan with Pecorino Romano for a saltier, sharper flavor, or use a mix of Parmesan and asiago for extra depth. I’ve even used crumbled feta in a pinch—it melts differently but tastes fantastic.
Serving & Storage Suggestions
This crispy panko Parmesan chicken is incredibly versatile when it comes to serving. Here’s how I like to enjoy it.
Serving Temperature: Serve it hot, straight from the oven, while the crust is still at its crispiest. The chicken stays warm for about 15-20 minutes on the wire rack if you need to finish other dishes.
What to Serve With It: I love pairing this with a simple side salad dressed with lemon vinaigrette—the acidity cuts through the richness of the Parmesan. Roasted vegetables like asparagus, broccoli, or green beans work beautifully too. For a heartier meal, serve it alongside creamy mashed potatoes or a loaded baked potato soup for the ultimate comfort food combo. If you’re in the mood for something lighter, try it with a fresh dandelion green pesto drizzled over the top for a unique twist.
Storage Instructions: Store leftover chicken in an airtight container in the refrigerator for up to 4 days. The crust will soften over time, but it’s still delicious. I don’t recommend freezing the cooked chicken—the crust becomes soggy when thawed.
Reheating Tips: The best way to reheat this is in the oven or air fryer. Preheat to 375°F (190°C) and heat for 5-8 minutes until warmed through and the crust crisps back up. The microwave works in a pinch, but you’ll lose the crunch. If you’re meal prepping, I recommend keeping the coating separate and baking fresh each time.
How Flavors Develop: Honestly, this chicken is best fresh from the oven. The flavors don’t improve significantly with time, so I recommend making only what you’ll eat in one sitting. Leftovers are still good, but that first-bite magic is hard to replicate.
Nutritional Information & Benefits
This recipe is a great option when you’re craving something satisfying but want to keep things balanced. Here’s what you’re getting per serving (based on 4 servings):
| Nutrient | Amount Per Serving |
|---|---|
| Calories | 385 |
| Protein | 42g |
| Carbohydrates | 18g |
| Fat | 16g |
| Saturated Fat | 5g |
| Fiber | 1g |
| Sodium | 520mg |
Chicken breast is an excellent source of lean protein, which supports muscle health and keeps you feeling full longer. Parmesan cheese adds calcium and a good dose of umami flavor without needing much. The panko provides a small amount of carbohydrates for energy, and using olive oil instead of deep-frying keeps the fat profile healthier.
This recipe is naturally low-carb if you skip the flour coating (use almond flour instead) and fits well into most balanced eating plans. It’s not suitable for strict keto due to the panko, but you can substitute crushed pork rinds for a keto-friendly version. For those watching sodium, use low-sodium Parmesan and skip the added salt in the coating.
Conclusion
This crispy baked chicken breast with panko Parmesan crust has become a staple in my kitchen, and I have a feeling it’ll become one in yours too. It’s one of those rare recipes that feels both special and completely doable on a busy weeknight. The crust gets genuinely crispy, the chicken stays juicy, and the whole thing comes together in about 30 minutes with minimal cleanup.
What I love most is how adaptable it is. You can dress it up with fresh herbs and a squeeze of lemon for a fancy dinner, or keep it simple with a side of steamed vegetables and call it a win. It’s the kind of recipe that makes you feel like a good cook without actually requiring much skill—and honestly, that’s my favorite kind of recipe.
I’d love to hear how this turns out for you. Drop a comment below and let me know if you tried any variations or what you served it with. And if you’re looking for more comforting, easy dinner ideas, you might enjoy this comforting shepherd’s pie or this crispy Reuben sandwich for another satisfying meal. Happy cooking, friends!
Frequently Asked Questions
Can I use chicken thighs instead of breasts?
Absolutely! Boneless, skinless chicken thighs work wonderfully with this recipe. They’re more forgiving than breasts and stay juicy even if you overcook them slightly. Adjust the baking time to 20-25 minutes, and check for an internal temperature of 175°F for thighs.
Why did my crust fall off?
This usually happens for one of three reasons: the chicken wasn’t patted dry before coating, the egg wash was too thin, or you didn’t press the panko mixture firmly enough into the chicken. Make sure to shake off excess flour, let the egg wash drip off completely, and really press those crumbs into the meat.
Can I make this ahead of time?
You can prepare the coated chicken up to 4 hours ahead and keep it in the refrigerator on the wire rack. Just add 2-3 minutes to the baking time since you’re starting from cold. I don’t recommend coating it the night before—the breadcrumbs can become soggy.
How do I keep the chicken from drying out?
The key is not overcooking it. Use an instant-read thermometer and pull the chicken at 160°F—it will carry over to 165°F while resting. Also, pounding the chicken to an even thickness ensures it cooks uniformly, so you don’t end up with dry edges and a raw center.
Can I double this recipe?
Yes, but you’ll need to use two baking sheets or work in batches. Overcrowding the pan traps steam and prevents the crust from getting crispy. If using two sheets, rotate them halfway through baking and swap their positions in the oven for even cooking.
Pin This Recipe!
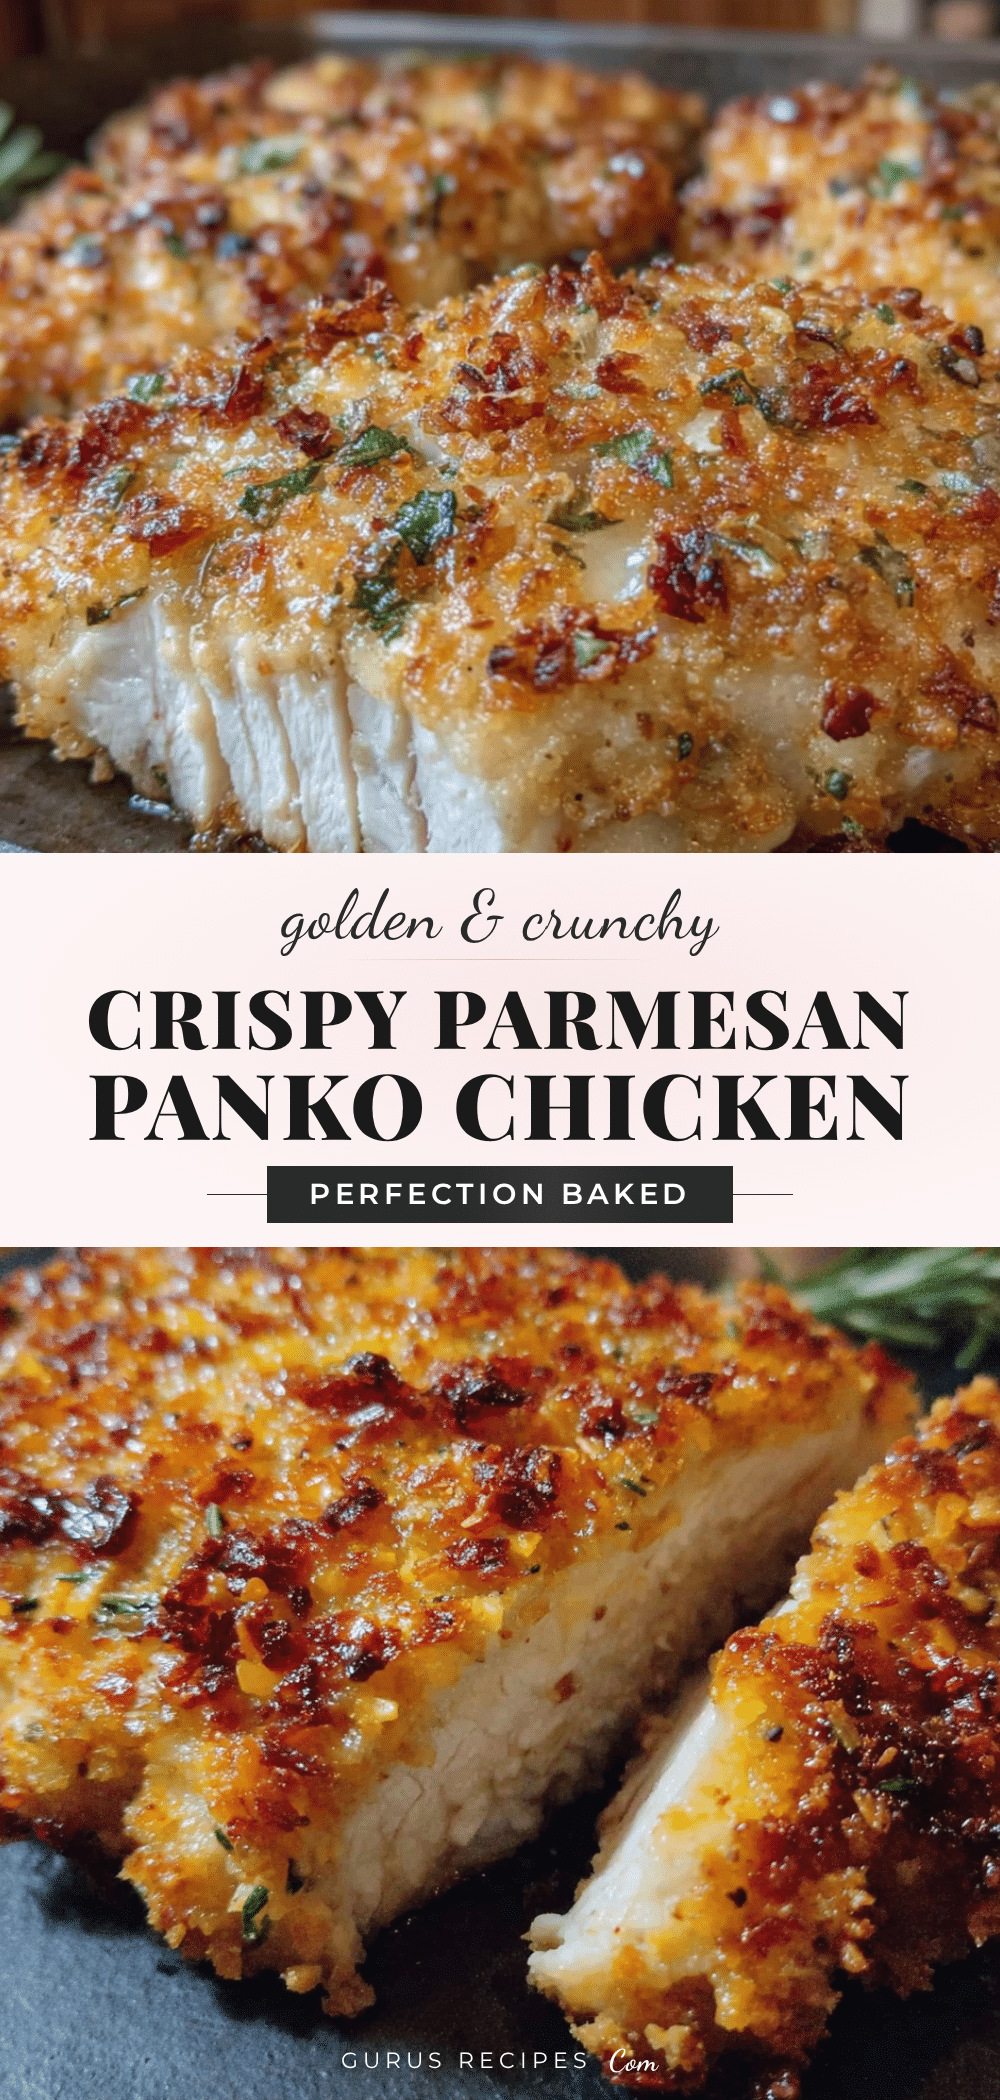

Crispy Panko Parmesan Chicken Breast (Easy Baked Recipe)
This crispy baked chicken breast with panko Parmesan crust delivers a golden, shatter-crisp coating without deep frying. It’s quick, easy, and made with simple ingredients for a juicy, tender result every time.
- Total Time: 35 minutes
- Yield: 4 servings 1x
Ingredients
- 4 boneless, skinless chicken breasts (about 6 ounces each)
- 1 ½ cups panko breadcrumbs
- ½ cup freshly grated Parmesan cheese
- ¼ cup all-purpose flour
- 2 large eggs
- 2 tablespoons olive oil
- 1 teaspoon garlic powder
- 1 teaspoon dried Italian seasoning
- Salt and black pepper to taste
- Fresh parsley for garnish (optional)
Instructions
- Preheat oven to 400°F (200°C). Line a baking sheet with foil or parchment and place a wire rack on top. Lightly spray the rack with cooking spray.
- Toast panko breadcrumbs in a large skillet over medium heat, stirring constantly for 3-4 minutes until golden brown. Transfer to a shallow bowl and let cool completely.
- Place each chicken breast between two sheets of plastic wrap or parchment paper. Pound to an even ¾-inch thickness using a meat mallet or rolling pin. Season both sides with salt, pepper, and garlic powder. Let rest 5 minutes.
- Set up coating station: In first shallow bowl, add flour. In second, beat eggs with a splash of water. In third, combine cooled toasted panko, grated Parmesan, and Italian seasoning.
- Coat chicken: Dredge in flour, shaking off excess. Dip in egg wash, letting excess drip off. Press firmly into panko-Parmesan mixture, coating both sides.
- Place coated chicken on prepared wire rack. Drizzle or spray tops lightly with olive oil.
- Bake for 18-22 minutes, flipping halfway through (at 10-12 minutes), until deep golden brown and firm to touch.
- Check doneness: Insert instant-read thermometer into thickest part; it should read 160°F (71°C). Let rest 5 minutes before serving.
- Rest chicken on wire rack for 5 minutes before serving.
Notes
Toasting panko is essential for crunch. Pat chicken dry before coating. Let coated chicken rest 5-10 minutes before baking. Use a wire rack for all-over crispiness. Pull chicken at 160°F for juiciest results.
- Prep Time: 15 minutes
- Cook Time: 20 minutes
- Category: Main Course
- Cuisine: American
Nutrition
- Serving Size: 1 chicken breast
- Calories: 385
- Sodium: 520
- Fat: 16
- Saturated Fat: 5
- Carbohydrates: 18
- Fiber: 1
- Protein: 42
Keywords: crispy chicken, panko chicken, baked chicken, Parmesan chicken, easy chicken recipe, weeknight dinner


