
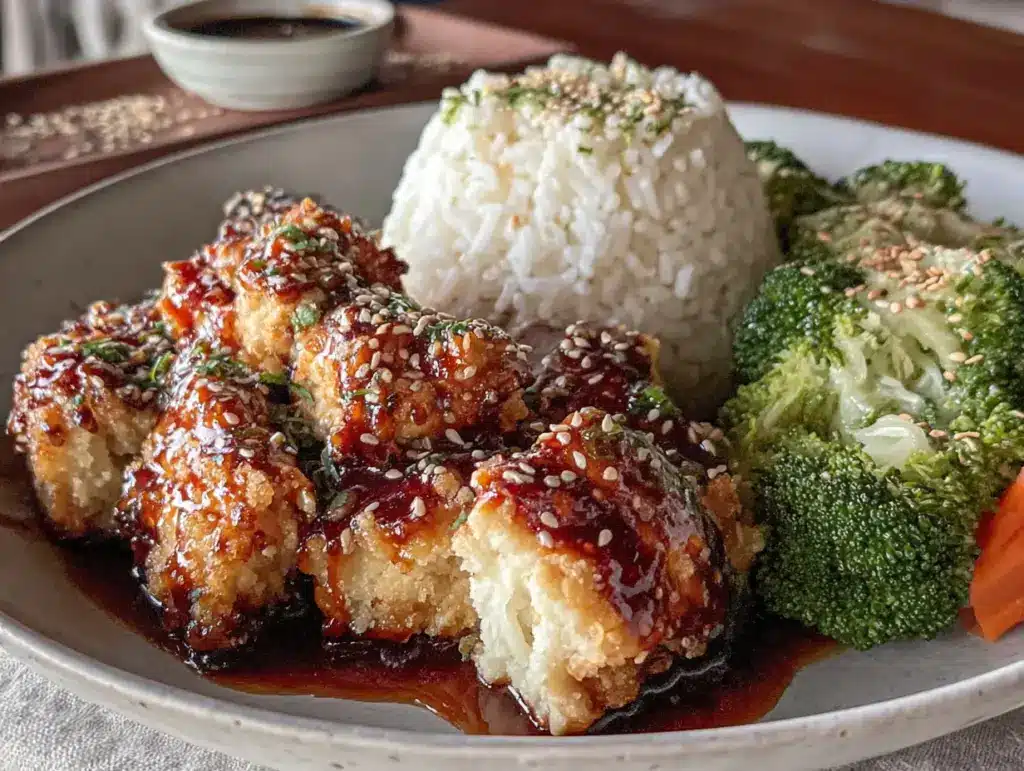
Grabbed a jar of honey from the back of the pantry and three chicken breasts that needed cooking by tonight when it hit me—I was staring down another week of sad desk lunches. You know that feeling? When Sunday evening rolls around and you realize you’ve got nothing prepped for the chaos ahead. Honestly, I was this close to just ordering takeout again. But then I spotted that garlic bulb sitting next to the cutting board, and something clicked. This wasn’t going to be complicated. This was going to be the kind of meal prep that actually makes you look forward to lunch.
The first time I made these Easy Honey Garlic Chicken Meal Prep Bowls, I wasn’t trying to be fancy. I was trying to use up what I had and avoid another $15 delivery fee. What came out of that pan surprised me—sticky, savory-sweet chicken that reheated better than any leftover I’d ever made. The rice soaked up all that glossy sauce overnight, and by Tuesday, I was actually excited to open my lunch container. My coworker even leaned over and asked if I’d ordered from somewhere. Nope. Just me and a skillet.
That’s the thing about this recipe. It doesn’t ask for much. A handful of pantry staples, one pan, and about thirty minutes of your Sunday. The kind of meal prep that doesn’t feel like a chore. The kind that makes you wonder why you ever thought meal prepping had to be boring or bland. Trust me on this one—your future self, staring at a fridge full of ready-to-go lunches, will thank you.
Why You’ll Love This Recipe
I’ve tested this recipe more times than I care to admit. Some batches were too salty. Others didn’t have enough garlic. But this version? This is the one I keep coming back to, and here’s why it works so well for real life.
- Quick & Easy: From fridge to table in about 30 minutes. Perfect for those Sunday afternoons when you’d rather be doing anything else.
- Simple Ingredients: You probably have everything already—chicken, honey, soy sauce, garlic, rice. No fancy grocery store runs required.
- Perfect for Meal Prep: These bowls actually taste better on day two or three. The flavors meld together overnight, and the sauce gets even more delicious.
- Crowd-Pleaser: My picky-eating nephew devoured this. My health-conscious sister asked for the recipe. It’s that rare dish that works for everyone.
- Unbelievably Delicious: That sticky, glossy glaze? It’s the kind of thing that makes you close your eyes after the first bite. Seriously.
What sets this apart from other honey garlic chicken recipes is the balance. Most versions are either too sweet or too salty. This one hits that perfect middle ground—the honey brings warmth, the garlic brings punch, and a splash of rice vinegar cuts through everything with just enough acidity. It’s not just another meal prep bowl. It’s the one you’ll actually look forward to eating.
What Ingredients You Will Need
This recipe uses simple, wholesome ingredients to deliver bold flavor and satisfying texture without the fuss. Most of these are pantry staples, which makes this perfect for those weeks when you’re trying to use up what you already have.
For the Honey Garlic Chicken
- 1.5 lbs boneless, skinless chicken thighs (or breasts if you prefer leaner meat—thighs stay juicier through reheating)
- 1/3 cup honey (use local honey for best flavor, but any works)
- 4 cloves garlic, minced (fresh is non-negotiable here—don’t use jarred)
- 3 tablespoons low-sodium soy sauce (or tamari for gluten-free)
- 2 tablespoons rice vinegar (adds brightness—don’t skip it)
- 1 tablespoon sesame oil (toasted kind for that nutty aroma)
- 1 tablespoon olive oil (for searing)
- 1 tablespoon cornstarch mixed with 2 tablespoons water (slurry to thicken the sauce)
- Salt and black pepper (to taste)
- Optional: 1 teaspoon red pepper flakes (for heat—I add this half the time)
For the Bowl Base
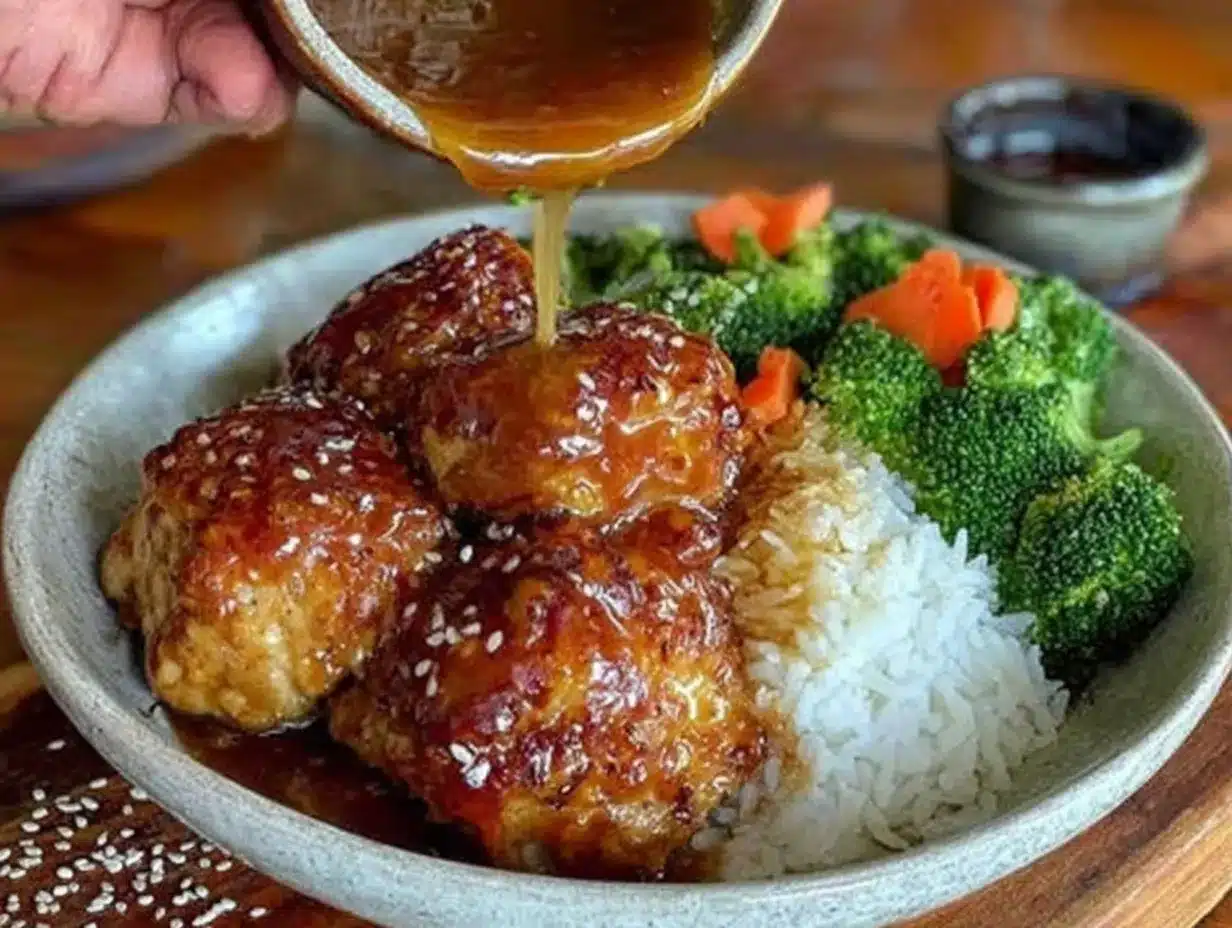
- 2 cups cooked jasmine rice (or brown rice, quinoa, or cauliflower rice—whatever you prefer)
- 2 cups steamed broccoli florets (I recommend this easy method for perfectly tender broccoli every time)
- 1 cup shredded carrots (for color and crunch)
- 1/2 cup edamame (shelled, adds protein and texture)
- Sesame seeds and sliced green onions (for garnish)
For the chicken, I prefer thighs because they stay moist after reheating. Breasts work too, but watch them closely—they dry out faster. When choosing honey, look for one that’s not too thick or crystallized. If your honey is solid, warm it slightly in the microwave for 10 seconds. For the soy sauce, I use Kikkoman low-sodium—it lets you control the saltiness better than full-sodium versions.
If you’re gluten-free, swap the soy sauce for tamari or coconut aminos. The flavor will be slightly different but still delicious. And if you don’t have rice vinegar, apple cider vinegar works in a pinch—just use a little less since it’s stronger.
Equipment Needed
You don’t need a fancy kitchen for this recipe. Here’s what I use every time:
- Large skillet or frying pan (12-inch works best—nonstick or stainless steel)
- Cutting board and sharp knife (for dicing chicken and mincing garlic)
- Measuring cups and spoons (or just eyeball it like I sometimes do)
- Small bowl (for mixing the sauce)
- Whisk or fork (to combine the sauce ingredients)
- Spatula or tongs (for flipping the chicken)
- Meal prep containers (glass ones are best—they don’t stain or hold smells)
- Rice cooker or small pot (for cooking the rice)
- Steamer basket or microwave-safe bowl (for the broccoli)
If you don’t have a rice cooker, no worries. Just rinse your rice, add 2 cups water to 1 cup rice in a pot, bring to a boil, cover, and simmer for 18 minutes. Fluff with a fork and you’re done. For the skillet, I’ve used everything from a cheap nonstick to a cast iron—both work fine. Just make sure it’s big enough so the chicken isn’t crowded.
Preparation Method
Let me walk you through this step by step. I’ve made this so many times I could do it in my sleep, but I’ll share all the little tricks I’ve learned along the way.
- Start the rice first. Rinse 1 cup jasmine rice under cold water until the water runs clear. Add to a pot with 1.5 cups water and a pinch of salt. Bring to a boil, cover, reduce heat to low, and simmer for 18 minutes. Remove from heat and let it sit covered for 5 minutes. Fluff with a fork. (Pro tip: rinse the rice—this removes excess starch and keeps it from getting gummy.)
- While the rice cooks, prep the chicken. Pat the chicken thighs dry with paper towels—this is crucial for getting a good sear. Cut them into bite-sized pieces, about 1-inch cubes. Season generously with salt and pepper. Don’t be shy here; the chicken needs it.
- Make the sauce. In a small bowl, whisk together the honey, soy sauce, rice vinegar, sesame oil, and minced garlic. Set aside. If you’re using red pepper flakes, add them now. Taste it—it should be sweet, savory, and just a little tangy.
- Sear the chicken. Heat olive oil in your large skillet over medium-high heat until it shimmers. Add the chicken pieces in a single layer—don’t crowd the pan. Cook for 4-5 minutes without moving them. You want a deep golden crust. Flip and cook another 3-4 minutes until cooked through and golden on all sides. Transfer to a plate and set aside.
- Make the glaze. Reduce heat to medium. Pour the sauce into the same skillet—it will bubble up immediately. Let it simmer for 1-2 minutes, scraping up any browned bits from the bottom of the pan (that’s flavor!). Whisk in the cornstarch slurry and stir constantly. The sauce will thicken in about 30 seconds. It should coat the back of a spoon.
- Combine everything. Return the chicken to the skillet. Toss to coat every piece in that glossy, sticky sauce. Let it simmer together for 1-2 minutes so the chicken absorbs some of that flavor. The sauce should cling to the chicken like a warm, sweet blanket.
- Steam the broccoli. While the chicken simmers, steam your broccoli. I usually microwave mine with a tablespoon of water in a covered bowl for 2 minutes. Or use a steamer basket over boiling water for 3-4 minutes. You want it bright green and tender-crisp—not mushy.
- Assemble the bowls. Divide the rice among 4 meal prep containers. Top each with a portion of the honey garlic chicken, steamed broccoli, shredded carrots, and edamame. Sprinkle with sesame seeds and sliced green onions. Let the containers cool completely before sealing and refrigerating.
A note on timing: The whole process takes about 30-35 minutes from start to finish. I usually cook the rice and steam the broccoli while the chicken is searing. That way, everything’s done at the same time. The key is not rushing the sear—that golden crust is what makes the chicken special.
Cooking Tips & Techniques
I’ve learned a few things the hard way so you don’t have to. Here are my best tips for nailing this recipe every single time.
Pat the chicken dry. This is non-negotiable. Wet chicken won’t sear—it’ll steam. And steamed chicken is sad chicken. Take the extra 30 seconds to blot it dry with paper towels. Your taste buds will thank you.
Don’t overcrowd the pan. If you add too much chicken at once, the temperature drops and you’ll end up with gray, soggy meat instead of golden, crispy pieces. Cook in batches if needed. I learned this lesson the hard way when I tried to rush through it one Sunday and ended up with rubbery chicken.
Watch the garlic. Garlic burns fast. When you add it to the sauce, keep the heat at medium and stir constantly. Burnt garlic tastes bitter and will ruin the whole dish. If you’re nervous, add the garlic after you’ve already started simmering the sauce.
Taste as you go. Everyone’s honey is different. Some are sweeter, some are milder. Taste your sauce before you add the chicken. Too sweet? Add a splash more vinegar. Too salty? Add a teaspoon more honey. Adjust it to your preference.
Let it rest. After you’ve tossed the chicken in the sauce, let it sit in the pan for a minute before serving. This lets the sauce set and cling to the chicken better. If you serve it immediately, the sauce might slide right off.
Double the sauce. If you’re like me and love extra sauce to drizzle over everything, make 1.5 times the sauce recipe. It keeps beautifully in the fridge for up to a week and tastes amazing drizzled over roasted vegetables or even this crispy garlic parmesan focaccia for dipping.
Variations & Adaptations
One of the best things about this recipe is how flexible it is. Here are some ways I’ve adapted it over the years.
Spicy Honey Garlic Chicken: Add 1-2 teaspoons of sriracha or gochujang to the sauce. The heat balances beautifully with the sweetness. I do this when I’m craving something with a kick—it’s become my go-to version.
Low-Carb/Keto Version: Skip the rice and double up on the broccoli and edamame. Or use cauliflower rice instead. The chicken itself is naturally low-carb, so it’s an easy swap. My keto friend loves this version and says it’s her favorite meal prep recipe.
Vegetarian Option: Swap the chicken for extra-firm tofu or tempeh. Press the tofu first to remove excess moisture, then cube and sear it the same way. The sauce works beautifully with tofu—it soaks up all that sticky goodness. I’ve made this for vegetarian guests and they always ask for the recipe.
Baked Version: If you don’t feel like standing over a skillet, you can bake everything. Toss the chicken with the sauce (minus the cornstarch slurry) and spread on a lined baking sheet. Bake at 400°F for 20-25 minutes, flipping halfway. The sauce will caramelize and get sticky in the oven. It’s a great hands-off option.
Different Veggies: Swap the broccoli for snap peas, bell peppers, or green beans. Whatever you have in the fridge works. I’ve made this with roasted sweet potatoes and it was incredible—the sweetness of the potatoes plays off the honey garlic sauce perfectly.
Grain Swap: Use quinoa, brown rice, or even soba noodles instead of jasmine rice. Each brings a different texture and flavor to the bowl. Quinoa adds a nutty taste and extra protein, while soba noodles make it feel more like a noodle bowl.
Serving & Storage Suggestions
These bowls are designed for meal prep, but they’re also great for serving fresh. Here’s how to get the most out of them.
Serving Temperature: Serve warm or at room temperature. If you’re eating these fresh, let the chicken rest for 2-3 minutes after cooking before assembling the bowls. The sauce will set and won’t run everywhere.
Presentation: Arrange the components side by side in the bowl rather than piling everything on top. It looks prettier and keeps the rice from getting soggy. I like to put the chicken in the center, rice on one side, and veggies on the other. Sprinkle sesame seeds and green onions on top for that restaurant look.
Storage: Store in airtight containers in the refrigerator for up to 4 days. Glass containers are best—they don’t absorb smells and they reheat evenly. Let the bowls cool completely before sealing to prevent condensation, which can make the rice mushy.
Freezing: These bowls freeze well for up to 3 months. Freeze without the garnish—add sesame seeds and green onions after reheating. Thaw overnight in the refrigerator before reheating. The sauce might separate slightly after freezing, but a quick stir fixes it.
Reheating: Microwave for 2-3 minutes, stirring halfway through. Or reheat in a skillet over medium heat with a splash of water to loosen the sauce. The skillet method gives you back some of that caramelized texture. I actually prefer day-old leftovers—the flavors meld together and the sauce gets even more delicious overnight.
Nutritional Information & Benefits
Here’s the approximate nutritional breakdown for one bowl (using chicken thighs, jasmine rice, and the veggies listed):
- Calories: ~485
- Protein: 38g
- Carbohydrates: 52g
- Fat: 14g
- Fiber: 6g
- Sugar: 18g (mostly from honey)
This is a well-balanced meal with a good mix of protein, carbs, and healthy fats. The chicken provides lean protein that keeps you full and supports muscle recovery. Broccoli is packed with vitamin C, fiber, and antioxidants. Edamame adds plant-based protein and fiber. The honey gives you quick energy, while the garlic offers anti-inflammatory benefits.
If you’re watching your sugar intake, reduce the honey to 1/4 cup or use a sugar-free honey substitute. For a lower-carb option, swap the rice for cauliflower rice and increase the veggies. This bowl is naturally gluten-free if you use tamari instead of soy sauce, and dairy-free as written.
I personally love that this meal feels indulgent while still being nutritious. It’s the kind of food that satisfies a takeout craving without the guilt or the price tag.
Conclusion
This Easy Honey Garlic Chicken Meal Prep Bowl is more than just a recipe—it’s a solution to those busy weeks when you need something delicious, healthy, and ready to go. It’s the meal that makes Monday lunch something to look forward to instead of dread.
I’ve made this recipe more times than I can count, and it never gets old. The sticky-sweet glaze, the tender chicken, the fresh crunch of vegetables—it all comes together in a way that feels special but takes almost no effort. That’s my favorite kind of cooking.
I’d love to hear how yours turns out. Did you add extra spice? Swap in different veggies? Make it for your family? Drop a comment below and let me know. And if you loved it, share it with a friend who needs a little meal prep inspiration. Happy cooking, friends—you’ve got this.
Frequently Asked Questions
Can I use chicken breasts instead of thighs?
Absolutely. Chicken breasts work great—just watch them closely so they don’t dry out. Cook them about 1-2 minutes less per side than thighs. The sauce helps keep them moist, but breasts are leaner, so they’re more forgiving if you’re careful.
How long do these meal prep bowls last in the fridge?
They’ll stay fresh for up to 4 days in airtight containers. I usually make mine on Sunday and they’re still delicious by Thursday. The flavors actually get better after a day or two as the sauce soaks into the rice.
Can I freeze these bowls?
Yes! Freeze them without the garnish for up to 3 months. Thaw overnight in the fridge before reheating. The sauce might separate slightly, but a quick stir brings it back together. I like to freeze individual portions for easy grab-and-go lunches.
What can I use instead of honey?
Maple syrup or agave nectar work well as substitutes. Maple syrup adds a slightly different flavor—more woodsy and complex. Agave is milder and sweeter. Use the same amount as honey. For a sugar-free option, try monk fruit honey or allulose syrup.
How do I prevent the rice from getting mushy in meal prep?
Let the rice cool completely before assembling the bowls. Don’t pile hot rice on top of the chicken—the steam will make everything soggy. I also recommend using slightly less water when cooking the rice for meal prep (about 1.25 cups water per cup of rice instead of 1.5). This keeps the grains firmer.
Pin This Recipe!
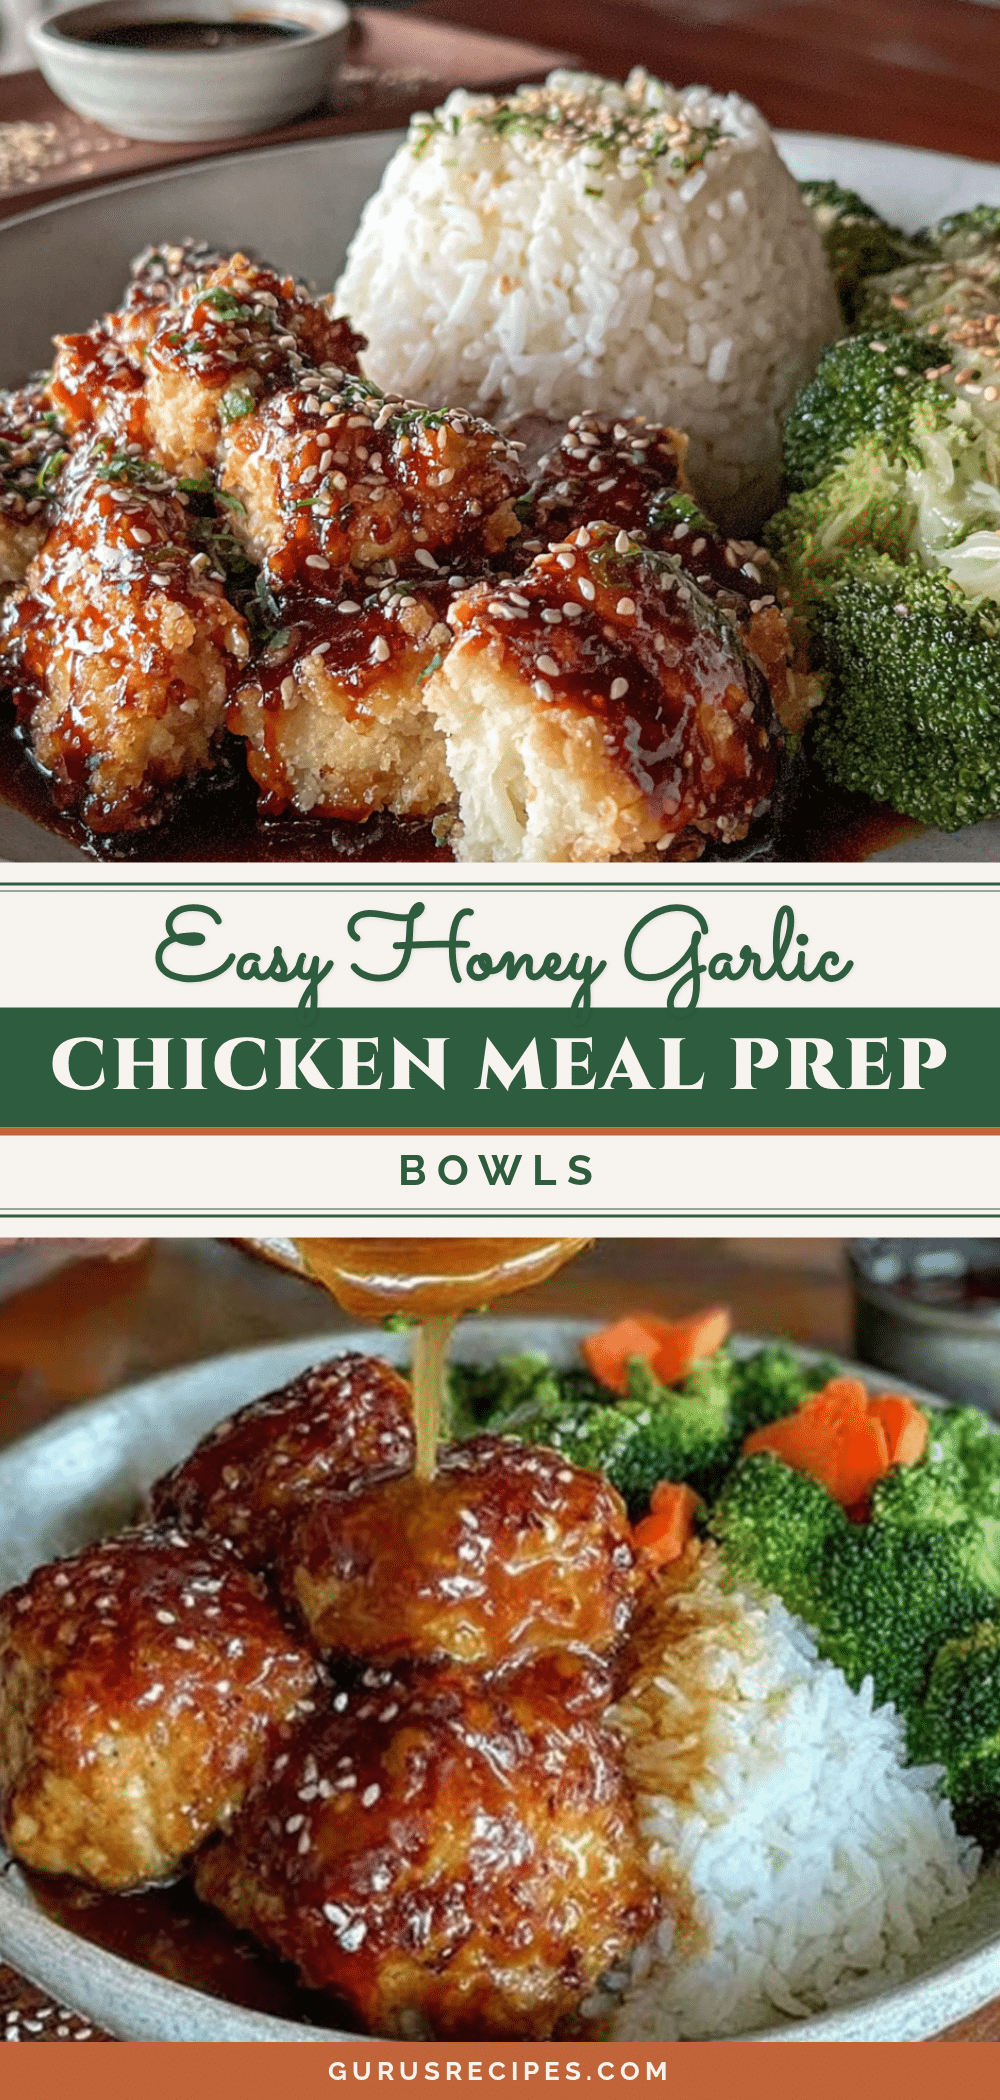

Easy Honey Garlic Chicken Meal Prep Bowls
Sticky, savory-sweet chicken with rice and vegetables that reheats beautifully for easy, delicious lunches all week.
- Total Time: 35 minutes
- Yield: 4 servings 1x
Ingredients
- 1.5 lbs boneless, skinless chicken thighs (or breasts)
- 1/3 cup honey
- 4 cloves garlic, minced
- 3 tablespoons low-sodium soy sauce (or tamari for gluten-free)
- 2 tablespoons rice vinegar
- 1 tablespoon sesame oil (toasted)
- 1 tablespoon olive oil
- 1 tablespoon cornstarch mixed with 2 tablespoons water (slurry)
- Salt and black pepper to taste
- 1 teaspoon red pepper flakes (optional)
- 2 cups cooked jasmine rice (or brown rice, quinoa, cauliflower rice)
- 2 cups steamed broccoli florets
- 1 cup shredded carrots
- 1/2 cup shelled edamame
- Sesame seeds and sliced green onions for garnish
Instructions
- Start the rice first. Rinse 1 cup jasmine rice under cold water until the water runs clear. Add to a pot with 1.5 cups water and a pinch of salt. Bring to a boil, cover, reduce heat to low, and simmer for 18 minutes. Remove from heat and let it sit covered for 5 minutes. Fluff with a fork.
- While the rice cooks, prep the chicken. Pat the chicken thighs dry with paper towels. Cut them into bite-sized pieces, about 1-inch cubes. Season generously with salt and pepper.
- Make the sauce. In a small bowl, whisk together the honey, soy sauce, rice vinegar, sesame oil, and minced garlic. Set aside. If using red pepper flakes, add them now.
- Sear the chicken. Heat olive oil in a large skillet over medium-high heat until it shimmers. Add the chicken pieces in a single layer. Cook for 4-5 minutes without moving them. Flip and cook another 3-4 minutes until cooked through and golden on all sides. Transfer to a plate and set aside.
- Make the glaze. Reduce heat to medium. Pour the sauce into the same skillet. Let it simmer for 1-2 minutes, scraping up any browned bits from the bottom of the pan. Whisk in the cornstarch slurry and stir constantly until the sauce thickens, about 30 seconds.
- Combine everything. Return the chicken to the skillet. Toss to coat every piece in the sauce. Let it simmer together for 1-2 minutes so the chicken absorbs some flavor.
- Steam the broccoli. Microwave broccoli with a tablespoon of water in a covered bowl for 2 minutes, or use a steamer basket over boiling water for 3-4 minutes until tender-crisp.
- Assemble the bowls. Divide the rice among 4 meal prep containers. Top each with a portion of the honey garlic chicken, steamed broccoli, shredded carrots, and edamame. Sprinkle with sesame seeds and sliced green onions. Let cool completely before sealing and refrigerating.
Notes
Pat chicken dry for best sear. Don’t overcrowd the pan. Watch garlic to avoid burning. Taste sauce and adjust sweetness or acidity. Let chicken rest in sauce for a minute before serving. Double the sauce if you like extra. For meal prep, let rice cool completely before assembling to prevent sogginess. Store in airtight containers in fridge for up to 4 days. Freeze without garnish for up to 3 months.
- Prep Time: 10 minutes
- Cook Time: 25 minutes
- Category: Main Course
- Cuisine: Asian-inspired
Nutrition
- Serving Size: 1 bowl
- Calories: 485
- Sugar: 18
- Sodium: 650
- Fat: 14
- Saturated Fat: 3
- Carbohydrates: 52
- Fiber: 6
- Protein: 38
Keywords: honey garlic chicken, meal prep bowls, easy chicken recipe, healthy meal prep, chicken and rice bowls


