
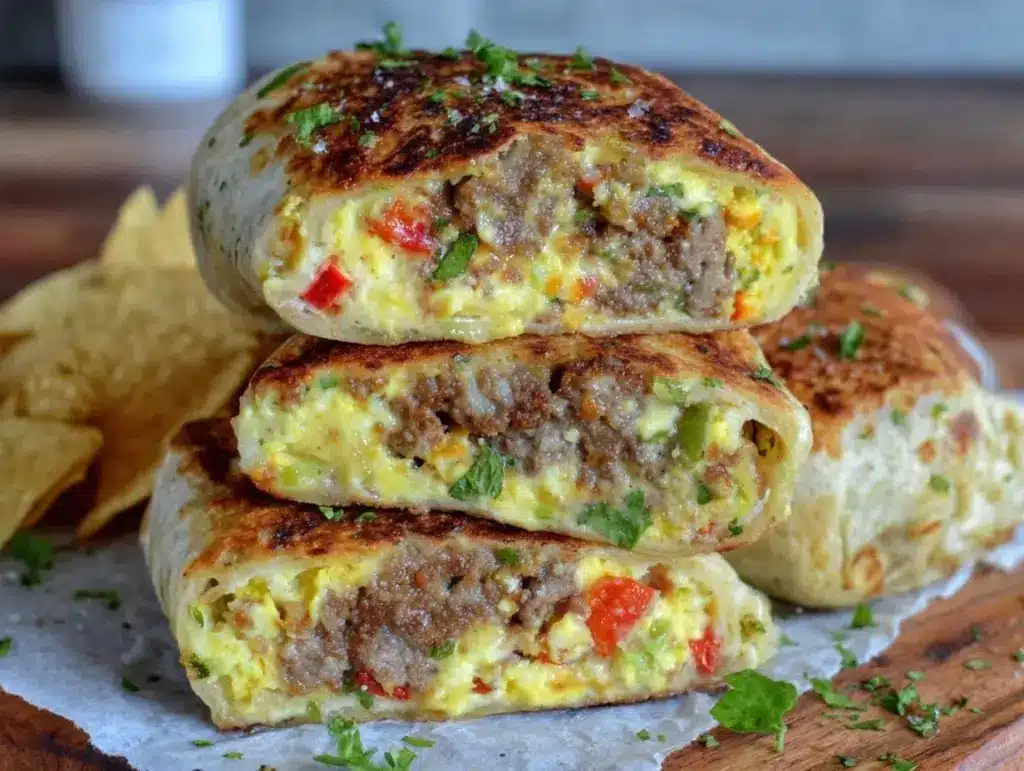
I did not trust make-ahead breakfast burritos in the slightest. Honestly, the idea of wrapping up eggs and other breakfast fixings in a tortilla and expecting them to stay tasty after sitting in the fridge or freezer felt like a recipe for soggy disappointment. I figured the eggs would turn rubbery, the tortillas would get limp, and the whole thing would be a sad, flavorless mess.
Then one hectic morning, when I barely had five minutes to eat before rushing out the door, I begrudgingly grabbed one of these burritos a friend had insisted I try. I remember biting into it while still half-dressed—warm, flavorful, and surprisingly satisfying. The eggs were fluffy, the cheese melted just right, and the tortilla held everything together without turning into a soggy wrapper. It wasn’t just food to get me through; it was actually enjoyable. That quiet moment of realization stuck with me. If these burritos could hold up under a freezer’s chill and still taste fresh, then maybe make-ahead breakfasts weren’t such a stretch after all.
Since then, I’ve made these burritos a staple in my kitchen, especially on mornings when the last thing I want to do is scramble eggs or slice veggies. It’s not just convenience—it’s a little pocket of morning sanity that I didn’t think I needed until I had it. Plus, figuring out how to keep the fillings flavorful and the tortillas just right was a bit of a journey, but that’s where the magic is. No more morning chaos, just a quick, hearty bite that feels homemade, even when life’s anything but.
That stubborn skepticism turned into a quiet trust, and now these easy make-ahead breakfast burritos are my go-to for busy mornings, when time is tight but good food still matters.
Why You’ll Love This Recipe
After testing dozens of variations, this recipe ticks all the boxes for a make-ahead breakfast that actually tastes fresh and satisfying. Here’s what makes it stand out:
- Quick & Easy: You can prep a batch in about 30 minutes, then just reheat when you’re ready to eat—perfect for those hectic mornings.
- Simple Ingredients: It calls for pantry staples and fridge regulars like eggs, cheese, and veggies. No last-minute runs to specialty stores.
- Perfect for Meal Prep: Make a bunch on Sunday, freeze, and grab one anytime you need a no-fuss breakfast or even a quick lunch.
- Crowd-Pleaser: Whether you’re feeding kids who are notoriously picky or adults craving a comforting start, these burritos always get a thumbs-up.
- Unbelievably Delicious: The combo of fluffy eggs, melty cheese, and a bit of spice from salsa or peppers gives you that comforting, homemade feel.
This isn’t just another breakfast burrito recipe. The key is in the balance: cooking the eggs low and slow to keep them tender, using a light hand on the fillings to avoid sogginess, and wrapping them tightly before freezing. Plus, adding a little tangy salsa or avocado on the side brings a fresh pop that wakes up your taste buds. Honestly, it’s the kind of breakfast that makes you look forward to the morning rush instead of dreading it.
What Ingredients You Will Need
This recipe uses straightforward, wholesome ingredients to deliver hearty flavor and satisfying texture without fuss or fancy shopping. Most are pantry staples or easy swaps depending on what’s on hand.
- Large eggs, beaten (room temperature helps with fluffiness)
- Milk or cream, about 1/4 cup (60 ml) for creamier scrambled eggs
- Flour tortillas, large size (10-inch works best for rolling)
- Cheddar cheese, shredded (sharp or mild depending on preference; I recommend Tillamook for melt)
- Breakfast sausage or cooked bacon, chopped (optional but adds great flavor)
- Bell peppers, diced (red or green for color and sweetness)
- Onion, finely chopped (yellow or white for savory depth)
- Frozen hash browns or diced potatoes, cooked crispy (adds texture and heartiness)
- Salsa or pico de gallo, mild or spicy, for a little zing
- Salt and black pepper to taste
- Olive oil or butter for cooking eggs and veggies
Substitution tips: Use almond flour tortillas for gluten-free options or swap the sausage for vegetarian-friendly chorizo. Greek yogurt stirred into the eggs adds extra creaminess if you prefer. In spring and summer, fresh tomatoes or avocado add a fresh touch when wrapping the burritos.
Equipment Needed
- Nonstick skillet or frying pan (10-inch is perfect; keeps eggs from sticking)
- Mixing bowl (for whisking eggs)
- Spatula (silicone works best for gentle folding of eggs)
- Baking sheet or tray (to place burritos before freezing)
- Aluminum foil or parchment paper (for wrapping and storing burritos)
- Freezer-safe storage bags or containers
- Optional: Microwave-safe plate (for reheating)
If you don’t have a nonstick pan, a well-seasoned cast iron skillet works just fine but watch the heat closely to avoid sticking. I’ve tried electric griddles for batch cooking and they speed things up when making large quantities. For budget-friendly wraps, store brands often work well, just avoid very thin tortillas that tear easily.
Preparation Method
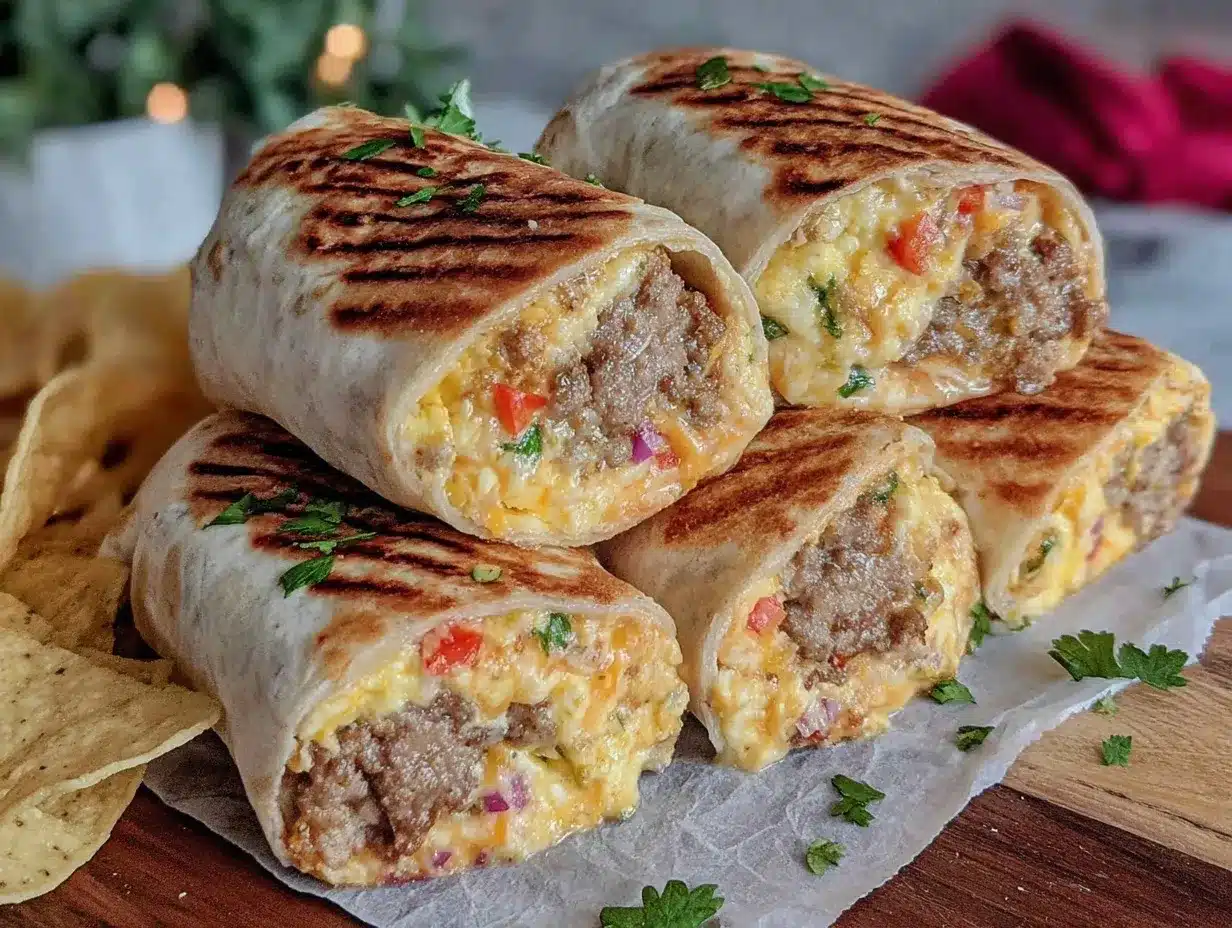
- Cook the sausage and veggies: Heat 1 tablespoon of olive oil over medium heat. Add diced onion and bell peppers, sauté until softened—about 5 minutes. Add breakfast sausage (or bacon) and cook until browned and cooked through, about 6-8 minutes. Remove from pan and set aside.
- Prepare the potatoes: If using frozen hash browns, cook according to package instructions until crispy. If using fresh potatoes, parboil, dice, and pan-fry until golden. Set aside.
- Make the scrambled eggs: In a bowl, whisk eggs with milk, salt, and pepper. Lower heat to medium-low, add butter or olive oil to the skillet, and pour in eggs. Stir gently with a silicone spatula, cooking slowly to keep them creamy and soft. Remove from heat just before fully set (they’ll keep cooking slightly off the heat).
- Assemble the burritos: Lay a tortilla flat. Spoon a layer of scrambled eggs in the center, followed by sausage and veggie mixture, crispy potatoes, shredded cheese, and a spoonful of salsa. Don’t overfill—less is more to prevent sogginess.
- Roll it up: Fold the sides of the tortilla over the filling, then roll from the bottom up tightly but gently, keeping the filling secure.
- Wrap and freeze: Wrap each burrito individually in foil or parchment, then place in a freezer-safe bag. Label with date and contents. Freeze for up to 3 months.
- Reheat instructions: To eat, unwrap foil and microwave on high for 1-2 minutes (depending on microwave power). For a crispier shell, reheat in a toaster oven or skillet for a couple of minutes after microwaving.
Tip: Allow burritos to thaw for 10-15 minutes at room temp if you have a little time. This helps with even reheating. Avoid reheating straight from frozen for best texture.
Cooking Tips & Techniques
Cooking eggs low and slow is key. High heat scrambles often end up dry and rubbery, which ruins the burrito texture. I usually cook them on medium-low and stir gently to keep things soft and creamy—like a good diner scramble.
Don’t overload your burritos. I learned this the hard way when one batch turned into a soggy mess because I piled in potatoes and salsa without restraint. A modest amount of filling keeps the tortilla intact and the flavors balanced.
Use a good melting cheese with a bit of sharpness—sharp cheddar or Monterey Jack works beautifully. It adds flavor and that gooey texture that makes every bite worth it.
For freezing, wrap tightly to avoid freezer burn. I’ve used foil and parchment paper, but foil seals better for long-term storage. Label your burritos to keep track and avoid a freezer surprise!
Multitasking tip: While the sausage and veggies are cooking, prep the eggs and potatoes. That way, assembly is quick, and you’re not standing over the stove forever.
Variations & Adaptations
- Vegetarian: Skip the sausage and add sautéed mushrooms or black beans for protein. You can also mix in spinach or kale for greens.
- Spicy: Add diced jalapeños or a few dashes of hot sauce to the egg mixture. Chipotle salsa also adds smoky heat.
- Southwestern Style: Use pepper jack cheese, add corn kernels, and swap regular salsa for a smoky chipotle pico de gallo.
- Gluten-Free: Use gluten-free tortillas or large lettuce leaves for a low-carb wrap alternative.
- Make it Mexican-Inspired: Add cilantro and lime zest, swap potatoes for black beans, and finish with a dollop of sour cream after reheating.
I tried making a batch with sweet potatoes instead of regular hash browns once—added a subtle sweetness that was surprisingly good when paired with spicy salsa.
Serving & Storage Suggestions
These burritos are best enjoyed warm, fresh out of the microwave or toaster oven. Serve with extra salsa, avocado slices, or a dollop of sour cream on the side. They pair well with fresh fruit or a simple green salad if you want to round out your meal.
Store wrapped burritos in the freezer for up to 3 months. For shorter-term storage, keep them in the fridge for 3-4 days, but eat sooner for best texture. When reheating, microwaving is fastest, but crisping the tortilla in a dry skillet for a minute or two after microwaving adds a lovely crunch.
Flavors tend to mellow a bit after freezing, so adding fresh salsa or hot sauce brightens things back up. If you want a little extra flair, warm a bit of white chicken chili on the side for a comforting combo.
Nutritional Information & Benefits
Each burrito is roughly 350-400 calories depending on fillings, with a balanced mix of protein, fat, and carbs to keep you fueled through busy mornings. Eggs provide high-quality protein and essential vitamins like B12 and D, while veggies contribute fiber and antioxidants.
Using lean sausage or skipping meat reduces saturated fat, making it lighter. Gluten-free options are easily adapted with alternative wraps. This recipe fits well within many dietary needs and offers a wholesome start that’s more satisfying than a typical grab-and-go breakfast.
From a wellness perspective, having a homemade option reduces reliance on processed convenience foods, helping you avoid excess sugars and preservatives common in store-bought breakfast items.
Conclusion
These easy make-ahead breakfast burritos have become a quiet morning hero for me. They took a bit of stubborn trial and error to get right, but now they’re a trusted shortcut on those days when mornings feel like a sprint. The best part is how customizable they are—you can tweak fillings, spice levels, and even cooking methods to suit your taste or dietary needs.
Honestly, I love that I can prep a bunch on the weekend and know I have a tasty, filling breakfast waiting for me, no matter how rushed I feel. If you try this recipe, I’d love to hear how you make it your own or what fillings you add!
Breakfast should be the easiest meal, and with these burritos, it finally is.
Frequently Asked Questions
Can I freeze these breakfast burritos?
Yes! They freeze well for up to 3 months. Just wrap tightly in foil or parchment and place in a freezer-safe bag.
How do I reheat frozen burritos without making the tortilla soggy?
Microwave first to heat through, then crisp the tortilla in a hot skillet or toaster oven for a minute or two.
Can I make these burritos vegetarian or vegan?
Absolutely. Skip the meat and use beans, mushrooms, or tofu. For vegan, substitute eggs with scrambled tofu and use dairy-free cheese.
What’s the best tortilla to use?
Large (10-inch) flour tortillas work best for wrapping and hold up well when reheated. Gluten-free tortillas are a good alternative if needed.
Can I add other veggies or fillings?
Yes! Spinach, tomatoes, corn, or jalapeños all work well. Just be mindful not to add too much moisture to keep the burrito from getting soggy.
Pin This Recipe!
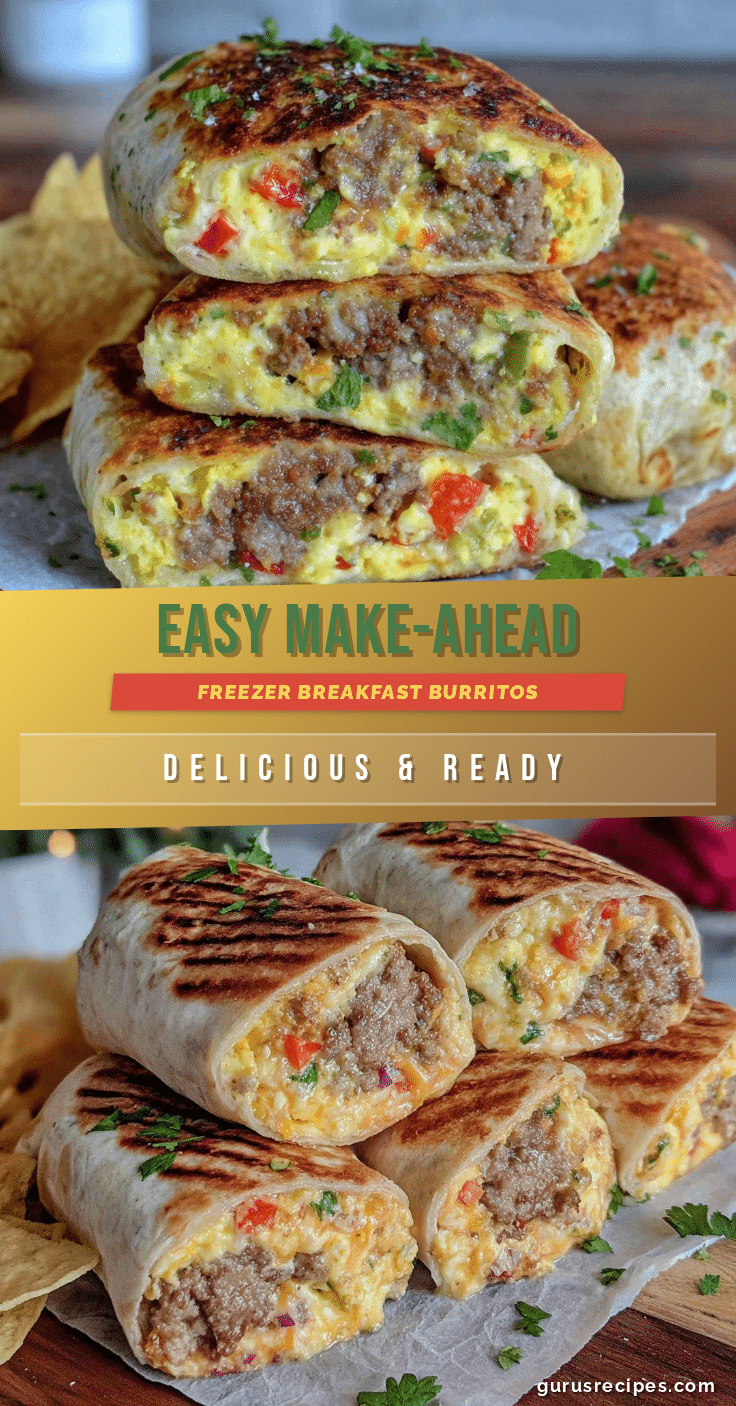

Easy Make-Ahead Breakfast Burritos
These make-ahead breakfast burritos are quick, easy, and perfect for busy mornings. They feature fluffy scrambled eggs, melty cheese, and flavorful fillings wrapped in a large flour tortilla, designed to stay fresh and tasty even after freezing.
- Total Time: 30 minutes
- Yield: 6 servings 1x
Ingredients
- 6 large eggs, beaten (room temperature)
- 1/4 cup milk or cream (60 ml)
- 6 large flour tortillas (10-inch)
- 1 cup shredded cheddar cheese
- 1/2 cup breakfast sausage or cooked bacon, chopped (optional)
- 1/2 cup diced bell peppers (red or green)
- 1/4 cup finely chopped onion (yellow or white)
- 1 cup cooked crispy frozen hash browns or diced potatoes
- 1/4 cup salsa or pico de gallo (mild or spicy)
- Salt and black pepper to taste
- 1 tablespoon olive oil or butter for cooking
Instructions
- Heat 1 tablespoon of olive oil over medium heat in a nonstick skillet. Add diced onion and bell peppers, sauté until softened, about 5 minutes.
- Add breakfast sausage or bacon and cook until browned and cooked through, about 6-8 minutes. Remove from pan and set aside.
- Cook frozen hash browns according to package instructions until crispy, or parboil, dice, and pan-fry fresh potatoes until golden. Set aside.
- In a mixing bowl, whisk eggs with milk, salt, and pepper.
- Lower heat to medium-low, add butter or olive oil to the skillet, and pour in eggs. Stir gently with a silicone spatula, cooking slowly to keep them creamy and soft. Remove from heat just before fully set.
- Lay a tortilla flat. Spoon a layer of scrambled eggs in the center, followed by sausage and veggie mixture, crispy potatoes, shredded cheese, and a spoonful of salsa. Avoid overfilling.
- Fold the sides of the tortilla over the filling, then roll from the bottom up tightly but gently, keeping the filling secure.
- Wrap each burrito individually in foil or parchment paper, then place in a freezer-safe bag. Label with date and contents. Freeze for up to 3 months.
- To reheat, unwrap foil and microwave on high for 1-2 minutes depending on microwave power. For a crispier shell, reheat in a toaster oven or skillet for a couple of minutes after microwaving.
Notes
Cook eggs low and slow to keep them creamy and soft. Avoid overfilling burritos to prevent sogginess. Wrap tightly in foil for freezing to avoid freezer burn. Allow burritos to thaw 10-15 minutes before reheating for best texture. Crisp tortilla in skillet or toaster oven after microwaving for a better texture.
- Prep Time: 15 minutes
- Cook Time: 15 minutes
- Category: Breakfast
- Cuisine: American
Nutrition
- Serving Size: 1 burrito
- Calories: 375
- Sugar: 3
- Sodium: 550
- Fat: 22
- Saturated Fat: 8
- Carbohydrates: 28
- Fiber: 2
- Protein: 18
Keywords: make-ahead breakfast, breakfast burritos, easy breakfast, meal prep, freezer-friendly, quick breakfast, eggs, sausage, cheese


