
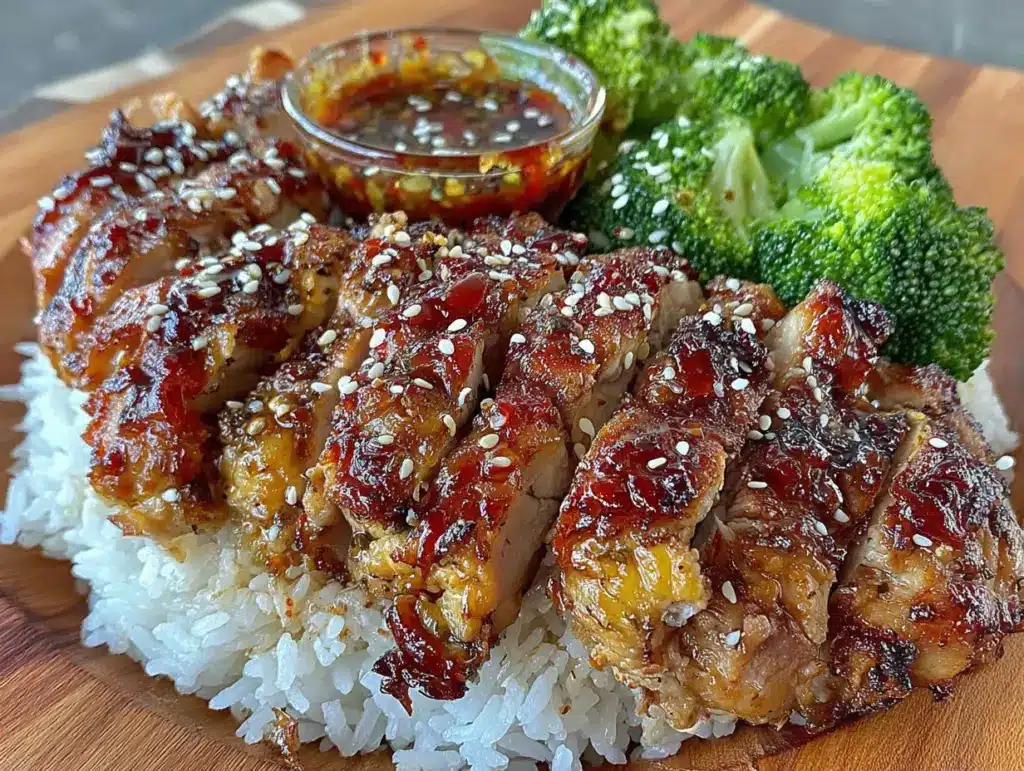
Sunday evening, around six o’clock, and the only thing I want is a quiet kitchen and a stack of meal prep containers. The weekend is winding down, and there’s a particular kind of peace in knowing the week ahead is already handled. I pull out a single cutting board, a sharp knife, and a small bowl for the sauce. No music, no podcast—just the sound of the knife against the board and the quiet sizzle of chicken hitting a hot pan. This is my ritual, the one that keeps me sane from Monday to Friday.
I stumbled onto this small-batch teriyaki chicken bowl recipe almost by accident. I was tired of making huge batches of food that ended up tasting the same by Wednesday. I wanted something that felt fresh, even on day four. This recipe is the result of a lot of trial and error—too much sauce, not enough sauce, chicken that was dry, vegetables that were soggy. I finally landed on a version that works, and honestly, it’s become my go-to. It’s not fancy, but it’s reliable. And sometimes, that’s exactly what you need.
These easy small-batch teriyaki chicken bowls for meal prep are the kind of recipe that makes you feel like you’ve got your life together. They’re simple, they’re satisfying, and they’re built for real life. No complicated techniques, no obscure ingredients. Just good food that you can count on.
Why You’ll Love This Recipe
After making this recipe dozens of times, I can tell you exactly why it works. It’s not just another teriyaki chicken recipe—it’s the one I keep coming back to, and I think you will too.
- Perfectly Portioned : This recipe is designed for two to three servings, so there’s no waste. It’s ideal for singles, couples, or anyone who doesn’t want to eat the same meal for two weeks straight.
- Simple Ingredients : You probably have most of these in your pantry right now. Soy sauce, honey, rice vinegar, garlic, ginger—nothing fancy required.
- Quick to Make : From start to finish, you’re looking at about 30 minutes. That’s faster than takeout delivery.
- Meal Prep Friendly : This is the kind of food that actually tastes better on day two. The flavors meld together, and the chicken stays tender.
- Customizable : Swap the vegetables, change the protein, adjust the sweetness—this recipe is a template for whatever you have on hand.
What makes this recipe different from the rest is the balance of the sauce. It’s not too sweet, not too salty, and it has just the right amount of stickiness to coat the chicken without being gloppy. I’ve tested it with different ratios of soy sauce to honey, and this is the sweet spot. Trust me on this one.
This isn’t just a meal prep recipe—it’s a sanity saver. On a busy Tuesday, when you’re tired and hungry, pulling one of these bowls out of the fridge feels like a small victory. It’s comfort food that doesn’t weigh you down, and it’s ready when you need it.
What Ingredients You Will Need
This recipe uses simple, wholesome ingredients to deliver bold flavor without any fuss. Most of these are pantry staples, so you can whip this up anytime the craving hits.
For the Teriyaki Sauce:
- Soy sauce, ¼ cup (60ml) – Use low-sodium if you prefer less salt. I like Kikkoman for its consistent flavor.
- Honey, 3 tablespoons (60g) – This gives the sauce its sweetness and helps it caramelize. You can substitute maple syrup or brown sugar if needed.
- Rice vinegar, 2 tablespoons (30ml) – Adds a mild acidity that balances the sweetness. Unseasoned rice vinegar works best.
- Fresh ginger, 1 teaspoon grated – Don’t use the dried stuff here. Fresh ginger makes a huge difference in the final flavor.
- Garlic, 2 cloves minced – Fresh garlic is non-negotiable for the best flavor.
- Cornstarch, 1 teaspoon – This thickens the sauce so it clings to the chicken. Mix it with 1 tablespoon of cold water before adding.
- Sesame oil, 1 teaspoon – Optional, but it adds a lovely nutty undertone.
For the Chicken and Bowl:
- Boneless, skinless chicken thighs, 1 pound (450g) – Thighs are more forgiving than breasts and stay juicy after reheating. Cut them into bite-sized pieces.
- Cooked white rice, 2 cups (400g) – I prefer jasmine or short-grain rice for its sticky texture. Day-old rice works great for meal prep.
- Broccoli florets, 1 cup (150g) – Cut into small, uniform pieces for even cooking.
- Carrots, 1 large, julienned or sliced – Adds color and a bit of crunch.
- Edamame, ½ cup (75g) – Shelled and cooked. Adds protein and a nice pop of green.
- Sesame seeds, 1 tablespoon – For garnish. Toasted sesame seeds add extra flavor.
- Green onions, 2, sliced – For freshness and color.
Ingredient Selection Tips: Look for chicken thighs that are uniform in size so they cook evenly. For the vegetables, feel free to use whatever you have on hand—snap peas, bell peppers, or even frozen mixed vegetables work well. I personally recommend using fresh ginger and garlic for the sauce; the flavor is noticeably brighter and more complex.
Substitution Guidance: If you’re gluten-free, use tamari or coconut aminos instead of soy sauce. For a lower-carb option, serve over cauliflower rice. You can also swap the chicken for tofu or shrimp—just adjust the cooking time accordingly.
Equipment Needed
You don’t need a lot of fancy equipment for this recipe. Here’s what I use:
- A sharp chef’s knife – A good knife makes prepping the chicken and vegetables so much easier. I use a 8-inch Victorinox—it’s affordable and stays sharp.
- A cutting board – Preferably one with a juice groove to catch any chicken juices.
- A medium skillet or wok – A non-stick skillet works well, but I prefer a carbon steel wok for better heat distribution. A cast iron skillet is also a great option.
- A small bowl – For mixing the sauce. A glass measuring cup works perfectly.
- A whisk or fork – For combining the sauce ingredients.
- Meal prep containers – I use glass containers with airtight lids. They’re microwave-safe and don’t retain odors.
- A rice cooker or small pot – For cooking the rice. A rice cooker is hands-off, but a pot with a tight-fitting lid works just as well.
Budget-Friendly Options: If you don’t have a wok, any large skillet will do. A steamer basket is great for the broccoli, but you can also blanch it in boiling water. Don’t stress about having the perfect tools—this recipe is forgiving.
Preparation Method
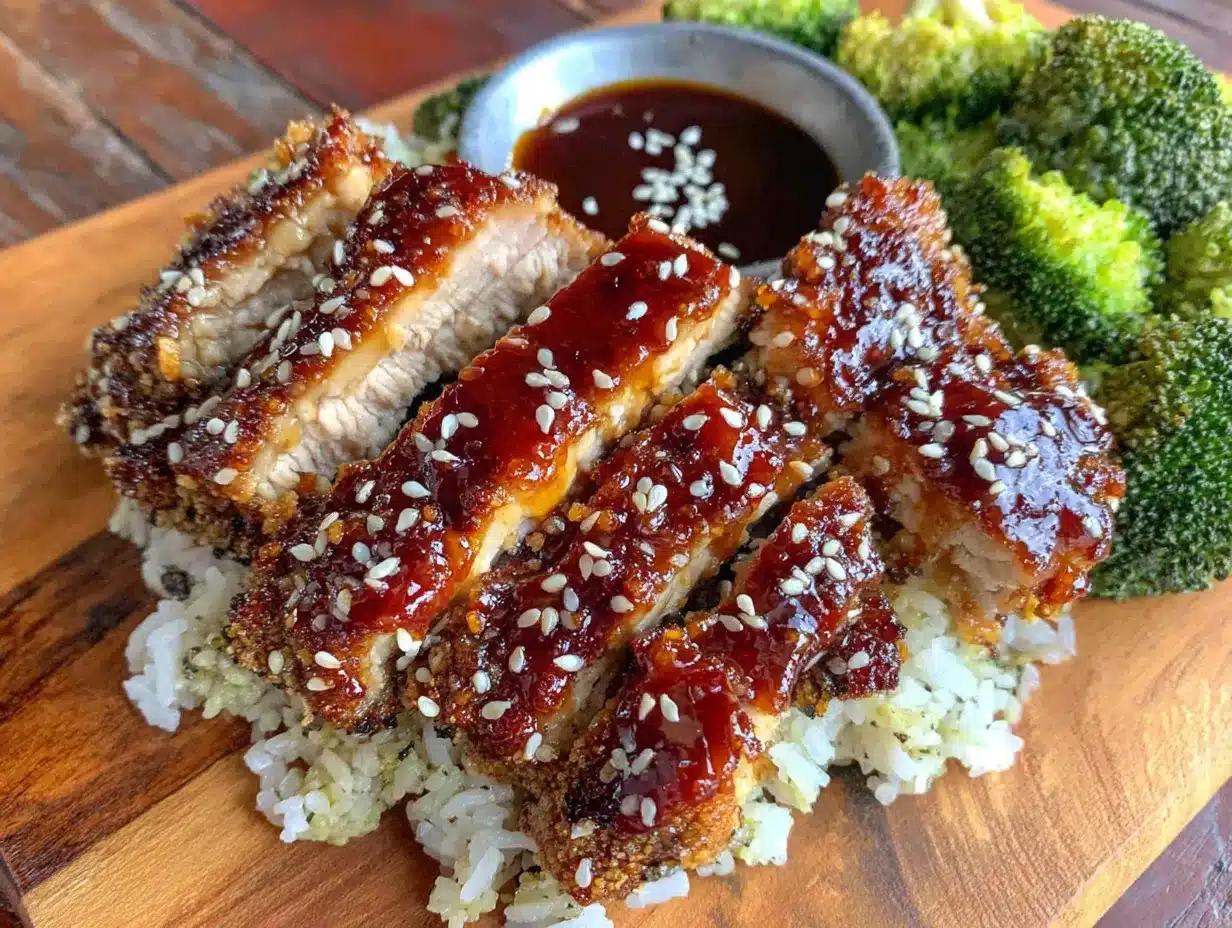
Let’s get cooking. This whole process takes about 30 minutes, and I promise it’s worth every second.
- Start the rice. Rinse 1 cup (200g) of jasmine rice under cold water until the water runs clear. Add it to a small pot with 1½ cups (360ml) of water and a pinch of salt. Bring to a boil, then reduce the heat to low, cover, and simmer for 15 minutes. Remove from heat and let it sit, covered, for another 5 minutes. Fluff with a fork. (If using a rice cooker, just follow the manufacturer’s instructions.)
- Make the teriyaki sauce. While the rice is cooking, combine ¼ cup (60ml) soy sauce, 3 tablespoons (60g) honey, 2 tablespoons (30ml) rice vinegar, 1 teaspoon grated fresh ginger, and 2 minced garlic cloves in a small bowl. In a separate tiny bowl, mix 1 teaspoon cornstarch with 1 tablespoon cold water until smooth. Set both aside for now.
- Prep the chicken. Pat the chicken thighs dry with paper towels. This step is important—dry chicken browns better. Cut the thighs into bite-sized pieces, about 1-inch cubes. Season lightly with a pinch of salt and pepper.
- Cook the chicken. Heat 1 tablespoon of vegetable oil in your skillet over medium-high heat until it shimmers. Add the chicken pieces in a single layer—don’t overcrowd the pan. Let them cook undisturbed for 3-4 minutes until golden brown on the bottom. Flip and cook for another 3-4 minutes until cooked through. The internal temperature should reach 165°F (74°C). Remove the chicken from the skillet and set aside on a plate.
- Blanch the vegetables. In the same skillet, add ¼ cup (60ml) of water and bring to a simmer. Add the broccoli florets and carrot slices, cover, and steam for 2-3 minutes until bright green and tender-crisp. Drain any excess water and set the vegetables aside with the chicken.
- Thicken the sauce. Reduce the heat to medium-low. Pour the teriyaki sauce mixture into the skillet. Add the cornstarch slurry and whisk continuously. The sauce will thicken in about 1-2 minutes. It should coat the back of a spoon. If it gets too thick, add a splash of water.
- Combine everything. Return the chicken and vegetables to the skillet. Toss to coat evenly with the sauce. Cook for another minute until everything is heated through and glistening.
- Assemble the bowls. Divide the cooked rice between your meal prep containers. Top with the teriyaki chicken and vegetables. Add the shelled edamame, a sprinkle of sesame seeds, and sliced green onions. Let the bowls cool completely before sealing the lids.
Sensory Cues: The chicken should sizzle when it hits the pan, and you’ll smell a nutty, savory aroma as it browns. The sauce will go from thin and watery to thick and glossy in about a minute—watch for it to coat the back of your spoon. The broccoli should be bright green and still have a slight crunch when you bite into it.
Personal Tip: I always make a little extra sauce and keep it on the side. By day three, the rice has absorbed some of the sauce, and a fresh drizzle brings the bowl back to life.
Cooking Tips & Techniques
I’ve made this recipe more times than I can count, and I’ve learned a few things along the way. Here are the tricks that make a real difference.
Don’t skip drying the chicken. This is the number one mistake I see. Wet chicken steams instead of sears, and you lose that beautiful golden crust. Pat it dry with paper towels, and don’t be shy about it.
Use high heat for the chicken. Medium-high heat is your friend here. The chicken should sizzle loudly when it hits the pan. If it doesn’t, your pan isn’t hot enough. Give it another minute. The caramelization on the chicken adds so much flavor to the final dish.
Make the sauce ahead of time. You can mix the teriyaki sauce (minus the cornstarch slurry) up to three days in advance. Store it in a jar in the fridge. When you’re ready to cook, just add the cornstarch slurry and heat it up. This makes weeknight cooking even faster.
Watch the sauce carefully. Teriyaki sauce can go from perfect to burnt in seconds. Once you add the cornstarch slurry, keep stirring. The sauce will thicken quickly, and you want to remove it from the heat as soon as it reaches the right consistency.
Multitask like a pro. While the rice is cooking, prep the chicken and vegetables. While the chicken is browning, make the sauce. While the vegetables are steaming, slice the green onions. This recipe comes together in about 30 minutes, but if you’re organized, it feels even faster.
My biggest failure: The first time I made this, I added the cornstarch directly to the hot sauce without mixing it with water first. It turned into clumpy, gooey lumps that I had to pick out piece by piece. Always make a slurry—it’s the only way to get a smooth sauce.
Variations & Adaptations
This recipe is incredibly flexible. Here are some ways to make it your own.
Spicy Teriyaki Bowls: Add 1 teaspoon of sriracha or red pepper flakes to the sauce for a spicy kick. I love this version when I need something with a little more heat. It pairs beautifully with the sweetness of the honey.
Vegetarian Version: Swap the chicken for extra-firm tofu. Press the tofu for 30 minutes to remove excess moisture, then cut it into cubes and pan-fry until golden. Follow the same steps for the sauce and vegetables. Edamame adds extra protein to keep the bowl satisfying.
Low-Carb Option: Serve the teriyaki chicken and vegetables over cauliflower rice instead of regular rice. Steam the cauliflower rice for 3-4 minutes, then drain well to avoid a watery bowl. This version is just as flavorful and keeps well for meal prep.
Different Vegetables: Use whatever vegetables you have on hand. Bell peppers, snap peas, zucchini, or even roasted sweet potatoes work beautifully. In the summer, I add fresh corn kernels for sweetness. In the winter, I use roasted butternut squash.
Baked Version: If you prefer a hands-off approach, you can bake the chicken. Toss the chicken pieces with half the sauce and spread them on a lined baking sheet. Bake at 400°F (200°C) for 15-18 minutes, then toss with the remaining sauce and serve.
My personal favorite variation: I add a squeeze of fresh lime juice and a handful of fresh cilantro right before serving. It brightens up the whole bowl and makes it feel like a completely different dish.
Serving & Storage Suggestions
These bowls are designed for meal prep, but they’re also wonderful served fresh. Here’s how to get the most out of them.
Serving Temperature: Serve the bowls warm or at room temperature. If you’re eating them fresh, let the chicken rest for a few minutes after cooking so the juices redistribute. The rice should be fluffy and warm, and the vegetables should still have a bit of crunch.
Presentation: Arrange the components neatly in the bowl—rice on one side, chicken and vegetables on the other. Sprinkle sesame seeds and green onions on top for a restaurant-quality look. A drizzle of extra sauce over the top makes it look glossy and appetizing.
Storage Instructions: Let the bowls cool completely before sealing the lids. Store in the refrigerator for up to 4 days. I do not recommend freezing these bowls because the texture of the rice and vegetables changes after thawing. If you want to freeze the chicken and sauce separately, that works well—just cook fresh rice when you’re ready to eat.
Reheating Methods: The best way to reheat is in the microwave. Remove the lid and microwave on high for 2-3 minutes, stirring halfway through. If the rice seems dry, add a teaspoon of water before reheating. For a stovetop option, heat the bowl contents in a skillet over medium heat with a splash of water until warmed through. The chicken stays surprisingly tender either way.
Flavor Development: Here’s the thing about these bowls—they actually taste better on day two. The sauce soaks into the rice, and the flavors meld together. By day three, the chicken is incredibly tender and the whole bowl tastes more cohesive. Don’t be surprised if you find yourself looking forward to lunch.
Nutritional Information & Benefits
This recipe is balanced and satisfying. Here’s a rough breakdown per serving (based on 3 servings):
- Calories: Approximately 485
- Protein: 32g
- Carbohydrates: 52g
- Fat: 14g
- Fiber: 4g
- Sugar: 18g (from honey and natural sugars)
Health Benefits: Chicken thighs provide a good source of protein and iron. Ginger is known for its anti-inflammatory properties, and garlic supports immune health. Broccoli is packed with vitamins C and K, while edamame adds plant-based protein and fiber. The honey in the sauce provides natural sweetness without refined sugar.
Dietary Considerations: This recipe can be made gluten-free by using tamari or coconut aminos. It’s dairy-free as written. For a lower-sodium version, use low-sodium soy sauce and reduce the added salt. If you’re watching your sugar intake, you can reduce the honey to 2 tablespoons—the sauce will be less sticky but still flavorful.
Potential Allergens: This recipe contains soy (soy sauce) and sesame (sesame oil and seeds). If you have a soy allergy, coconut aminos are a good substitute. Omit the sesame oil and seeds if needed.
Personal Wellness Perspective: I love that this recipe helps me eat well without thinking too hard. It’s portion-controlled, balanced, and keeps me full for hours. Meal prepping these bowls means I’m less likely to reach for unhealthy options during a busy week.
Conclusion
This easy small-batch teriyaki chicken bowls recipe is the kind of thing that makes meal prep feel less like a chore and more like a gift to your future self. It’s simple, it’s reliable, and it tastes genuinely good—even on day four. The sauce is perfectly balanced, the chicken stays tender, and the whole thing comes together in about 30 minutes.
I love this recipe because it’s forgiving. You can swap ingredients, adjust the seasoning, and it still works. It’s not precious or fussy—it’s just good food that makes your week a little easier. And honestly, isn’t that what we all need?
I’d love to hear how this recipe turns out for you. Did you add your own twist? Did you find a new favorite vegetable combination? Drop a comment below and let me know. And if you’re looking for more cozy, comforting meals, you might enjoy this cozy Guinness beef stew or these creamy colcannon mashed potatoes for another satisfying meal prep option. Happy cooking, friends!
Frequently Asked Questions
Can I use chicken breasts instead of thighs?
Absolutely. Chicken breasts work well, but they can dry out more easily during reheating. To prevent this, cook the breasts just until they reach 165°F (74°C) and slice them against the grain. You might also want to add a little extra sauce to keep them moist.
How long does the teriyaki sauce last in the fridge?
The sauce (without the cornstarch slurry) can be stored in an airtight container in the refrigerator for up to one week. Just add the cornstarch slurry when you’re ready to cook. The finished sauce will keep for about 4 days in the fridge.
Can I make this recipe vegan?
Yes. Substitute the chicken with extra-firm tofu or tempeh. Use maple syrup or agave instead of honey. The rest of the recipe stays the same. The tofu version is especially good—just make sure to press the tofu well before cooking so it gets nice and crispy.
Why is my sauce too thin?
This usually happens if the cornstarch slurry isn’t mixed properly or if the sauce isn’t cooked long enough. Make sure the cornstarch is fully dissolved in cold water before adding it to the pan. Let the sauce simmer for at least a minute after adding the slurry, stirring constantly, until it thickens.
Can I double this recipe for a larger batch?
Yes, but you’ll need to cook the chicken in batches to avoid overcrowding the pan. Overcrowding causes the chicken to steam instead of sear, and you’ll lose that beautiful golden crust. Cook the chicken in two batches and combine everything at the end.
Pin This Recipe!
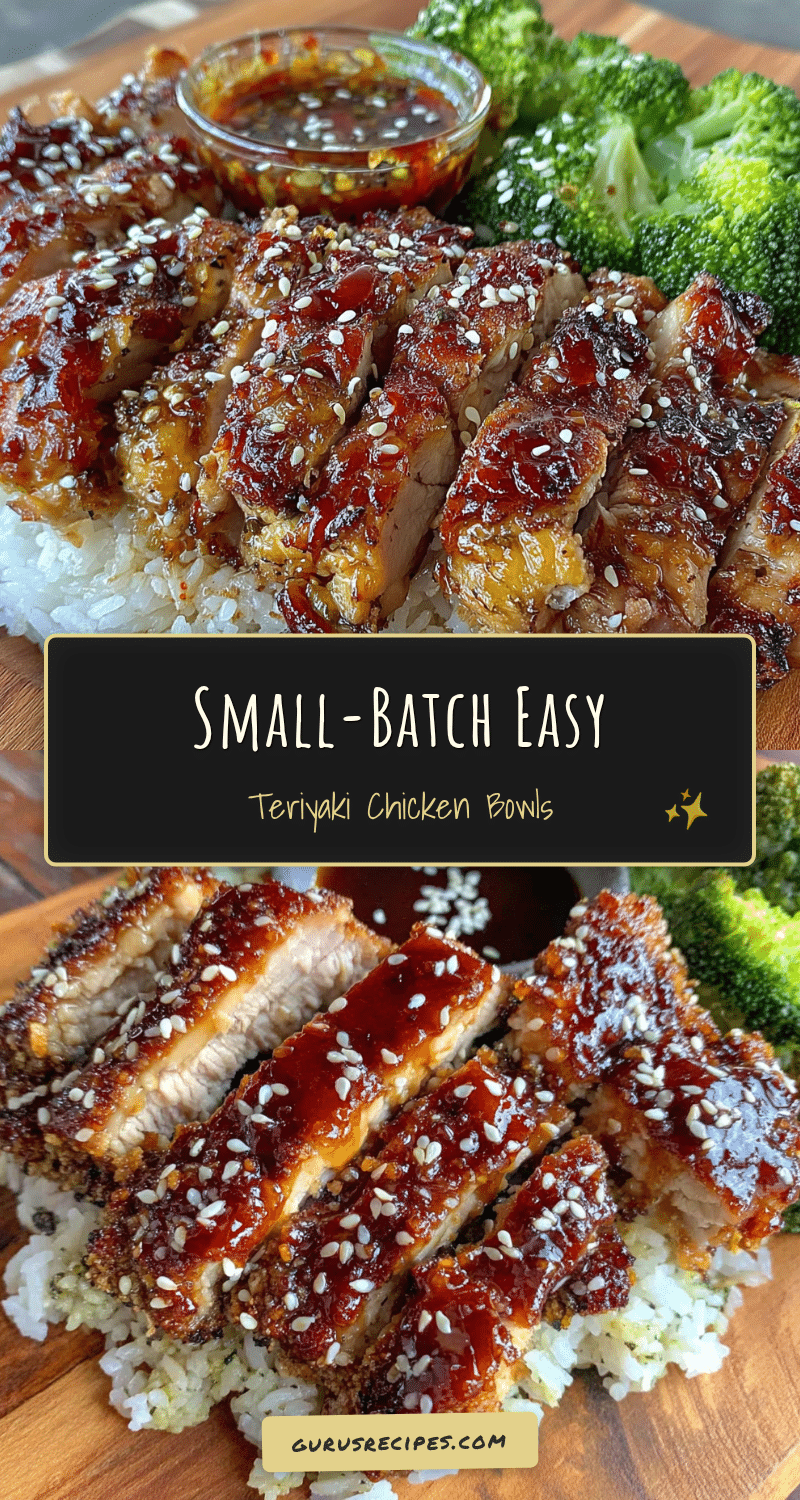

Easy Small-Batch Teriyaki Chicken Bowls for Perfect Meal Prep
These easy small-batch teriyaki chicken bowls are perfect for meal prep, offering a balanced and satisfying meal that tastes even better on day two. Made with simple ingredients and ready in about 30 minutes, they’re a reliable and delicious way to handle the week ahead.
- Total Time: 30 minutes
- Yield: 3 servings 1x
Ingredients
- ¼ cup (60ml) soy sauce (low-sodium if preferred)
- 3 tablespoons (60g) honey (or maple syrup/brown sugar)
- 2 tablespoons (30ml) rice vinegar (unseasoned)
- 1 teaspoon fresh ginger, grated
- 2 cloves garlic, minced
- 1 teaspoon cornstarch mixed with 1 tablespoon cold water
- 1 teaspoon sesame oil (optional)
- 1 pound (450g) boneless, skinless chicken thighs, cut into bite-sized pieces
- 2 cups (400g) cooked white rice (jasmine or short-grain)
- 1 cup (150g) broccoli florets
- 1 large carrot, julienned or sliced
- ½ cup (75g) shelled edamame, cooked
- 1 tablespoon sesame seeds (toasted for garnish)
- 2 green onions, sliced
- 1 tablespoon vegetable oil (for cooking)
- Salt and pepper to taste
Instructions
- Start the rice: Rinse 1 cup (200g) of jasmine rice under cold water until clear. Add to a small pot with 1½ cups (360ml) water and a pinch of salt. Bring to a boil, reduce heat to low, cover, and simmer for 15 minutes. Remove from heat and let sit covered for 5 minutes. Fluff with a fork.
- Make the teriyaki sauce: In a small bowl, combine ¼ cup soy sauce, 3 tablespoons honey, 2 tablespoons rice vinegar, 1 teaspoon grated ginger, and 2 minced garlic cloves. In a separate tiny bowl, mix 1 teaspoon cornstarch with 1 tablespoon cold water until smooth. Set both aside.
- Prep the chicken: Pat chicken thighs dry with paper towels. Cut into bite-sized pieces (about 1-inch cubes). Season lightly with salt and pepper.
- Cook the chicken: Heat 1 tablespoon vegetable oil in a skillet over medium-high heat until shimmering. Add chicken in a single layer without overcrowding. Cook undisturbed for 3-4 minutes until golden brown, then flip and cook for another 3-4 minutes until cooked through (internal temperature 165°F/74°C). Remove chicken and set aside.
- Blanch the vegetables: In the same skillet, add ¼ cup (60ml) water and bring to a simmer. Add broccoli florets and carrot slices, cover, and steam for 2-3 minutes until bright green and tender-crisp. Drain excess water and set aside with the chicken.
- Thicken the sauce: Reduce heat to medium-low. Pour the teriyaki sauce mixture into the skillet. Add the cornstarch slurry and whisk continuously for 1-2 minutes until the sauce thickens and coats the back of a spoon. Add a splash of water if too thick.
- Combine everything: Return the chicken and vegetables to the skillet. Toss to coat evenly with the sauce. Cook for another minute until heated through and glistening.
- Assemble the bowls: Divide cooked rice between meal prep containers. Top with teriyaki chicken and vegetables. Add edamame, a sprinkle of sesame seeds, and sliced green onions. Let cool completely before sealing lids.
Notes
Pat chicken dry for better browning. Make sauce ahead (minus cornstarch slurry) up to 3 days. Watch sauce carefully to avoid burning. Always make a cornstarch slurry to prevent lumps. Bowls taste better on day two as flavors meld. Store in fridge up to 4 days; do not freeze. Reheat in microwave 2-3 minutes or stovetop with a splash of water.
- Prep Time: 10 minutes
- Cook Time: 20 minutes
- Category: Main Course
- Cuisine: Japanese-inspired
Nutrition
- Serving Size: 1 bowl
- Calories: 485
- Sugar: 18
- Sodium: 800
- Fat: 14
- Saturated Fat: 3
- Carbohydrates: 52
- Fiber: 4
- Protein: 32
Keywords: teriyaki chicken bowls, meal prep, small batch, easy dinner, healthy meal prep, chicken thighs, teriyaki sauce


