
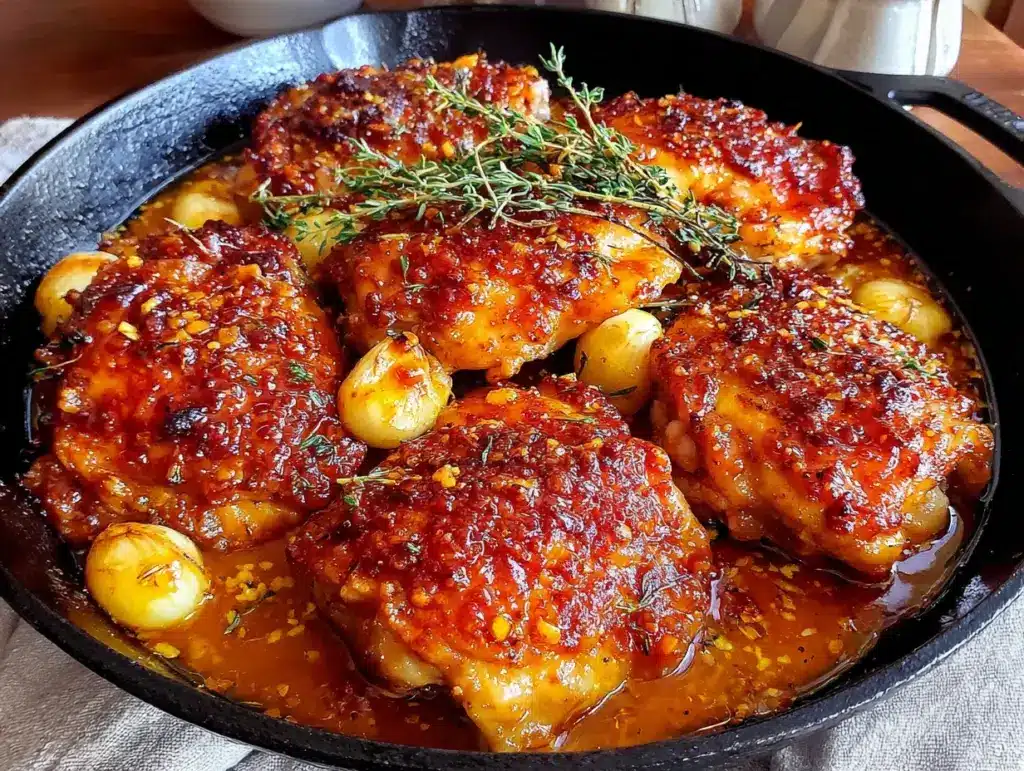
Pulling a baking dish out of the oven with one hand while trying to keep a toddler from climbing my leg when the smell hit me. That sweet, savory, garlicky cloud that filled the whole kitchen and made my husband stop mid-sentence from the other room. I had about six chicken thighs, a half-empty bottle of honey, and absolutely no plan for dinner. Twenty minutes of prep and a hot oven later, we were scraping the last bits of sticky glaze off our plates with our fingers. Honestly, I wasn’t trying to create anything special. I was just trying to get dinner on the table before everyone lost their minds.
But that’s the thing about these sticky honey garlic baked chicken thighs. They taste like you spent hours basting and fussing, when really, you just let the oven do all the heavy lifting. The skin gets this incredible caramelized edge, almost candied, while the meat underneath stays so tender it practically falls off the bone. And the sauce? It reduces down into this glossy, clingy coating that is equal parts sweet from the honey and punchy from the garlic. It is the kind of meal that makes you look like a hero with minimal effort. I have made this recipe more times than I can count now, and it never fails. It is weeknight comfort food at its best, and I am honestly a little proud of how it turned out from such a chaotic start.
Why You’ll Love This Recipe
Let me tell you why these sticky honey garlic baked chicken thighs have become my go-to dinner. First off, they are almost embarrassingly easy. You mix the glaze, pour it over the chicken, and bake. That is it. No searing, no flipping, no constant watching. The oven does the work while you handle the rest of your evening chaos.
- Quick & Easy : Comes together in about 10 minutes of active prep and bakes in 40 minutes. Perfect for those nights when you need dinner on autopilot.
- Simple Ingredients : You probably have honey, soy sauce, and garlic in your kitchen right now. No fancy grocery store runs required.
- Perfect for Busy Weeknights : Great for feeding a hungry family or meal prepping for the week ahead. It reheats beautifully.
- Crowd-Pleaser : Kids love the sweet glaze, adults love the savory depth. I have yet to serve this to someone who didn’t ask for the recipe.
- Unbelievably Delicious : The combination of sticky honey, savory garlic, and tender, juicy chicken is pure comfort food magic.
What makes this recipe different from all the other honey garlic chicken recipes out there? It is the balance. So many versions are either cloyingly sweet or not sticky enough. I tested the ratio of honey to soy sauce to garlic until it hit that perfect sweet-savory spot. Plus, baking the chicken thighs skin-on means the fat renders down and keeps the meat incredibly moist while the glaze caramelizes into that irresistible sticky coating. This isn’t just another recipe—it is the one you will come back to again and again. It is the kind of meal that makes you close your eyes after the first bite, honestly. Simple, satisfying, and absolutely foolproof.
What Ingredients You Will Need
This recipe uses simple, pantry-friendly ingredients to create something that tastes much more complex than it is. Each component plays a specific role in building that signature sticky, savory-sweet flavor and tender texture.
- Bone-in, skin-on chicken thighs (6-8 thighs, about 2.5-3 pounds) – This is the star. The bone keeps the meat juicy during the longer bake time, and the skin crisps up beautifully under the glaze. I prefer thighs over breasts here because they stay moist and forgiving. If you can, look for thighs that are similar in size so they cook evenly.
- Honey (1/3 cup) – The base of our sticky glaze. Use a good quality honey for the best flavor. I like a mild wildflower honey, but any liquid honey works. Avoid crystallized honey unless you warm it first.
- Soy sauce (1/4 cup) – This provides the savory umami backbone that balances the sweetness. I use low-sodium soy sauce so I can control the salt level. Tamari or coconut aminos work great as a gluten-free swap.
- Minced garlic (4-5 cloves, about 1 heaping tablespoon) – Fresh garlic is non-negotiable here. The pre-minced stuff in a jar just doesn’t have the same punch. You want that fragrant, sharp garlic flavor that mellows and sweetens as it roasts.
- Rice vinegar (2 tablespoons) – A little acidity brightens up the glaze and cuts through the richness of the chicken. Apple cider vinegar or white wine vinegar can substitute in a pinch.
- Toasted sesame oil (1 tablespoon) – This adds a nutty, aromatic depth that makes the glaze taste more complex. Don’t skip it—it is a small amount but makes a big difference.
- Fresh ginger (1 teaspoon, grated) – Optional but highly recommended. It adds a warm, slightly spicy kick that pairs beautifully with the honey and garlic. I grate it right into the bowl using a microplane.
- Cornstarch (1 tablespoon) – This helps thicken the glaze as it bakes, giving it that perfect sticky, clingy consistency. If you are gluten-free, arrowroot powder works the same way.
- Salt and black pepper – For seasoning the chicken before it goes into the dish. Don’t be shy with the pepper.
- Optional garnishes : Sliced green onions, toasted sesame seeds, and a pinch of red pepper flakes for heat.
I recommend using a trusted brand like Bragg’s for soy sauce or Mike’s Hot Honey if you want a spicy twist. For the honey, local honey is always best if you can find it.
Equipment Needed
You do not need a ton of fancy equipment for this recipe, which is part of why I love it. Here is what you will need:
- 9×13-inch baking dish – A standard ceramic or glass dish works perfectly. It gives the chicken enough room to sit in a single layer without overcrowding. If you use a metal pan, just keep an eye on the glaze toward the end as it can caramelize faster.
- Medium mixing bowl – For whisking together the glaze ingredients.
- Whisk – To make sure the cornstarch dissolves completely into the glaze without lumps.
- Measuring cups and spoons – For accuracy, especially with the honey and soy sauce.
- Microplane or fine grater – If you are using fresh ginger, this makes grating it a breeze.
- Tongs – For turning the chicken halfway through baking. I prefer silicone-tipped tongs so they don’t scratch the dish.
- Pastry brush (optional) – For brushing extra glaze over the chicken during the last few minutes of baking. A spoon works just fine too.
If you do not have a 9×13 dish, a large cast-iron skillet or even a rimmed baking sheet lined with foil will work. Just make sure the chicken fits in a single layer so the glaze reduces evenly.
Preparation Method
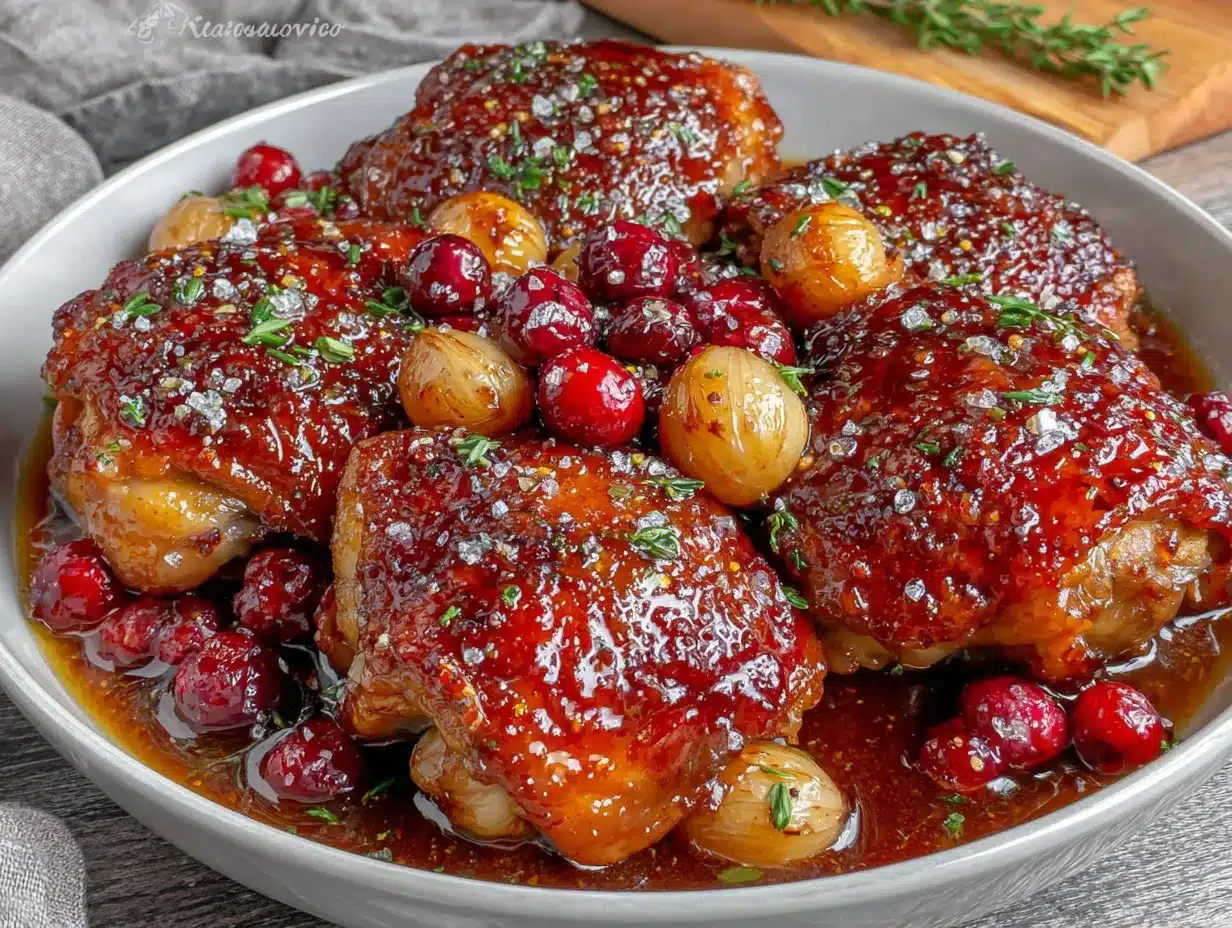
Alright, let me walk you through this step by step. It is simpler than you think.
- Preheat your oven to 400°F (200°C). Get it nice and hot while you prep everything. A hot oven is key for getting that skin to render and crisp up.
- Pat the chicken thighs dry with paper towels. This is important. Excess moisture will steam the skin instead of letting it get crispy. Season both sides generously with salt and black pepper. Set them aside.
- In a medium mixing bowl, whisk together the honey, soy sauce, minced garlic, rice vinegar, toasted sesame oil, grated ginger (if using), and cornstarch. Whisk until the cornstarch is fully dissolved and the mixture is smooth. It will look a little thin now, but trust me, it thickens beautifully in the oven.
- Arrange the chicken thighs skin-side up in your baking dish in a single layer. Do not crowd them—give each thigh a little breathing room. Pour the glaze evenly over the chicken, making sure each piece gets coated. Use a spoon or brush to spread it around if needed.
- Bake for 20 minutes. The glaze will start to bubble and reduce. The kitchen will start smelling incredible about 10 minutes in.
- After 20 minutes, carefully remove the dish from the oven. Using tongs, flip each chicken thigh over so the skin side is now down in the glaze. Baste the tops with the pan juices. This helps the meat absorb all that flavor.
- Return the dish to the oven and bake for another 15 minutes. The glaze will be getting thicker and stickier now.
- Remove the dish again. Flip the chicken thighs back to skin-side up. Spoon or brush some of the thickened glaze over the tops. This is where the magic happens—that final layer of glaze will caramelize into a beautiful sticky coating.
- Increase the oven temperature to 425°F (220°C). Bake for an additional 5-10 minutes, watching closely. You want the skin to be golden brown and the glaze to be bubbling and sticky. The internal temperature of the chicken should reach 165°F (74°C) when measured with an instant-read thermometer at the thickest part.
- Remove from the oven and let rest for 5 minutes. This is crucial. The glaze will continue to set as it cools slightly. Do not skip this step or you will have a runny mess. Sprinkle with sliced green onions and toasted sesame seeds if desired.
Pro tip: If you want extra sticky, sticky chicken, spoon the pan juices over the thighs one more time right before serving. That final glaze layer is pure gold.
Cooking Tips & Techniques
I have made this recipe enough times to learn a few things the hard way. Let me save you some trouble.
Do not skip the cornstarch. I tried making this without it once because I thought the honey would thicken on its own. It did not. The glaze was thin and watery, and it just ran off the chicken. The cornstarch is what gives you that luscious, clingy texture that makes these thighs so satisfying.
Bone-in, skin-on thighs are non-negotiable for the best texture. I know boneless skinless thighs are convenient, but they cook faster and can dry out. The bone insulates the meat, keeping it juicy, and the skin crisps up into that irresistible caramelized layer. If you only have boneless thighs, reduce the total baking time by about 10-15 minutes and check for doneness early.
Watch the glaze toward the end. Honey burns quickly once it starts to caramelize. That last 5-10 minutes at 425°F is where the magic happens, but it is also where things can go wrong. Keep an eye on it. If the glaze starts looking too dark, pull the dish out immediately. Burnt honey tastes bitter, and nobody wants that.
Let the chicken rest. I know it is tempting to dig in right away, but those 5 minutes of resting time allow the juices to redistribute and the glaze to set. Cut into it too soon and you will have a pool of liquid on your plate instead of sticky, glossy chicken.
Line your baking dish with foil for easier cleanup. The glaze gets seriously sticky as it reduces, and scrubbing it off a baking dish is no fun. A sheet of aluminum foil makes cleanup a breeze. Just be careful when flipping the chicken that you don’t tear the foil.
Double the glaze if you want extra sauce. This recipe makes just enough to coat the chicken with a nice sticky layer. If you like extra sauce to drizzle over rice or vegetables, go ahead and make 1.5 times the glaze ingredients. Just be aware that you may need an extra 5 minutes of baking time for it to reduce properly.
Variations & Adaptations
One of the best things about this recipe is how easy it is to tweak based on what you have or what you are craving. Here are some of my favorite variations:
- Spicy Honey Garlic Chicken : Add 1-2 teaspoons of sriracha or a pinch of red pepper flakes to the glaze. The heat cuts through the sweetness beautifully. I love this version when I want a little kick.
- Garlic Lovers Version : Roast an entire head of garlic (cut the top off, drizzle with olive oil, wrap in foil) alongside the chicken for the first 20 minutes. Squeeze the soft roasted cloves into the glaze before the final basting. It adds a mellow, nutty sweetness that is incredible.
- Lemon Honey Garlic : Swap the rice vinegar for fresh lemon juice and add a teaspoon of lemon zest to the glaze. The citrus brightens everything up and pairs beautifully with the honey. Perfect for spring or summer.
- Dairy-Free and Gluten-Free : This recipe is naturally dairy-free. For gluten-free, just use tamari or coconut aminos instead of soy sauce. The cornstarch is already gluten-free, so you are good to go.
- Baked Chicken Wings : Use the same glaze on chicken wings for an amazing appetizer. Toss the wings in the glaze, bake at 400°F for 30-35 minutes, flipping halfway, then broil for 2-3 minutes for extra crispiness. They disappear fast at parties.
I once made a version with a splash of bourbon added to the glaze for a dinner party, and it was a huge hit. The alcohol burns off during baking, leaving behind a warm, smoky depth that is absolutely delicious. Just a tablespoon is enough to make a difference.
Serving & Storage Suggestions
These sticky honey garlic baked chicken thighs are incredibly versatile when it comes to serving. Here is how I like to enjoy them:
Serving Temperature: Serve them hot, straight from the oven, with that glossy glaze at its peak. They are also delicious at room temperature, which makes them perfect for picnics or potlucks.
What to Serve With Them: I love pairing these thighs with steamed jasmine rice or fluffy white rice to soak up all that extra sticky sauce. A simple side of steamed broccoli or green beans balances the richness. For something heartier, try them with creamy colcannon mashed potatoes with crispy cabbage for a cozy, satisfying meal. A fresh cucumber salad with rice vinegar and sesame seeds also cuts through the sweetness nicely.
Storage: Store any leftovers in an airtight container in the refrigerator for up to 4 days. The glaze will set into a jelly-like coating, but it softens beautifully when reheated.
Reheating: The best way to reheat these is in the oven at 350°F for about 10-15 minutes, or until warmed through. The microwave works in a pinch, but it will make the skin soft. If you use the microwave, cover the chicken with a damp paper towel to prevent it from drying out. For extra sticky goodness, brush a little extra honey on top before reheating.
Freezing: These freeze beautifully. Let the chicken cool completely, then transfer to a freezer-safe container or zip-top bag. Freeze for up to 3 months. Thaw overnight in the refrigerator and reheat in the oven. The glaze may be a little less sticky after freezing, but the flavor is still fantastic.
Flavor Development: Honestly, these thighs taste even better the next day. The flavors meld together overnight, and the glaze sets into a more concentrated, intense coating. I often make a double batch just so I have leftovers for lunch.
Nutritional Information & Benefits
Here is an approximate nutritional breakdown per serving (based on 2 chicken thighs):
- Calories: 450-500
- Protein: 35-40g
- Fat: 25-30g
- Carbohydrates: 20-25g
- Sugar: 15-18g (from honey)
- Sodium: 600-700mg (varies with soy sauce brand)
Health Benefits: Chicken thighs are a great source of high-quality protein, which supports muscle health and keeps you feeling full. They also provide B vitamins, particularly B6 and B12, which are important for energy metabolism. Honey contains antioxidants and has natural antibacterial properties. Garlic is known for its immune-boosting compounds, and ginger adds anti-inflammatory benefits.
Dietary Considerations: This recipe is naturally dairy-free and can be made gluten-free with a simple swap. It is low-carb friendly if you skip the rice and serve with vegetables. If you are watching your sodium, use low-sodium soy sauce and be mindful of added salt.
Potential Allergens: Soy (if using soy sauce). Always check labels if you have specific allergies.
I personally love that this recipe feels indulgent but is actually quite balanced. The protein keeps you satisfied, and the natural sweetness from the honey makes it feel like a treat without being overly processed.
Conclusion
These sticky honey garlic baked chicken thighs have become a staple in my kitchen for good reason. They are simple enough for a busy Tuesday night but impressive enough to serve to guests. The glaze caramelizes into that perfect sweet-savory coating, the meat stays tender and juicy, and the whole thing comes together with minimal effort. Honestly, it is the kind of recipe that makes you look like you spent hours in the kitchen when you really just mixed a few things together and let the oven do the work.
I hope you give these a try and make them your own. Maybe add a little extra garlic, or a pinch of chili flakes for heat. That is the beauty of a simple recipe—it is a canvas for whatever you are craving. If you make them, I would love to hear how they turned out. Drop a comment below and let me know if you tried any variations. And if you are looking for another comforting, one-pan meal, you might also enjoy this cozy Guinness beef stew with easy rustic soda bread pairing for those cold nights.
Happy cooking, friends. Go make something delicious.
Frequently Asked Questions
Can I use chicken breasts instead of thighs?
Yes, you can, but be careful. Chicken breasts cook faster and can dry out. Reduce the total baking time by about 10-15 minutes and check for doneness at 165°F. Boneless skinless breasts will need even less time. The glaze may not be as sticky since there is less fat to render, but it will still be delicious.
How do I prevent the glaze from burning?
Keep an eye on the chicken during the last 10 minutes of baking. Honey burns quickly once it caramelizes. If the glaze starts looking too dark, cover the dish loosely with foil for the remaining time. Also, make sure your oven temperature is accurate—an oven thermometer can help.
Can I make this recipe in a slow cooker?
You can, but the texture will be different. The skin will not crisp up, and the glaze will be thinner. To adapt, cook the chicken on low for 4-5 hours, then transfer the liquid to a saucepan and simmer on the stovetop until thickened. Pour the reduced glaze back over the chicken and broil for a few minutes to get some caramelization.
What can I use instead of honey?
Maple syrup or brown sugar mixed with a little water can work as a substitute. Maple syrup will give a slightly different flavor profile—more woodsy and less floral. Brown sugar will create a deeper, molasses-like sweetness. Just adjust the amount to your taste.
Can I double this recipe for a crowd?
Absolutely. Just make sure your baking dish is large enough to fit the chicken in a single layer. If you need to use two dishes, rotate them halfway through baking for even cooking. The glaze ingredients can be easily doubled or tripled. Leftovers reheat beautifully, so do not be afraid to make extra.
Pin This Recipe!
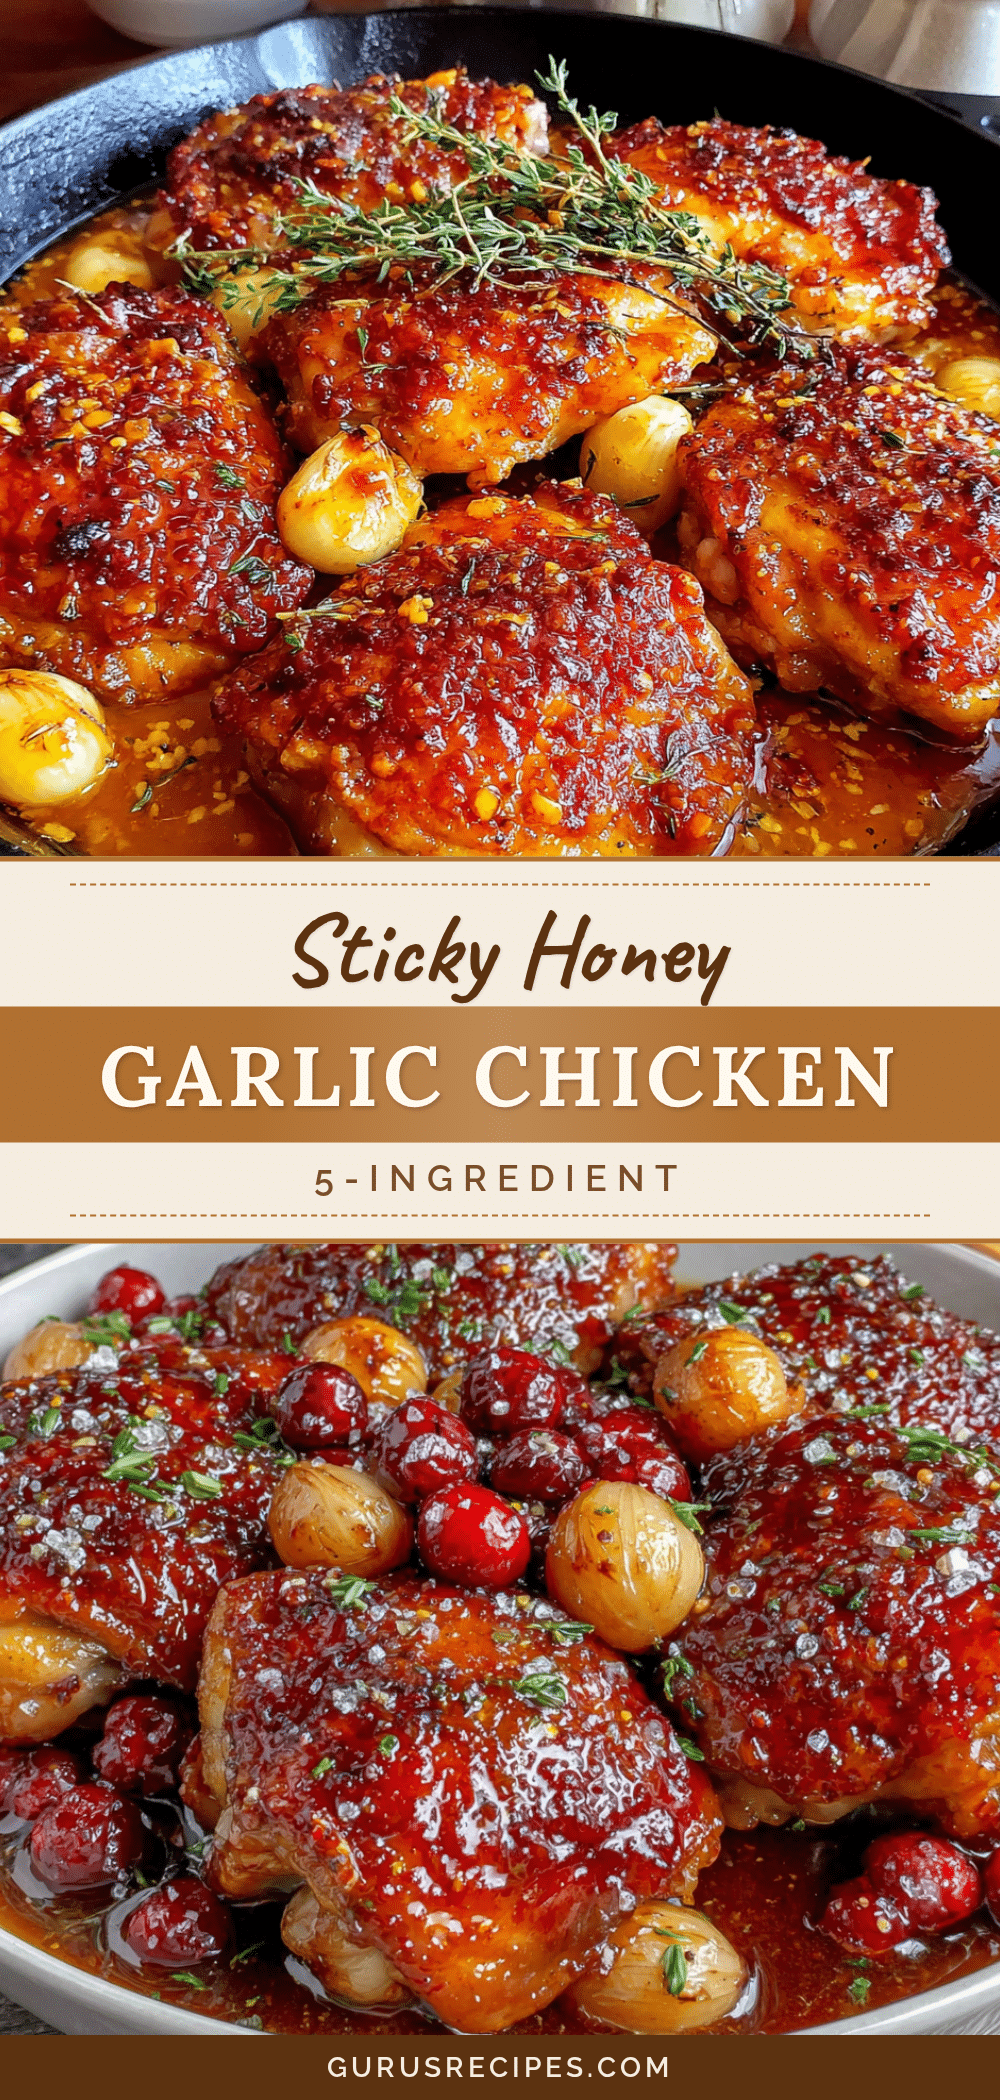

Easy Sticky Honey Garlic Baked Chicken Thighs
These sticky honey garlic baked chicken thighs are incredibly easy to make with minimal prep, yet they deliver a caramelized, sweet-savory glaze and tender, juicy meat. Perfect for busy weeknights, this foolproof recipe is a crowd-pleaser that tastes like you spent hours in the kitchen.
- Total Time: 50 minutes
- Yield: 4 servings 1x
Ingredients
- 6–8 bone-in, skin-on chicken thighs (about 2.5–3 pounds)
- 1/3 cup honey
- 1/4 cup low-sodium soy sauce
- 4–5 cloves garlic, minced (about 1 heaping tablespoon)
- 2 tablespoons rice vinegar
- 1 tablespoon toasted sesame oil
- 1 teaspoon fresh ginger, grated (optional)
- 1 tablespoon cornstarch
- Salt and black pepper to taste
- Optional garnishes: sliced green onions, toasted sesame seeds, red pepper flakes
Instructions
- Preheat your oven to 400°F (200°C).
- Pat the chicken thighs dry with paper towels. Season both sides generously with salt and black pepper. Set aside.
- In a medium mixing bowl, whisk together the honey, soy sauce, minced garlic, rice vinegar, toasted sesame oil, grated ginger (if using), and cornstarch until smooth.
- Arrange the chicken thighs skin-side up in a 9×13-inch baking dish in a single layer. Pour the glaze evenly over the chicken, ensuring each piece is coated.
- Bake for 20 minutes. The glaze will start to bubble and reduce.
- After 20 minutes, carefully remove the dish from the oven. Using tongs, flip each chicken thigh so the skin side is down in the glaze. Baste the tops with pan juices.
- Return the dish to the oven and bake for another 15 minutes.
- Remove the dish again. Flip the chicken thighs back to skin-side up. Spoon or brush some of the thickened glaze over the tops.
- Increase the oven temperature to 425°F (220°C). Bake for an additional 5-10 minutes, watching closely, until the skin is golden brown and the glaze is bubbling and sticky. The internal temperature should reach 165°F (74°C).
- Remove from the oven and let rest for 5 minutes. Sprinkle with sliced green onions and toasted sesame seeds if desired.
Notes
Do not skip the cornstarch—it gives the glaze its sticky, clingy texture. Bone-in, skin-on thighs are recommended for best texture. Watch the glaze toward the end to prevent burning. Let the chicken rest for 5 minutes before serving to allow the glaze to set. Line the baking dish with foil for easier cleanup. Double the glaze if you want extra sauce.
- Prep Time: 10 minutes
- Cook Time: 40 minutes
- Category: Main Course
- Cuisine: American
Nutrition
- Serving Size: 2 chicken thighs
- Calories: 475
- Sugar: 16.5
- Sodium: 650
- Fat: 27.5
- Saturated Fat: 7
- Carbohydrates: 22.5
- Protein: 37.5
Keywords: sticky honey garlic chicken, baked chicken thighs, honey garlic chicken, easy chicken dinner, weeknight chicken recipe


