
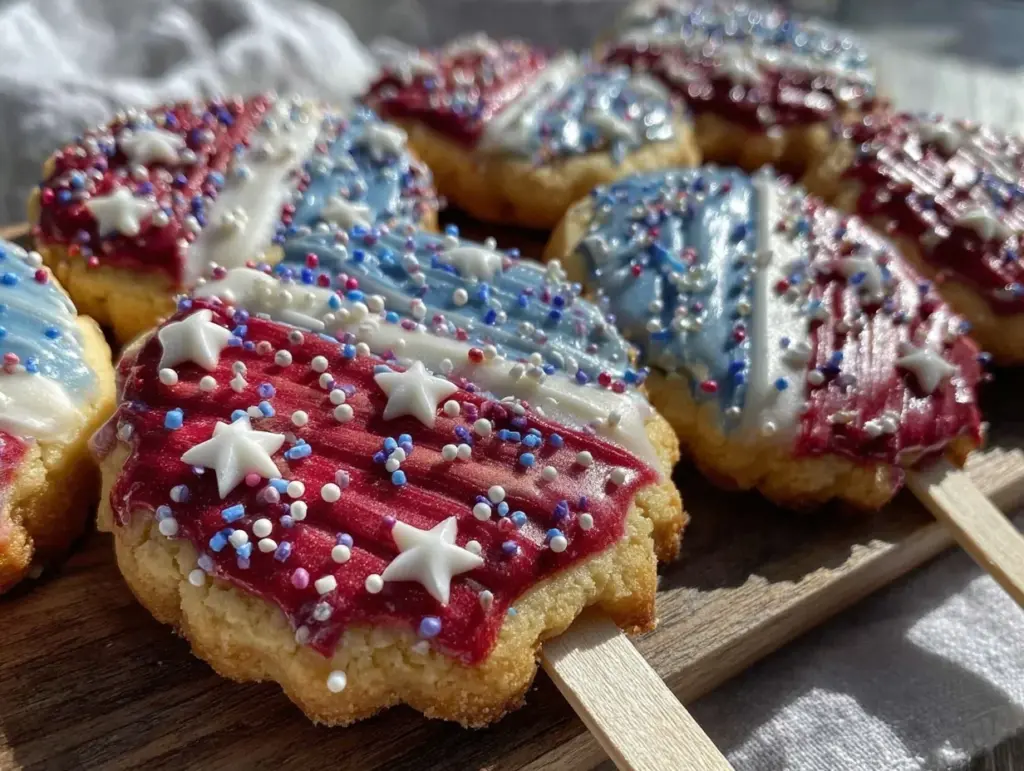
“Hey, want to try my cookie pops?” my neighbor called out as we both watched the sky explode with color on the 4th of July. Honestly, I was skeptical—cookie pops? On sticks? But the moment I bit into one of those perfect 4th of July decorated sugar cookie pops, I was hooked. There’s something about that tender crumb paired with bright, festive icing and the fun of holding a little edible flag on a stick that just clicked with the holiday vibe. This wasn’t just another patriotic dessert; it was the kind of sweet that made me pause, smile, and savor the moment amidst the chaos of sparklers and laughter.
That night, I found myself fiddling in the kitchen, tweaking the recipe over and over—trying different shapes, icing colors, even swapping vanilla extracts—until I nailed the balance of flavor and fun that makes these sugar cookie pops stand out. They’re not just for kids, either; grown-ups love them for their nostalgic charm and the way they bring a bit of whimsy to the table.
It’s funny how something as simple as a cookie on a stick can change the whole feel of a celebration. These pops don’t just add sweetness to your 4th of July; they bring a little extra sparkle, a little surprise, and a lot of smiles. And after a few batches, I realized they weren’t going anywhere—perfect for every summer party and beyond.
So if you’ve ever wondered how to bring that homemade touch to your holiday treats without fuss, this recipe’s your new go-to. It’s a little festive magic you can hold in your hand, bite into, and enjoy while the fireworks light up the night sky.
Why You’ll Love This Recipe
From my many tests in the kitchen, these perfect 4th of July decorated sugar cookie pops have become a staple for several reasons. They’re easy enough to whip up even when you’re juggling a million things (trust me, I’ve been there), but the results feel special enough for any patriotic occasion.
- Quick & Easy: You can have these ready in under 45 minutes, including decorating time—ideal for last-minute party prep or a fun family project.
- Simple Ingredients: Most are pantry staples like flour, sugar, and butter. No need for specialty shopping runs, which is always a win in my book.
- Perfect for 4th of July Parties and Picnics: These cookie pops are portable, mess-free, and visually festive—a hit at any outdoor gathering.
- Crowd-Pleaser: Kids adore the colorful designs, and adults appreciate the buttery, melt-in-your-mouth texture.
- Unbelievably Delicious: The cookie base is crisp at the edges, soft in the middle, and the royal icing dries with a perfect shine and snap.
What sets this recipe apart is the technique I use to chill the dough before rolling and cutting. It keeps the cookies from spreading too much, so your star, flag, and firework shapes hold their charm. Plus, the royal icing recipe is just right—not too sweet, with a creamy texture that’s easy to pipe and decorate without fuss.
This recipe isn’t just dessert; it’s the kind of treat that brings a little joy and playfulness to your holiday table. It’s the sweet that makes you grin, the bite that brings back childhood memories, and the perfect companion to a backyard barbecue or a cozy evening watching homemade strawberry ice cream.
What Ingredients You Will Need
This recipe uses simple, wholesome ingredients to deliver bold flavor and satisfying texture without the fuss. Most of these are pantry staples, but I’ve included some tips to make your cookie pops extra special.
- For the Sugar Cookie Dough:
- 2 ¾ cups (345 g) all-purpose flour, sifted
- 1 tsp baking powder
- ½ tsp salt
- 1 cup (227 g) unsalted butter, softened (I recommend Land O’Lakes for best texture)
- 1 ½ cups (300 g) granulated sugar
- 1 large egg, room temperature
- 1 tbsp pure vanilla extract (Madagascar bourbon is my favorite)
- 2 tbsp whole milk (or almond milk for dairy-free)
- For the Royal Icing:
- 3 cups (360 g) powdered sugar, sifted
- 2 tbsp meringue powder
- 5 tbsp warm water (adjust as needed for consistency)
- Red, white, and blue gel food coloring (Wilton brand gels work great here)
- Additional:
- Wooden lollipop sticks (6-inch length recommended)
- Sprinkles or edible glitter (optional, for extra sparkle)
Feel free to swap all-purpose flour with a gluten-free blend if you need to accommodate dietary restrictions. For icing, if you prefer a softer finish, you can use a simple powdered sugar glaze instead, but it won’t have that crisp royal icing snap.
Equipment Needed
- Mixing bowls (preferably glass or stainless steel for easy cleaning)
- Electric mixer or stand mixer with paddle attachment
- Rolling pin (a silicone one helps prevent sticking)
- Cookie cutters in patriotic shapes (stars, flags, firework bursts)
- Baking sheets lined with parchment paper or silicone mats
- Cooling racks to prevent soggy bottoms
- Small piping bags or squeeze bottles for icing application
- Toothpicks or fine brushes for detail work
If you don’t have a stand mixer, a sturdy hand mixer works just fine. For rolling, I sometimes use a large wine bottle in a pinch. For piping, if you’re new to royal icing, simple plastic sandwich bags with a small hole cut in the corner can be a budget-friendly alternative.
Preparation Method
- Mix Dry Ingredients: In a medium bowl, whisk together 2 ¾ cups (345 g) flour, 1 tsp baking powder, and ½ tsp salt. Set aside. (This ensures even distribution and prevents lumps.) Approx. 5 minutes.
- Cream Butter and Sugar: Using an electric mixer, beat 1 cup (227 g) softened butter with 1 ½ cups (300 g) granulated sugar until light and fluffy—about 3 to 4 minutes. This step is key for tender cookies.
- Add Egg, Vanilla, and Milk: Beat in 1 large egg, 1 tbsp vanilla extract, and 2 tbsp milk until just combined. Don’t overmix here or the cookies might turn dense.
- Combine Wet and Dry: Gradually add the flour mixture in batches, mixing on low speed until the dough comes together. It will be slightly sticky but should form a smooth ball.
- Chill the Dough: Wrap the dough in plastic wrap and refrigerate for at least 1 hour, preferably 2. This chills the butter and helps cookies keep their shape during baking.
- Preheat Oven: Set to 350°F (175°C). Line baking sheets with parchment paper.
- Roll and Cut: Lightly flour your surface and rolling pin. Roll dough to about ¼ inch (6 mm) thickness. Cut shapes with cookie cutters and gently press a wooden lollipop stick into each cookie, leaving about 2 inches of the stick sticking out. (If the dough is too soft, chill cut cookies on the sheet for 10 minutes before baking.)
- Bake: Bake for 8–10 minutes or until edges are lightly golden. Don’t overbake—cookies should be firm but still soft in the center. Remove from oven and let cool on sheets for 5 minutes, then transfer to wire racks to cool completely.
- Prepare Royal Icing: While cookies bake, mix 3 cups (360 g) powdered sugar, 2 tbsp meringue powder, and 5 tbsp warm water in a bowl. Beat until stiff peaks form. Divide icing into 3 bowls and tint with red, white (leave plain), and blue gel colors.
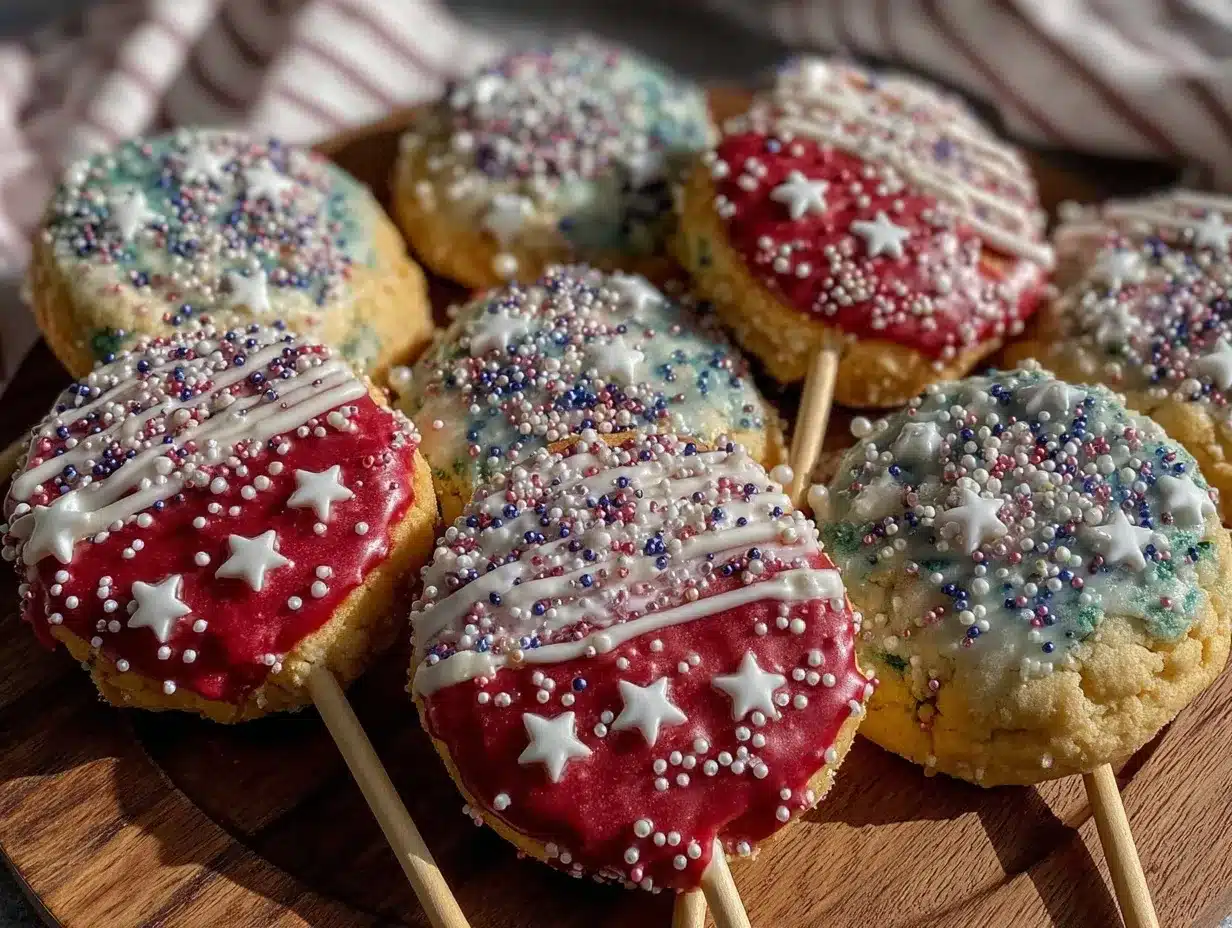
- Decorate: Pipe icing onto cooled cookies to create festive designs. Use toothpicks for fine details and add sprinkles or edible glitter if you like. Let dry for several hours or overnight for the best set.
Pro tip: If the icing gets too thick as you work, add a few drops of water to thin it out. If it’s too runny, add a little powdered sugar. Patience is key when decorating—rush it, and the icing can crack or slide off.
Cooking Tips & Techniques
From my experience making these sugar cookie pops over many summers, a few tricks make all the difference:
- Chill the Dough Thoroughly: This prevents spreading and keeps your cookie shapes crisp and defined. I once skipped this step and ended up with sad, misshapen stars—lesson learned!
- Don’t Skip the Meringue Powder: It’s what gives royal icing its signature glossy finish and firm texture. I’ve tried egg whites before, but meringue powder is easier and safer to handle.
- Use Gel Food Coloring: Liquid colors can thin your icing too much, messing with consistency. Gel colors give vibrant hues without sacrificing texture.
- Insert Sticks Before Baking: It’s tempting to add them after, but baking with sticks pressed in helps them stay secure. Just be gentle to avoid dough tearing.
- Set Up a Decorating Station: Keep small bowls of icing, toothpicks, and sprinkles handy. It makes decorating smoother and less messy.
- Multitask by Baking in Batches: While one batch cools, roll and cut the next. It helps keep things moving without the cookies drying out.
One time, I left the cookies on the baking sheet too long before transferring them to racks, and they steamed on the hot pan, losing their crisp edges. Don’t do that—cool them properly, and you’ll get that perfect texture every time.
Variations & Adaptations
While the classic red, white, and blue theme is perfect for the 4th, these sugar cookie pops can be customized in many ways:
- Dietary-Friendly: Swap all-purpose flour with a gluten-free blend, and use dairy-free butter and milk to make these vegan-friendly.
- Seasonal Flavors: Add a teaspoon of lemon zest to the dough for a fresh twist, or sprinkle edible gold dust for a glamorous touch.
- Alternative Shapes: Besides stars and flags, try fireworks bursts or even simple circles that you can decorate with stripes and dots.
- Different Icing Styles: Use a simple powdered sugar glaze with fresh berries from my fresh strawberry galette for a rustic look, or dip cookies in melted white chocolate tinted with food coloring.
- Personal Touch: I once made mini flags for a BBQ party, adding names with edible pens—everyone loved the personalized detail.
Serving & Storage Suggestions
These sugar cookie pops are best served at room temperature, making them easy to pass around during summer parties or picnics. Display them upright in a decorative jar or foam block for a festive centerpiece that doubles as a treat.
Pair these pops with cold beverages like lemonade or iced tea, or alongside other homemade desserts like balsamic roasted strawberry shortcake for a sweet spread that dazzles the eye and the palate.
Store leftover cookie pops in an airtight container at room temperature for up to 5 days. If you need to keep them longer, wrap individually and freeze for up to 2 months. To reheat, just let them thaw completely at room temperature; avoid microwaving, or the icing may soften and lose its snap.
Flavors tend to mellow and deepen after resting a day, so making these a day ahead can actually improve the taste and texture. Plus, having ready-made treats means less stress on the holiday itself.
Nutritional Information & Benefits
Each decorated sugar cookie pop contains approximately:
| Calories | 150 |
|---|---|
| Total Fat | 7 g |
| Sugar | 20 g |
| Protein | 1 g |
While these are definitely an indulgence, the simple ingredients mean no artificial preservatives or colors—just real butter, sugar, and vanilla. Using high-quality vanilla extract adds antioxidants and a rich aroma that makes the treat feel a little more wholesome.
For those mindful of dietary needs, swapping in gluten-free flour and dairy-free substitutes makes this recipe accessible. Just be cautious of the meringue powder’s egg white base if you have allergies.
Enjoying a festive treat like these cookie pops in moderation is part of the joy of seasonal cooking—plus, baking at home means you control the ingredients and can avoid overly processed store-bought sweets.
Conclusion
These perfect 4th of July decorated sugar cookie pops are more than just a dessert—they’re a way to bring a little fun, flavor, and festivity to your celebrations. Whether you’re a seasoned baker or just looking for a creative project, this recipe offers a simple, satisfying way to impress your guests without stress.
I love this recipe because it turns a classic sugar cookie into a playful experience that kids and adults both enjoy. The best part? You can tweak the decorations to match any occasion or mood, making it a versatile favorite year-round.
If you give this recipe a try, I’d love to hear how your cookie pops turned out or any creative spins you added. Sharing your successes and tips helps keep the cooking community buzzing. Here’s to sweet moments and happy holidays—enjoy every bite!
FAQs About Perfect 4th of July Decorated Sugar Cookie Pops
Can I make the dough ahead of time?
Yes! The dough can be refrigerated for up to 3 days before rolling and cutting. You can also freeze it for up to 1 month; just thaw overnight in the fridge before use.
What if I don’t have royal icing ingredients?
You can use a simple powdered sugar glaze (powdered sugar mixed with a little milk) for decorating, but it won’t have the same firm finish or hold detailed piping as royal icing.
How do I keep the cookie pops from breaking?
Make sure you press the stick gently but securely into the cookie dough before baking. Also, don’t handle the sticks roughly once baked and cooled—store them flat to avoid breakage.
Can I use other shapes besides patriotic ones?
Absolutely! Hearts, circles, or any cookie cutter shapes you prefer work well. You can customize decorations for different holidays or themes.
How long does royal icing take to dry?
Royal icing typically dries to the touch in 1–2 hours, but for best results, let decorated cookies dry overnight to fully harden the surface.
Pin This Recipe!
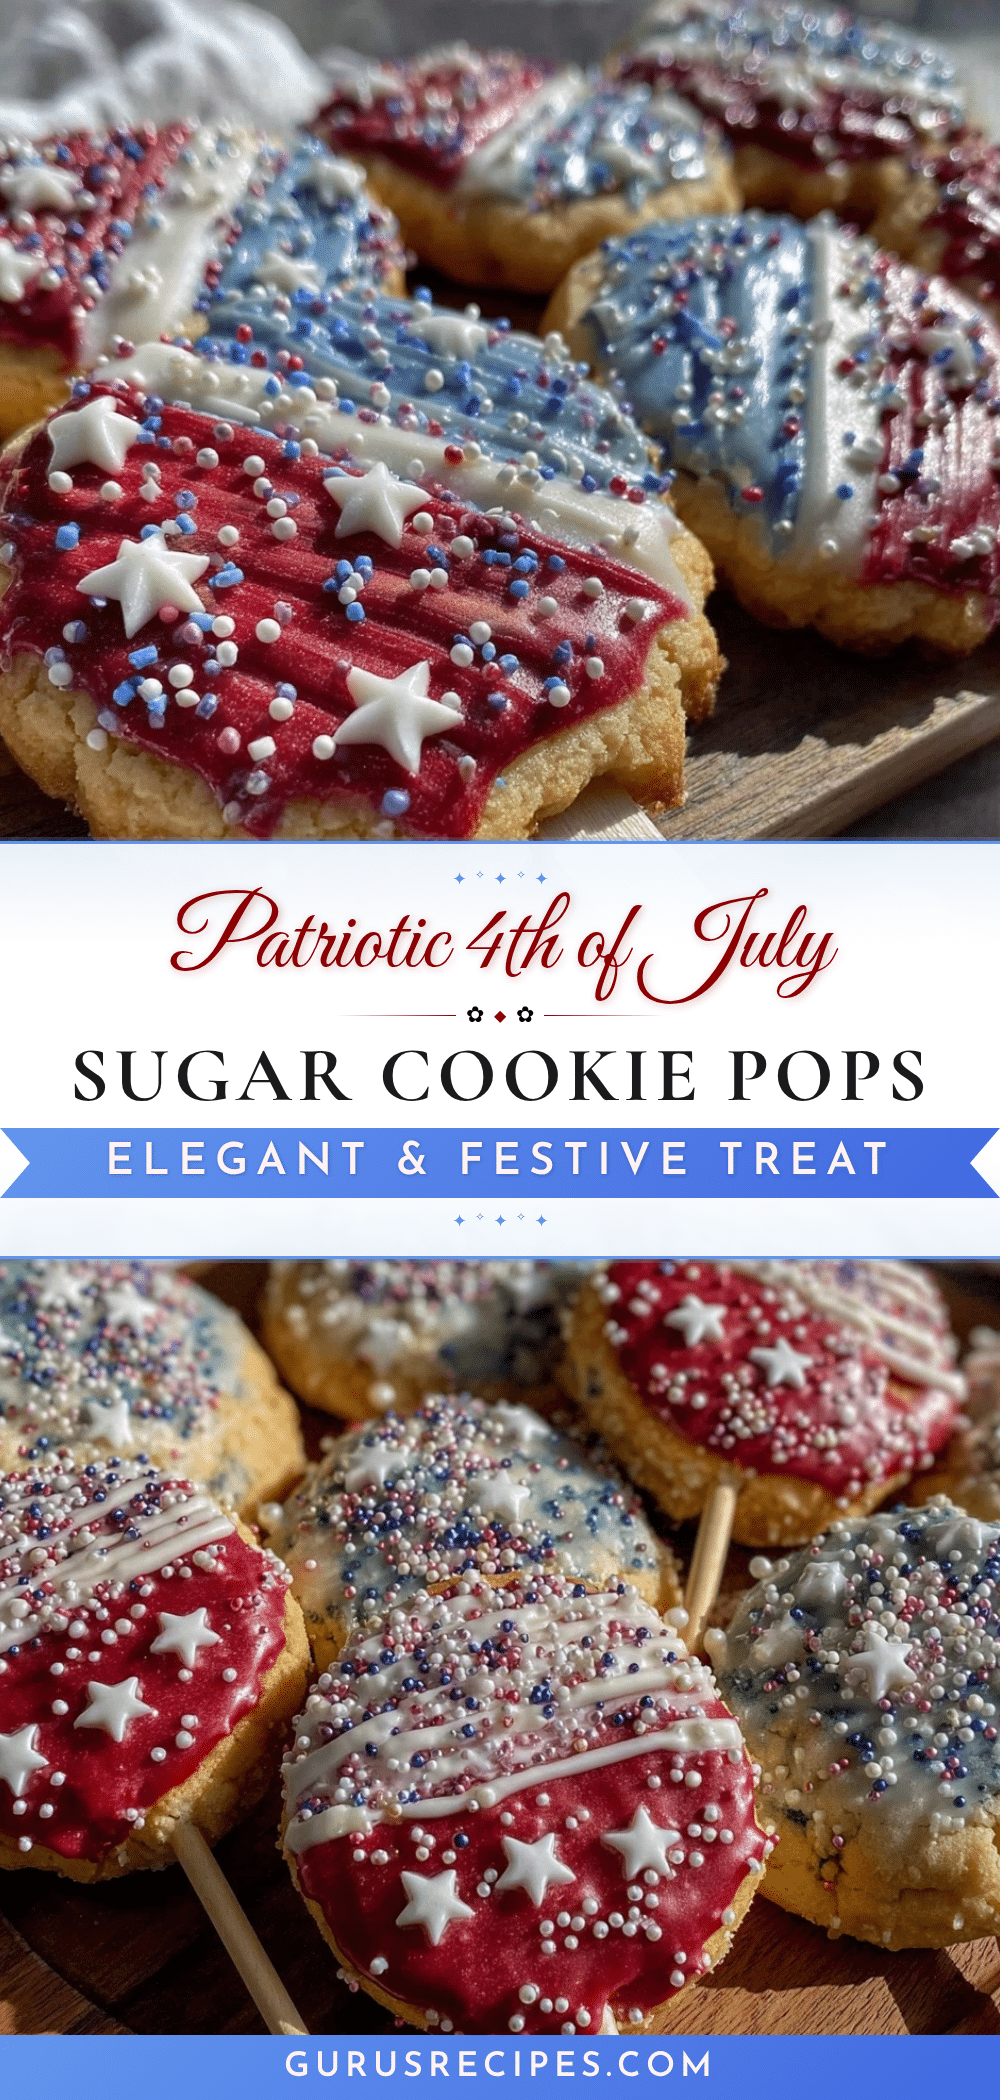

Perfect 4th of July Decorated Sugar Cookie Pops
These festive sugar cookie pops combine a tender crumb with bright, patriotic royal icing, perfect for 4th of July celebrations and summer parties. Easy to make and fun to decorate, they bring a playful and nostalgic touch to any occasion.
- Total Time: 1 hour 25 minutes
- Yield: 24 cookie pops 1x
Ingredients
- 2 ¾ cups (345 g) all-purpose flour, sifted
- 1 tsp baking powder
- ½ tsp salt
- 1 cup (227 g) unsalted butter, softened
- 1 ½ cups (300 g) granulated sugar
- 1 large egg, room temperature
- 1 tbsp pure vanilla extract
- 2 tbsp whole milk (or almond milk for dairy-free)
- 3 cups (360 g) powdered sugar, sifted
- 2 tbsp meringue powder
- 5 tbsp warm water (adjust as needed for consistency)
- Red, white, and blue gel food coloring
- Wooden lollipop sticks (6-inch length recommended)
- Sprinkles or edible glitter (optional)
Instructions
- Mix dry ingredients: In a medium bowl, whisk together flour, baking powder, and salt. Set aside.
- Cream butter and sugar: Using an electric mixer, beat softened butter with granulated sugar until light and fluffy, about 3 to 4 minutes.
- Add egg, vanilla, and milk: Beat in egg, vanilla extract, and milk until just combined. Avoid overmixing.
- Combine wet and dry ingredients: Gradually add the flour mixture in batches, mixing on low speed until dough forms a smooth ball.
- Chill the dough: Wrap dough in plastic wrap and refrigerate for at least 1 hour, preferably 2 hours.
- Preheat oven to 350°F (175°C). Line baking sheets with parchment paper.
- Roll and cut: Lightly flour surface and rolling pin. Roll dough to ¼ inch (6 mm) thickness. Cut shapes with cookie cutters and gently press wooden lollipop sticks into each cookie, leaving about 2 inches of stick exposed. If dough is too soft, chill cut cookies on sheet for 10 minutes before baking.
- Bake: Bake for 8–10 minutes or until edges are lightly golden. Remove from oven and cool on sheets for 5 minutes, then transfer to wire racks to cool completely.
- Prepare royal icing: Mix powdered sugar, meringue powder, and warm water until stiff peaks form. Divide into 3 bowls and tint with red, white (leave plain), and blue gel food coloring.
- Decorate: Pipe icing onto cooled cookies to create festive designs. Use toothpicks for fine details and add sprinkles or edible glitter if desired. Let dry for several hours or overnight.
Notes
Chill dough thoroughly to prevent spreading and maintain cookie shape. Use meringue powder for royal icing to achieve a glossy, firm finish. Insert sticks before baking to secure them. Let decorated cookies dry overnight for best results. Store leftovers in an airtight container at room temperature for up to 5 days or freeze up to 2 months.
- Prep Time: 15 minutes
- Cook Time: 10 minutes
- Category: Dessert
- Cuisine: American
Nutrition
- Serving Size: 1 cookie pop
- Calories: 150
- Sugar: 20
- Fat: 7
- Protein: 1
Keywords: 4th of July, sugar cookie pops, patriotic cookies, royal icing, holiday dessert, easy cookie recipe, summer party treats


