Introduction
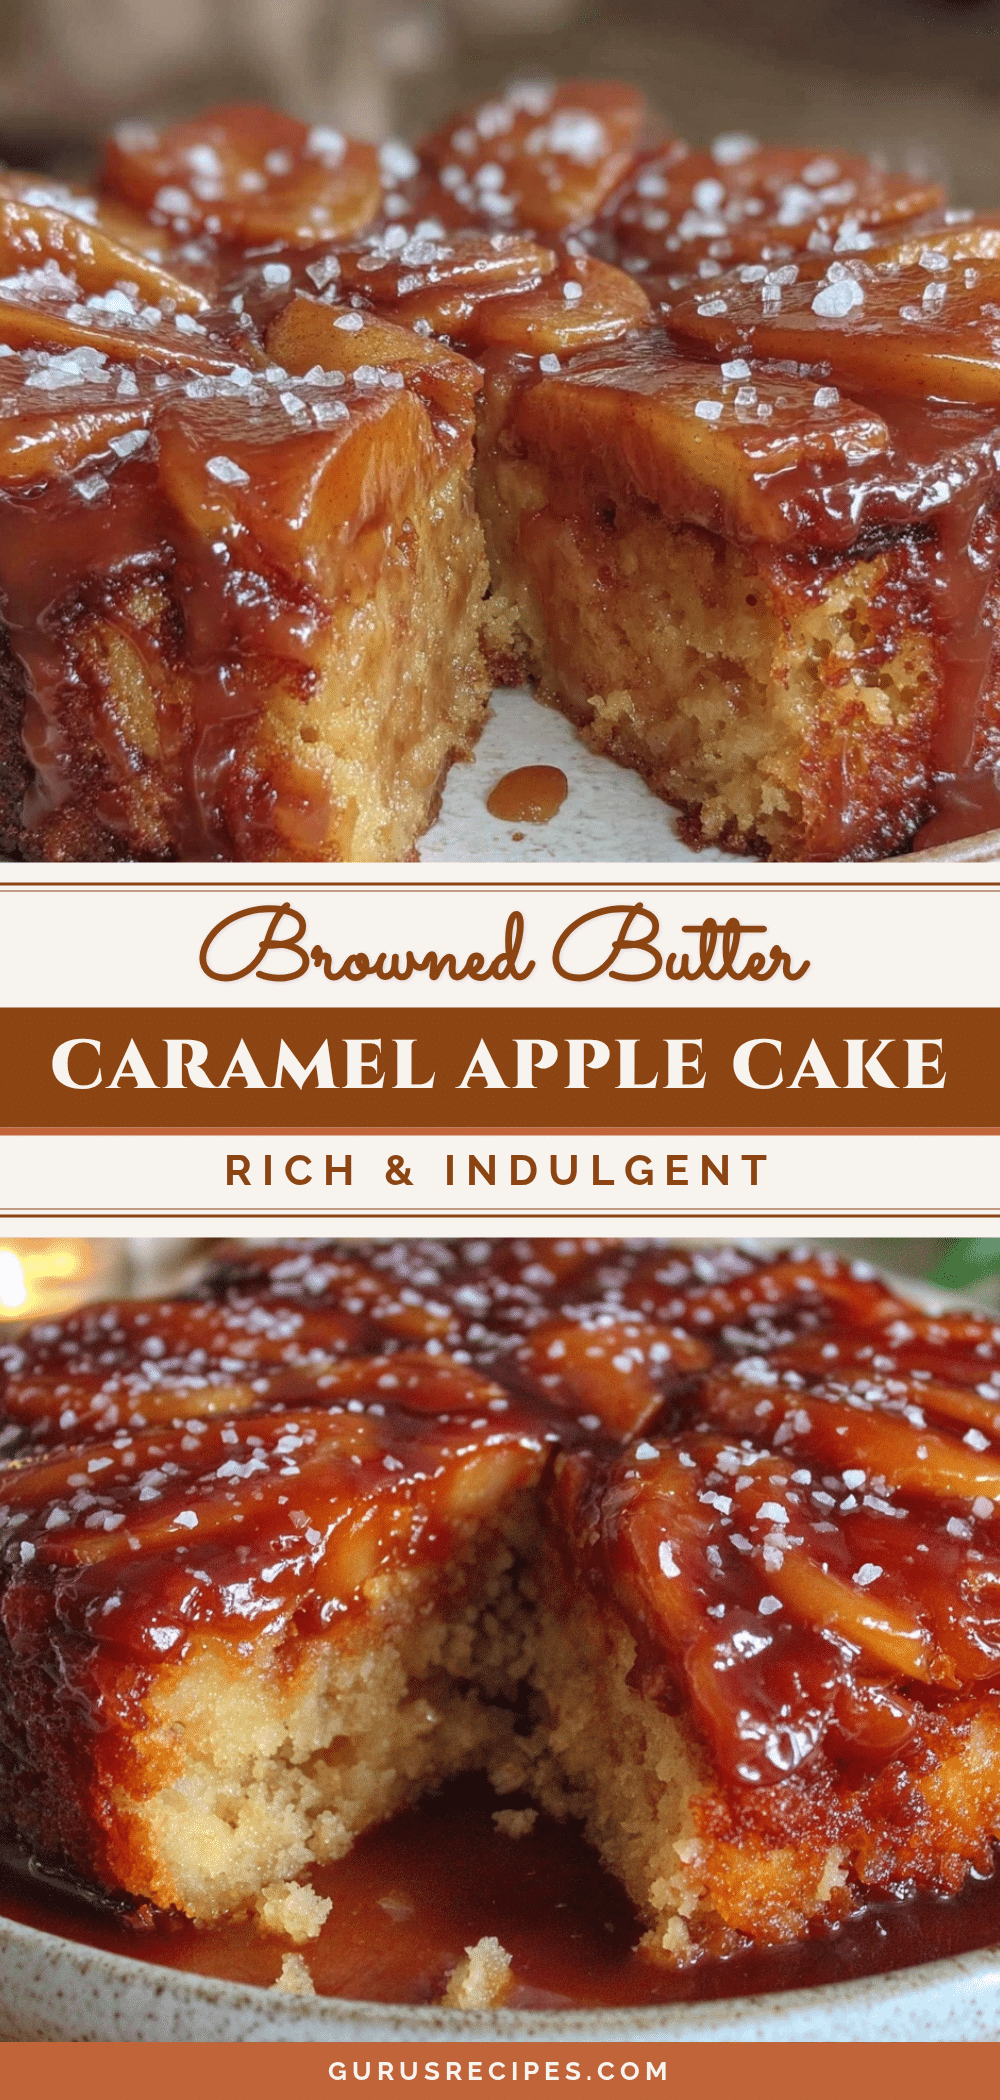
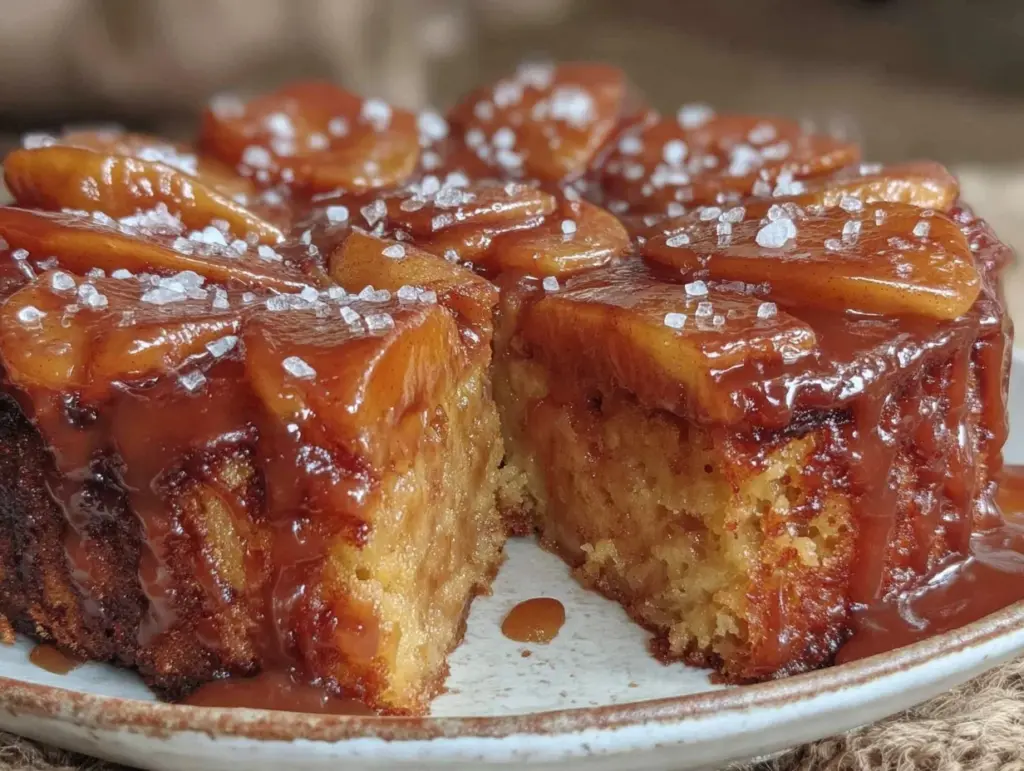
Glossy, sticky pools of caramel weaving through tender apple slices—that’s the whole point. The gleam of the caramelized topping, crackling slightly where the sea salt catches the light, is what made me bake this Perfect Caramel Apple Upside-Down Cake with Browned Butter and Sea Salt for the first time—everything else is secondary. I’ve always been a texture-obsessed cook, the kind who tastes with my fingertips first, and this cake hits every note. The contrast between the soft, buttery crumb beneath and that sticky, slightly crisp apple-caramel layer on top makes you want to reach in and grab a slice before it even cools.
One chilly afternoon, while the wind rattled the windows and the house smelled faintly of cinnamon, I found myself obsessing over the way browned butter adds a nutty depth to baked goods. I thought, why not marry that richness with sweet, tart apples and a touch of flaky sea salt? The result was this cake—moist yet light, with a glossy caramel crown that crackles just enough to remind you it’s homemade. Honestly, the way the browned butter batter soaks into the apples as it bakes is mesmerizing.
There’s something quietly comforting about this cake. It’s not just dessert; it’s a tactile experience that invites you to slow down, savor the sticky sweetness, and appreciate the little surprises in texture and flavor. This recipe stuck with me because it’s deceptively simple but rewarding—like that perfect moment when you realize the little things in cooking can tell the biggest stories. Trust me, once you try this version, you’ll see why it’s become my go-to for cozy gatherings and unexpected guests.
Why You’ll Love This Recipe
From my many kitchen trials, this recipe shines because it balances indulgence with ease—no fuss, just pure, buttery comfort.
- Quick & Easy: Comes together in about 45 minutes, perfect when you want a treat without a marathon baking session.
- Simple Ingredients: Uses pantry staples and fresh apples—no exotic stuff that requires specialty shopping.
- Perfect for Fall Gatherings: The cozy caramel and apple combo just screams autumn dinner parties and holiday brunches.
- Crowd-Pleaser: Kids, adults, and even the pickiest eaters have given this rave reviews at every get-together.
- Unbelievably Delicious: The browned butter adds a smoky nuttiness that lifts this cake above your average apple dessert.
This isn’t just another upside-down cake; the browned butter in the batter is the real game-changer. It creates a tender crumb with a deep, toasty flavor that pairs perfectly with the sweet tartness of the apples. Plus, the sea salt sprinkled on top cuts through the sweetness just right—no one expects it, but everyone loves it. Honestly, this recipe makes you close your eyes after the first bite—it’s comfort food with a little sophisticated twist.
What Ingredients You Will Need
This recipe uses simple, wholesome ingredients to deliver bold flavor and satisfying texture without the fuss. Most are pantry staples, and apples are easy to find year-round. You can swap apple varieties depending on your preference or season.
- For the caramel apple topping:
- 3 large apples (I like Honeycrisp or Fuji for their balance of sweet and tart), peeled, cored, and thinly sliced
- 1 cup (200g) granulated sugar
- 6 tablespoons (85g) unsalted butter, cut into pieces
- 1 teaspoon flaky sea salt (Maldon or fleur de sel recommended)
- For the browned butter cake batter:
- 1/2 cup (115g) unsalted butter, browned and cooled slightly
- 1 cup (200g) granulated sugar
- 2 large eggs, room temperature
- 1 teaspoon pure vanilla extract
- 1 1/2 cups (190g) all-purpose flour
- 1 1/2 teaspoons baking powder
- 1/4 teaspoon baking soda
- 1/4 teaspoon fine sea salt
- 3/4 cup (180ml) buttermilk (substitute with milk + 1 tbsp lemon juice if needed)
Feel free to use a trusted brand of butter like Kerrygold for the best flavor in the browned butter, and look for fresh, firm apples to keep that texture intact. If you want a gluten-free option, almond flour can work, but the texture will differ slightly. For a dairy-free twist, swap the butter with coconut oil and use plant-based milk with vinegar.
Equipment Needed
- 9-inch (23cm) round cake pan or cast-iron skillet – I prefer cast iron because it crisps the caramel edges beautifully, but a good non-stick pan works too.
- Medium saucepan for making the caramel – stainless steel is best to watch the sugar melt evenly.
- Mixing bowls – at least two, one for wet ingredients and one for dry.
- Whisk and rubber spatula – for combining ingredients without overmixing.
- Microplane or fine grater – optional, if you want to add fresh nutmeg or zest to the batter.
- Instant-read thermometer – helpful but not required to check butter doneness when browning.
If you don’t have a cast-iron skillet, a heavy-duty oven-safe pan is a great alternative. I’ve used both and noticed the cast iron gives a more even and deeper caramelization. Also, don’t forget to season your cast iron regularly to keep it non-stick and rust-free, especially after baking sticky desserts like this.
Preparation Method
- Prepare the caramel apple topping (15 minutes): In your skillet or cake pan, melt the 6 tablespoons of butter over medium heat. Add the sugar and stir gently as it dissolves and bubbles, turning a deep amber color (watch carefully—caramel burns fast). Once caramel is ready, remove from heat and immediately arrange the apple slices in concentric circles over the caramel. Sprinkle the flaky sea salt evenly on top. Set aside while you prepare the batter.
- Browning the butter (10 minutes): In a small saucepan, melt the 1/2 cup butter over medium heat. Stir frequently until the butter foams, then turns golden brown and smells nutty—about 5 to 7 minutes. Immediately pour into a heatproof bowl to cool slightly (don’t let it harden).
- Mix the batter (10 minutes): In a large bowl, whisk together the sugar and browned butter until combined. Add eggs one at a time, beating well after each. Stir in vanilla extract.
- Combine dry ingredients: In a separate bowl, sift together flour, baking powder, baking soda, and salt.
- Alternate adding dry ingredients and buttermilk: Add a third of the dry mix to the wet ingredients, stir gently, then half the buttermilk, repeat until all combined. Be careful not to overmix—the batter should be smooth but a few lumps are okay.
- Pour batter over caramel and apples: Spread evenly with a spatula. The batter will naturally seep into the apple crevices as it bakes.
- Bake the cake: Place in a preheated 350°F (175°C) oven for 35-40 minutes, or until a toothpick inserted in the center comes out clean and the edges are golden.
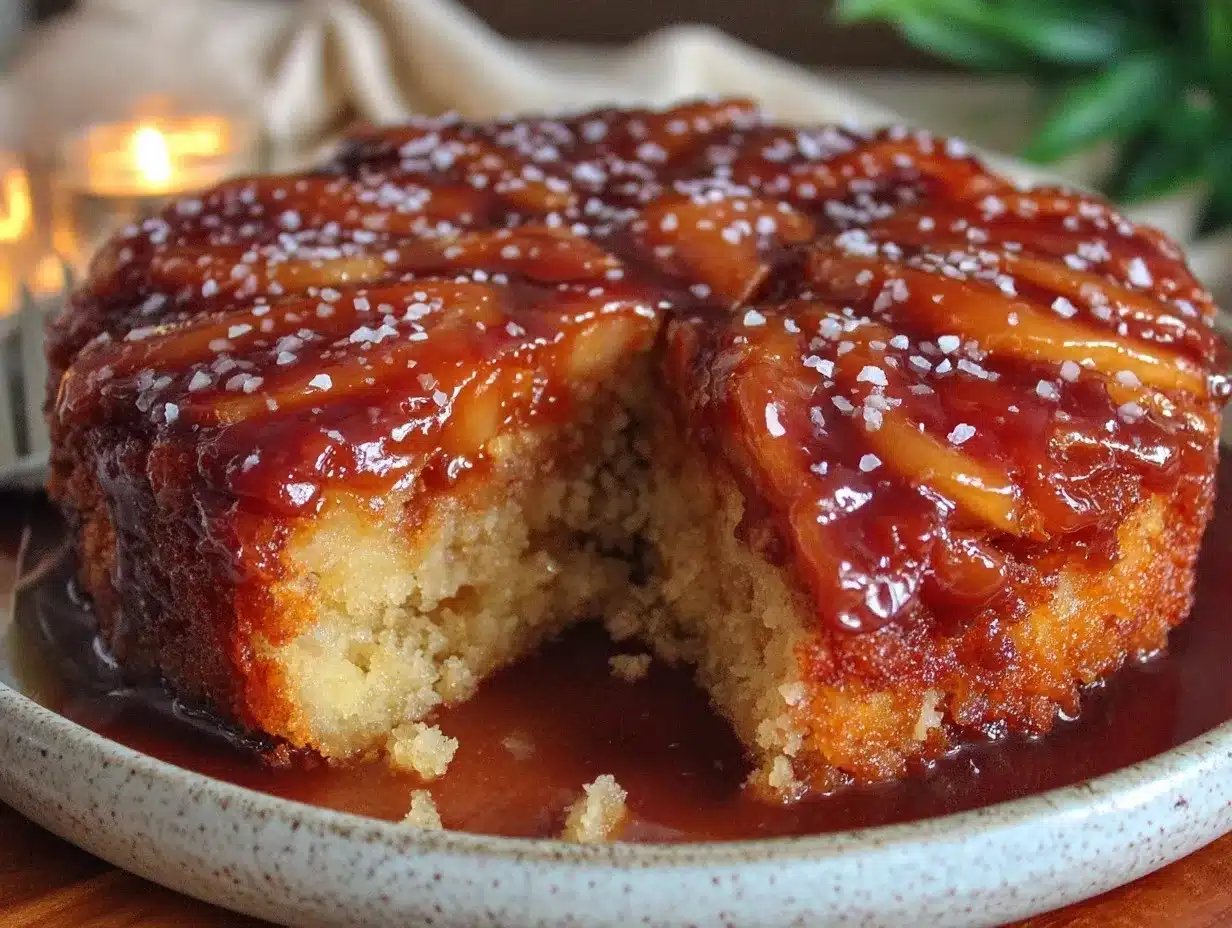
- Cool and invert: Allow cake to cool in the pan for 15 minutes to set the caramel. Run a thin knife around the edges to loosen, then carefully invert onto a serving plate. The caramel and apples will be glossy and sticky on top.
Pro tip: If your caramel starts to harden before you pour the batter, warm the pan gently on low heat to soften it again. Also, avoid skipping the cooling step before inverting—this prevents the caramel from running off and keeps the topping intact.
Cooking Tips & Techniques
Browned butter can be tricky but rewarding. I’ve learned the hard way that you need to watch it closely—once the foam subsides, it goes from golden brown to burnt in seconds. Stir constantly and remove the pan from heat as soon as you smell that nutty aroma. If you go a hair too far, don’t panic—adding the butter to sugar and eggs helps mellow the flavor.
When making caramel, patience is key. Let the sugar melt slowly and resist stirring too vigorously to avoid crystallization. Using a heavy-bottomed pan helps distribute heat evenly. I always keep a bowl of ice water nearby to dip a spoon in case I need to stop the cooking immediately.
For even baking, place your cake pan in the middle rack of the oven and avoid opening the door too early—this can cause your cake to collapse. Multitasking tip? While the cake bakes, try prepping a simple whipped cream topping or warm a pot of cider for serving.
Lastly, flaky sea salt is essential. It adds that unexpected crunch and depth that makes this apple upside-down cake unforgettable. If you only have fine salt, sprinkle a little less to avoid overpowering the sweetness.
Variations & Adaptations
- Dietary: For gluten-free, swap all-purpose flour with a blend like Bob’s Red Mill 1-to-1 gluten-free flour. For dairy-free, replace butter with coconut oil and buttermilk with almond milk plus lemon juice.
- Seasonal: Swap apples for pears or stone fruits like peaches in summer—just adjust baking time slightly for juicier fruit.
- Flavor twists: Add a teaspoon of cinnamon or cardamom to the batter for a warm spice note. Or fold in toasted pecans or walnuts for extra crunch.
- Cooking method: Try making mini versions in muffin tins for portable treats or experiment with a cast iron skillet for that rustic, crispy edge.
- Personal variation: I once stirred a splash of bourbon into the caramel—just enough to add warmth without overpowering the apples. It was a hit at a casual dinner party.
Serving & Storage Suggestions
This cake is best served warm or at room temperature, ideally within a few hours of baking to enjoy the gooey caramel texture. A dollop of freshly whipped cream or a scoop of vanilla ice cream adds a cool, creamy contrast. It pairs beautifully with a cup of hot cider or a rich coffee—perfect for chilly afternoons.
Store leftovers covered at room temperature for up to 2 days or in the refrigerator for up to 5 days. When refrigerated, caramel may harden slightly; warm slices gently in the microwave for 15-20 seconds to soften before serving.
You can also freeze slices wrapped tightly in plastic wrap and foil for up to 2 months. Thaw overnight in the fridge and warm before enjoying. The flavors meld over time, making this cake just as delicious the next day—or even better.
Nutritional Information & Benefits
Estimated per serving (based on 8 slices): approximately 320 calories, 15g fat, 45g carbohydrates, 3g protein. The apples provide dietary fiber and natural antioxidants, while the browned butter offers healthy fats that support flavor and satiety.
This recipe is gluten-friendly with substitutions available and can be adapted for dairy-free diets. Keep in mind the caramel and sugar content make it an occasional indulgence, but the use of whole fruit and simple ingredients makes it a comforting homemade dessert with wholesome roots.
Personally, I appreciate how this cake fits into a balanced approach to eating—treating yourself without artificial ingredients or preservatives, and savoring texture and flavor fully.
Conclusion
If you’re looking for a dessert that combines sticky sweetness, tender crumb, and that irresistible browned butter richness, this Perfect Caramel Apple Upside-Down Cake with Browned Butter and Sea Salt is a must-try. It’s a recipe that’s as satisfying to make as it is to eat, inviting you to slow down and enjoy every bite.
Feel free to tweak the apple variety, add your favorite spices, or even try it in individual ramekins for sharing. This cake has become one of my favorites, not just because of the flavor but because of the joy it brings to the table.
If you give it a go, I’d love to hear how you make it your own—comments and stories always brighten my day. And if you’re interested in other seasonal desserts, you might enjoy the fresh flavors of a fresh strawberry galette with vanilla glaze or the creamy indulgence of a no-churn strawberry ice cream.
Happy baking, and may your kitchen always smell like caramel and cinnamon.
FAQs
What type of apples work best for this upside-down cake?
Firm apples like Honeycrisp, Fuji, or Granny Smith hold their shape well and balance sweetness with tartness, which complements the caramel beautifully.
Can I use salted butter instead of unsalted?
Yes, but reduce or omit the added sea salt on top to prevent the cake from becoming too salty.
How do I know when the browned butter is ready?
Watch for the butter to foam, then turn golden brown with a nutty aroma. Remove it from heat immediately to avoid burning.
Can I make this cake ahead of time?
You can prepare it a day in advance and store it covered at room temperature or refrigerated. Warm gently before serving for best texture.
Is it necessary to use sea salt on top?
While optional, the flaky sea salt adds a delightful contrast to the sweet caramel and enhances the overall flavor complexity.
Pin This Recipe!