
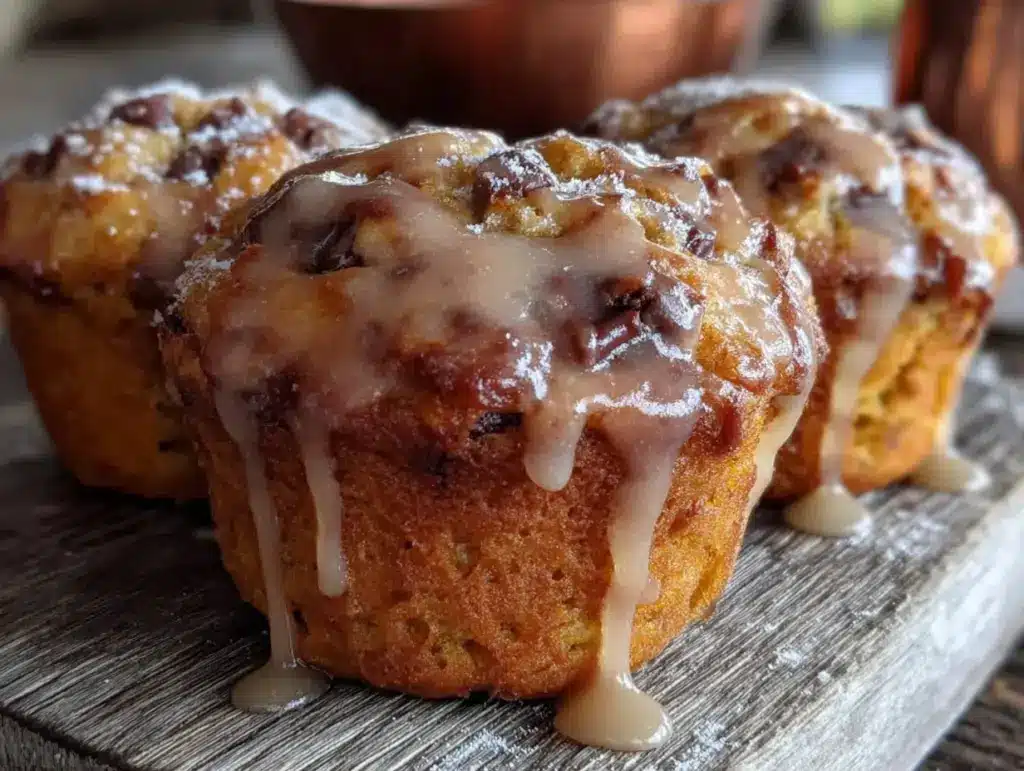
My husband asked for these chocolate chip pumpkin muffins three mornings in a row without any prompting from me. He just walked into the kitchen, spotted the container on the counter, and grabbed one with his coffee. The third day, he actually said, “You know, these might be my favorite thing you’ve baked all fall.” And honestly? I wasn’t even trying to impress him. I was just trying to use up the last of a can of pumpkin puree that had been sitting in my pantry since last Thanksgiving. That’s the thing about these muffins—they sneak up on you. They’re not trying to be fancy or complicated. They just show up, do their job, and suddenly become the thing everyone reaches for first.
I developed this recipe after a string of pumpkin muffins that came out either too dense or too dry. You know the ones—they look promising coming out of the oven, but by day two they’ve turned into hockey pucks. I wanted something different. Something with a tender crumb that stayed moist for days, with pockets of melted chocolate in every bite. And that brown butter glaze on top? That was an accident. I was browning butter for something else, got distracted, and thought, well, why not drizzle it over a muffin? Best mistake I made all year.
These muffins have become my fall baking anchor. They’re the recipe I bring to pumpkin patch gatherings, the one I make when friends drop by unannounced, the one that makes my kitchen smell like everything good about October. If you’ve been searching for a pumpkin muffin that actually delivers on flavor and texture, I think you’ll be happy here.
Why You’ll Love This Recipe
These aren’t your average pumpkin muffins. I’ve tested this recipe more times than I care to admit, tweaking the flour ratio, adjusting the spice blend, and figuring out exactly how to keep the chocolate chips from sinking to the bottom. After all that trial and error, here’s what I can promise you:
- Quick & Easy : From start to finish, these come together in about 45 minutes. The actual hands-on time is closer to 15 minutes—the oven does most of the work.
- Simple Ingredients : You probably have most of these in your kitchen already. No fancy extracts, no hard-to-find spices, nothing that requires a special trip to a gourmet store.
- Perfect for Fall Gatherings : Whether it’s a pumpkin carving party, a Thanksgiving brunch, or just a cozy Sunday morning, these muffins fit right in.
- Crowd-Pleaser : I’ve watched kids devour these and adults go back for seconds. The chocolate chips make them approachable, while the pumpkin and spices give them that seasonal warmth.
- Unbelievably Moist : The combination of pumpkin puree and brown butter creates a texture that stays tender for days. No dry muffins here.
What makes this recipe different from the dozens of other pumpkin muffin recipes out there? It’s the brown butter glaze, honestly. That nutty, caramelized flavor takes these from good to memorable. Plus, I’ve figured out the trick to keeping the chocolate chips evenly distributed—tossing them in a little flour before folding them in. It’s a small step, but it makes a big difference.
These muffins are the kind that make you close your eyes after the first bite. They’re comfort food reimagined—familiar enough to feel nostalgic, but with enough personality to feel special. Perfect for impressing guests without the stress, or turning a simple morning into something worth remembering.
What Ingredients You Will Need
This recipe uses simple, wholesome ingredients to deliver bold flavor and satisfying texture without the fuss. Most of these are pantry staples, especially if you do any amount of fall baking.
For the Muffins
- All-purpose flour – 2 cups (250g). Spoon and level it for accuracy. I’ve tested this with bread flour too, and it works, but all-purpose gives the best tender crumb.
- Granulated sugar – ½ cup (100g). Adds sweetness and helps with browning.
- Light brown sugar – ½ cup (100g), packed. This gives moisture and a subtle molasses flavor that pairs beautifully with pumpkin.
- Pumpkin puree – 1 cup (240g). Make sure you’re using pure pumpkin puree, not pumpkin pie filling. I prefer Libby’s for consistent texture.
- Vegetable oil – ½ cup (120ml). Keeps the muffins moist. You can substitute melted coconut oil if you prefer.
- Large eggs – 2, room temperature. Cold eggs can seize the batter, so let them sit out for 20 minutes first.
- Vanilla extract – 1 teaspoon. Pure vanilla is worth the splurge here.
- Baking soda – 1 teaspoon. Helps the muffins rise properly.
- Baking powder – ½ teaspoon. Adds extra lift.
- Salt – ½ teaspoon. Balances the sweetness.
- Pumpkin pie spice – 2 teaspoons. If you don’t have this, use 1 teaspoon cinnamon, ½ teaspoon ginger, ¼ teaspoon nutmeg, and ¼ teaspoon cloves.
- Cinnamon – 1 teaspoon. I like adding extra cinnamon because it’s such a classic fall flavor.
- Semi-sweet chocolate chips – 1 cup (175g). I recommend Guittard or Ghirardelli for the best melt. Toss them in 1 tablespoon of flour before adding to the batter to prevent sinking.
For the Brown Butter Glaze
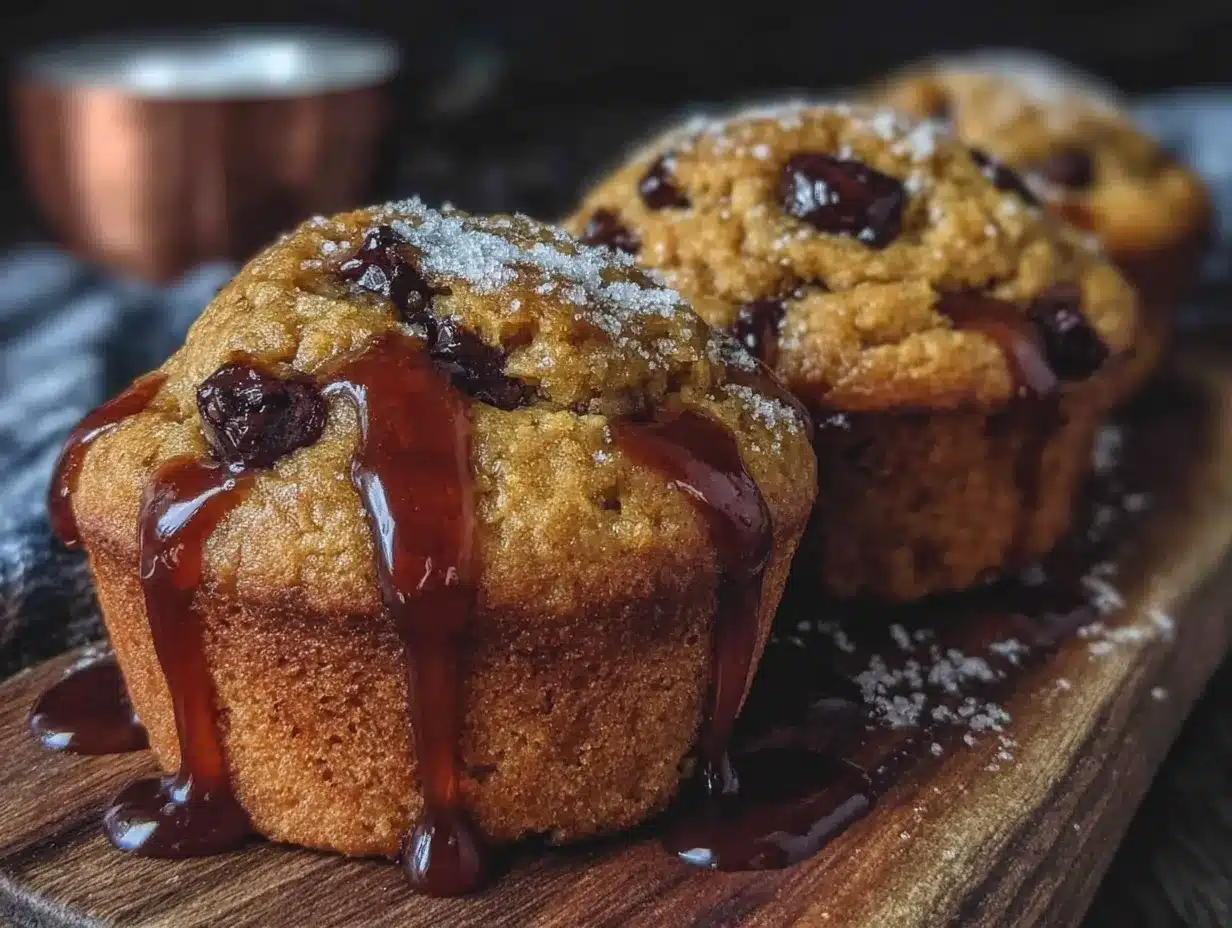
- Unsalted butter – ¼ cup (½ stick or 57g). You’ll brown this yourself—don’t skip this step.
- Powdered sugar – 1 cup (120g), sifted. Sifting prevents lumps in the glaze.
- Vanilla extract – ½ teaspoon.
- Milk – 2-3 tablespoons. Use whole milk for richness, or any milk you have on hand.
- Pinch of salt – Just a tiny one to balance the sweetness.
Substitution Notes
If you need a dairy-free option, use melted coconut oil instead of butter in the muffins and a dairy-free butter alternative for the glaze. For a gluten-free version, swap the all-purpose flour with a 1:1 gluten-free baking blend—I’ve had good results with Bob’s Red Mill. And if you’re out of pumpkin pie spice, just mix cinnamon, ginger, nutmeg, and cloves as I mentioned above.
Equipment Needed
You don’t need a fancy kitchen to make these muffins. Here’s what you’ll need:
- Muffin tin – A standard 12-cup muffin tin. I prefer a non-stick one, but any will work with paper liners.
- Paper liners – Standard size. I like the unbleached ones, but any will do.
- Mixing bowls – Two medium bowls, one for dry ingredients and one for wet.
- Whisk – For combining dry ingredients and smoothing out the wet mixture.
- Rubber spatula – For folding in the chocolate chips without overmixing.
- Measuring cups and spoons – Accuracy matters in baking.
- Kitchen scale – Optional but recommended for consistent results.
- Small saucepan – For browning the butter. A light-colored pan helps you see the color change.
- Cooling rack – Lets air circulate around the muffins so they don’t get soggy bottoms.
- Small whisk or fork – For mixing the glaze.
If you don’t have a kitchen scale, don’t worry. Just spoon your flour into the measuring cup and level it off with a knife. That’s close enough for this recipe. And if you don’t have a cooling rack, you can use a wire oven rack turned upside down—I’ve done that in a pinch.
Preparation Method
Let me walk you through this step by step. Trust me, if you follow these instructions, you’ll get perfect muffins every time.
Step 1: Preheat and Prepare
Preheat your oven to 350°F (175°C). Line your muffin tin with paper liners. This recipe makes exactly 12 muffins, so you’ll fill every cup. If you have a dark-colored muffin tin, reduce the oven temperature by 25°F to prevent over-browning.
Step 2: Mix the Dry Ingredients
In a medium bowl, whisk together 2 cups (250g) all-purpose flour, 1 teaspoon baking soda, ½ teaspoon baking powder, ½ teaspoon salt, 2 teaspoons pumpkin pie spice, and 1 teaspoon cinnamon. Whisk for about 20 seconds to evenly distribute everything. Set this aside.
Step 3: Combine the Wet Ingredients
In a larger bowl, whisk together ½ cup (100g) granulated sugar and ½ cup (100g) packed light brown sugar until no lumps remain. Add 1 cup (240g) pumpkin puree, ½ cup (120ml) vegetable oil, 2 room-temperature eggs, and 1 teaspoon vanilla extract. Whisk until smooth and fully combined. The mixture will look thick and glossy—that’s exactly what you want.
Step 4: Combine Wet and Dry
Pour the dry ingredients into the wet ingredients. Use a rubber spatula to fold them together gently. Stir just until you no longer see streaks of flour—about 10 to 12 folds. Overmixing at this stage will make your muffins tough. A few small lumps are totally fine.
Step 5: Add the Chocolate Chips
In a small bowl, toss 1 cup (175g) semi-sweet chocolate chips with 1 tablespoon of flour. This coating helps them stay suspended in the batter instead of sinking to the bottom. Fold the chocolate chips into the batter with a few gentle strokes. The batter will be thick and slightly sticky.
Step 6: Fill the Muffin Cups
Divide the batter evenly among the 12 muffin cups. I use a large cookie scoop for this—it makes the process neat and ensures even portions. Fill each cup about ¾ full. If you have extra batter, don’t overfill; just distribute it evenly. The muffins will rise nicely without overflowing.
Step 7: Bake
Bake for 18 to 22 minutes, or until a toothpick inserted into the center of a muffin comes out clean or with a few moist crumbs. The tops should be golden brown and spring back when lightly touched. My oven runs hot, so I start checking at 18 minutes. Rotate the pan halfway through for even baking.
Step 8: Cool
Let the muffins cool in the pan for 5 minutes. This allows them to set without sticking to the liners. Then transfer them to a wire cooling rack to cool completely before adding the glaze. If you glaze them while they’re warm, the glaze will melt and soak in—which isn’t necessarily bad, but it won’t look as pretty.
Step 9: Make the Brown Butter Glaze
While the muffins cool, make the glaze. In a small saucepan over medium heat, melt ¼ cup (57g) unsalted butter. Swirl the pan occasionally. The butter will foam, then turn golden, then deepen to a rich amber color. You’ll smell a nutty aroma—that’s your cue. This takes about 5 to 7 minutes. Watch it carefully; brown butter can burn quickly. Once it reaches that amber color, remove it from the heat immediately and pour it into a heatproof bowl to stop the cooking.
Step 10: Finish the Glaze
Let the brown butter cool for about 5 minutes. Then whisk in 1 cup (120g) sifted powdered sugar, ½ teaspoon vanilla extract, and a pinch of salt. Add 2 to 3 tablespoons of milk, one tablespoon at a time, until the glaze reaches a smooth, pourable consistency. It should be thick enough to coat the back of a spoon but thin enough to drizzle.
Step 11: Glaze the Muffins
Once the muffins are completely cool, drizzle the glaze over the tops. I use a small spoon and let it fall in zigzag patterns. The glaze will set in about 15 to 20 minutes. If you’re in a hurry, you can pop them in the fridge for 10 minutes.
Cooking Tips & Techniques
I’ve made these muffins more times than I can count, and I’ve learned a few things along the way. Here are the tips that make a real difference:
Don’t overmix the batter. This is the most common mistake with muffins. Mix until the flour just disappears. Overmixing develops gluten, which leads to tough, dense muffins. You want them light and tender, not chewy.
Room temperature ingredients matter. Cold eggs can make the batter seize up, and cold butter won’t brown evenly. Let your eggs sit out for 20 minutes before you start. If you forget, place them in a bowl of warm water for 5 minutes.
Watch the brown butter carefully. I’ve burned brown butter more times than I’d like to admit. The moment it turns amber and smells nutty, pull it off the heat. It continues to cook in the hot pan, so pouring it into a separate bowl stops the process.
Use a cookie scoop for even muffins. This isn’t just about neatness—it ensures all your muffins bake at the same rate. Uneven portions mean some will be overdone while others are underdone.
Let the muffins cool completely before glazing. I know it’s tempting to drizzle that glaze on warm muffins, but patience pays off here. Warm muffins will absorb the glaze, leaving you with a sticky mess instead of a beautiful drizzle.
If your chocolate chips sink, you didn’t coat them in flour. That flour coating creates friction that keeps the chips suspended in the batter. It’s a small step, but it works every time.
Variations & Adaptations
One of the best things about this recipe is how flexible it is. Here are some variations I’ve tried and loved:
Pumpkin Chocolate Chip Muffins with Cream Cheese Filling – For an extra indulgent version, add a dollop of cream cheese filling to the center of each muffin before baking. Mix 4 oz softened cream cheese, 2 tablespoons sugar, and 1 teaspoon vanilla extract. Drop a teaspoonful into the center of each muffin cup, then cover with a little extra batter. The cream cheese bakes into a soft, tangy pocket that’s incredible.
Gluten-Free Version – Substitute the all-purpose flour with a 1:1 gluten-free baking blend. I’ve had great results with King Arthur Flour’s Measure for Measure blend. The texture will be slightly more crumbly but still delicious. Add an extra tablespoon of milk to the batter if it seems too thick.
Vegan Adaptation – Use melted coconut oil instead of butter in the muffins, and substitute the eggs with flax eggs (2 tablespoons ground flaxseed mixed with 6 tablespoons water, let sit for 5 minutes). For the glaze, use a vegan butter alternative and plant-based milk. The texture will be a bit denser, but the flavor is still spot-on.
Spice It Up – If you like a stronger spice profile, add ¼ teaspoon of cardamom or allspice to the dry ingredients. Cardamom pairs beautifully with pumpkin and chocolate.
Add Nuts – Fold in ½ cup of toasted pecans or walnuts along with the chocolate chips. Toast them first in a dry skillet over medium heat for 3 to 4 minutes until fragrant. This adds a lovely crunch and nutty flavor.
Mini Muffins – Use a mini muffin tin and bake for 10 to 12 minutes instead of 18 to 22. You’ll get about 36 mini muffins. Perfect for parties or lunchboxes.
Serving & Storage Suggestions
These muffins are best served at room temperature or slightly warm. If you want to reheat one, pop it in the microwave for 10 to 15 seconds—it’ll taste like it just came out of the oven. The brown butter glaze softens slightly when warmed, which is honestly perfect.
For serving, arrange the muffins on a wooden board or a simple platter. They’re lovely on their own, but they also pair beautifully with a hot cup of coffee, chai tea, or a glass of cold milk. If you’re serving them for brunch, add a side of fresh fruit or a creamy strawberry cheesecake stuffed french toast for a truly indulgent spread.
Storage: Store the muffins in an airtight container at room temperature for up to 4 days. Place a paper towel at the bottom of the container to absorb excess moisture, and another paper towel on top. Change the paper towels if they become damp. This keeps the muffins from getting soggy.
Freezing: These muffins freeze beautifully. Freeze them without the glaze for best results. Wrap each muffin individually in plastic wrap, then place them in a freezer-safe bag. They’ll keep for up to 3 months. When you’re ready to eat them, thaw at room temperature for about an hour, then add the fresh glaze. Or simply reheat a frozen muffin in the microwave for 20 to 30 seconds.
Make Ahead: You can prepare the dry ingredients and the brown butter glaze a day ahead. Store the dry mix in a sealed bag, and keep the brown butter in the fridge. When you’re ready to bake, bring the brown butter to room temperature and proceed with the recipe. This makes weekday baking much more manageable.
Nutritional Information & Benefits
Here’s the approximate nutritional breakdown for one muffin with glaze (based on 12 servings):
| Nutrient | Amount per Muffin |
|---|---|
| Calories | 320 |
| Total Fat | 16g |
| Saturated Fat | 6g |
| Cholesterol | 40mg |
| Sodium | 220mg |
| Total Carbohydrates | 43g |
| Dietary Fiber | 2g |
| Sugars | 27g |
| Protein | 4g |
These numbers are estimates and can vary based on ingredient brands and substitutions.
On the health front, pumpkin puree is a nutritional powerhouse. It’s packed with vitamin A (great for eye health), fiber (good for digestion), and antioxidants. The chocolate chips add a touch of magnesium and iron, while the brown butter glaze is, well, a treat. But that’s okay—balance is what matters. These muffins aren’t health food, but they’re made with real ingredients that nourish you in their own way.
If you’re watching your sugar intake, you can reduce the sugar in the muffins to ⅓ cup each of granulated and brown sugar. The glaze will still add sweetness, so you won’t miss it as much as you’d think.
Conclusion
These chocolate chip pumpkin muffins with brown butter glaze have become my most-requested fall recipe, and I think they’ll become yours too. They’re simple enough for a weekday morning but special enough for a holiday brunch. The pumpkin keeps them moist, the chocolate chips add little pockets of sweetness, and that brown butter glaze ties everything together in the most delicious way.
I love that this recipe is forgiving. You can tweak the spices, swap the chocolate chips for nuts, or skip the glaze entirely—and they’ll still be wonderful. But if you make them exactly as written, with that nutty brown butter glaze drizzled on top, you’ll understand why my husband kept reaching for them day after day.
I’d love to hear how these turn out for you. Did you add any twists? Did the glaze set properly? Drop a comment below and let me know. And if you’re looking for another cozy fall bake, try my cozy Guinness beef stew with rustic soda bread for a savory counterpart. Happy baking, friends!
Frequently Asked Questions
Can I use fresh pumpkin instead of canned?
Yes, you can. Roast a small sugar pumpkin until tender, then puree it in a food processor. Just make sure to drain any excess liquid—fresh pumpkin can be more watery than canned. You want a thick puree, not a runny one.
Why did my muffins turn out dense?
This usually happens from overmixing the batter. Mix just until the flour disappears. Overmixing develops gluten, which makes muffins tough. Also, check your baking soda and baking powder—if they’re expired, they won’t provide enough lift.
Can I use white whole wheat flour instead of all-purpose?
You can substitute up to half the all-purpose flour with white whole wheat flour without changing the texture too much. Using all white whole wheat will make the muffins denser and slightly nuttier in flavor. Add an extra tablespoon of milk to compensate for the extra absorbency.
How do I keep the glaze from becoming too runny?
If your glaze is too thin, add more powdered sugar, one tablespoon at a time, until it reaches the right consistency. If it’s too thick, add milk a teaspoon at a time. The ideal glaze should flow slowly off a spoon but still hold its shape when drizzled.
Can I make these muffins without the brown butter glaze?
Absolutely. The muffins are delicious on their own. You can also sprinkle the tops with coarse sugar before baking for a crunchy topping, or dust them with powdered sugar after cooling. But honestly, the brown butter glaze is what makes them special—I’d encourage you to try it at least once.
Pin This Recipe!
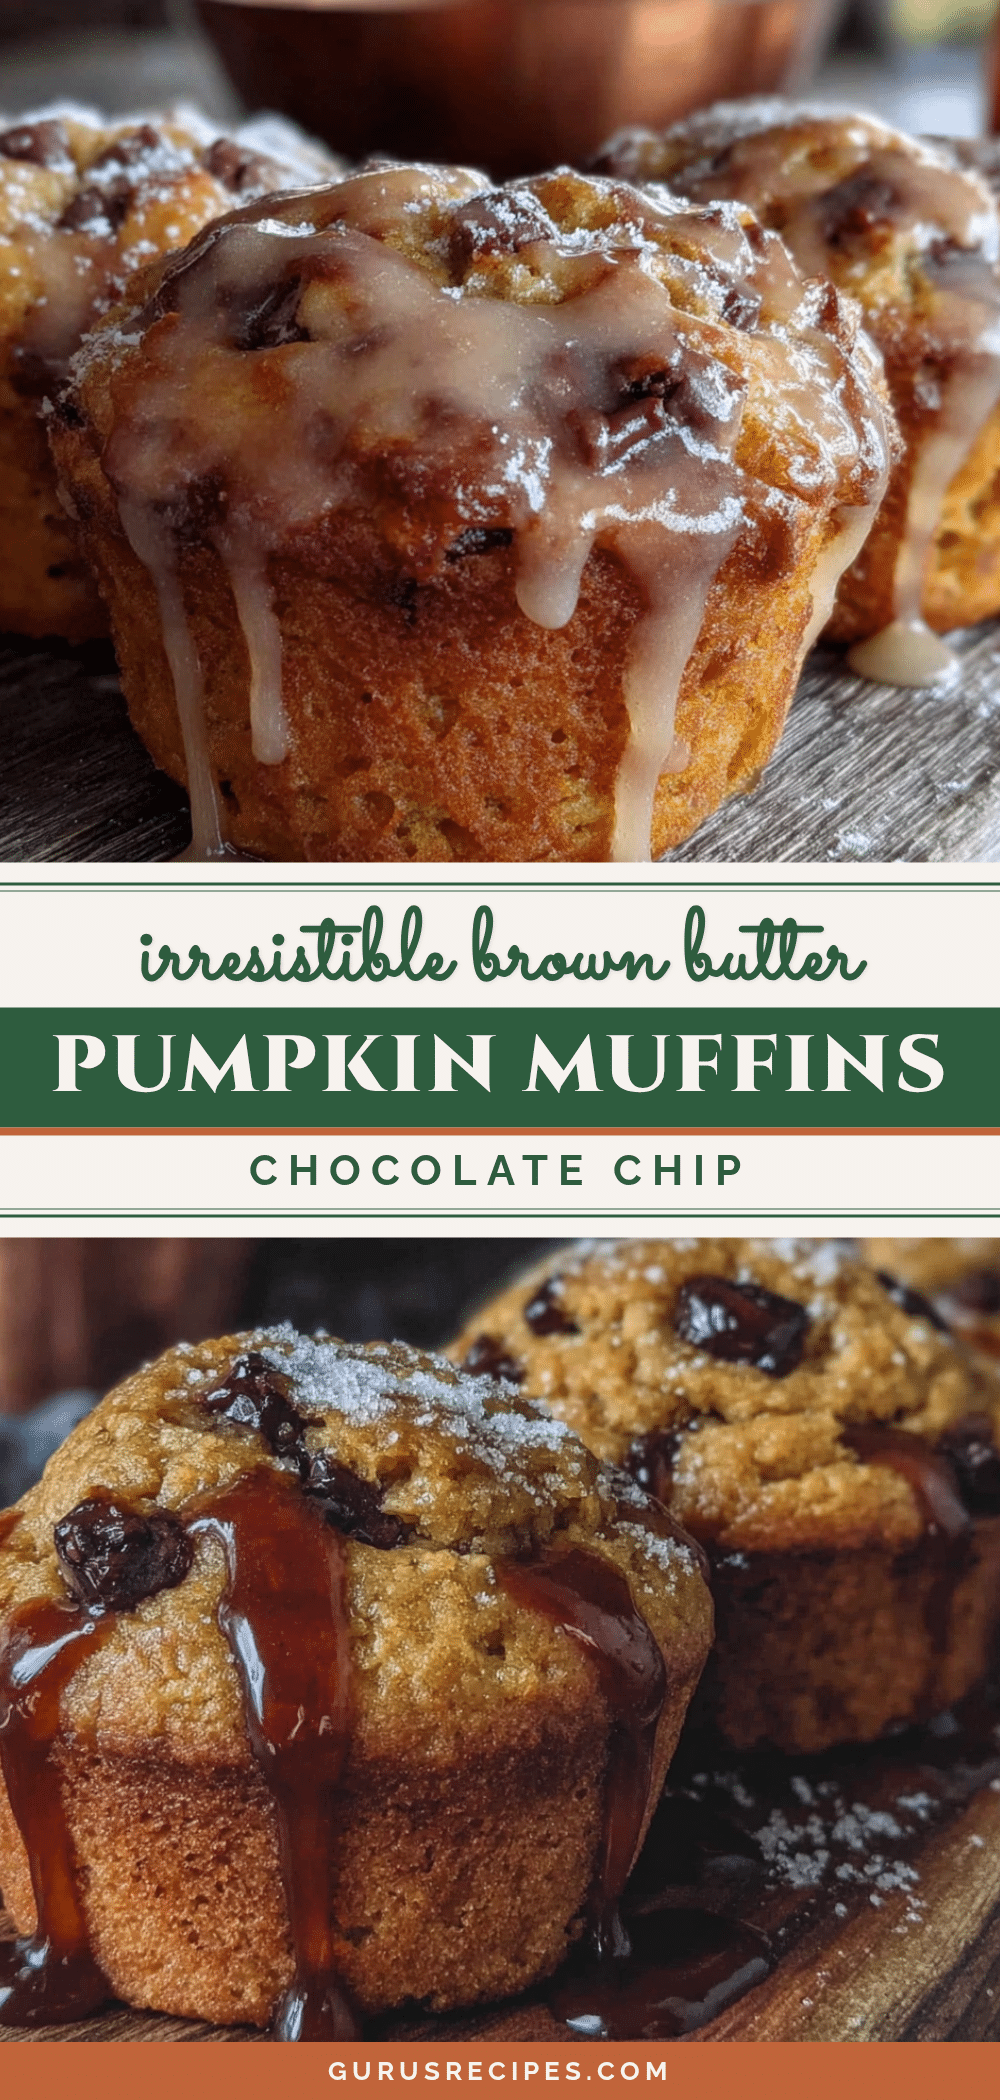

Perfect Chocolate Chip Pumpkin Muffins with Brown Butter Glaze
These chocolate chip pumpkin muffins are incredibly moist, tender, and studded with melted chocolate, topped with a nutty brown butter glaze. They’re the perfect fall treat that stays fresh for days and is sure to become a seasonal favorite.
- Total Time: 45 minutes
- Yield: 12 muffins 1x
Ingredients
- 2 cups (250g) all-purpose flour
- ½ cup (100g) granulated sugar
- ½ cup (100g) packed light brown sugar
- 1 cup (240g) pumpkin puree (not pumpkin pie filling)
- ½ cup (120ml) vegetable oil (or melted coconut oil)
- 2 large eggs, room temperature
- 1 teaspoon vanilla extract
- 1 teaspoon baking soda
- ½ teaspoon baking powder
- ½ teaspoon salt
- 2 teaspoons pumpkin pie spice
- 1 teaspoon cinnamon
- 1 cup (175g) semi-sweet chocolate chips
- 1 tablespoon all-purpose flour (for coating chocolate chips)
- ¼ cup (57g) unsalted butter (for glaze)
- 1 cup (120g) powdered sugar, sifted (for glaze)
- ½ teaspoon vanilla extract (for glaze)
- 2–3 tablespoons milk (for glaze)
- Pinch of salt (for glaze)
Instructions
- Preheat oven to 350°F (175°C). Line a 12-cup muffin tin with paper liners.
- In a medium bowl, whisk together 2 cups flour, baking soda, baking powder, salt, pumpkin pie spice, and cinnamon.
- In a large bowl, whisk together granulated sugar and brown sugar until no lumps remain. Add pumpkin puree, vegetable oil, eggs, and vanilla extract; whisk until smooth.
- Pour dry ingredients into wet ingredients and fold gently with a rubber spatula until just combined (about 10-12 folds). Do not overmix.
- In a small bowl, toss chocolate chips with 1 tablespoon flour. Fold into batter gently.
- Divide batter evenly among muffin cups, filling each about ¾ full.
- Bake for 18-22 minutes, or until a toothpick inserted in the center comes out clean or with a few moist crumbs. Rotate pan halfway through.
- Let muffins cool in pan for 5 minutes, then transfer to a wire rack to cool completely.
- For the glaze: In a small saucepan over medium heat, melt butter. Swirl occasionally until it turns amber and smells nutty (about 5-7 minutes). Remove from heat immediately and pour into a heatproof bowl.
- Let brown butter cool for 5 minutes. Whisk in powdered sugar, vanilla extract, and a pinch of salt. Add milk 1 tablespoon at a time until smooth and pourable.
- Drizzle glaze over completely cooled muffins. Let set for 15-20 minutes before serving.
Notes
For best results, use room temperature eggs and do not overmix the batter. Tossing chocolate chips in flour prevents them from sinking. Watch the brown butter carefully to avoid burning. Muffins can be stored in an airtight container at room temperature for up to 4 days, or frozen (without glaze) for up to 3 months.
- Prep Time: 15 minutes
- Cook Time: 20 minutes
- Category: Dessert
- Cuisine: American
Nutrition
- Serving Size: 1 muffin
- Calories: 320
- Sugar: 27
- Sodium: 220
- Fat: 16
- Saturated Fat: 6
- Carbohydrates: 43
- Fiber: 2
- Protein: 4
Keywords: pumpkin muffins, chocolate chip muffins, brown butter glaze, fall baking, pumpkin recipes, easy muffins


