
I was standing in the grocery store parking lot last Tuesday, juggling my keys and a bag of clementines, when the cold air hit me and suddenly I was nine years old in my Aunt Carol’s tiny kitchen. She had the radio on low, flour dusted across the counter, and she was pulling a sheet pan out of the oven that smelled like nothing I had ever smelled before. It was warm and sweet and savory all at once, and I remember standing there on my tiptoes, trying to see what she had made. She turned around, saw me peeking, and just laughed. “You’ll find out soon enough, kiddo.”
I never did find out what that particular dish was. Aunt Carol moved across the country a few years later, and those kitchen moments became something I stored away like a Polaroid in a shoebox. But that feeling—the warmth, the curiosity, the way food could make a Tuesday afternoon feel like a holiday—that stuck with me. It’s the same feeling I was chasing last week when I decided to make these Kid-Approved Mini Turkey and Cranberry Sliders for my own crew. I wanted that moment of pure, uncomplicated joy. And honestly? I think I got pretty close.
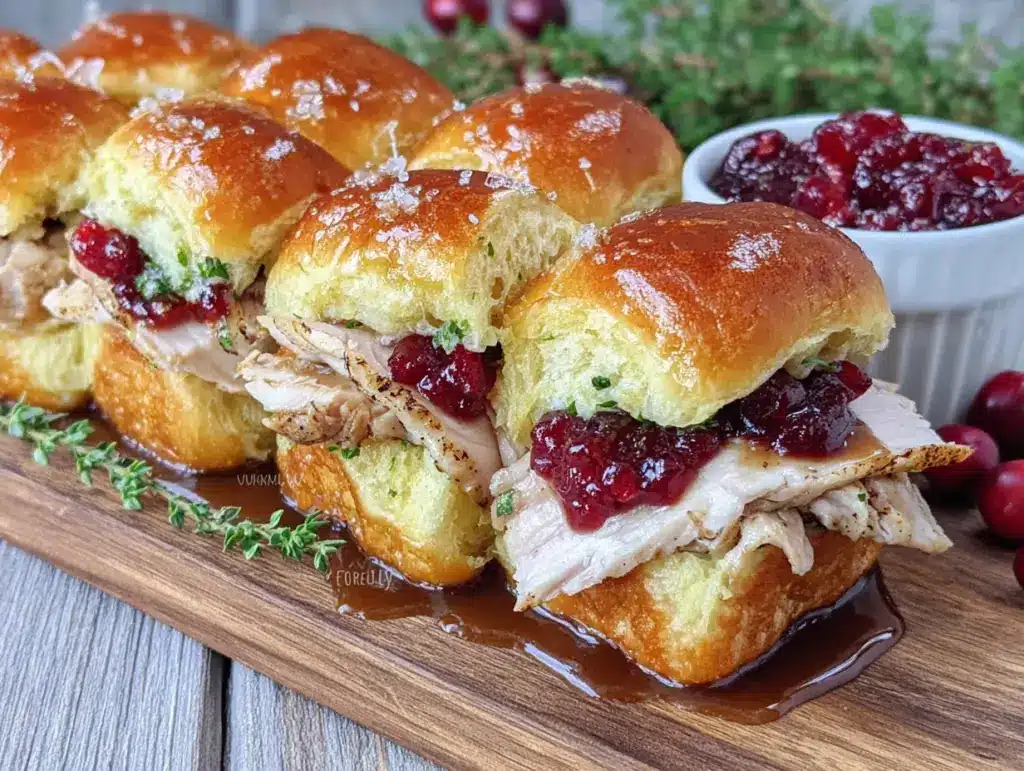
These sliders aren’t fancy. They’re the kind of thing you throw together on a night when you’re tired and the kids are hangry and you need a win. But there’s something about the way the turkey gets all golden on the edges, and the cranberry sauce seeps into the soft little buns, and the cheese gets all melty and stretchy—it just works. Maybe you’ve been there, standing in your kitchen, wondering if dinner is going to be a disaster or a triumph. These sliders lean toward triumph, I promise. And the best part? My kids actually asked for seconds. That never happens.
Why You’ll Love This Recipe
Let me tell you, I have tested a lot of slider recipes in my time. Some were dry, some were soggy, some just felt like a lot of work for not a lot of payoff. But these Kid-Approved Mini Turkey and Cranberry Sliders are different. They are the kind of recipe that makes you look like a hero without actually doing much, and honestly, isn’t that the dream?
- Quick & Easy: From start to finish, these sliders come together in about 25 minutes. That’s less time than it takes to argue with a picky eater about what’s for dinner.
- Simple Ingredients: You probably already have most of these things in your fridge and pantry. No weird specialty items, no trips to three different stores.
- Perfect for Family Dinners: These sliders are made for the weeknight scramble. They’re also great for game days, birthday parties, or any time you need to feed a crowd without breaking a sweat.
- Crowd-Pleaser: My kids devoured these. My husband had three. Even my neighbor’s kid, who usually only eats plain pasta, asked for a second one. That is a win in my book.
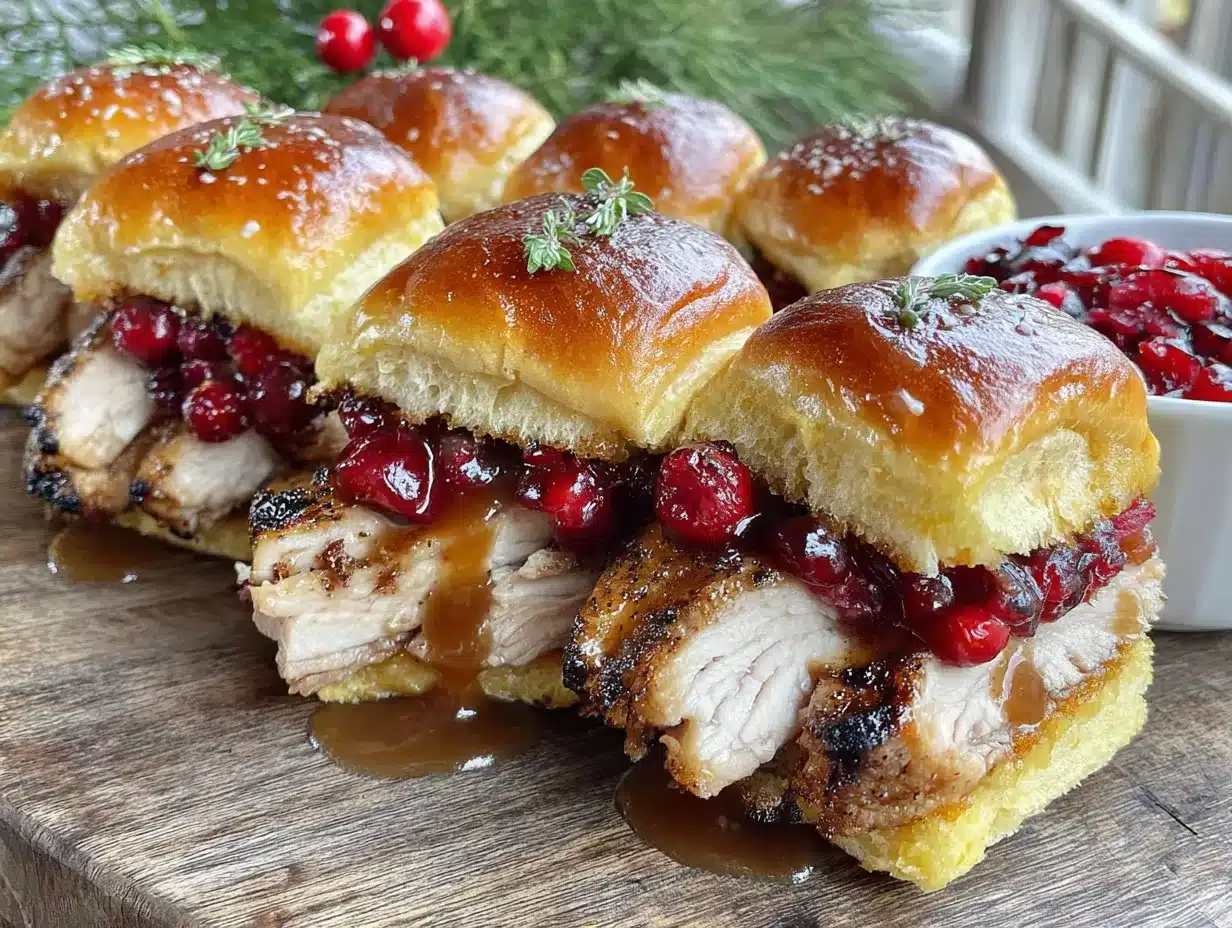
- Unbelievably Delicious: The combination of savory turkey, sweet-tart cranberry sauce, and melty cheese on a soft, buttery bun is just next-level comfort food. It’s the kind of sandwich that makes you close your eyes after the first bite.
What makes these sliders different from every other recipe out there? It’s the little things. I brush the tops of the buns with a garlic butter mixture before baking, which gives them this incredible golden, slightly crispy edge. And I use a trick of layering the cheese both on the bottom and the top so every bite gets that gooey factor. It’s not rocket science, but it makes a world of difference. This is comfort food reimagined—faster, easier, but with the same soul-soothing satisfaction. Perfect for impressing your family without any stress.
What Ingredients You Will Need
This recipe uses simple, wholesome ingredients to deliver bold flavor and satisfying texture without the fuss. Most of these are pantry staples or easy to find at any grocery store, which is exactly what you want on a busy weeknight.
For the Sliders
- 1 package (12-count) Hawaiian sweet rolls or slider buns (I recommend King’s Hawaiian for that soft, slightly sweet texture)
- 1 pound ground turkey (I prefer 93% lean for the best balance of flavor and moisture)
- 1 teaspoon garlic powder
- 1 teaspoon onion powder
- ½ teaspoon salt
- ¼ teaspoon black pepper
- 1 tablespoon olive oil (for cooking the turkey)
- 6 slices provolone or Swiss cheese, cut in half (provolone melts beautifully, but Swiss adds a nice nutty note)
- ½ cup whole berry cranberry sauce (canned is totally fine, or use homemade if you have it)
For the Garlic Butter Topping
- 3 tablespoons unsalted butter, melted
- ½ teaspoon garlic powder
- ½ teaspoon dried parsley (optional, but it looks pretty)
- 1 tablespoon sesame seeds or everything bagel seasoning (optional, for crunch)
A few ingredient notes from my own kitchen: I like to use ground turkey that isn’t too lean—93% is the sweet spot. If you go with 99% lean, the sliders can turn out a bit dry, and nobody wants that. For the cranberry sauce, I actually prefer the canned whole berry kind. It has those little chunks of berry that burst when you bite into them, and it’s perfectly sweet without being cloying. If you want to use homemade, go for it, just make sure it’s not too runny or it will make the buns soggy.
For the cheese, provolone is my go-to because it melts like a dream and has a mild flavor that kids love. But I have also used sharp cheddar when I wanted a bolder taste, and it was fantastic. If you need a dairy-free option, there are some great plant-based cheese slices that melt well—just look for one that specifically says “melts” on the package.
Equipment Needed
You don’t need a lot of fancy equipment to make these Kid-Approved Mini Turkey and Cranberry Sliders. That’s part of the beauty of this recipe. Here’s what you’ll need:
- A large skillet or frying pan (for cooking the turkey)
- A 9×13-inch baking dish or a rimmed baking sheet (I use a baking dish because the sides keep everything snug)
- A spatula or wooden spoon (for breaking up the turkey as it cooks)
- A small bowl (for mixing the garlic butter)
- A pastry brush or a spoon (for brushing the butter on the buns)
- A sharp knife (for slicing the rolls in half)
- Aluminum foil (for covering the sliders while they bake)
If you don’t have a 9×13-inch baking dish, you can use a large cast iron skillet or even a sheet pan with raised edges. Just make sure the sliders fit snugly so they hold their shape. I once used a too-big pan and the buns spread out and got all wonky—still delicious, but not as pretty. Learn from my mistake!
Also, a good nonstick skillet makes cooking the turkey so much easier. If you don’t have one, just make sure to use enough oil so the turkey doesn’t stick. Budget-friendly tip: you can find decent nonstick skillets at most discount stores for under $15, and they’re worth every penny.
Preparation Method
Alright, let’s get cooking. This is the fun part. Follow these steps and you’ll have a pan of golden, melty sliders in no time.
- Preheat your oven to 350°F (175°C). This gives it time to come to temperature while you prep everything else. I always forget to do this first and then I’m standing there with a hot skillet and a cold oven. Don’t be like me.
- Cook the ground turkey. Heat 1 tablespoon of olive oil in a large skillet over medium-high heat. Add the ground turkey, breaking it up with your spatula as it cooks. Season with 1 teaspoon garlic powder, 1 teaspoon onion powder, ½ teaspoon salt, and ¼ teaspoon black pepper. Cook for about 6-8 minutes, until the turkey is browned and cooked through. There should be no pink left. Drain any excess fat if necessary (I usually don’t need to with 93% lean, but it depends on your brand). Set the cooked turkey aside to cool slightly.
- Prepare the rolls. Without separating the individual rolls, carefully slice the entire slab of Hawaiian sweet rolls in half horizontally. You want one big top half and one big bottom half. Place the bottom half in your 9×13-inch baking dish. If the rolls are stuck together, just use a serrated knife and saw gently—they’ll come apart.
- Layer the cheese. Place half of the cheese slices (about 3 slices, cut in half to fit) evenly over the bottom layer of rolls. This creates a cheesy base that helps hold everything together.
- Add the turkey. Spread the cooked ground turkey evenly over the cheese layer. Use your spatula to make sure it’s distributed nicely—you want a little bit of turkey in every bite.
- Add the cranberry sauce. Dollop the ½ cup of cranberry sauce over the turkey. Don’t worry about spreading it perfectly; it will melt and spread as it bakes. I like to leave a few small clumps of cranberries for little bursts of sweetness.
- Top with the remaining cheese. Place the rest of the cheese slices over the turkey and cranberry layer. This top layer of cheese will get all melty and hold the top bun in place.
- Place the top half of the rolls on. Gently press the top half of the rolls over the filling. It should fit snugly.
- Make the garlic butter topping. In a small bowl, mix together 3 tablespoons melted unsalted butter, ½ teaspoon garlic powder, and ½ teaspoon dried parsley (if using). Brush this mixture generously over the tops of the rolls. Sprinkle with sesame seeds or everything bagel seasoning if you want a little extra crunch.
- Bake. Cover the baking dish loosely with aluminum foil and bake for 10 minutes. Then remove the foil and bake for another 5-7 minutes, until the tops are golden brown and the cheese is bubbly. The smell at this point is absolutely intoxicating.
- Let them rest. Remove from the oven and let the sliders sit for about 5 minutes before slicing. This is important—it lets the cheese set slightly so the sliders hold their shape when you cut them. If you cut them too soon, everything slides apart. Trust me, I learned that the hard way.
- Slice and serve. Use a sharp knife to cut the slab of sliders into individual portions along the seams of the rolls. Serve warm and watch them disappear.
Cooking Tips & Techniques
Over the years, I have made these sliders more times than I can count, and I have picked up a few tricks along the way. Here are the things I wish someone had told me the first time:
Don’t overcook the turkey. Ground turkey can go from perfectly moist to dry and crumbly in about 30 seconds. Cook it just until it’s no longer pink, and no longer. If you see the juices running clear, it’s done. Take it off the heat immediately.
Let the cranberry sauce be a little chunky. I know it’s tempting to smooth it out, but leaving some whole berries in there makes each bite more interesting. Plus, kids love finding those little bursts of sweet-tart flavor.
Covering with foil is not optional. The first time I made these, I skipped the foil step because I was in a hurry. The tops got too dark before the cheese was fully melted. The foil traps steam and helps everything cook evenly. It’s worth the extra step.
Use a serrated knife to slice the rolls. A regular knife will squish those soft, fluffy rolls. A serrated bread knife cuts through cleanly without crushing them. This is one of those little things that makes a big difference in how the final dish looks.
If you’re making these ahead, underbake them slightly. I sometimes assemble the sliders in the morning, cover them, and pop them in the fridge. Then I bake them for a few extra minutes before serving. If you do this, add 5 minutes to the covered baking time to account for the cold start.
One mistake I made early on was using too much cranberry sauce. I thought, “More is better!” But it made the buns soggy and the sliders fell apart. Stick to about ½ cup—it’s the perfect amount to add flavor without turning everything into a mess.
Variations & Adaptations
This recipe is incredibly flexible. Here are a few ways I have adapted it depending on what I have in the fridge or who I’m feeding:
- Make it gluten-free: Use gluten-free slider buns or even gluten-free Hawaiian rolls if you can find them. The rest of the ingredients are naturally gluten-free, so it’s an easy swap.
- Switch up the protein: Ground chicken works beautifully here, and so does finely chopped leftover turkey from Thanksgiving. You can even use shredded rotisserie chicken in a pinch—just skip the cooking step and mix the seasonings in with the chicken.
- Add some veggies: I have sneaked finely chopped spinach or shredded zucchini into the turkey while it cooks. The kids didn’t even notice. You can also add a thin layer of caramelized onions or roasted red peppers for extra flavor.
- Try different cheeses: Provolone is my go-to, but mozzarella, gouda, or even pepper jack for a little kick are all fantastic. I once used brie and it was ridiculously good, though a bit messy.
- Make it dairy-free: Use a dairy-free butter alternative and plant-based cheese slices. Just make sure the cheese is labeled as melting cheese, or it won’t get that gooey texture.
- Change the flavor profile: Swap the garlic butter for a honey butter glaze and add a pinch of cinnamon to the turkey. It gives the sliders a slightly sweeter, almost holiday-inspired vibe that is amazing in the fall.
My personal favorite variation? I add a thin layer of leftover stuffing from Thanksgiving under the turkey. It turns these sliders into a full-on Thanksgiving leftover sandwich, and it is absolutely incredible. My family now requests it year-round, not just after the holidays.
Serving & Storage Suggestions
These Kid-Approved Mini Turkey and Cranberry Sliders are best served warm, right out of the oven, when the cheese is still stretchy and the tops are perfectly golden. I like to arrange them on a big platter with a pile of napkins nearby because, let’s be honest, they’re a little messy in the best way.
For sides, you can’t go wrong with a simple green salad, some sweet potato fries, or a bowl of tomato soup for dipping. My kids love them with a side of apple slices and a dollop of extra cranberry sauce for dipping. It’s a fun, interactive way to eat dinner.
If you have leftovers (which is rare in my house, but it happens), here’s how to store them:
- Refrigerator: Place the sliders in an airtight container and refrigerate for up to 3 days. The flavors actually meld together even more overnight, so they’re still delicious the next day.
- Freezer: You can freeze the assembled, unbaked sliders for up to 2 months. Wrap the baking dish tightly in plastic wrap and then aluminum foil. When you’re ready to bake, thaw in the refrigerator overnight and bake as directed, adding a few extra minutes to the covered baking time.
- Reheating: The best way to reheat these is in the oven at 350°F for about 10 minutes, covered with foil to prevent the tops from burning. You can also microwave them for about 30 seconds per slider, but the buns will be a bit softer. For a quick lunch, I sometimes pop them in the air fryer at 350°F for 3-4 minutes, and they come out almost as good as fresh.
A note on how flavors develop: These sliders are actually even better the next day. The cranberry sauce soaks into the buns just a little, and all the flavors meld together. If you’re meal prepping, I recommend assembling them the night before and baking them fresh the next day. It’s a game-changer for busy weeknights.
Nutritional Information & Benefits
I am not a nutritionist, but I do pay attention to what goes into my family’s food. Here’s a rough estimate of the nutritional information per slider (based on 12 sliders):
| Nutrient | Amount per Slider |
|---|---|
| Calories | 220 |
| Protein | 16g |
| Carbohydrates | 22g |
| Fat | 9g |
| Saturated Fat | 4g |
| Fiber | 1g |
| Sugar | 8g |
| Sodium | 380mg |
These sliders offer a good balance of protein from the turkey and cheese, and carbohydrates from the rolls for energy. Ground turkey is a lean source of protein that is lower in saturated fat than beef, making it a heart-healthier choice. Cranberries are packed with antioxidants and vitamin C, which is a nice bonus. If you’re watching your sodium, you can use low-sodium cheese and reduce the added salt in the turkey seasoning.
For dietary considerations, this recipe can be made gluten-free and dairy-free with simple substitutions, as mentioned in the variations section. It is naturally nut-free and egg-free, which makes it a great option for school lunches or parties with allergy concerns.
From my perspective, I love that these sliders let me feel good about what I’m feeding my kids without having to fight them to eat it. It’s a win-win in my book.
Conclusion
These Kid-Approved Mini Turkey and Cranberry Sliders have become a staple in my kitchen for a reason. They are quick, easy, and made with ingredients that won’t break the bank. But more than that, they bring a little bit of that warmth I remember from Aunt Carol’s kitchen—that feeling of a meal made with care, even on a chaotic Tuesday night.
I hope you give these sliders a try and make them your own. Maybe you’ll add a little extra cheese, or swap in your favorite jam for the cranberry sauce, or sneak in some spinach for the kids. That’s the beauty of a recipe like this—it’s a starting point, not a rulebook. I would love to hear how they turn out for you. What did your family think? Did you try any fun variations? Drop a comment below and let me know. Your feedback helps me and other readers discover new ways to make this dish even better.
Thank you for stopping by my little corner of the internet. Now go make some sliders and enjoy that first warm, melty bite. You deserve it.
Frequently Asked Questions
Can I use a different type of meat?
Absolutely. Ground chicken, ground pork, or even finely chopped leftover turkey work great. If you want a vegetarian version, try using cooked lentils or a plant-based ground meat substitute. Just season it the same way.
Can I make these sliders ahead of time?
Yes! You can assemble the sliders completely (without baking) and store them covered in the refrigerator for up to 24 hours. When you’re ready to bake, add about 5 minutes to the covered baking time to account for the cold start.
My buns got soggy. What went wrong?
This usually happens if the cranberry sauce is too runny or if you used too much. Make sure to drain any excess liquid from the cooked turkey as well. Also, letting the sliders rest for 5 minutes after baking helps the buns absorb the moisture without getting soggy.
Can I freeze these sliders?
Yes, you can freeze them either baked or unbaked. For unbaked, assemble them in the baking dish, wrap tightly in plastic wrap and foil, and freeze for up to 2 months. Thaw overnight in the fridge before baking. For baked sliders, let them cool completely, wrap individually in plastic wrap, and freeze. Reheat in the oven or air fryer.
What can I use instead of Hawaiian rolls?
If you can’t find Hawaiian rolls, any soft slider bun or even dinner rolls will work. You can also use small brioche buns for a similar sweet, buttery flavor. Just make sure they are soft and slightly sweet to complement the savory turkey and tart cranberry.
Pin This Recipe!

Easy Mini Turkey & Cranberry Sliders
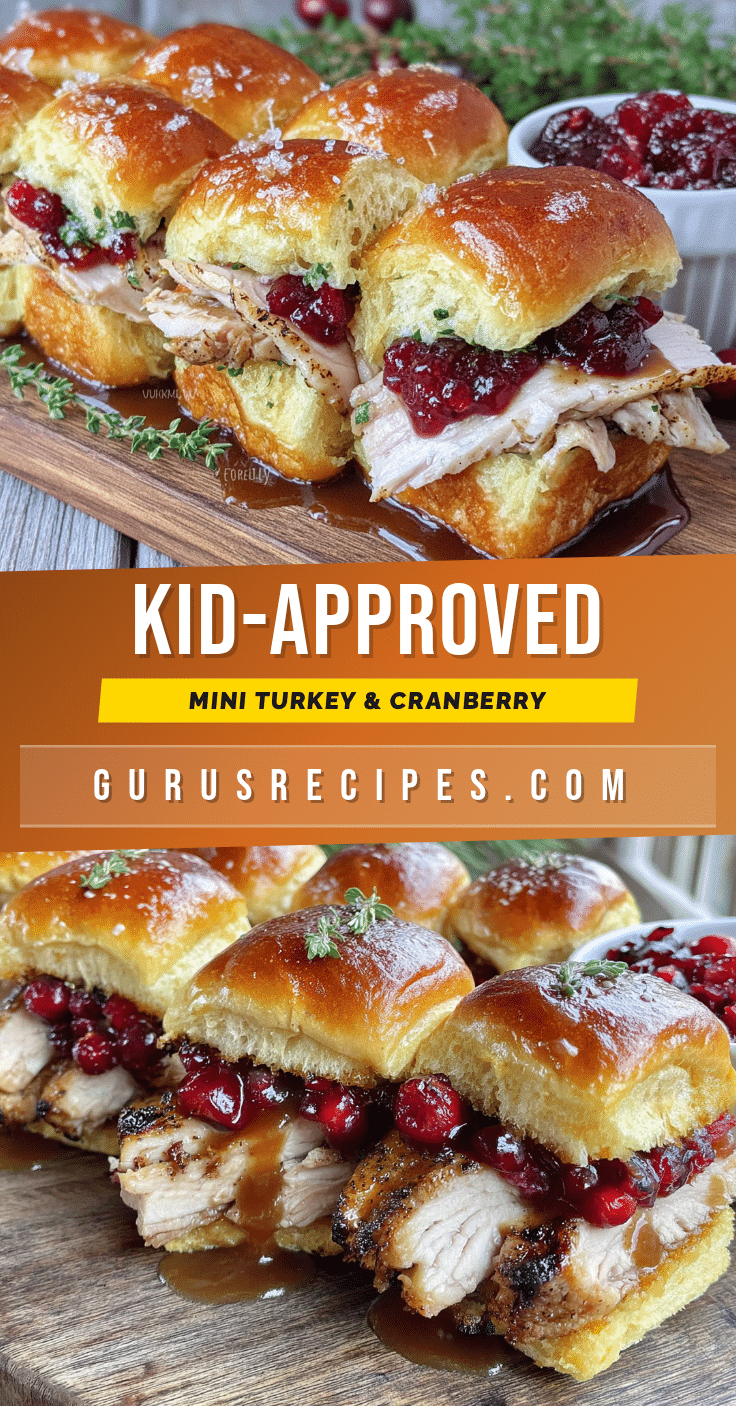
These Kid-Approved Mini Turkey and Cranberry Sliders are quick, easy, and made with simple ingredients. They feature savory ground turkey, sweet-tart cranberry sauce, and melty cheese on soft, buttery buns, all brushed with a garlic butter topping for a golden, crispy finish.
- Total Time: 25 minutes
- Yield: 12 sliders 1x
Ingredients
- 1 package (12-count) Hawaiian sweet rolls or slider buns
- 1 pound ground turkey (93% lean recommended)
- 1 teaspoon garlic powder
- 1 teaspoon onion powder
- ½ teaspoon salt
- ¼ teaspoon black pepper
- 1 tablespoon olive oil
- 6 slices provolone or Swiss cheese, cut in half
- ½ cup whole berry cranberry sauce
- 3 tablespoons unsalted butter, melted
- ½ teaspoon garlic powder (for topping)
- ½ teaspoon dried parsley (optional)
- 1 tablespoon sesame seeds or everything bagel seasoning (optional)
Instructions
- Preheat your oven to 350°F (175°C).
- Cook the ground turkey: Heat 1 tablespoon olive oil in a large skillet over medium-high heat. Add the ground turkey, breaking it up with a spatula. Season with 1 teaspoon garlic powder, 1 teaspoon onion powder, ½ teaspoon salt, and ¼ teaspoon black pepper. Cook for 6-8 minutes until browned and cooked through. Drain excess fat if needed. Set aside to cool slightly.
- Prepare the rolls: Without separating the individual rolls, carefully slice the entire slab of Hawaiian sweet rolls in half horizontally. Place the bottom half in a 9×13-inch baking dish.
- Layer the cheese: Place half of the cheese slices evenly over the bottom layer of rolls.
- Add the turkey: Spread the cooked ground turkey evenly over the cheese layer.
- Add the cranberry sauce: Dollop the ½ cup of cranberry sauce over the turkey.
- Top with the remaining cheese: Place the rest of the cheese slices over the turkey and cranberry layer.
- Place the top half of the rolls on: Gently press the top half of the rolls over the filling.
- Make the garlic butter topping: In a small bowl, mix together 3 tablespoons melted unsalted butter, ½ teaspoon garlic powder, and ½ teaspoon dried parsley (if using). Brush this mixture generously over the tops of the rolls. Sprinkle with sesame seeds or everything bagel seasoning if desired.
- Bake: Cover the baking dish loosely with aluminum foil and bake for 10 minutes. Then remove the foil and bake for another 5-7 minutes, until the tops are golden brown and the cheese is bubbly.
- Let them rest: Remove from the oven and let the sliders sit for about 5 minutes before slicing.
- Slice and serve: Use a sharp knife to cut the slab of sliders into individual portions along the seams of the rolls. Serve warm.
Notes
Don’t overcook the turkey; cook just until no longer pink. Let the cranberry sauce be a little chunky for bursts of flavor. Covering with foil is essential to prevent tops from browning too quickly. Use a serrated knife to slice the rolls without squishing them. If making ahead, underbake slightly and add 5 minutes to covered baking time when baking from cold. Stick to about ½ cup cranberry sauce to avoid soggy buns.
- Prep Time: 10 minutes
- Cook Time: 15 minutes
- Category: Main Course
- Cuisine: American
Nutrition
- Serving Size: 1 slider
- Calories: 220
- Sugar: 8
- Sodium: 380
- Fat: 9
- Saturated Fat: 4
- Carbohydrates: 22
- Fiber: 1
- Protein: 16
Keywords: mini turkey sliders, cranberry sliders, kid-friendly sliders, easy slider recipe, weeknight dinner, game day appetizer


