
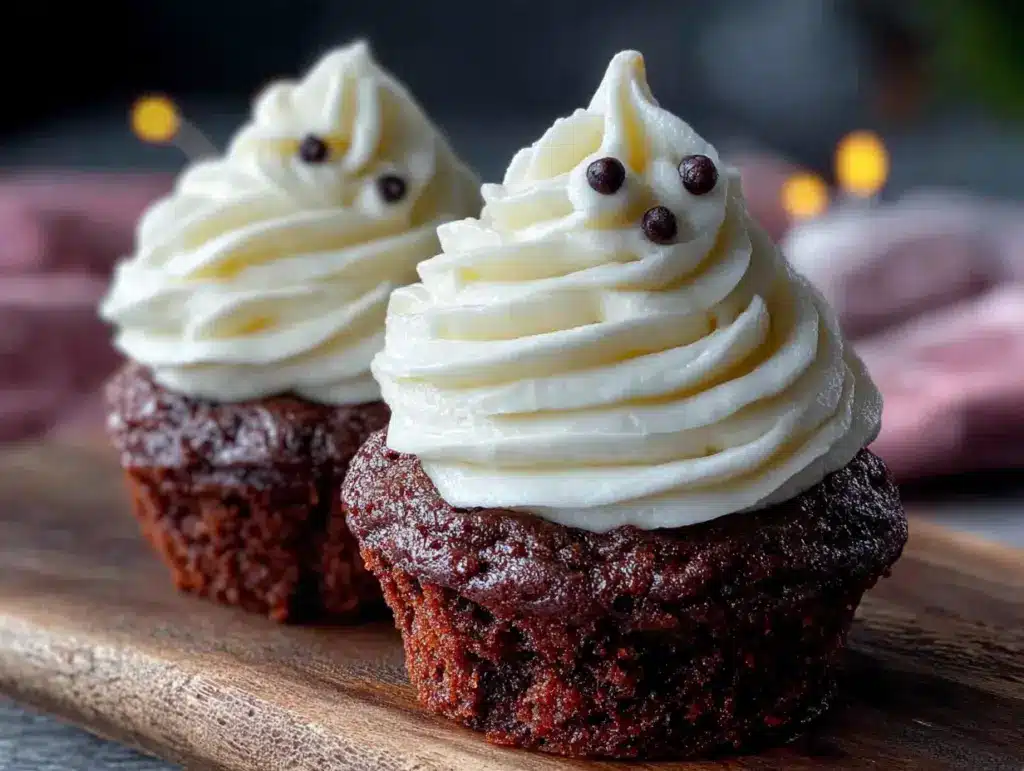
My neighbor, a retired baker named Mrs. Gable, watched me wrestle with a piping bag one October afternoon. I was trying to get the swirl on a pumpkin cupcake just right, and honestly, I was making a mess of things. She didn’t say anything at first, just leaned against the fence. Then she walked over, took the bag from my hands, and showed me a trick with her wrist. She also handed me a napkin with a recipe scribbled on it. It wasn’t for the pumpkin cupcake, though. It was for a ghost cupcake. She said, “These are the ones that win the party.”
That napkin is now stained and crinkled, tucked into my favorite cookbook. The recipe itself is simple, but the way she talked about it? That was the real gift. She told me about making them for her daughter’s Halloween parties, about the way the kids’ faces would light up, and about how the vanilla buttercream swirl was the star. She didn’t treat it like a secret. She treated it like a story she wanted me to tell, too. I’ve made a few changes over the years—a touch more vanilla, a different way to shape the ghost—but the heart of it is still hers.
You know that feeling when you find a recipe that just works? It doesn’t fight you. It comes together without drama, and the result is always a little bit magical. That’s this one. These ghost cupcakes are the perfect thing for a Halloween gathering or a fall party. They look impressive, but they’re secretly so easy to pull off. I mean, let me tell you, I’ve made these for potlucks, for my kid’s school party, and even just for a Tuesday night because we needed a laugh. They never fail to make someone smile. And isn’t that the whole point of baking?
Why You’ll Love This Recipe
I’ve tested this recipe more times than I can count, and each time, I’m reminded why it’s a keeper. It’s not just about the cute factor—though, let’s be honest, the ghost shape is adorable. It’s about the confidence you get from a dessert that delivers every single time. Here’s what makes these ghost cupcakes stand out from the crowd:
- Quick & Easy: From start to finish, you’re looking at about 45 minutes. The batter comes together in one bowl, and the frosting is a simple buttercream that whips up in minutes. Perfect for a busy weeknight when you need a last-minute treat for a school event or a dinner party.
- Simple Ingredients: You probably have most of these in your pantry right now. No weird extracts, no hard-to-find decorations. Just butter, sugar, flour, eggs, and vanilla. The kind of ingredients that feel like a hug.
- Perfect for Halloween or Fall Gatherings: These are the star of any Halloween spread. They’re also great for a harvest party, a Thanksgiving kids’ table, or even a “Boo” themed bridal shower. They fit any spooky or cozy occasion.
- Crowd-Pleaser: I’ve served these to kids who are picky eaters and adults who claim they don’t have a sweet tooth. They disappear. The vanilla buttercream is so light and fluffy, and the cupcake itself is moist without being heavy. It’s a universal win.
- Unbelievably Delicious: The texture is what gets me. The cupcake is tender with a fine crumb, and the frosting is silky and rich. The combination is pure comfort food. It’s the kind of dessert that makes you close your eyes after the first bite—I’ve seen it happen.
What makes this recipe different from the rest? It’s the technique for the ghost shape. Instead of complicated fondant or messy piping, you use a simple dollop of frosting and a gentle swirl to create a ghost that looks like it’s floating. It’s a trick I learned from Mrs. Gable, and it works like a charm. Plus, I’ve perfected the buttercream to be stable enough for piping but still incredibly soft. This isn’t just another Halloween cupcake. It’s your new go-to.
What Ingredients You Will Need
This recipe uses simple, everyday ingredients to create something truly special. The magic is in the technique, not in a long list of hard-to-find items. Here’s what you’ll need to gather:
For the Cupcakes
- 1 ½ cups (190g) all-purpose flour – Spoon and level for the most accurate measure. I prefer Gold Medal for a consistent texture.
- 1 ½ teaspoons baking powder – Make sure it’s fresh for the best rise.
- ½ teaspoon salt – Fine sea salt works best.
- ½ cup (113g) unsalted butter, softened – Let it sit out for about 30 minutes. It should be soft to the touch but not melted.
- 1 cup (200g) granulated sugar – Regular white sugar is perfect.
- 2 large eggs, room temperature – If you’re in a rush, place them in a bowl of warm water for 5 minutes.
- 1 teaspoon vanilla extract – Use pure vanilla extract, not imitation. It makes a real difference.
- ½ cup (120ml) whole milk, room temperature – Whole milk gives the best texture, but 2% works in a pinch.
For the Vanilla Buttercream Swirl
- 1 cup (226g) unsalted butter, softened – This is key for a silky frosting. Don’t microwave it!
- 3-4 cups (360-480g) powdered sugar – Sift it if it’s lumpy. I like to start with 3 cups and add more if needed.
- 2 teaspoons vanilla extract – Again, pure vanilla is your friend here.
- 2-3 tablespoons heavy cream or whole milk – Heavy cream makes it extra luxurious.
- Pinch of salt – To balance the sweetness.
For the Ghost Decoration
- Mini chocolate chips or black decorating gel – For the eyes. I prefer mini chocolate chips because they give a cute, slightly bumpy look.
- Orange or black sprinkles (optional) – For a little extra flair on the base of the cupcake.
Ingredient Tips & Substitutions: For a dairy-free version, you can substitute the butter with a high-quality vegan butter (like Miyoko’s) and use oat milk or almond milk. The texture will be slightly different, but still delicious. If you don’t have heavy cream for the frosting, whole milk is fine—just add it one tablespoon at a time until you reach the right consistency. I’ve also made these with gluten-free 1-to-1 flour blend (like King Arthur’s) and they turned out great. Just don’t overmix the batter.
Equipment Needed
You don’t need a fancy bakery setup for these ghost cupcakes. Here’s what you’ll need to have on hand:
- Standard 12-cup muffin tin – Any non-stick pan will work, but I prefer a light-colored metal pan for even baking.
- Paper cupcake liners – White or black liners look best for the ghost theme. I’ve used orange ones before and they’re also fun.
- Two medium mixing bowls – One for dry ingredients, one for wet.
- Electric hand mixer or stand mixer – A hand mixer is fine for the frosting, but a stand mixer makes it even easier. I’ve used a whisk and a strong arm before, and it works, but it’s a workout.
- Rubber spatula – For scraping the bowl and folding the batter.
- Piping bag with a large round tip (like Ateco 806 or Wilton 1A) – This is what creates the ghost shape. If you don’t have a piping bag, a sturdy zip-top bag with the corner snipped off works in a pinch.
- Cooling rack – Essential for letting the cupcakes cool completely before frosting.
- Small offset spatula – Optional, but helpful for smoothing the frosting if needed.
Budget-Friendly Tip: If you don’t have a piping bag, you can use a zip-top bag. Just fill it with frosting, seal it, and snip off a small corner. It won’t be as precise, but the ghost shape is forgiving. I’ve also used a cookie scoop to dollop the frosting on, and then swirled it with a toothpick. It’s not as clean, but it still looks cute.
Preparation Method
Let’s get baking! These steps are easy to follow, and I’ve added some notes from my own kitchen trials to help you avoid any hiccups.
Step 1: Preheat and Prep
Preheat your oven to 350°F (175°C). Line your muffin tin with 12 paper liners. This is a good time to take your butter and eggs out of the fridge if you haven’t already. Trust me, room temperature ingredients make a huge difference in the texture of the cake.
Step 2: Mix the Dry Ingredients
In a medium bowl, whisk together the flour, baking powder, and salt. This ensures the baking powder is evenly distributed, so your cupcakes rise evenly. Set this aside for a moment.
Step 3: Cream the Butter and Sugar
In a large bowl, beat the softened butter and granulated sugar together with an electric mixer on medium speed until light and fluffy. This takes about 2-3 minutes. You’re looking for a pale, creamy color. Scrape down the sides of the bowl with a spatula once or twice.
Step 4: Add the Eggs and Vanilla
Add the eggs one at a time, beating well after each addition. Then, beat in the vanilla extract. The mixture might look a little curdled at this point—don’t panic. That’s normal. It will come together once you add the flour.
Step 5: Alternate the Dry and Wet Ingredients
With the mixer on low speed, add about one-third of the flour mixture to the butter mixture. Mix until just combined. Then, add half of the milk and mix again. Repeat with another third of the flour, the remaining milk, and finally the last of the flour. Mix until just combined. Do not overmix! Overmixing will make the cupcakes tough. A few streaks of flour are fine; you’ll fold them in with the spatula.
Step 6: Fill the Liners
Divide the batter evenly among the 12 cupcake liners. I like to use a cookie scoop for this—it’s less messy and ensures even sizes. Each liner should be about two-thirds full. Don’t overfill, or they’ll overflow and lose their shape.
Step 7: Bake
Bake for 18-20 minutes, or until a toothpick inserted into the center of a cupcake comes out clean. The tops should be lightly golden. My oven runs a little hot, so I start checking at 16 minutes. Let them cool in the pan for 5 minutes, then transfer them to a wire rack to cool completely. Do not frost warm cupcakes! The frosting will melt and slide right off.
Step 8: Make the Buttercream
While the cupcakes are cooling, make the frosting. In a large bowl, beat the softened butter on medium speed until smooth and creamy. This takes about 2 minutes. Gradually add the powdered sugar, one cup at a time, beating on low speed to start. Then, add the vanilla extract and a pinch of salt. Beat in the heavy cream, one tablespoon at a time, until the frosting is light and fluffy. You want it to be stiff enough to hold its shape but soft enough to pipe. If it’s too stiff, add a little more cream. If it’s too soft, add a little more powdered sugar.
Step 9: Pipe the Ghosts
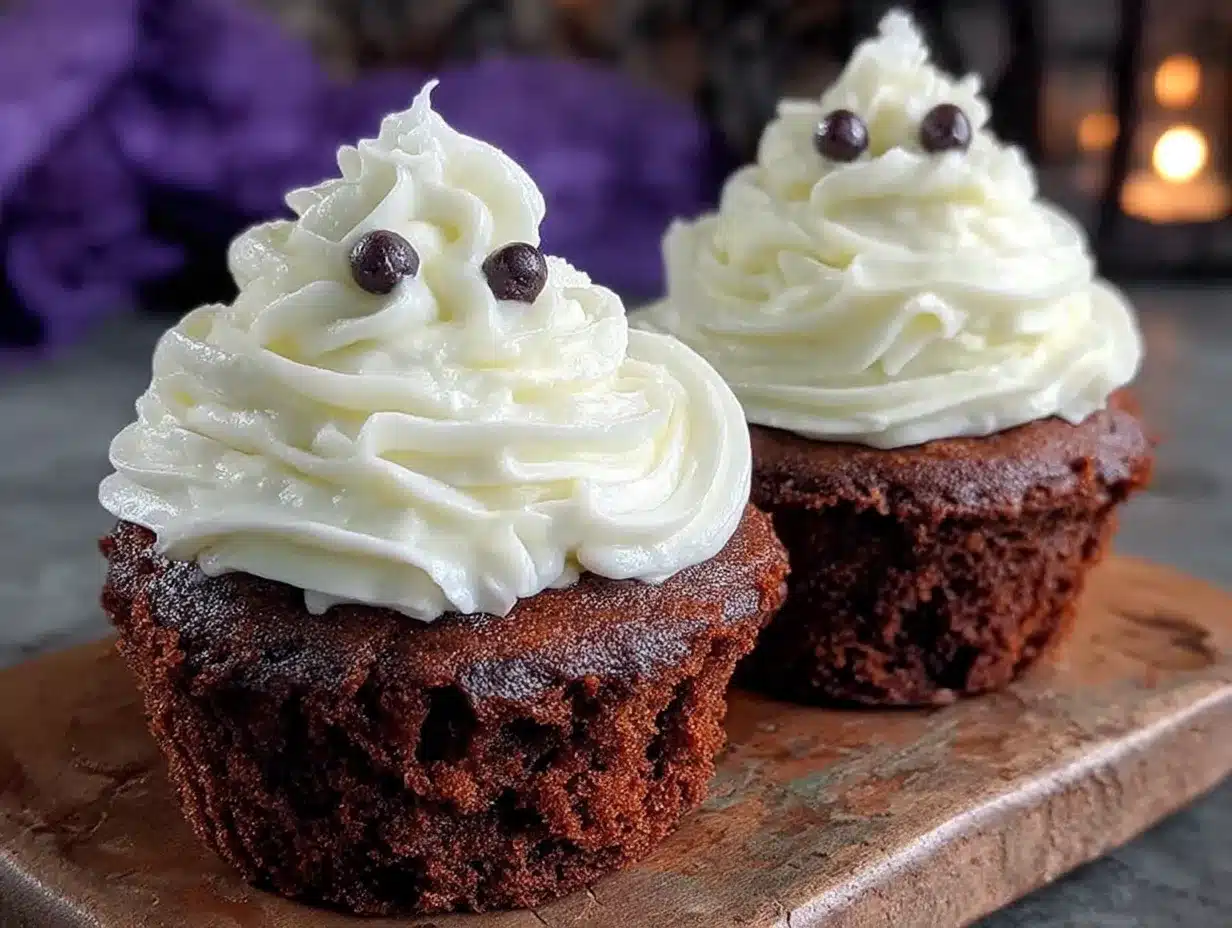
Fit your piping bag with the large round tip. Fill the bag with the buttercream. Hold the bag straight up over a cooled cupcake. Squeeze a generous dollop of frosting in the center, letting it spread out a little. Then, without stopping the squeeze, lift the bag straight up about an inch. As you lift, the frosting will form a little peak. Release the pressure and pull the bag away. That peak is the ghost’s head! Repeat with the remaining cupcakes. If the peak is too tall, you can gently press it down with a clean finger.
Step 10: Add the Eyes
While the frosting is still soft, press two mini chocolate chips into each ghost for eyes. If you’re using black decorating gel, just pipe two little dots. I like to place the eyes a little lower on the ghost to give it a surprised or friendly expression. You can also add a tiny dot of frosting for a mouth, but I think the blank face is cuter.
Pro Tip: If the frosting starts to get too soft from the heat of your hands, pop the piping bag in the fridge for 10 minutes. This is especially helpful on a warm day.
Cooking Tips & Techniques
I’ve made my fair share of mistakes with these cupcakes, and I’ve learned a few things along the way. Here are my top tips for ghost cupcake success:
- Don’t overmix the batter. I know I said it before, but it’s worth repeating. Overmixing develops the gluten in the flour, which leads to dense, tough cupcakes. Mix just until the flour disappears. A few lumps are okay.
- Use room temperature ingredients. Cold butter doesn’t cream well with sugar, and cold milk can make the batter seize. Take everything out of the fridge 30 minutes before you start. I’ve forgotten this step and ended up with lumpy batter. It still baked okay, but the texture wasn’t as light.
- Let the cupcakes cool completely. This is the number one mistake people make with buttercream. If the cupcake is even slightly warm, the frosting will melt and slide off. I once frosted a cupcake that was still a little warm, and it looked like a sad, melted ghost. Not cute.
- Use a large round tip for the ghost shape. A star tip or a small round tip won’t give you the same effect. The large round tip creates that nice, rounded body and a tall peak. If you don’t have one, you can cut the tip off a zip-top bag, but it won’t be as clean.
- Practice the piping motion on a plate first. If you’re nervous about the ghost shape, pipe a few test ghosts onto a plate. You can scrape them back into the bowl and try again. It takes a few tries to get the feel of the squeeze-and-lift motion.
- Work in batches. If you’re making a large batch for a party, don’t try to pipe all the ghosts at once. The frosting can get too soft from the heat of your hands. Pipe a few, add the eyes, then refrigerate the piped cupcakes while you work on the next batch.
Variations & Adaptations
One of the best things about this recipe is how easy it is to change it up. Here are a few variations I’ve tried and loved:
- Chocolate Ghost Cupcakes: Swap ¼ cup of the flour for ¼ cup of unsweetened cocoa powder. The dark chocolate cupcake with the white vanilla ghost is a stunning contrast. I made these for a friend’s Halloween party, and they were the first to disappear.
- Pumpkin Spice Ghost Cupcakes: Add 1 teaspoon of pumpkin pie spice to the dry ingredients. You can also swap the milk for canned pumpkin puree (about ½ cup). The warm spices go beautifully with the vanilla buttercream. This is my go-to for Thanksgiving.
- Gluten-Free Ghost Cupcakes: Use a 1-to-1 gluten-free flour blend. I’ve had great results with King Arthur’s Measure for Measure. Just be careful not to overmix the batter, as gluten-free flours can be more sensitive.
- Vegan Ghost Cupcakes: Use a flax egg (1 tablespoon ground flaxseed mixed with 3 tablespoons water) and substitute the butter with vegan butter. Use oat milk or almond milk in the batter and for the frosting. The texture will be a little denser, but the flavor is still fantastic.
- Fun Flavor Twists: Add a teaspoon of almond extract to the frosting for a subtle nutty flavor. Or, add a few drops of peppermint extract for a festive holiday ghost. I’ve also added a pinch of cinnamon to the frosting, and it was amazing.
Serving & Storage Suggestions
These ghost cupcakes are best served at room temperature. The buttercream is soft and creamy, and the cupcake is tender. If you’ve refrigerated them, let them sit out for about 20 minutes before serving.
For a Halloween Party: Arrange the cupcakes on a platter lined with black or orange tissue paper. You can also add some fake spiderwebs or plastic spiders around the base for a spooky effect. They look amazing next to a bowl of candy corn or pumpkin-shaped cookies.
What to Serve Alongside: These cupcakes are sweet and rich, so they pair well with a cold glass of milk or a hot cup of coffee. For a party, I like to serve them with a platter of fresh fruit to balance the sweetness. A side of apple slices or grapes works perfectly.
Storage: Store the cupcakes in an airtight container at room temperature for up to 2 days. If you need to store them longer, place them in the refrigerator for up to 5 days. Just remember to bring them to room temperature before serving. The frosting can get a little firm in the fridge.
Freezing: You can freeze the unfrosted cupcakes for up to 3 months. Wrap them tightly in plastic wrap and then place them in a freezer bag. When you’re ready to serve, thaw them at room temperature, then make the frosting and pipe the ghosts. I’ve also frozen the frosted cupcakes, but the frosting can get a little grainy. It’s better to freeze them unfrosted.
Nutritional Information & Benefits
These ghost cupcakes are a treat, so they’re not exactly health food. But they are made with real ingredients, which is always a good thing. Here’s a rough estimate per cupcake (based on 12 servings):
- Calories: Approximately 380-420
- Fat: 22g
- Carbohydrates: 48g
- Protein: 3g
- Sugar: 35g
Health Benefits of Key Ingredients: The butter in the frosting provides fat-soluble vitamins like A and D. The eggs in the cupcake are a good source of protein and choline. And, of course, the vanilla extract has a lovely aroma that can help reduce stress and anxiety. So, while these cupcakes are a sweet indulgence, they do have a few redeeming qualities.
Dietary Considerations: This recipe contains dairy, eggs, and gluten. For a dairy-free option, use vegan butter and plant-based milk. For a gluten-free option, use a 1-to-1 gluten-free flour blend. For an egg-free option, use a flax egg. Please note that the nutritional information will change with substitutions.
Conclusion
These best ghost cupcakes with vanilla buttercream swirl are more than just a Halloween dessert. They’re a little piece of joy that you can share with the people you love. Whether you’re making them for a big party or just for a fun afternoon in the kitchen, they never fail to bring a smile. The recipe is simple, the technique is forgiving, and the result is absolutely adorable.
I love this recipe because it reminds me of Mrs. Gable and her kindness. She didn’t just give me a recipe; she gave me a way to connect with others. And that’s what baking is all about, isn’t it? It’s about creating moments of sweetness in a busy world. So, go ahead and make these ghost cupcakes. Make them your own. Add a little extra vanilla, or change the eyes to a funny expression. The best part is that they’re yours.
I’d love to hear how yours turn out! Leave a comment below and let me know if you tried any fun variations. Did you make them for a party? Did the kids love them? Share your photos and tag me on social media. Happy baking, and have a wonderfully spooky season!
Frequently Asked Questions
Can I make these ghost cupcakes a day ahead of time?
Absolutely! Bake the cupcakes and let them cool completely. Store them in an airtight container at room temperature. Make the frosting and store it in the fridge in a sealed container. The next day, let the frosting come to room temperature, give it a quick whip with a mixer to fluff it up, and then pipe the ghosts. This is actually my preferred method for parties.
My frosting is too runny. What did I do wrong?
This usually happens if the butter was too soft or if you added too much liquid. Don’t worry, it’s fixable! Add a little more powdered sugar, one tablespoon at a time, and beat until it stiffens up. If it’s still runny, pop the bowl in the fridge for 15 minutes and then beat it again.
Can I use a different frosting for the ghosts?
Yes, you can use any stiff frosting that pipes well. A cream cheese frosting would be delicious, but it’s softer and might not hold the ghost shape as well. A Swiss meringue buttercream would also work, but it’s a bit more advanced. For the best results, stick with a classic American buttercream like the one in this recipe.
How do I get the ghost shape to look perfect?
Practice makes perfect! The key is to use a large round tip and to squeeze a generous dollop before lifting. Don’t lift too fast—a slow, steady lift creates a nice, tall peak. If the peak is too pointy, you can gently press it down with a clean finger. And remember, even if they don’t look perfect, they’ll still taste amazing.
Can I use a boxed cake mix for these ghost cupcakes?
You can, but the texture and flavor won’t be the same. A homemade cake is moister and has a better crumb. If you’re short on time, use a high-quality boxed mix and follow the instructions on the box. Just make sure the cupcakes are completely cool before frosting. The ghost decoration will still look cute, even with a boxed mix.
Pin This Recipe!
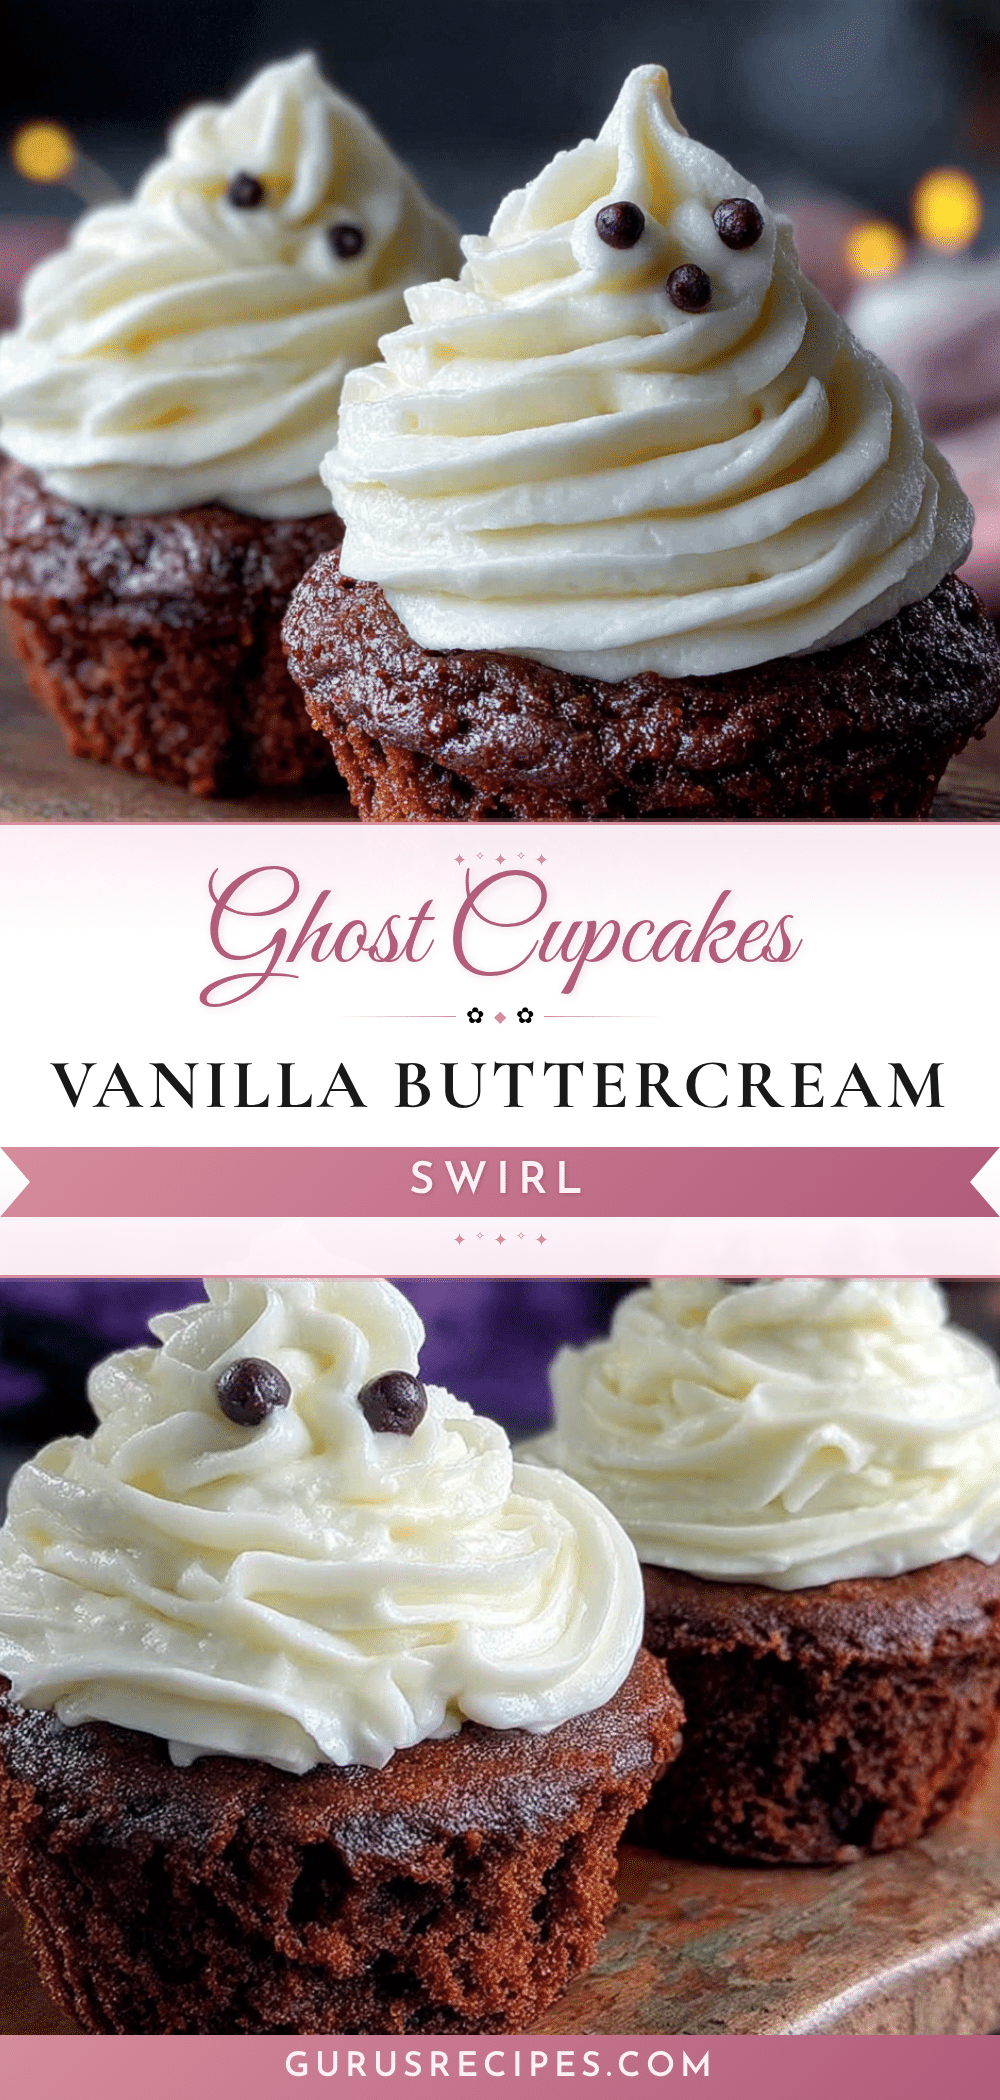

Best Ghost Cupcakes Easy Vanilla Buttercream Swirl Recipe
These adorable ghost cupcakes feature a moist vanilla cake topped with a silky vanilla buttercream swirl, shaped into a cute ghost. Perfect for Halloween or fall gatherings, they are surprisingly easy to make and always a crowd-pleaser.
- Total Time: 45 minutes
- Yield: 12 servings 1x
Ingredients
- 1 ½ cups (190g) all-purpose flour
- 1 ½ teaspoons baking powder
- ½ teaspoon salt
- ½ cup (113g) unsalted butter, softened
- 1 cup (200g) granulated sugar
- 2 large eggs, room temperature
- 1 teaspoon vanilla extract
- ½ cup (120ml) whole milk, room temperature
- 1 cup (226g) unsalted butter, softened (for frosting)
- 3–4 cups (360-480g) powdered sugar
- 2 teaspoons vanilla extract (for frosting)
- 2–3 tablespoons heavy cream or whole milk (for frosting)
- Pinch of salt (for frosting)
- Mini chocolate chips or black decorating gel (for eyes)
- Orange or black sprinkles (optional)
Instructions
- Preheat oven to 350°F (175°C). Line a 12-cup muffin tin with paper liners.
- In a medium bowl, whisk together flour, baking powder, and salt.
- In a large bowl, beat softened butter and granulated sugar with an electric mixer on medium speed until light and fluffy (2-3 minutes).
- Add eggs one at a time, beating well after each addition. Beat in vanilla extract.
- With mixer on low, add one-third of the flour mixture, mixing until just combined. Add half of the milk, mix. Repeat with another third of flour, remaining milk, and final third of flour. Do not overmix.
- Divide batter evenly among liners, filling each about two-thirds full.
- Bake for 18-20 minutes, or until a toothpick inserted in the center comes out clean. Cool in pan for 5 minutes, then transfer to a wire rack to cool completely.
- For frosting: In a large bowl, beat softened butter on medium speed until smooth (2 minutes). Gradually add powdered sugar, one cup at a time, beating on low. Add vanilla and salt. Beat in heavy cream, one tablespoon at a time, until light and fluffy.
- Fit a piping bag with a large round tip (Ateco 806 or Wilton 1A). Fill with frosting. Hold bag straight up over a cooled cupcake, squeeze a generous dollop in the center, then lift straight up about an inch while squeezing to form a peak. Release pressure and pull away.
- While frosting is soft, press two mini chocolate chips into each ghost for eyes. Add sprinkles if desired.
Notes
Use room temperature ingredients for best texture. Do not overmix batter. Let cupcakes cool completely before frosting. If frosting gets too soft, refrigerate piping bag for 10 minutes. Practice piping on a plate first.
- Prep Time: 15 minutes
- Cook Time: 20 minutes
- Category: Dessert
- Cuisine: American
Nutrition
- Serving Size: 1 cupcake
- Calories: 400
- Sugar: 35
- Sodium: 180
- Fat: 22
- Saturated Fat: 14
- Carbohydrates: 48
- Protein: 3
Keywords: ghost cupcakes, Halloween cupcakes, vanilla buttercream, easy Halloween dessert, ghost decoration


