
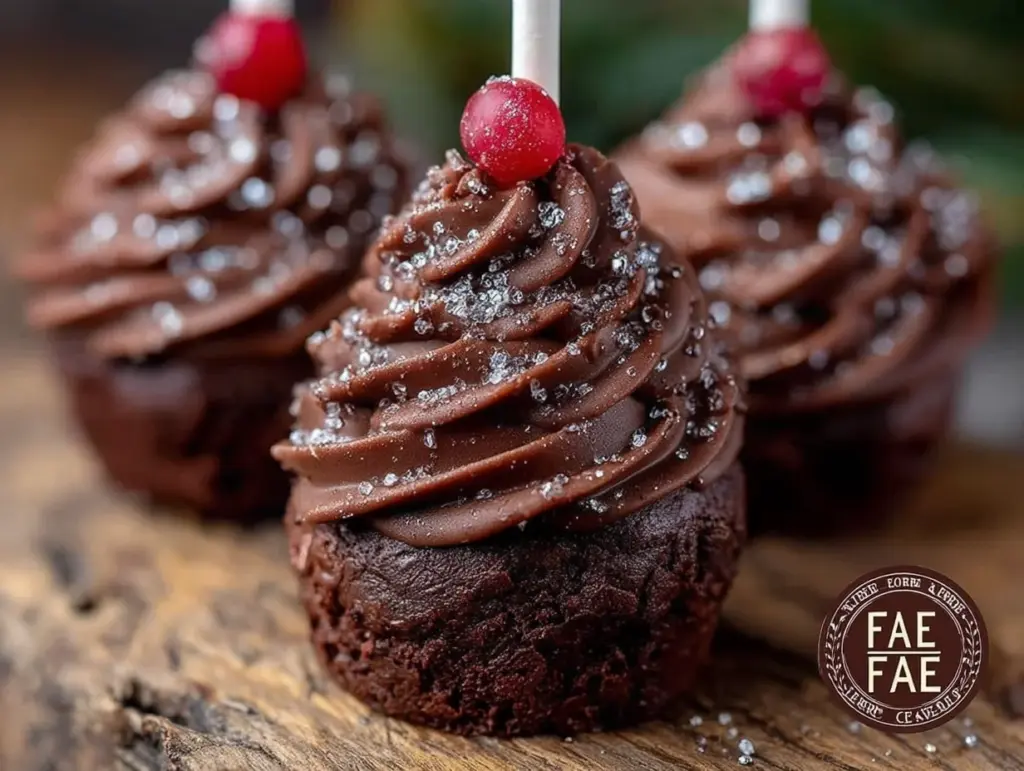
I wasn’t expecting to find my new favorite Christmas tradition in the middle of a hardware store parking lot, but there I was, holding a bag of potting soil and listening to the cashier—a woman named Dottie with silver hair and a Santa pin the size of a cookie—describe exactly how to make tree-shaped cake pops. It was mid-December, freezing, and I’d just finished wrestling a live Christmas tree into the back of my car. Dottie had helped me tie it down, and as she brushed pine needles off her coat, she said, “You know what I do with all the leftover brownies from my holiday baking? I turn them into little trees.” Honestly, I almost laughed. Cake pops seemed like something from a fancy bakery, not something a hardware store cashier would whip up on a Tuesday night. But Dottie was serious. She described the whole process right there in the parking lot, gesturing with her gloved hands, and I stood there shivering, completely hooked.
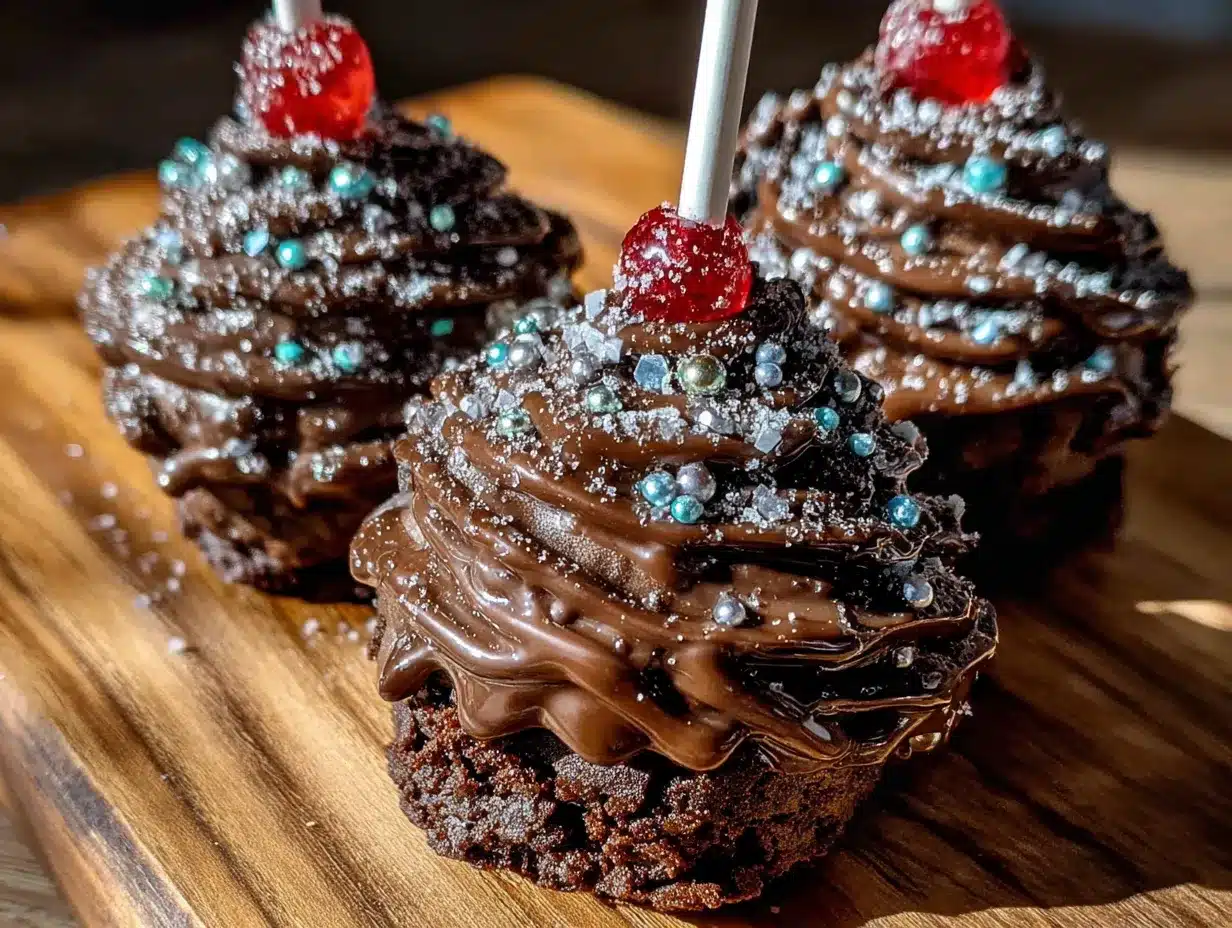
I went home, made a batch of brownies, and gave it a shot. Let me tell you, my first attempt was a disaster. The brownie crumbles wouldn’t stick together, the chocolate coating was too thin, and my “trees” looked more like sad, lumpy blobs. I mean, I almost gave up. But something about Dottie’s enthusiasm stuck with me. She’d said, “The secret is patience, honey. And a little bit of cream cheese.” So I tried again. And again. And somewhere around the third batch, it clicked. The brownie balls rolled perfectly, the green chocolate smoothed out like magic, and when I stuck those little pretzel trunks in and sprinkled on the “ornaments,” I actually gasped. They looked like tiny Christmas trees. Honest-to-goodness, edible, adorable little trees.
Now, these Cozy Christmas Tree Brownie Cake Pops are my go-to holiday treat. They’re the thing I bring to cookie swaps, the thing my neighbors text me about in early December (“Are you making the trees this year?”), and the thing that makes me feel like I’ve actually got my holiday act together, even when the rest of the house is a mess. Maybe you’ve been there—standing in a store, chatting with a stranger, and realizing they’ve just handed you something better than anything on the shelf. That’s what this recipe is. It’s a little parking lot magic, turned into something you can hold in your hand and eat. And honestly, it’s the coziest thing I make all year.
Why You’ll Love This Recipe
These Cozy Christmas Tree Brownie Cake Pops aren’t just cute—they’re genuinely good. I’ve tested this recipe more times than I care to count, and I can tell you with confidence that it works. Here’s why you’re going to love it:
- Quick & Easy: From start to finish, you’re looking at about an hour of active time. The brownies bake in 25 minutes, and the rest is just assembly. Perfect for a busy holiday weeknight or a last-minute craving for something festive.
- Simple Ingredients: No fancy grocery trips needed. You probably already have brownie mix, cream cheese, and chocolate chips in your pantry. The green candy melts and sprinkles are easy to find at any craft store or grocery store bakery aisle.
- Perfect for Holiday Gatherings: These are the showstoppers of cookie swaps, Christmas parties, and cozy family movie nights. Kids love them, adults sneak them, and everyone asks for the recipe.
- Crowd-Pleaser: I’ve brought these to three different holiday parties, and they disappeared every single time. Even people who “don’t like cake pops” end up grabbing two.
- Unbelievably Delicious: The texture is what gets you. The brownie base is fudgy and rich, the cream cheese adds a subtle tang, and the chocolate coating gives that satisfying snap when you bite in. It’s next-level comfort food in a tiny, tree-shaped package.
What makes this recipe different from all the other cake pop tutorials out there? It’s the cream cheese trick. Most recipes use frosting to bind the brownie crumbs, which makes them overly sweet and a little greasy. Cream cheese gives you that same binding power but with a lighter, tangier finish. Plus, the brownies stay fudgy, not mushy. I’ve also perfected the ratio of brownie to cream cheese—too much, and your pops fall apart; too little, and they’re dry. This is the Goldilocks version, tested and approved.
And let’s talk about the emotional side of things. This recipe isn’t just good—it’s the kind that makes you close your eyes after the first bite. It’s comfort food reimagined for the holidays. Healthier? Well, not exactly. But faster? Absolutely. And it has the same soul-soothing satisfaction as a warm brownie straight from the pan, but with a festive twist that makes it feel special. Perfect for impressing guests without stress, or turning a simple evening into something memorable. Honestly, it’s the recipe that makes you feel like a holiday hero.
What Ingredients You Will Need
This recipe uses simple, wholesome ingredients to deliver bold flavor and satisfying texture without the fuss. Most of these are pantry staples, but I’ve included notes on where to find the specialty items and what to look for when shopping.
For the Brownie Base
- 1 box (18.3 oz / 518 g) fudge brownie mix – I recommend Ghirardelli or Duncan Hines for the richest, fudgiest texture. Avoid “chewy” or “cake-like” mixes—they’re too dry for cake pops.
- 1/2 cup (120 ml) vegetable oil – Or any neutral oil like canola or avocado. Coconut oil works too, but it adds a slight coconut flavor.
- 1/4 cup (60 ml) water – Just tap water is fine.
- 2 large eggs – Room temperature is best, but cold works in a pinch.
For the Binding & Shaping
- 4 oz (113 g) cream cheese, softened – Full-fat is best for texture, but reduced-fat works in a pinch. Let it sit out for 30 minutes before using so it blends smoothly.
- 1/2 cup (60 g) powdered sugar – Adds just a touch of sweetness and helps the mixture hold together.
- 1/2 tsp vanilla extract – Pure vanilla extract is ideal, but imitation works fine.
For the Tree Decorations
- 12 oz (340 g) green candy melts – I prefer Wilton brand for their smooth melting and vibrant color. You can also use green melting wafers or white chocolate tinted with green gel food coloring.
- 1 tbsp (15 ml) coconut oil or shortening – This thins the candy melts for a smoother dip. Don’t skip it—it makes a huge difference.
- 24 mini pretzel sticks – These become the tree trunks. Break them in half if you want shorter trunks.
- Assorted sprinkles, nonpareils, and star sprinkles – Look for red, green, and gold sprinkles for a festive look. Yellow star sprinkles are perfect for the tree toppers.
- 2 tbsp (15 g) powdered sugar – For dusting over the finished trees to look like snow.
For the Equipment (Optional but Helpful)
- 24 lollipop sticks – These are essential for turning your cake balls into pops. Find them at craft stores or online.
- A styrofoam block or floral foam – To hold the pops upright while the coating sets. A cardboard box with holes punched in it works too.
Ingredient Selection Tips: When buying cream cheese, look for a block, not the spreadable tub. The block has a firmer texture that binds better. For the candy melts, avoid white chocolate chips—they don’t melt as smoothly and can seize up. Stick with melts or wafers designed for dipping. And if you’re feeling adventurous, you can substitute the brownie mix with a homemade brownie recipe. Just make sure it’s dense and fudgy, not cakey.
Substitution Guidance: Need a gluten-free option? Use a gluten-free brownie mix and check that your candy melts are gluten-free. For a dairy-free version, swap the cream cheese with a dairy-free alternative (like Kite Hill) and use dairy-free chocolate chips instead of candy melts. The texture will be slightly different, but it still works beautifully.
Equipment Needed
You don’t need a professional bakery setup to make these Cozy Christmas Tree Brownie Cake Pops. Here’s what you’ll need, plus a few tips from my own trial and error.
- 9×13-inch (23×33 cm) baking pan – A metal pan works best for even baking. Glass pans can cause the edges to overbake.
- Large mixing bowl – For crumbling the brownies and mixing in the cream cheese.
- Electric hand mixer or stand mixer – You can mix by hand, but a mixer makes the cream cheese blend much smoother. I’ve done it both ways, and the mixer is worth the extra 30 seconds of cleanup.
- Cookie scoop or melon baller – For portioning the brownie mixture into even balls. A 1-tablespoon scoop is perfect.
- Baking sheet lined with parchment paper – To hold the shaped cake balls while they chill.
- Microwave-safe bowl or double boiler – For melting the candy melts. The microwave is faster, but a double boiler gives you more control.
- Lollipop sticks (24 count) – These are non-negotiable. Don’t try to use toothpicks or skewers—they won’t hold the weight.
- Styrofoam block or floral foam – To hold the pops upright while the coating dries. I’ve also used a cardboard box with holes punched in the top, and it works just as well.
- Small offset spatula or butter knife – For smoothing the coating if needed.
Budget-Friendly Tip: You can find lollipop sticks and candy melts at most craft stores, and they often have coupons online. If you’re in a pinch, substitute the green candy melts with white chocolate chips and green food coloring. Just add a teaspoon of coconut oil to help them melt smoothly.
Preparation Method
Let’s walk through this step by step. I’ve included all the little details that make the difference between a good cake pop and a great one. Trust me, I learned some of these the hard way.
Step 1: Bake the Brownies
Preheat your oven to 350°F (175°C). Grease a 9×13-inch baking pan or line it with parchment paper. In a large bowl, combine the brownie mix, vegetable oil, water, and eggs. Stir until just combined—don’t overmix, or the brownies will be tough. Pour the batter into the prepared pan and spread it evenly. Bake for 22-25 minutes, or until a toothpick inserted into the center comes out with a few moist crumbs. The key here is to slightly underbake the brownies. Overbaked brownies are too dry to hold together as cake pops. Let the brownies cool completely in the pan on a wire rack. This takes about 30 minutes. Don’t rush it—warm brownies will make the cream cheese mixture too soft.
Step 2: Make the Brownie Crumb Mixture
Once the brownies are completely cool, crumble them into a large mixing bowl. Use your hands or a fork to break them into fine crumbs. You want no large chunks—think the texture of wet sand. In a separate bowl, beat the softened cream cheese, powdered sugar, and vanilla extract together until smooth. Pour the cream cheese mixture over the brownie crumbs and mix thoroughly. Use your hands for the best results—it’s messy, but you’ll get a more even distribution. The mixture should hold together when pressed into a ball. If it’s too dry, add a teaspoon of milk. If it’s too wet, add a tablespoon of powdered sugar.
Step 3: Shape the Cake Balls
Scoop out about 1 tablespoon of the brownie mixture and roll it into a smooth ball. Place each ball on a parchment-lined baking sheet. You should get about 24 balls. Once all the balls are formed, press a mini pretzel stick into the bottom of each ball to create the “trunk.” The pretzel should be about 1/2 inch (1.3 cm) deep. Don’t push it all the way through—you want it secure but not poking out the top. Place the baking sheet in the refrigerator for at least 30 minutes, or up to 2 hours. Chilling is crucial. Cold cake balls are much easier to dip without falling apart.
Step 4: Melt the Candy Coating
Place the green candy melts and coconut oil in a microwave-safe bowl. Microwave in 30-second intervals, stirring after each, until completely smooth. Be careful not to overheat—candy melts can seize up if they get too hot. If the coating is too thick, add another teaspoon of coconut oil. The consistency should be like thick honey. Let the coating cool for 2-3 minutes before dipping. Hot coating will melt your cake balls.
Step 5: Assemble the Cake Pops
Remove the chilled cake balls from the refrigerator. Dip the tip of a lollipop stick into the melted green coating, then insert it into the center of a cake ball. This acts like glue and helps the stick stay in place. Push it about halfway through the ball. Dip the entire cake pop into the melted coating, turning it gently to coat all sides. Lift it out and let the excess drip off. Gently tap the stick on the edge of the bowl to help the coating settle. Before the coating sets, sprinkle on your decorations—red and green sprinkles, nonpareils, and a yellow star on top. Place the finished pop into your styrofoam block to dry. Repeat with the remaining pops.
Step 6: Add the Finishing Touches
Once all the pops are coated and decorated, let them set completely at room temperature, about 15-20 minutes. Once set, dust the tops with a light sprinkle of powdered sugar for a snowy effect. Serve immediately or store as directed below.
Sensory Cue: When you dip the cake pop, you should hear a faint “click” as the coating hits the cold ball. That’s how you know it’s the right temperature. The coating should set almost instantly, leaving a smooth, glossy finish.
Cooking Tips & Techniques
I’ve made these Cozy Christmas Tree Brownie Cake Pops more times than I can count, and I’ve picked up a few tricks along the way. Here are the ones that made the biggest difference.
Don’t skip the chilling step. I know it’s tempting to rush, but cold cake balls are the secret to smooth, even coating. If you try to dip room-temperature balls, they’ll fall apart in the melted chocolate. Trust me, I learned this the hard way after fishing crumbs out of a bowl of green coating. Chill for at least 30 minutes, and if you’re feeling patient, an hour is even better.
Thin your coating. Candy melts straight from the bag are too thick for dipping. Adding a tablespoon of coconut oil or shortening makes them thin enough to coat the pops evenly without clumping. If your coating starts to thicken as you work, microwave it for 10 seconds and stir.
Work in small batches. Don’t take all the cake balls out of the fridge at once. They’ll warm up and start to soften. Take out 4-5 at a time, dip them, and return the rest to the fridge until you’re ready.
Use a deep, narrow bowl for dipping. A tall drinking glass or a small mason jar works perfectly. It lets you submerge the entire pop without having to swirl it around, which can cause the coating to crack.
Fix cracks in the coating. If your coating cracks after it sets (usually because the cake ball was too cold or the coating was too hot), don’t panic. Dip a small brush in leftover melted coating and paint over the crack. It’ll blend right in.
Multitasking tip: While the brownies are baking, set out your cream cheese to soften and line your baking sheet with parchment. While the cake balls are chilling, melt your candy coating and set up your decorating station. This cuts the total active time to about 45 minutes.
Variations & Adaptations
One of the best things about this recipe is how customizable it is. Here are some variations I’ve tried and loved.
Peppermint Twist: Add 1/2 teaspoon of peppermint extract to the brownie mixture before baking. After dipping the pops in green coating, crush a few candy canes and sprinkle the pieces over the wet coating. The minty crunch is amazing.
Chocolate Lovers: Skip the green coating and use dark chocolate melts instead. Decorate with red and gold sprinkles for a more elegant, grown-up look. I made these for a holiday cocktail party, and they were a hit.
Gluten-Free Version: Use a gluten-free brownie mix (King Arthur Flour makes a great one) and check that your candy melts are certified gluten-free. Everything else in the recipe is naturally gluten-free.
Vegan Version: Replace the eggs in the brownie mix with flax eggs (1 tablespoon ground flaxseed + 3 tablespoons water per egg). Use a dairy-free cream cheese alternative and vegan chocolate chips instead of candy melts. The texture is slightly softer, but the flavor is still fantastic.
Mini Tree Pops: Use a 1/2-tablespoon scoop instead of a full tablespoon to make smaller pops. They’re perfect for kids’ parties or as a bite-sized treat. Just reduce the chilling time to 20 minutes.
Serving & Storage Suggestions
These Cozy Christmas Tree Brownie Cake Pops are best served at room temperature. The coating stays firm but gives way to the soft, fudgy center when you bite in. I like to arrange them on a festive platter or stand them upright in a styrofoam block covered with foil or wrapping paper. They make a stunning centerpiece for a dessert table.
What to Serve With Them: These pair beautifully with a cup of hot cocoa, a warm mug of mulled wine, or a strong cup of coffee. For a dessert spread, I love serving them alongside gingerbread cookies, peppermint bark, and a bowl of fresh fruit to balance the richness.
Storage: Store the finished cake pops in an airtight container in the refrigerator for up to 5 days. Place them in a single layer with parchment paper between layers to prevent the decorations from smudging. If you’re stacking them, be gentle—the pretzel trunks can break.
Freezing: You can freeze the undecorated cake balls for up to 3 months. Place them on a baking sheet and freeze until solid, then transfer to a freezer bag. When you’re ready to decorate, thaw them in the refrigerator overnight, then dip and decorate as directed. The flavor actually improves after freezing—the brownie gets even fudgier.
Reheating: These are meant to be eaten cold or at room temperature, so no reheating is needed. If you’ve stored them in the fridge, let them sit out for 10-15 minutes before serving to take the chill off.
Flavor Development: Like many desserts, these cake pops taste even better the next day. The flavors meld together, and the brownie center becomes more moist and fudgy. If you can resist eating them all on day one, you’re in for a treat on day two.
Nutritional Information & Benefits
I’m not a nutritionist, but I can give you a rough estimate based on the ingredients. Each Cozy Christmas Tree Brownie Cake Pop (using the full recipe) contains approximately:
- Calories: 210-250
- Total Fat: 12-15 g
- Saturated Fat: 5-7 g
- Carbohydrates: 28-32 g
- Sugar: 20-24 g
- Protein: 3-4 g
- Sodium: 150-180 mg
Dietary Considerations: This recipe contains gluten (from the brownie mix), dairy (from the cream cheese and candy melts), and eggs. For gluten-free or dairy-free options, see the variations section above. These are not low-calorie treats, but they’re made with real ingredients and no artificial preservatives. The cream cheese adds a small amount of protein and calcium, and the dark chocolate (if you use it) is rich in antioxidants.
Personal Wellness Perspective: The holidays are about joy, not restriction. I believe in enjoying treats like these in moderation—they’re part of what makes the season special. I make a batch for parties and gatherings, and I savor one or two with a cup of tea. The rest I share, because honestly, the best part of baking is seeing other people’s faces light up when they take that first bite.
Conclusion
These Cozy Christmas Tree Brownie Cake Pops are more than just a recipe—they’re a little piece of holiday magic you can hold in your hand. They’re the kind of treat that makes you slow down, smile, and savor the season. Whether you’re making them for a cookie swap, a family gathering, or just because you need a cozy afternoon project, they deliver every single time.
I hope you’ll give them a try. And don’t worry if your first batch isn’t perfect—mine wasn’t either. The beauty of these pops is that even the imperfect ones taste amazing. So roll up your sleeves, put on your favorite Christmas playlist, and get ready to create something that’s equal parts delicious and adorable.
I’d love to hear how yours turn out! Drop a comment below and tell me about your decorating adventures—did you go classic with red and green, or did you get creative with blue and silver? Share a photo on Pinterest and tag me so I can see your beautiful creations. And if you have a variation that works especially well, please share it—I’m always looking for new ideas. Happy baking, and may your holidays be as sweet as these little trees!
Frequently Asked Questions
Can I use homemade brownies instead of a box mix?
Absolutely! Just make sure your homemade brownies are dense and fudgy, not cakey. A recipe that uses melted chocolate instead of cocoa powder works best. Let the brownies cool completely before crumbling.
Why did my cake pops fall apart when I dipped them?
This usually happens for one of three reasons: the cake balls weren’t chilled long enough, the cream cheese mixture was too wet, or the coating was too hot. Make sure your balls are cold (30 minutes minimum), your mixture holds together when pressed, and your coating is warm but not hot.
Can I make these ahead of time for a party?
Yes! You can make the cake balls up to 3 days ahead and store them in the refrigerator. Dip and decorate them the day before your party. They’ll stay fresh for up to 5 days in the fridge.
My candy melts are too thick—what do I do?
Add a teaspoon of coconut oil or shortening and microwave for 10 seconds. Stir well. The coating should be thin enough to drip off the spoon in a steady stream. If it’s still thick, add another teaspoon.
Can I use white chocolate instead of candy melts?
Yes, but white chocolate can be tricky to work with. Use high-quality white chocolate (like Ghirardelli) and add a tablespoon of coconut oil to help it melt smoothly. Add green gel food coloring to achieve the tree color. Avoid liquid food coloring, as it can cause the chocolate to seize.
Pin This Recipe!
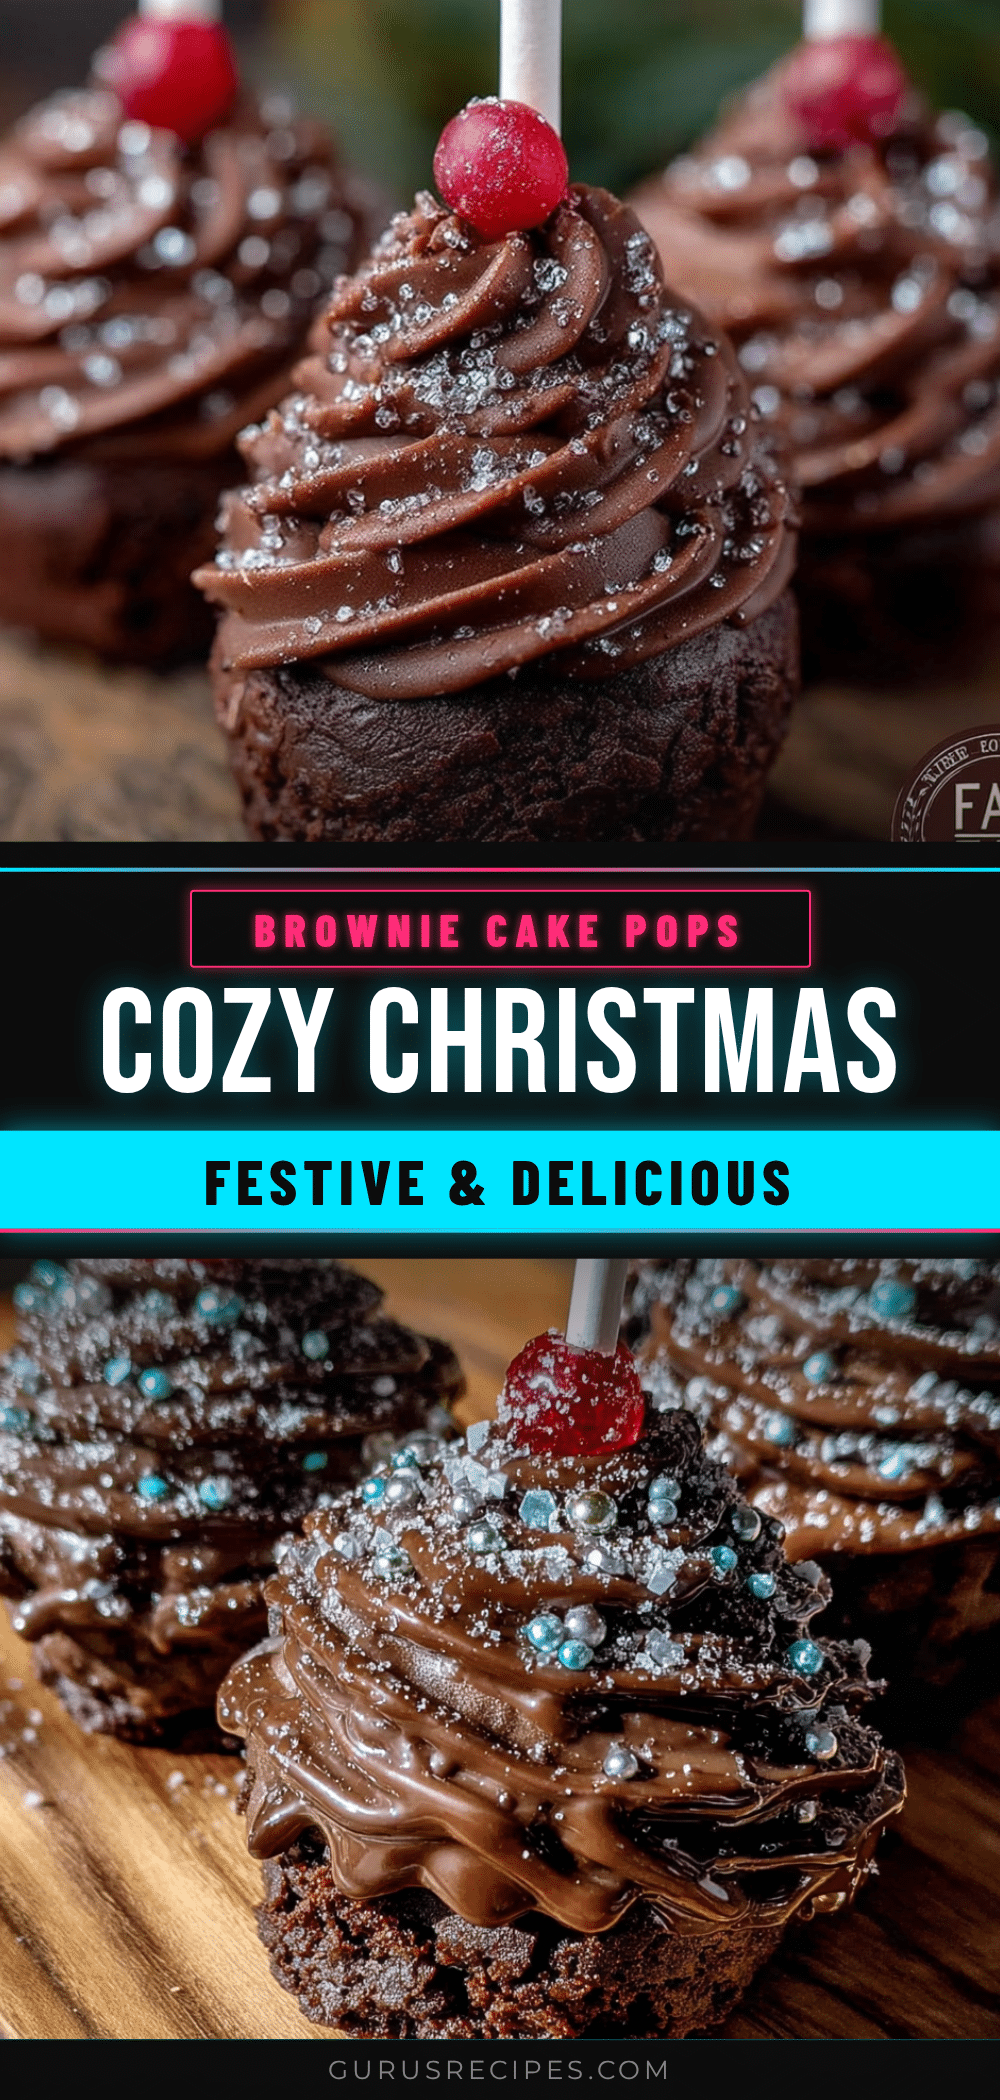

Easy Cozy Christmas Tree Brownie Cake Pops
These adorable tree-shaped brownie cake pops are fudgy, festive, and surprisingly easy to make. A cream cheese binder keeps them moist, while green candy coating and sprinkles turn them into edible Christmas trees.
- Total Time: 1 hour 55 minutes (includes cooling and chilling)
- Yield: 24 servings 1x
Ingredients
- 1 box (18.3 oz / 518 g) fudge brownie mix
- 1/2 cup (120 ml) vegetable oil
- 1/4 cup (60 ml) water
- 2 large eggs
- 4 oz (113 g) cream cheese, softened
- 1/2 cup (60 g) powdered sugar
- 1/2 tsp vanilla extract
- 12 oz (340 g) green candy melts
- 1 tbsp (15 ml) coconut oil or shortening
- 24 mini pretzel sticks
- Assorted sprinkles, nonpareils, and star sprinkles
- 2 tbsp (15 g) powdered sugar (for dusting)
Instructions
- Preheat oven to 350°F (175°C). Grease a 9×13-inch baking pan. Combine brownie mix, oil, water, and eggs; stir until just combined. Pour into pan and bake 22-25 minutes until a toothpick comes out with moist crumbs. Cool completely.
- Crumble cooled brownies into fine crumbs in a large bowl. In a separate bowl, beat cream cheese, powdered sugar, and vanilla until smooth. Mix into brownie crumbs until well combined. Mixture should hold together when pressed.
- Scoop 1-tablespoon portions and roll into smooth balls. Press a mini pretzel stick into the bottom of each ball (about 1/2 inch deep). Place on parchment-lined baking sheet and refrigerate at least 30 minutes.
- Melt green candy melts and coconut oil in a microwave-safe bowl in 30-second intervals, stirring until smooth. Let cool 2-3 minutes.
- Dip tip of a lollipop stick into melted coating, then insert into center of a chilled cake ball. Dip entire pop into coating, turning to coat. Let excess drip off. Decorate with sprinkles and a star on top while coating is wet. Place in styrofoam block to dry.
- Once set (15-20 minutes), dust with powdered sugar for a snowy effect. Serve at room temperature.
Notes
Chill cake balls thoroughly before dipping to prevent falling apart. Thin candy melts with coconut oil for smooth coating. Work in small batches to keep cake balls cold. For gluten-free, use a gluten-free brownie mix and check candy melts. For dairy-free, use dairy-free cream cheese and chocolate chips.
- Prep Time: 30 minutes
- Cook Time: 25 minutes
- Category: Dessert
- Cuisine: American
Nutrition
- Serving Size: 1 cake pop
- Calories: 230
- Sugar: 22
- Sodium: 165
- Fat: 13
- Saturated Fat: 6
- Carbohydrates: 30
- Fiber: 1
- Protein: 3
Keywords: Christmas tree cake pops, brownie cake pops, holiday dessert, easy cake pops, festive treats


