
I figured making rice krispie treats was just about melting marshmallows and mixing in cereal. It took about five minutes for that idea to fall apart completely the first time I browned butter for this recipe. Honestly, I thought brown butter was just for fancy cookies or sauces, but tossing it into gooey marshmallows changed everything. The warm, nutty aroma that filled my kitchen was unexpected—and the subtle vanilla bean specks brought a cozy twist that made these treats feel like a hug in dessert form.
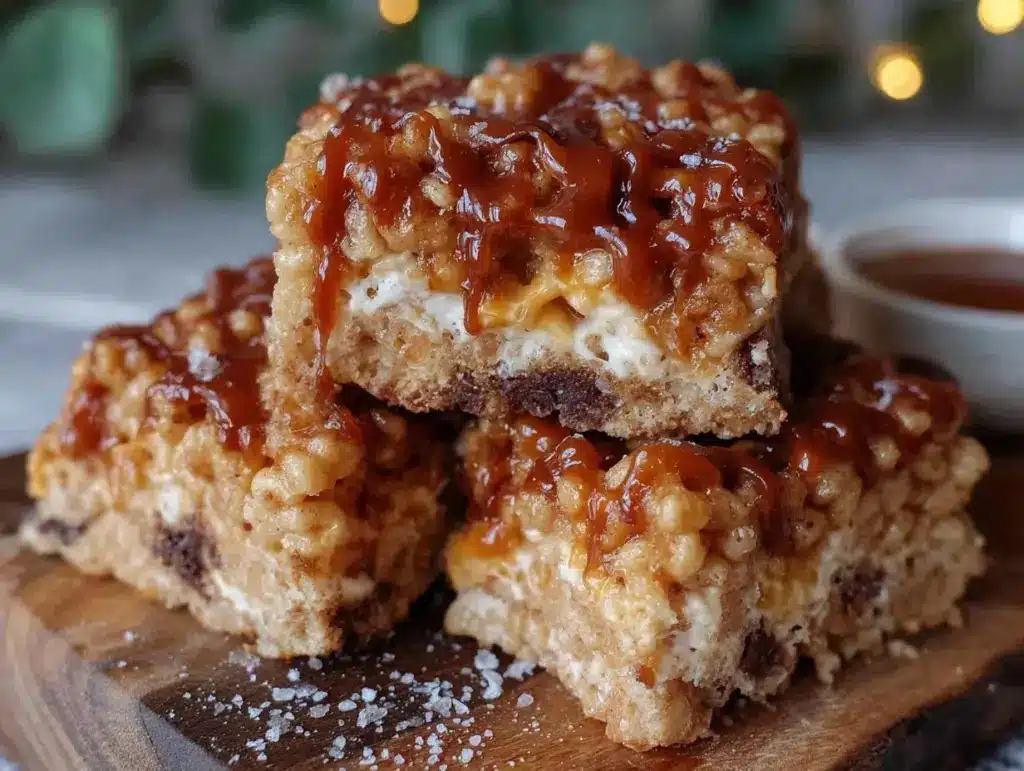
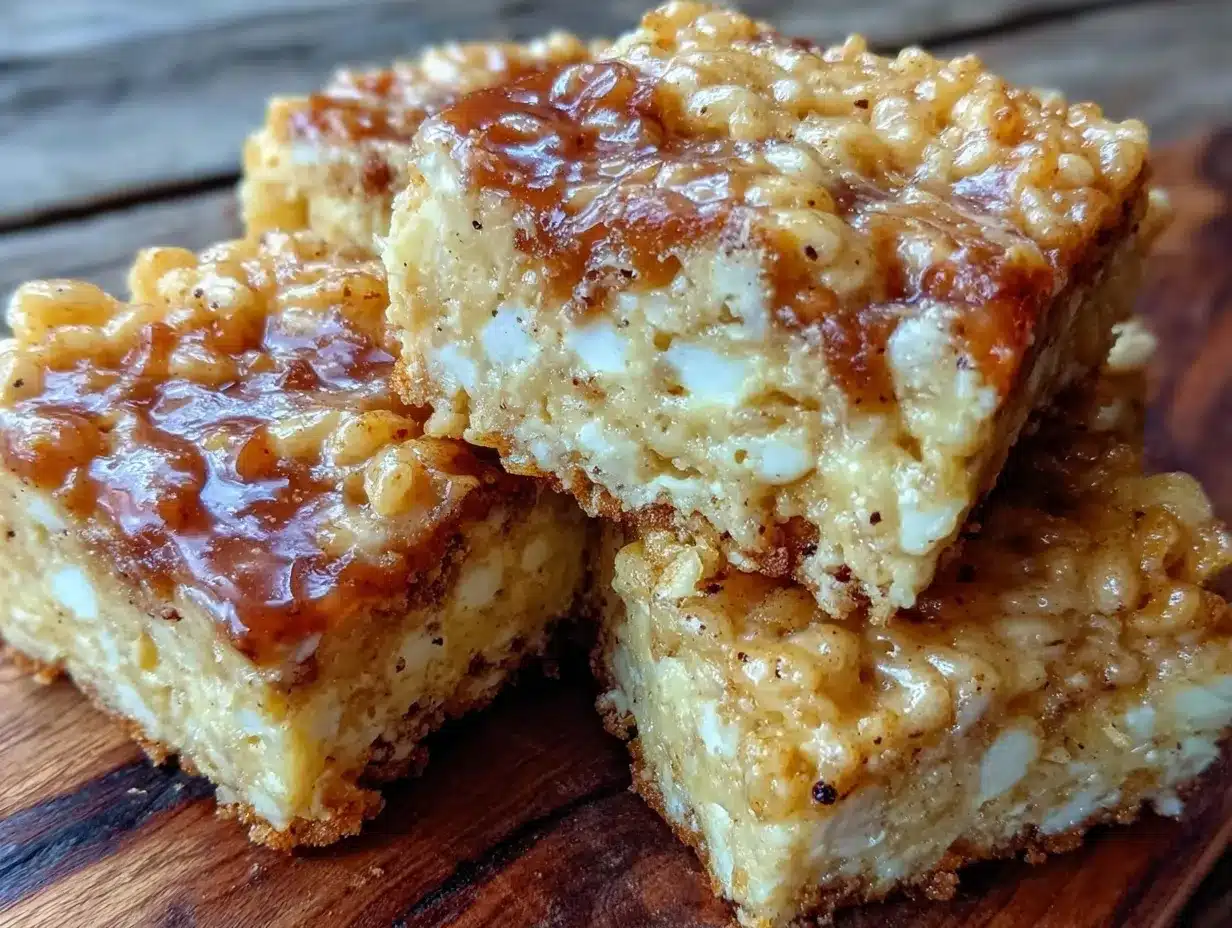
Instead of the usual sticky, sweet blob, these Cozy Rice Krispie Treats with Brown Butter and Vanilla Bean turned out with a rich depth and a slightly toasted flavor that felt way more grown-up than your childhood snack. The texture was perfectly chewy but not overwhelming, and that little vanilla bean detail made the difference between “meh” and “oh wow!” It’s funny how a simple step like browning butter can turn a familiar recipe into something that sticks with you, literally and emotionally.
What surprised me the most was how much this recipe became my go-to comfort treat, especially on chilly evenings when a warm blanket and something sweet are all you want. It’s not just a snack; it’s a moment of cozy, a small celebration of simple ingredients doing something extra. That quiet realization is why this recipe lingers in my kitchen—and hopefully yours too.
Why You’ll Love This Recipe
Let’s be real—rice krispie treats are easy, but this version takes the classic to a new level with just a few smart tweaks. I’ve tested this recipe multiple times, and here’s what makes it stand out:
- Quick & Easy: Made in under 20 minutes, it’s perfect for last-minute dessert cravings or when you want a no-fuss treat after a long day.
- Simple Ingredients: No need for specialty stores—just pantry staples like butter, marshmallows, and vanilla bean. You probably have everything on hand already.
- Perfect for Cozy Nights: Whether you’re binge-watching your favorite show or enjoying a quiet evening, these treats hit the spot with their warm, comforting flavors.
- Crowd-Pleaser: Kids, adults, and even picky eaters tend to ask for seconds. The brown butter adds a rich twist that feels special but isn’t overwhelming.
- Unbelievably Delicious: The nutty brown butter combined with the fragrant vanilla bean creates a flavor combo that feels indulgent, without being too heavy.
This recipe isn’t just another rice krispie treat. The brown butter gives it that toasty, almost caramelized flavor, and the vanilla bean adds a delicate fragrance that you don’t get with plain vanilla extract. I’ve made plenty of treats before, but this one closes your eyes after the first bite kind of delicious. It’s comfort food reimagined—simple, fast, and with a little extra soul.
What Ingredients You Will Need
For this recipe, you’ll use straightforward, easy-to-find ingredients that come together to create a big flavor impact. Each plays an important role, whether it’s the buttery richness, the marshmallow goo, or the crisp cereal crunch.
- Unsalted Butter (1/2 cup / 115g): browned carefully for that nutty depth (don’t rush this step; it’s the star of the show).
- Mini Marshmallows (10 oz / 283g): classic choice for meltiness and sweetness. You can try jumbo if you prefer, but minis melt evenly.
- Vanilla Bean (1 pod): split and scraped to add natural, fragrant vanilla flecks throughout the treats (if unavailable, use 1 tsp pure vanilla extract, but the bean is worth it).
- Rice Krispies Cereal (6 cups / 180g): the crunchy base. I recommend the original brand for best texture and flavor.
- Salt (a pinch): balances the sweetness and enhances the brown butter flavor.
Ingredient Tips: You can swap the rice krispies for a gluten-free cereal to keep this gluten-free. For dairy-free versions, use vegan butter and marshmallows, but browning the butter might be trickier. The vanilla bean really shines here—if you’ve ever made a fresh strawberry galette with vanilla glaze, you know how those seeds infuse flavor naturally.
Equipment Needed
- Large nonstick skillet or saucepan: for browning the butter and melting marshmallows evenly without scorching.
- Spatula or wooden spoon: for stirring marshmallows and folding in cereal.
- 9×13-inch baking dish or pan: to press the mixture into shape. A glass or metal pan works fine.
- Parchment paper or buttered foil: to line the pan and prevent sticking.
- Sharp knife: for slicing the vanilla bean pod and cutting treats after setting.
When it comes to browning butter, a light-colored pan helps you watch the color better (dark pans can hide the change). I like using a silicone spatula because it scrapes the pan clean and handles heat well. If you don’t have a 9×13 pan, a slightly smaller or larger one works too—you’ll just adjust thickness.
Preparation Method
- Browning the Butter (5-7 minutes): Place the unsalted butter in a large skillet over medium heat. Stir constantly as the butter melts and begins to foam. Watch closely as the milk solids start to turn golden brown and the aroma shifts to nutty. This is your cue to remove the pan from heat. Be careful not to burn it—brown, not black!
- Adding the Vanilla Bean and Marshmallows (2 minutes): Quickly split the vanilla bean pod lengthwise and scrape out the tiny seeds with the back of a knife. Stir the seeds into the browned butter. Add the mini marshmallows immediately and stir until they’re completely melted and smooth. The mixture should be glossy and thick but not dry or burnt.
- Mixing in the Cereal (1-2 minutes): Remove the pan from heat, add a pinch of salt, then pour in the rice krispies cereal. Fold gently but thoroughly with a spatula until every bit of cereal is coated in the buttery marshmallow mixture.
- Transferring to the Pan (1 minute): Line your baking dish with parchment paper or butter it lightly. Transfer the cereal mixture into the pan, pressing it evenly and firmly with a buttered spatula or wax paper to avoid sticking.
- Setting and Cutting (at least 1 hour): Let the treats cool and set at room temperature for about an hour. Once firm, use a sharp knife to cut into squares or rectangles. For cleaner edges, you can chill the pan before cutting.
Pro tip: If marshmallows start to firm up too fast during mixing, work quickly and keep your spatula warm in hot water to prevent sticking. This recipe is forgiving but timing helps keep that perfect gooey texture.
Cooking Tips & Techniques
Brown butter is a game-changer here, but it can be intimidating. Use medium heat and stir constantly to avoid burning. The moment you smell that nutty aroma and see golden flecks, pull the pan off heat—residual warmth will finish the process.
Don’t skip the vanilla bean if you can help it. The seeds give a natural, speckled beauty to the treats and a richer flavor than plain extract. I learned this after trying both versions side by side; the bean just wins hands down.
Press the mixture firmly in the pan but not too hard—over-compressing can make the treats dense and less chewy. I usually use wax paper to press down evenly without getting sticky fingers.
When storing, these treats keep best in an airtight container at room temp for up to 3 days. Refrigerating can toughen them, but if you do, warm slightly before serving for that soft, cozy feel.
If you want to multitask while these set, this is a great time to prep a quick drink or even whip up a batch of creamy no-churn strawberry ice cream to pair alongside—like the recipe at this blog. Sweet and crunchy harmony!
Variations & Adaptations
Because these treats are so adaptable, you can make them your own in a few ways:
- Nutty Boost: Stir in 1/2 cup toasted pecans or walnuts after mixing in the cereal for extra crunch and flavor.
- Chocolate Drizzle: Melt dark or white chocolate and drizzle over the cooled treats for a festive touch.
- Seasonal Twist: Swap vanilla bean for cinnamon and add mini marshmallow bits infused with pumpkin spice during fall months.
- Gluten-Free: Use certified gluten-free crispy rice cereal to keep the recipe safe for gluten-sensitive folks.
- Dairy-Free Version: Use vegan butter and marshmallows, and skip browning if you’re unsure how the vegan butter will react (or brown it carefully).
I once tried adding a splash of maple syrup into the brown butter stage—turned out like a cozy morning treat, almost like a grown-up version of pancakes in bar form. Give it a shot if you like surprises!
Serving & Storage Suggestions
These treats are best enjoyed at room temperature when the texture is soft and chewy. Serve them as squares on a simple plate or wrapped individually for lunchboxes and gatherings. They pair wonderfully with a warm cup of tea, coffee, or even a cold glass of milk.
If you’re planning ahead, store them in an airtight container at room temperature for up to three days. Avoid refrigeration unless necessary, as it can dry them out or make them tough. To re-soften chilled treats, pop them in the microwave for 10-15 seconds before serving.
Leftovers (if there are any) keep well frozen for up to a month—wrap tightly in plastic wrap and foil. Thaw at room temperature, then enjoy like fresh. The subtle brown butter flavor actually deepens over time, making the treats even cozier with each bite.
Nutritional Information & Benefits
Each serving of these cozy rice krispie treats provides a sweet energy boost with a comforting balance of carbs and fats. The brown butter adds a dose of healthy fats and antioxidants from the toasting process, while the vanilla bean contributes antioxidant properties as well.
While these treats are indulgent, using real butter and natural vanilla bean means fewer artificial additives than store-bought snack bars. For those mindful of allergens, this recipe can easily be adapted gluten-free or dairy-free.
From a wellness perspective, they’re an occasionally perfect treat that satisfies sweet cravings without complicated ingredients or preservatives. Just the kind of comfort food you want on a cold night.
Conclusion
These Cozy Rice Krispie Treats with Brown Butter and Vanilla Bean are worth every minute spent on browning that butter. They transform a simple childhood favorite into a thoughtful, grown-up snack that’s perfect for quiet evenings or sharing with friends. I love this recipe because it’s forgiving, quick, and full of those warm, buttery flavors that linger.
Feel free to tweak the vanilla or add nuts and chocolate to suit your cravings. Cooking is all about making recipes your own, after all. If you try this one, I’d love to hear how you make it yours—drop a comment or share your twists!
Here’s to cozy moments and crispy, buttery bites that feel like home.
FAQs
Can I use regular vanilla extract instead of a vanilla bean?
Yes, you can substitute 1 teaspoon of pure vanilla extract if you don’t have a vanilla bean. The flavor won’t be as intense or speckled, but it will still add sweetness and aroma.
How do I prevent the brown butter from burning?
Use medium heat and stir constantly. Watch for the butter to foam and then turn a golden brown color with a nutty smell. Remove from heat immediately once browned to avoid burning.
Can I make these treats ahead of time?
Absolutely! They store well at room temperature for up to 3 days and can be frozen for up to a month. Just thaw before serving.
What’s the best way to cut the treats without them falling apart?
Wait until the treats are completely set, about an hour at room temperature. Using a sharp knife and pressing firmly will give you clean edges. Chilling the treats briefly can also help before cutting.
Can I add mix-ins like nuts or chocolate chips?
Yes! Fold in nuts, chocolate chips, or even dried fruit after mixing the cereal for extra texture and flavor. Just don’t add too much or it may affect the binding.
Pin This Recipe!
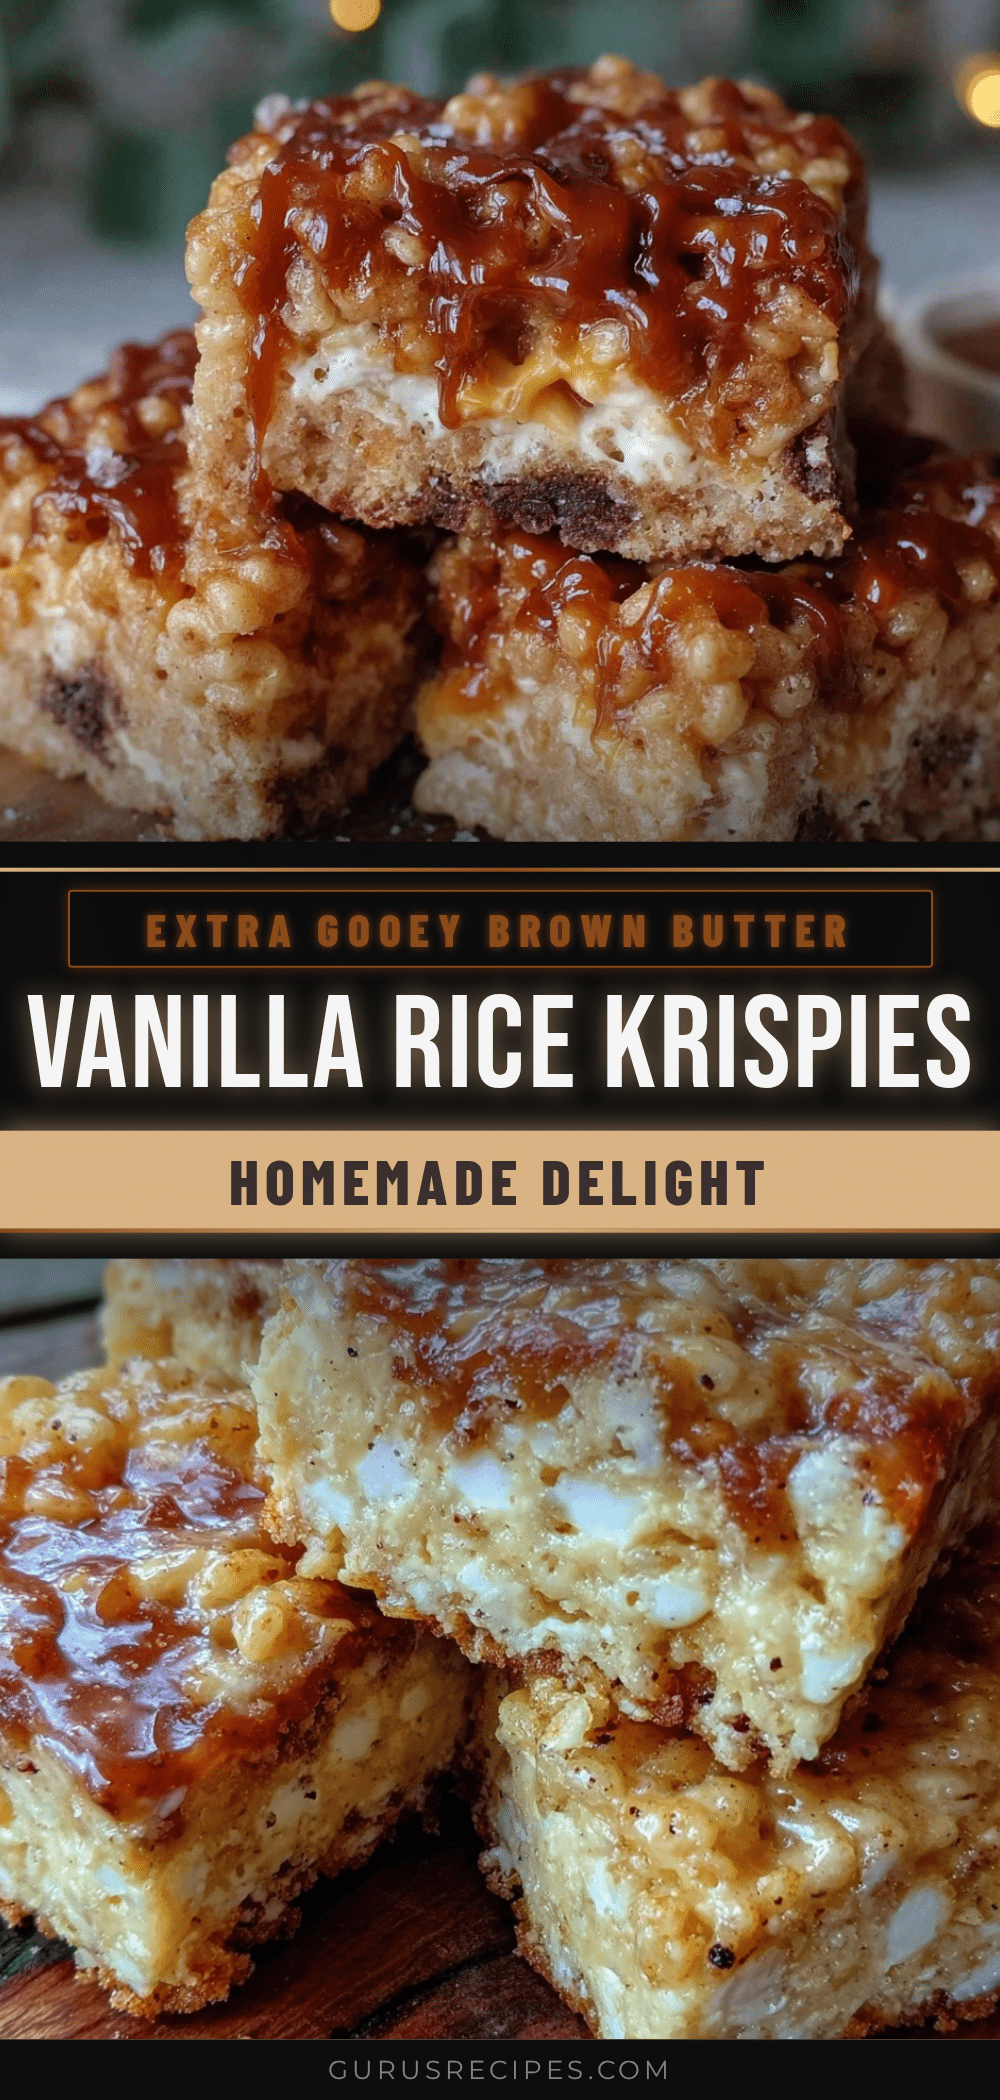

Cozy Rice Krispie Treats with Brown Butter and Vanilla Bean
These rice krispie treats are elevated with nutty brown butter and fragrant vanilla bean, creating a cozy, chewy snack perfect for comforting evenings.
- Total Time: 1 hour 15 minutes
- Yield: 12 servings 1x
Ingredients
- 1/2 cup (115g) unsalted butter
- 10 oz (283g) mini marshmallows
- 1 vanilla bean pod, split and scraped (or 1 tsp pure vanilla extract)
- 6 cups (180g) Rice Krispies cereal
- Pinch of salt
Instructions
- Place the unsalted butter in a large skillet over medium heat. Stir constantly as the butter melts and begins to foam. Watch closely as the milk solids turn golden brown and the aroma becomes nutty. Remove from heat immediately to avoid burning.
- Quickly split the vanilla bean pod lengthwise and scrape out the seeds. Stir the seeds into the browned butter. Add the mini marshmallows and stir until completely melted and smooth.
- Remove the pan from heat, add a pinch of salt, then pour in the Rice Krispies cereal. Fold gently but thoroughly until every bit of cereal is coated.
- Line a 9×13-inch baking dish with parchment paper or butter it lightly. Transfer the mixture into the pan, pressing evenly and firmly with a buttered spatula or wax paper.
- Let the treats cool and set at room temperature for about 1 hour. Once firm, cut into squares or rectangles with a sharp knife.
Notes
Use medium heat and stir constantly to brown butter without burning. Press mixture firmly but not too hard to keep treats chewy. Store in airtight container at room temperature up to 3 days or freeze up to 1 month. Warm chilled treats briefly before serving for softness.
- Prep Time: 5 minutes
- Cook Time: 10 minutes
- Category: Dessert
- Cuisine: American
Nutrition
- Serving Size: 1 treat (approximate
- Calories: 180
- Sugar: 18
- Sodium: 90
- Fat: 7
- Saturated Fat: 4.5
- Carbohydrates: 28
- Fiber: 0.5
- Protein: 1
Keywords: rice krispie treats, brown butter, vanilla bean, easy dessert, cozy snack, marshmallow treats


