
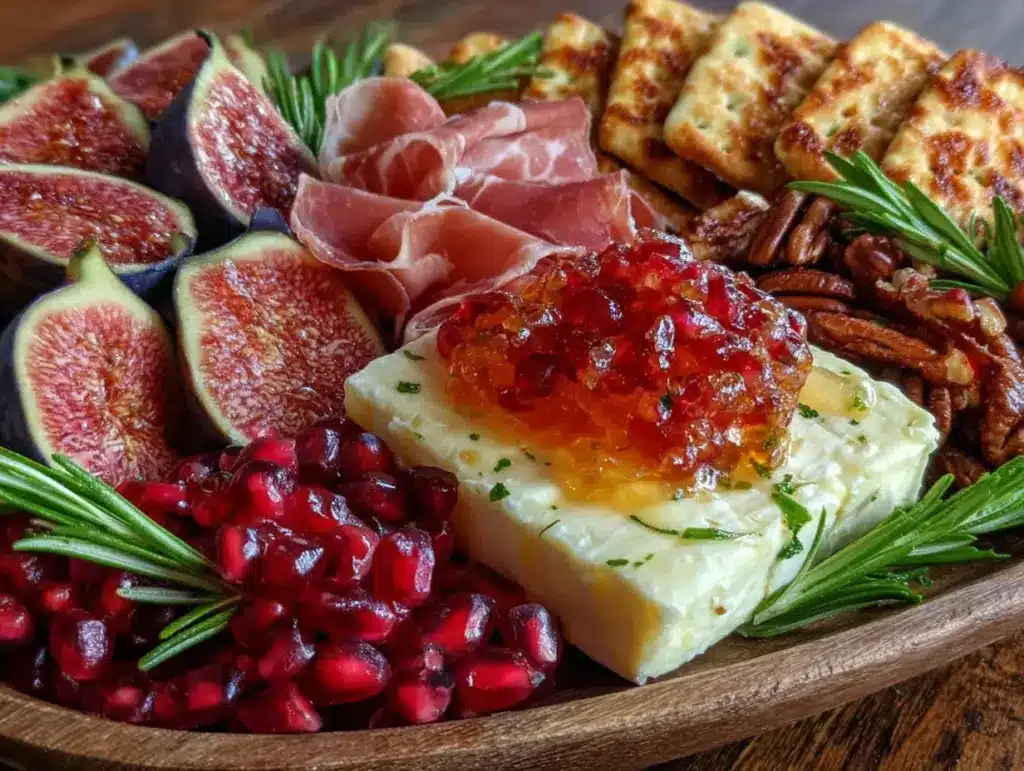
My friend Jenna showed up at my door with a bottle of red wine and a confession—she’d accidentally invited eight people over for a “casual hang” the next day. Her apartment was being painted, her kitchen was a disaster, and she had exactly one block of cheddar and a bag of apples to her name. I looked at my own fridge—half a wheel of brie, some dried figs from two weeks ago, and a bag of pecans I’d bought for a salad I never made. And that’s when it hit me: we didn’t need a full dinner. We needed a spread. Something that looked intentional and impressive, but required almost no actual cooking. The Best Friendsgiving Charcuterie Board with Fall Fruit was born that night, assembled on a cutting board I’d bought at a flea market and never used. It saved the hang—and honestly, it became the thing everyone asked me to bring to every gathering after.
There’s something about a board like this that just works. It’s not fussy, it’s not stressful, and it somehow makes everyone feel like you went all out—even when you’re just throwing things together. The Best Friendsgiving Charcuterie Board with Fall Fruit is my go-to for any gathering where I want to feed people without hovering over a stove. It’s forgiving, flexible, and full of those sweet-salty-tangy combinations that make people close their eyes when they take a bite. And honestly? It’s the kind of thing that makes you look like a hero, even if you spent most of the prep time chatting with your guests.
This board is built around what’s good right now—crisp apples, juicy pears, dried figs, and tart cranberries—all nestled next to creamy cheeses, savory meats, and crunchy nuts. It’s a celebration of fall in edible form. And the best part? You can adapt it to whatever you have on hand, whatever your guests love, or whatever caught your eye at the farmers market that morning. It’s not a rigid recipe; it’s a template for deliciousness. Trust me, once you make this once, you’ll be dreaming up excuses to make it again.
Why You’ll Love This Recipe
Let me tell you why this board has become my secret weapon for every gathering, from casual weeknight hangs to full-blown Friendsgiving feasts. I’ve tested this combination at least a dozen times, tweaking the ratios and swapping in seasonal finds, and it never fails to impress.
- Effortless & Impressive: This board comes together in under 15 minutes. No cooking, no complicated steps—just arranging and snacking. It’s perfect for those moments when you want to host but don’t have the energy for a full meal.
- Simple, Seasonal Ingredients: You don’t need a specialty grocery store. Most of these ingredients are fall staples you might already have—apples, pears, nuts, and a few good cheeses. The beauty is in the combination, not the complexity.
- Perfect for Friendsgiving: This is the ultimate crowd-pleaser for a Friendsgiving gathering. It feeds a group without requiring a ton of dishes, and it pairs beautifully with everything from a cozy Guinness beef stew to a simple roast chicken.
- Customizable for Any Crowd: Got a vegan friend? Swap in plant-based cheeses and extra fruit. Gluten-free? This board is naturally friendly. It’s the most accommodating dish you’ll ever make.
- Unbelievably Delicious: The combination of creamy brie, sharp cheddar, salty prosciutto, and sweet-tart apple slices is next-level. Every bite is a little different, and that’s exactly what makes it so addictive.
What makes this version different from every other charcuterie board out there? It’s the focus on fall fruit as a structural element, not just a garnish. I use slices of Honeycrisp apples and Bosc pears as edible “plates” for the cheese and meat, and I tuck dried figs and fresh cranberries into every gap for bursts of sweetness and acidity. It’s not just a board with fruit on it—it’s a board where the fruit does the heavy lifting.
This is the kind of recipe that makes you feel like a brilliant host without the stress. It’s comfort food reimagined for sharing—simple, beautiful, and full of the flavors that make fall the best season for eating.
What Ingredients You Will Need
This recipe uses simple, seasonal ingredients that come together to create a beautiful and satisfying spread. The key is choosing quality over quantity—a few good cheeses and meats will always outshine a dozen mediocre ones.
For the Cheeses
- Brie or Camembert: 8 ounces, at room temperature. The creamy, buttery texture is a perfect counterpoint to crisp fruit and salty meat. I like the double-cream brie from Trader Joe’s for its affordability and consistent quality.
- Sharp Cheddar: 6 ounces, preferably aged for at least 12 months. The crumbly, tangy bite stands up beautifully to sweet apples and dried fruit. Look for a cloth-bound cheddar if you can find one.
- Blue Cheese: 4 ounces, such as Gorgonzola or Roquefort. Its pungent, salty kick adds a bold contrast that keeps the board interesting. A little goes a long way, so don’t overdo it.
- Goat Cheese Log: 4 ounces, plain or with herbs. The tangy, spreadable texture is a crowd-pleaser and pairs wonderfully with honey or fig jam.
For the Meats
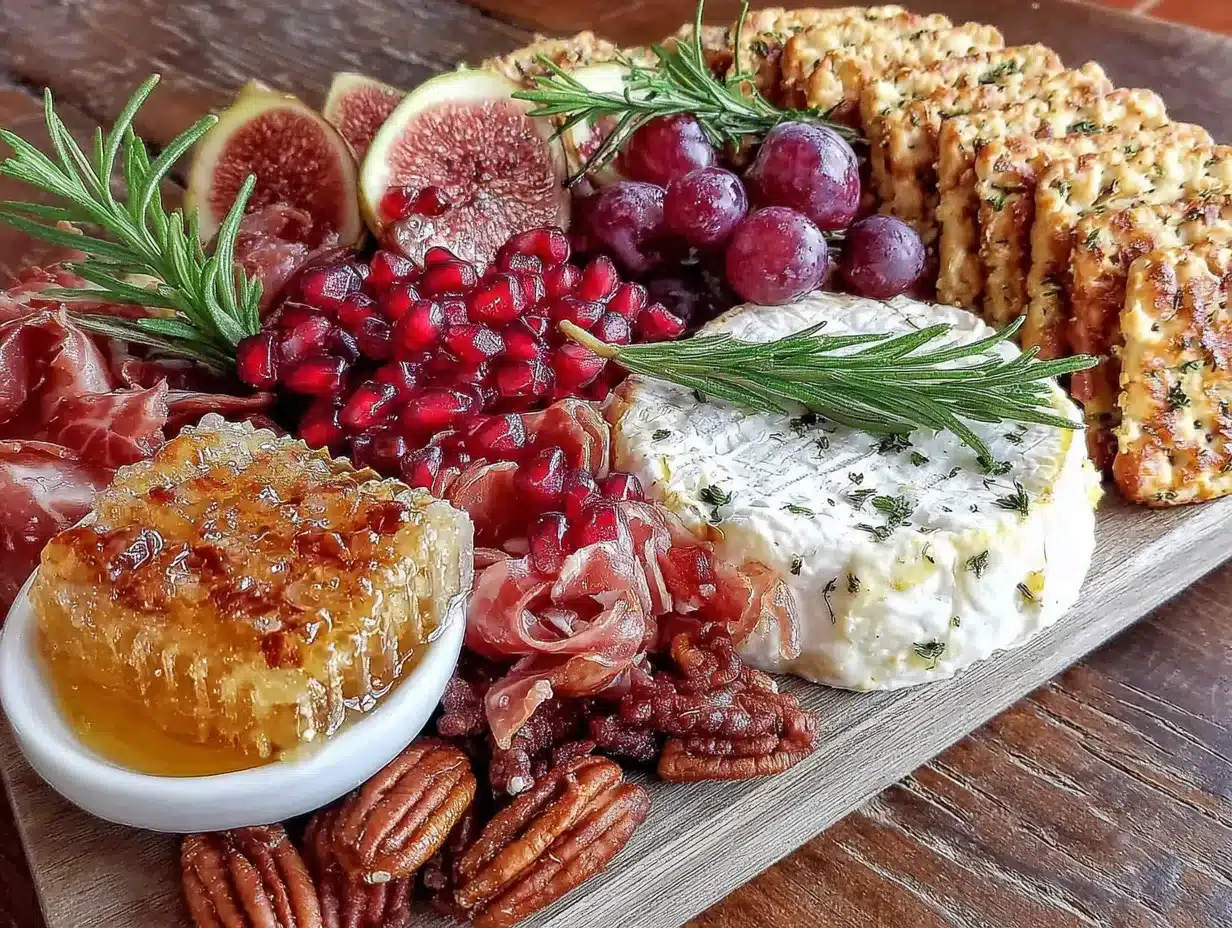
- Prosciutto: 4 ounces, thinly sliced. The salty, melt-in-your-mouth texture is a classic choice. I prefer prosciutto di Parma for its delicate flavor.
- Sopressata or Genoa Salami: 4 ounces, sliced. The firm, slightly spicy bite adds variety. Look for a variety with visible fennel seeds for extra flavor.
- Capicola or Speck: 3 ounces, thinly sliced (optional but lovely). The smoky, peppery notes add depth to the board.
For the Fall Fruit
- Honeycrisp Apples: 2 medium, cored and sliced thin. Their sweet-tart crunch is the star of the board. Leave the skin on for color and texture.
- Bosc Pears: 2 medium, cored and sliced. Their firm texture and honeyed sweetness hold up well against cheese. Brush with a little lemon juice to prevent browning if you’re prepping ahead.
- Dried Figs: 1 cup, halved. Their chewy, jammy sweetness is a perfect bite-sized treat. Mission figs are my go-to for their deep flavor.
- Fresh or Dried Cranberries: ½ cup. The tart pop of color breaks up the richness and adds a festive touch. In season, fresh cranberries are stunning; dried work year-round.
- Seedless Red Grapes: 1 cup, in small clusters. A classic, juicy addition that everyone loves.
For the Crunch & Spread
- Mixed Nuts: 1 cup, such as candied pecans, Marcona almonds, and walnuts. The salt and crunch are essential. I love making my own candied pecans with a little maple syrup and cayenne.
- Fig Jam or Honey: ¼ cup. A sweet, sticky element for drizzling over brie or goat cheese. A good quality fig jam is worth the splurge.
- Olives: ½ cup, such as Castelvetrano or Kalamata. Their briny pop cuts through the richness.
- Crackers & Crostini: 1 box of water crackers, 1 baguette sliced and toasted. Provide a variety of textures—crisp, buttery, and seedy.
For Garnish (Optional)
- Fresh Rosemary or Thyme Sprigs: For a rustic, aromatic touch that also looks beautiful.
- Edible Flowers: Pansies or nasturtiums add a gorgeous pop of color for special occasions.
Substitution Tip: If you’re vegan, swap the cheeses for your favorite plant-based versions (a cashew-based brie works wonders) and use roasted chickpeas instead of meat. The fruit and nuts are naturally vegan-friendly and will still carry the board.
Equipment Needed
You don’t need much to build a stunning board, but having the right tools makes the process smoother and more enjoyable. Here’s what I use:
- Large Wooden Cutting Board or Slate Board: At least 12×18 inches. A wooden board is classic and warm, but a large ceramic platter or even a baking sheet lined with parchment works in a pinch. I found my favorite board at a thrift store for $8—it’s got character and just the right size.
- Small Bowls or Ramekins: For the jam, honey, olives, and nuts. Having these contained keeps the board tidy and prevents flavors from mingling too much.
- Cheese Knives: At least two—one for soft cheese (like brie) and one for hard cheese (like cheddar). If you don’t have dedicated cheese knives, a butter knife and a paring knife work fine.
- Paring Knife: For slicing apples and pears just before serving. A sharp knife prevents bruising and gives you clean, beautiful slices.
- Tongs or Small Spoons: For serving olives and nuts. It’s a small touch that keeps things sanitary and elegant.
- Linen Napkins or Cheesecloth: For a rustic, textured base under the board, or for guests to wipe their fingers. It adds a lovely visual layer.
Budget-Friendly Tip: If you don’t have a large board, use a clean baking sheet or several smaller plates arranged together. I’ve done this many times, and it works beautifully—just cover the surface with a clean kitchen towel for a cohesive look.
Preparation Method
Building a charcuterie board is more about art than science, but a little strategy goes a long way. Follow these steps for a board that’s as beautiful as it is delicious.
-
Bring Cheeses to Room Temperature (30 minutes before serving): Take your brie, cheddar, blue cheese, and goat cheese out of the refrigerator. Let them sit at room temperature for at least 30 minutes. This softens the texture and brings out the full flavor. Trust me, cold cheese is muted cheese.
-
Prepare the Fruit (10 minutes before assembling): Just before you’re ready to build the board, core and slice the apples and pears. I like to cut them into thin wedges—about ¼-inch thick—so they’re easy to pile on a cracker. If you’re prepping ahead, toss the slices with a squeeze of lemon juice to prevent browning. Halve the dried figs and rinse the grapes, leaving them in small clusters.
-
Set Out the Small Bowls (5 minutes): Place your small bowls or ramekins on the board first. I usually put them in a triangle or scattered pattern—one for fig jam, one for honey, one for olives, and one for nuts. This anchors the board and creates natural “zones” for the other ingredients.
-
Place the Cheeses (5 minutes): Arrange the cheeses around the bowls. I like to place them at different points on the board so people don’t have to reach too far. Cut the brie into wedges but leave them in a single piece so it looks whole. Slice the cheddar into thin triangles. Crumble the blue cheese into a small pile. Place the goat cheese log whole, with a knife for spreading.
-
Add the Meats (5 minutes): Fold the prosciutto into loose ribbons and arrange them in a line or a small pile. Roll the sopressata slices into cylinders or fold them into quarters. Place the meats near the cheeses they pair best with—prosciutto near brie, sopressata near cheddar.
-
Scatter the Fruit (5 minutes): Now comes the fun part. Fan out the apple and pear slices in overlapping lines or curves. Tuck the dried figs and cranberries into any empty spaces. Place the grape clusters in a few spots for pops of color. The fruit should fill the gaps and create a lush, abundant look.
-
Fill in the Gaps with Nuts and Crackers (5 minutes): Sprinkle the nuts around the board, filling any remaining empty spaces. Arrange the crackers and crostini in small stacks or lines near the cheeses. Don’t overcrowd—leave a little breathing room so the board looks intentional, not chaotic.
-
Garnish and Serve (2 minutes): Tuck a few sprigs of fresh rosemary or thyme into the board for a fragrant, rustic touch. Drizzle a little honey over the brie or goat cheese. Step back, admire your work, and serve immediately. The board should look like a beautiful, edible landscape.
Pro Tip for Efficiency: I like to set out all my ingredients on the counter before I start arranging. This way, I can see everything at once and plan the layout. It also prevents me from forgetting something—like the olives I once left in the fridge while my board sat looking lonely.
Cooking Tips & Techniques
Over the years, I’ve learned a few tricks that turn a good charcuterie board into a great one. Here are my hard-earned lessons, including a few failures so you don’t have to make them yourself.
Balance Textures and Flavors: A great board has a mix of creamy (brie), crumbly (cheddar), pungent (blue cheese), salty (prosciutto), sweet (fig jam), tart (cranberries), and crunchy (nuts). As you arrange, step back and check if any one element is dominating. If everything is salty, add more fruit. If it’s too sweet, add more cheese.
Don’t Overcrowd the Board: I made this mistake early on—I wanted to include every single ingredient I had, and the board looked like a chaotic pile of food. Leave a little space between items so people can easily grab what they want. A crowded board is overwhelming; a curated one is inviting.
Slice Cheese in Different Shapes: For visual interest, cut your cheeses in different ways. Brie in wedges, cheddar in thin triangles, blue cheese crumbled. This makes the board look more dynamic and gives guests options for how to eat each cheese.
Use Fruit as a Structural Element: Instead of just placing fruit on the board, use it to create lines and curves that guide the eye. A long line of apple slices can separate a cheese zone from a meat zone. A cluster of grapes can fill a corner beautifully.
Keep a Backup Stash: I always have a few extra crackers, a handful of nuts, and a spare apple in the kitchen. When the board starts looking picked over, I can quickly refresh it without interrupting the flow of the party. This is especially important for a Friendsgiving board that might be the centerpiece for hours.
Timing is Everything: Assemble the board no more than 30 minutes before serving. The fruit will start to brown, the crackers will get soft, and the cheese will lose its perfect texture if it sits too long. If you need to prep ahead, slice the cheese and fruit and store them separately, then assemble right before guests arrive.
Variations & Adaptations
One of the best things about a charcuterie board is how easy it is to adapt. Here are some of my favorite variations, each tested and loved.
Vegetarian/Vegan Friendsgiving Board
Skip the meat entirely and double up on the cheese (or use plant-based alternatives). Add roasted chickpeas for crunch, marinated artichoke hearts for tang, and a big dollop of hummus. The fruit and nuts will still carry the board beautifully. I’ve made this version for a vegan friend’s birthday, and it was a hit with everyone, meat-eaters included.
Spicy Southwest Board
Swap the brie for pepper jack cheese, the prosciutto for chorizo, and the figs for mango slices. Add jalapeño-stuffed olives, spicy candied pecans, and a small bowl of salsa verde. This is a fun, unexpected twist that works great for a casual game-day gathering.
Breakfast Charcuterie Board
Yes, this is a thing, and it’s amazing. Replace the meats with bacon and sausage links, add mini pancakes or waffles, include fresh berries and yogurt, and use cream cheese as a spread. It’s a fun, shareable way to do brunch without cooking a full meal.
Gluten-Free Adaptation
This board is naturally gluten-free if you skip the crackers and crostini. Instead, use rice crackers, gluten-free seeded crackers, or thick slices of cucumber and bell pepper as vessels. The fruit and cheese are naturally gluten-free, so it’s an easy swap.
Personal Variation: My favorite seasonal twist is a “Winter Citrus” board, where I swap the apples and pears for blood oranges, grapefruit segments, and kumquats. The bright, acidic fruit cuts through the richness of the cheese beautifully, and the colors are stunning against a dark wood board. I serve it with a side of dark chocolate for dipping—a little indulgence that feels very special.
Serving & Storage Suggestions
This board is best served immediately, but with a little planning, you can enjoy it over a few hours or even save leftovers for the next day.
Serving Temperature: Serve the board at room temperature. The cheese will be soft and flavorful, the fruit will be crisp, and the meats will be at their best. If you’re serving outdoors in cool weather, bring the board out just before guests arrive and keep it in a shaded spot.
What to Serve With It: This board pairs beautifully with a crisp white wine like Sauvignon Blanc or a light red like Pinot Noir. For a non-alcoholic option, sparkling water with a splash of apple cider is festive and refreshing. If you’re serving it as part of a larger Friendsgiving meal, it pairs wonderfully with a cozy hearty lentil stew or a simple roasted turkey breast.
Storage: If you have leftovers (unlikely, but possible!), separate the components and store them in airtight containers. Cheese should be wrapped in wax paper or cheese paper, then placed in a zip-top bag. Fruit will last 1-2 days in the fridge, though sliced apples and pears will brown. Meats can be stored for 3-4 days. Nuts and crackers will stay fresh in a sealed container at room temperature.
Reheating: This board doesn’t require reheating, but if you have leftover brie, you can pop it in the oven at 350°F for 5-7 minutes to make it warm and gooey. Serve with fresh crackers or apple slices for a quick, indulgent snack.
Flavor Development: Here’s a secret—the flavors actually improve after a few hours at room temperature. The cheese softens, the fruit releases a little juice, and everything melds together. If you’re making this for a party, don’t stress about serving it immediately. Let it sit for 15-20 minutes after assembling for the best flavor.
Nutritional Information & Benefits
While a charcuterie board is definitely an indulgence, it also offers some surprising nutritional benefits, especially with all the fall fruit.
Estimated Nutritional Values (per serving, based on 8 servings):
- Calories: 450-550
- Protein: 18-22g
- Fat: 30-35g
- Carbohydrates: 35-40g
- Fiber: 6-8g
- Sugar: 20-25g (mostly from fruit)
Health Benefits:
- Apples and Pears: High in fiber and vitamin C. The pectin in apples supports gut health, and the antioxidants in pear skins fight inflammation.
- Nuts: Packed with healthy fats, protein, and vitamin E. A handful of almonds or walnuts can help lower cholesterol and support brain health.
- Cheese: A good source of calcium and protein. While high in saturated fat, cheese in moderation can be part of a balanced diet. The probiotics in aged cheeses like cheddar may also support gut health.
- Olives: Rich in healthy monounsaturated fats and antioxidants. They’re also a good source of iron and vitamin E.
Dietary Considerations: This board is naturally gluten-free (check cracker labels) and can be made vegetarian or vegan with simple swaps. It contains dairy and nuts, so be mindful of allergies. If you’re serving guests with dietary restrictions, label the cheeses and nuts clearly.
Personal Wellness Perspective: I love that this board encourages mindful eating—you take a little of this, a little of that, and you’re more likely to feel satisfied without overdoing it. It’s a social, shareable way to enjoy a meal that feels indulgent but is built on whole, nutrient-dense ingredients.
Conclusion
This Best Friendsgiving Charcuterie Board with Fall Fruit is more than just a recipe—it’s a way to bring people together without stress. It’s forgiving, flexible, and full of the flavors that make fall the best season for gathering around a table. Whether you’re hosting a full Friendsgiving feast or just a casual wine night, this board will make you look like you planned it for days, even when it came together in minutes.
I love this recipe because it reminds me that hosting doesn’t have to be complicated. Sometimes the best moments come from a block of brie, a good friend, and a bottle of wine. So go ahead—make this board your own. Swap in your favorite cheeses, add whatever fruit looks good at the market, and don’t be afraid to get creative. The only rule is that it tastes good and makes you happy.
I’d love to hear how your board turns out! Leave a comment below and tell me what combinations you tried, or share a photo of your creation on social media and tag me. And if you’re looking for more cozy fall recipes, don’t miss my creamy loaded baked potato soup or this easy crusty artisan bread to round out your meal. Happy snacking!
Frequently Asked Questions
How far in advance can I make a charcuterie board?
You can prep the components up to 24 hours in advance—slice the cheese, wash the fruit, and portion out the nuts and olives. But I recommend assembling the board no more than 30 minutes before serving to keep everything fresh and crisp.
What if I don’t have a large board?
No problem! Use a clean baking sheet, a large ceramic platter, or even several small plates arranged on a table. Cover the surface with a clean kitchen towel or a layer of parchment for a cohesive look.
Can I make this board for a crowd larger than 8?
Absolutely. Simply double the ingredients and use a larger board or multiple boards. Set up a “station” with two boards on a counter or table so guests can graze from both sides. I’ve done this for a party of 20, and it worked beautifully.
How do I keep the apple and pear slices from browning?
Toss the slices in a little lemon juice or lime juice right after cutting. This will keep them looking fresh for a few hours. Alternatively, you can cut them just before serving and arrange them quickly—the natural acidity of the fruit will slow browning.
What are the best cheeses for a beginner charcuterie board?
Start with three cheeses: a soft one (brie or camembert), a firm one (aged cheddar or gouda), and a funky one (blue cheese or goat cheese). This gives you a range of textures and flavors without overwhelming you. As you get more comfortable, you can add more varieties.
Pin This Recipe!
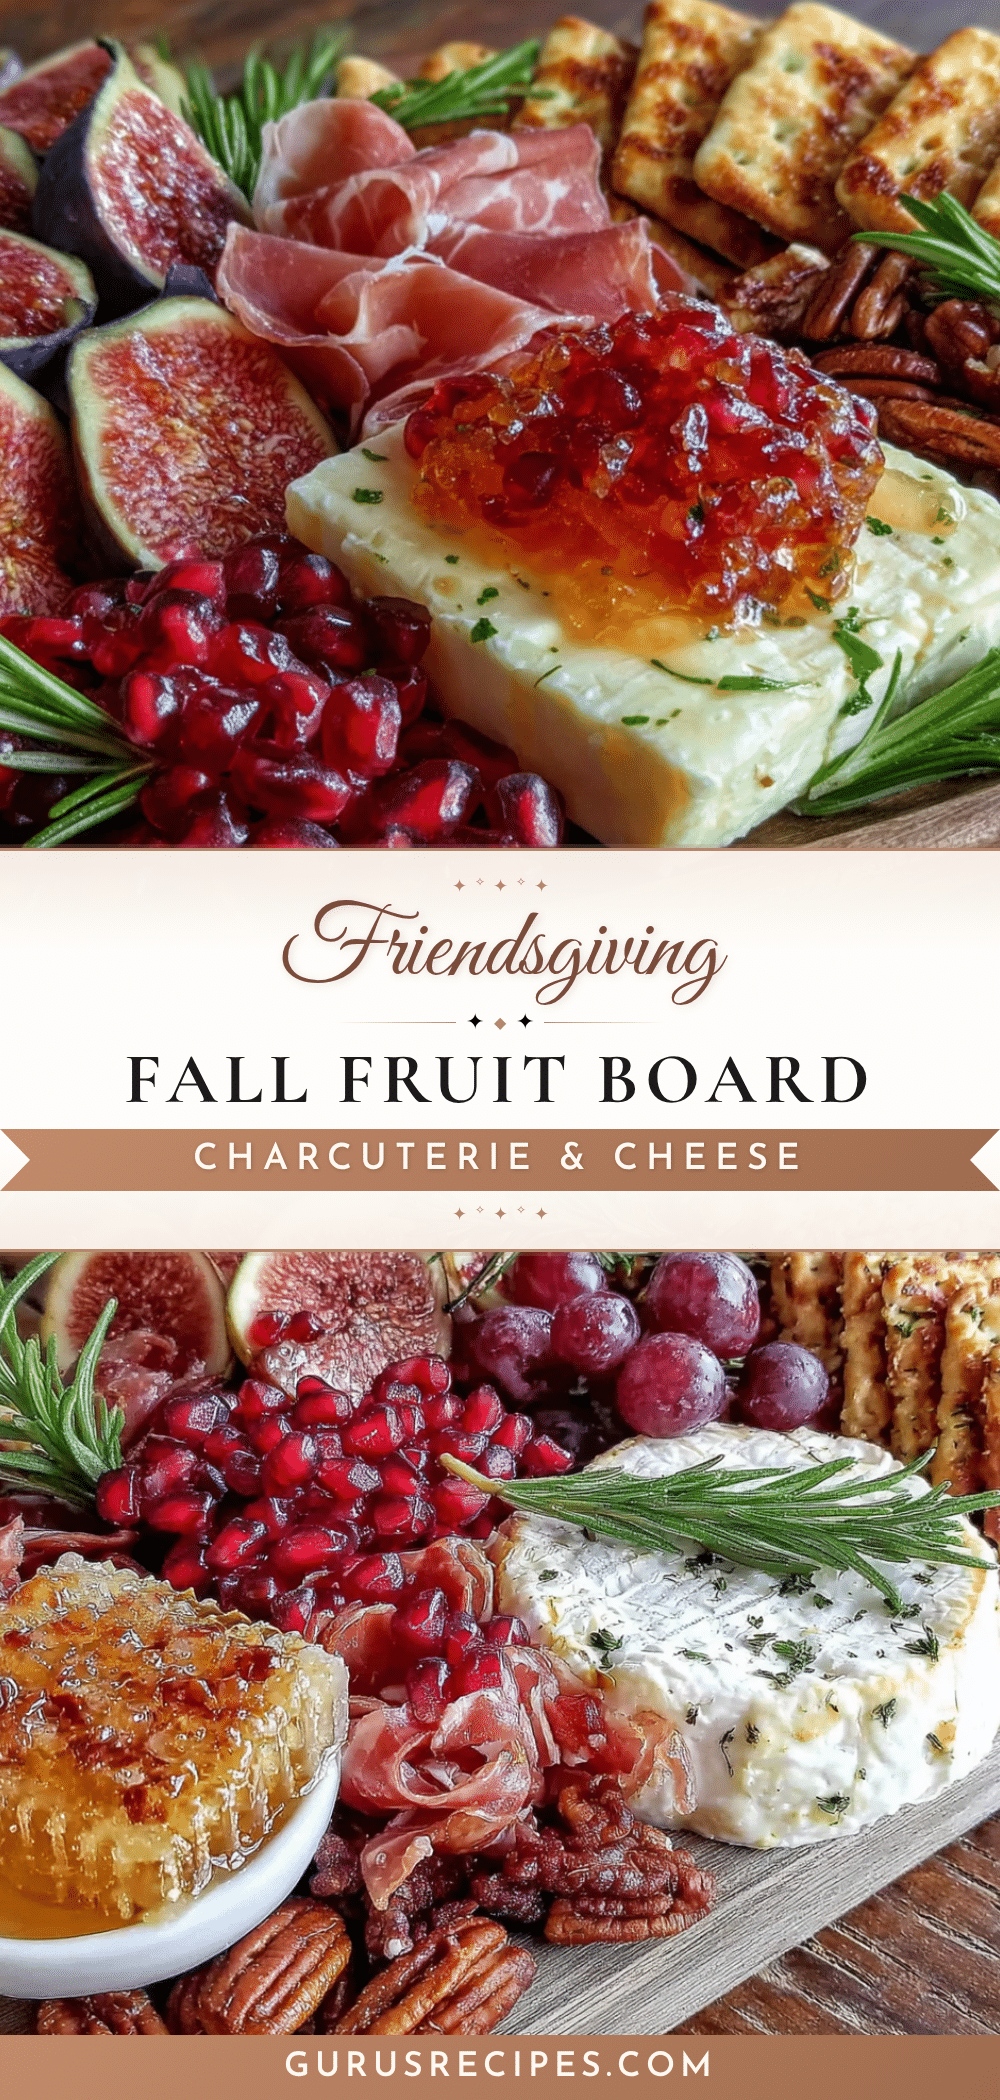

Best Friendsgiving Charcuterie Board with Easy Fall Fruit
A stunning, no-cook charcuterie board featuring creamy cheeses, savory meats, and crisp fall fruit. Perfect for Friendsgiving or any gathering where you want to impress without stress.
- Total Time: 15 minutes
- Yield: 8 servings 1x
Ingredients
- 8 ounces Brie or Camembert, at room temperature
- 6 ounces Sharp Cheddar, aged at least 12 months
- 4 ounces Blue Cheese (such as Gorgonzola or Roquefort)
- 4 ounces Goat Cheese Log, plain or with herbs
- 4 ounces Prosciutto, thinly sliced
- 4 ounces Sopressata or Genoa Salami, sliced
- 3 ounces Capicola or Speck, thinly sliced (optional)
- 2 medium Honeycrisp Apples, cored and sliced thin
- 2 medium Bosc Pears, cored and sliced
- 1 cup Dried Figs, halved
- ½ cup Fresh or Dried Cranberries
- 1 cup Seedless Red Grapes, in small clusters
- 1 cup Mixed Nuts (candied pecans, Marcona almonds, walnuts)
- ¼ cup Fig Jam or Honey
- ½ cup Olives (Castelvetrano or Kalamata)
- 1 box Water Crackers
- 1 Baguette, sliced and toasted (for crostini)
- Fresh Rosemary or Thyme Sprigs (for garnish, optional)
- Edible Flowers (pansies or nasturtiums, optional)
Instructions
- Bring Cheeses to Room Temperature: Take brie, cheddar, blue cheese, and goat cheese out of the refrigerator at least 30 minutes before serving to soften and enhance flavor.
- Prepare the Fruit: Just before assembling, core and slice apples and pears into thin wedges (about ¼-inch thick). Toss with lemon juice to prevent browning if prepping ahead. Halve dried figs and rinse grapes, leaving in small clusters.
- Set Out Small Bowls: Place small bowls or ramekins on the board in a triangle or scattered pattern for fig jam, honey, olives, and nuts.
- Place the Cheeses: Arrange cheeses around the bowls at different points on the board. Cut brie into wedges (leave in one piece), slice cheddar into thin triangles, crumble blue cheese into a pile, and place goat cheese log whole with a knife.
- Add the Meats: Fold prosciutto into loose ribbons and arrange in a line or pile. Roll sopressata slices into cylinders or fold into quarters. Place meats near complementary cheeses (prosciutto near brie, sopressata near cheddar).
- Scatter the Fruit: Fan out apple and pear slices in overlapping lines or curves. Tuck dried figs and cranberries into empty spaces. Place grape clusters in a few spots for color.
- Fill in the Gaps with Nuts and Crackers: Sprinkle nuts around the board, filling remaining empty spaces. Arrange crackers and crostini in small stacks or lines near cheeses. Leave some breathing room.
- Garnish and Serve: Tuck fresh rosemary or thyme sprigs into the board. Drizzle honey over brie or goat cheese. Serve immediately.
Notes
Assemble the board no more than 30 minutes before serving to keep fruit crisp and crackers fresh. For a vegan version, use plant-based cheeses and roasted chickpeas instead of meat. Leftovers can be stored separately in airtight containers; cheese wrapped in wax paper lasts 3-4 days.
- Prep Time: 15 minutes
- Cook Time: 0 minutes
- Category: Appetizer
- Cuisine: American
Nutrition
- Serving Size: 1 serving (approxima
- Calories: 500
- Sugar: 22
- Sodium: 800
- Fat: 32
- Saturated Fat: 14
- Carbohydrates: 38
- Fiber: 7
- Protein: 20
Keywords: charcuterie board, Friendsgiving, fall fruit, appetizer, no-cook, entertaining, cheese board


